

DSPeaker Anti-Mode 2.0 Owner's Manual
Anti-Mode 2.0 Dual Core
Owner's Manual

Recycling information
The product you have purchased is marked according to the Waste
Electrical and Electronic Equipment Directive (WEEE Directive).
There are take-back systems in place that help to preserve nature
and natural resources when products are disposed of appropriately.
If you need to dispose of this product, use the take-back system that
has dedicated collection facilities for electronic equipment. Do not put the product into
household waste disposal!
Also, the product has been manufactured using parts and processes that follow the
directive of the Restriction of the use of certain Hazardous Substances in Electrical and
Electronic Equipment (RoHS).
Intended Use
This product has been designed for normal indoor use and to be connected to other
equipment with cables not exceeding 3m (10 feet) in length. If you use cables of
extended length, check that their quality is sufficient and observe electrostatic
discharge precautions when connecting or disconnecting them. Use of the device
outdoors, in humid or other extreme environments, may cause reduced performance
or risks to the user of the equipment.

ANTI-MODE 2.0 DUALCORE
OWNER'S MANUAL
Table of Contents
1.Introduction......................................................................................................4
1.1 What's included in the box.................................................................................. 4
2.Overview..........................................................................................................5
2.1 Front Panel........................................................................................................... 5
2.2 Rear Panel........................................................................................................... 5
2.3 Getting Started.................................................................................................... 6
2.4 Typical Room Calibration..................................................................................... 7
3.Home Screen..................................................................................................10
4.Settings Menu.................................................................................................11
4.1 House Curve Tool.............................................................................................. 12
4.2 Tilt Curve Tool................................................................................................... 13
4.3 Infrasonic Filter................................................................................................. 14
4.4 High/Lowpass filters..........................................................................................15
4.5 Custom Parametric Equalizers.......................................................................... 15
4.6 Digital Headroom (Advanced)...........................................................................18
4.7 Audio Settings.................................................................................................. 18
4.8 Language Selection..........................................................................................19
4.9 Factory Reset.................................................................................................... 19
4.10 Information..................................................................................................... 19
4.11 PC Link............................................................................................................ 19
5.Using Sound Profiles.......................................................................................20
6.Advanced Calibration......................................................................................21
7.Multi-point (Wide Area) Calibration.................................................................22
8.Measurements................................................................................................23
9.Audio Connections..........................................................................................24
10.Troubleshooting............................................................................................25
11.Technical Specifications................................................................................28
11.1 Interfaces........................................................................................................ 28
11.2 Analog Specifications...................................................................................... 28
11.3 Firmware Specifications................................................................................... 28
12.Contact.........................................................................................................28
Rev. 0.93 2012-06-08 Page 3 (28)

ANTI-MODE 2.0 DUALCORE
OWNER'S MANUAL
1.Introduction
You are in possession of a remarkable audio device capable of – no less than –
making wonders to the sound quality of most audio systems. The list of the
advanced features of the Anti-Mode 2.0 Dual Core is long; including jitter-less
digital output, audiophile-grade D/A converters with digitally controlled analog
volume control, etc. But perhaps the most important feature, regrettably
commonly overlooked by the industry, is the ability to correct the room
resonances and other adverse effects generated by the listening environment.
Perfection in sound can only be achieved through the mastery in the art of
room acoustics!
We have worked hard to ensure that the Anti-Mode 2.0 Dual Core is not only
powerful and versatile but also intuitive and easy to use. However, it is a good
idea to read this manual in whole before operating the unit.
1.1 What's included in the box
✔The Anti-Mode 2.0 Dual Core
✔A power supply unit suitable for your country / region
✔A calibration microphone
✔An infra-red remote controller
✔A USB cable
✔This owner's manual
Rev. 0.93 2012-06-08 Page 4 (28)
ANTI-MODE 2.0 DUALCORE
OWNER'S MANUAL
2.Overview
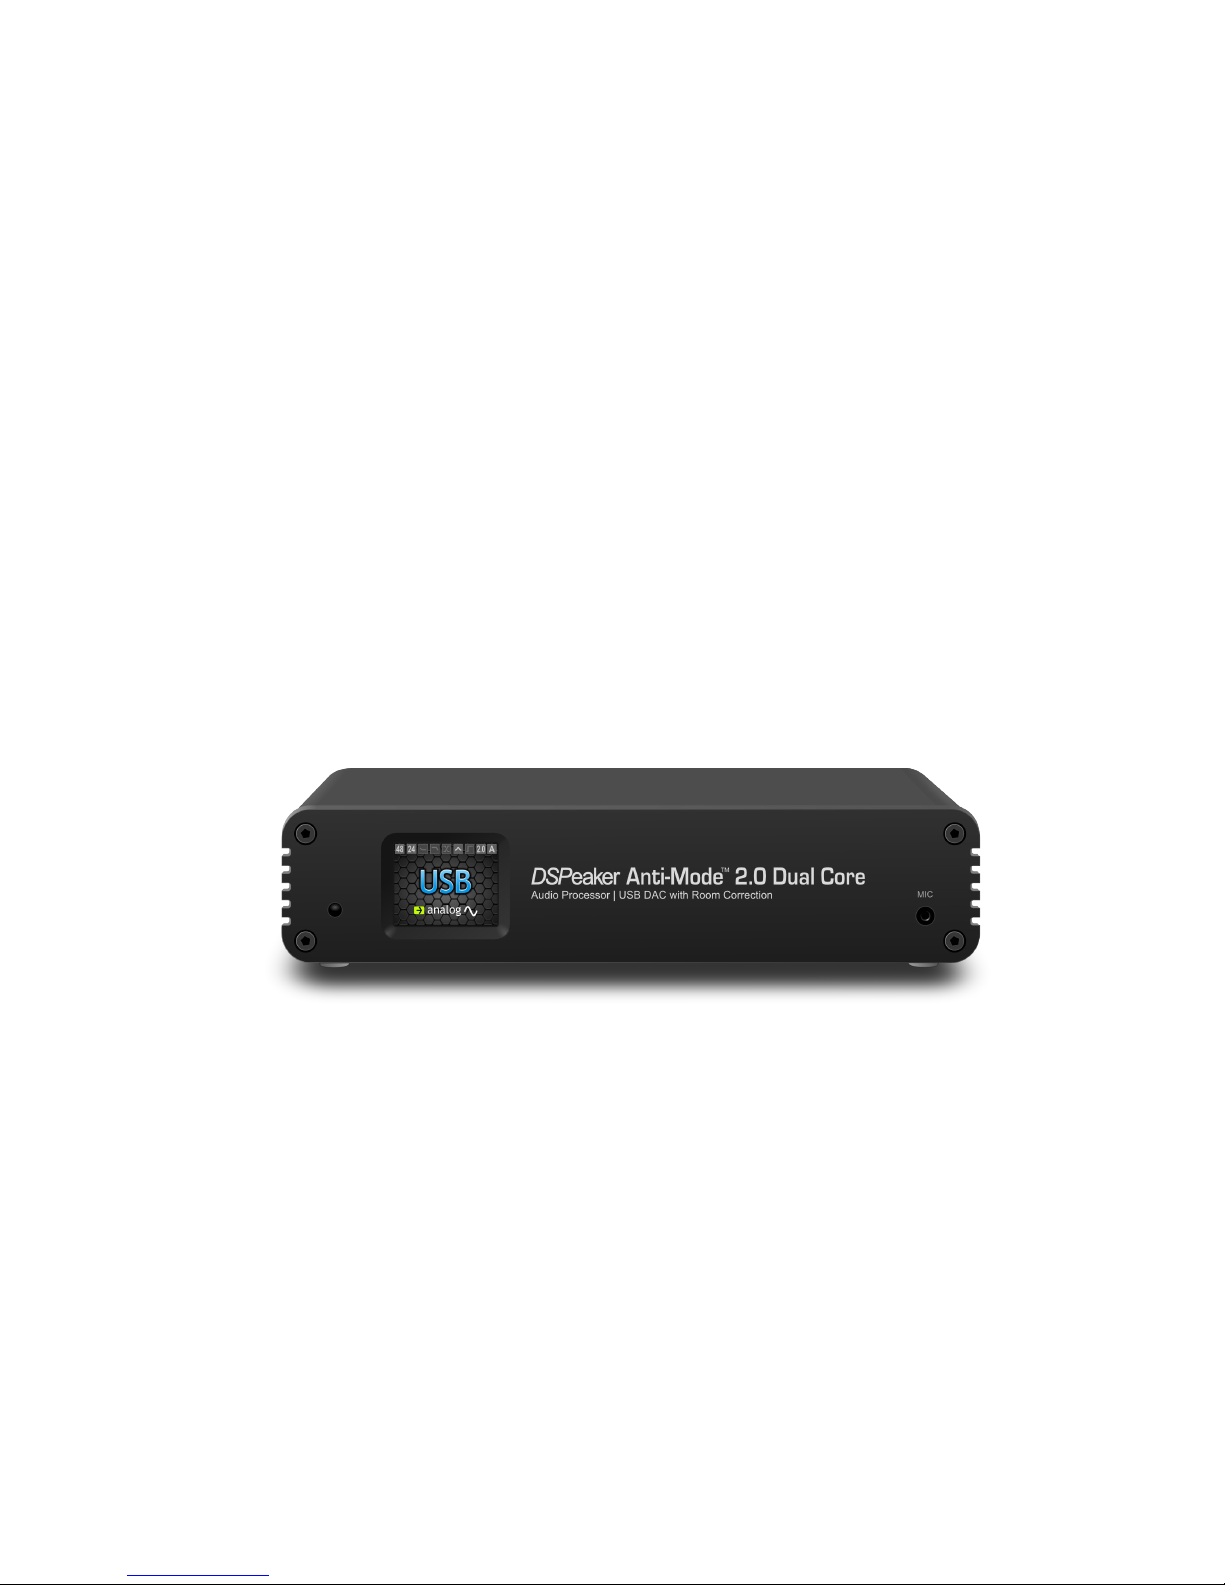
2.1 Front Panel
(1)Infrared sensor
(2)TFT display
(3)Calibration microphone connector
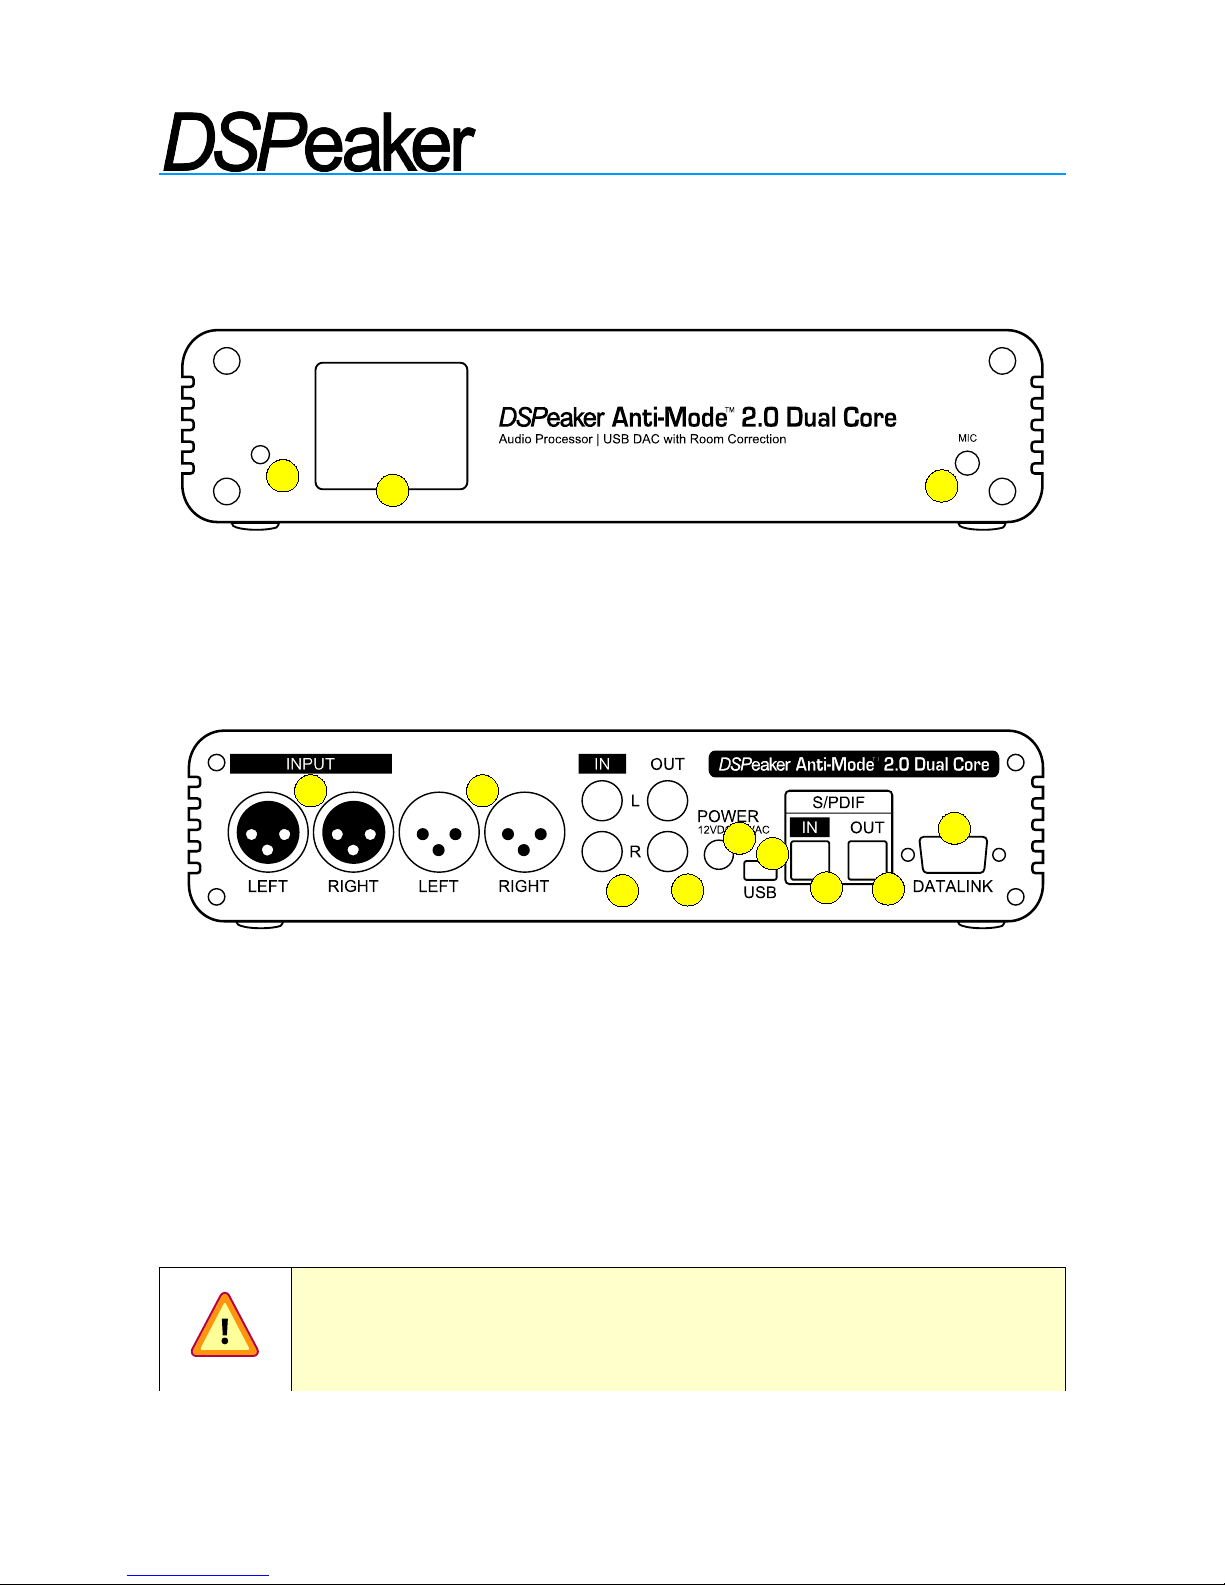
2.2 Rear Panel
(1)Analog balanced XLR input*
(2)Analog balanced XLR output
(3)Analog RCA input*
(4)Analog RCA output
(5)Power supply input (12VDC or 9VAC)
(6)USB connector
(7)S/PDIF Toslink input
(8)S/PDIF Toslink output
(9)DSPeaker datalink connector *) see the warning below.
IMPORTANT: Never connect both RCA and XLR inputs (1) and (3)
at the same time! The analog INPUT connector types are meant to
be exclusive alternatives to each other.
Rev. 0.93 2012-06-08 Page 5 (28)
1
2
3
OUTPUT
1 2
3
4
5
6
7
8
9
ANTI-MODE 2.0 DUALCORE
OWNER'S MANUAL
2.3 Getting Started
Anti-Mode 2.0 Dual Core can be utilized in many different kinds of configurations.
Before powering the device, please connect all the inputs and at least one of the
outputs that are relevant to your system.
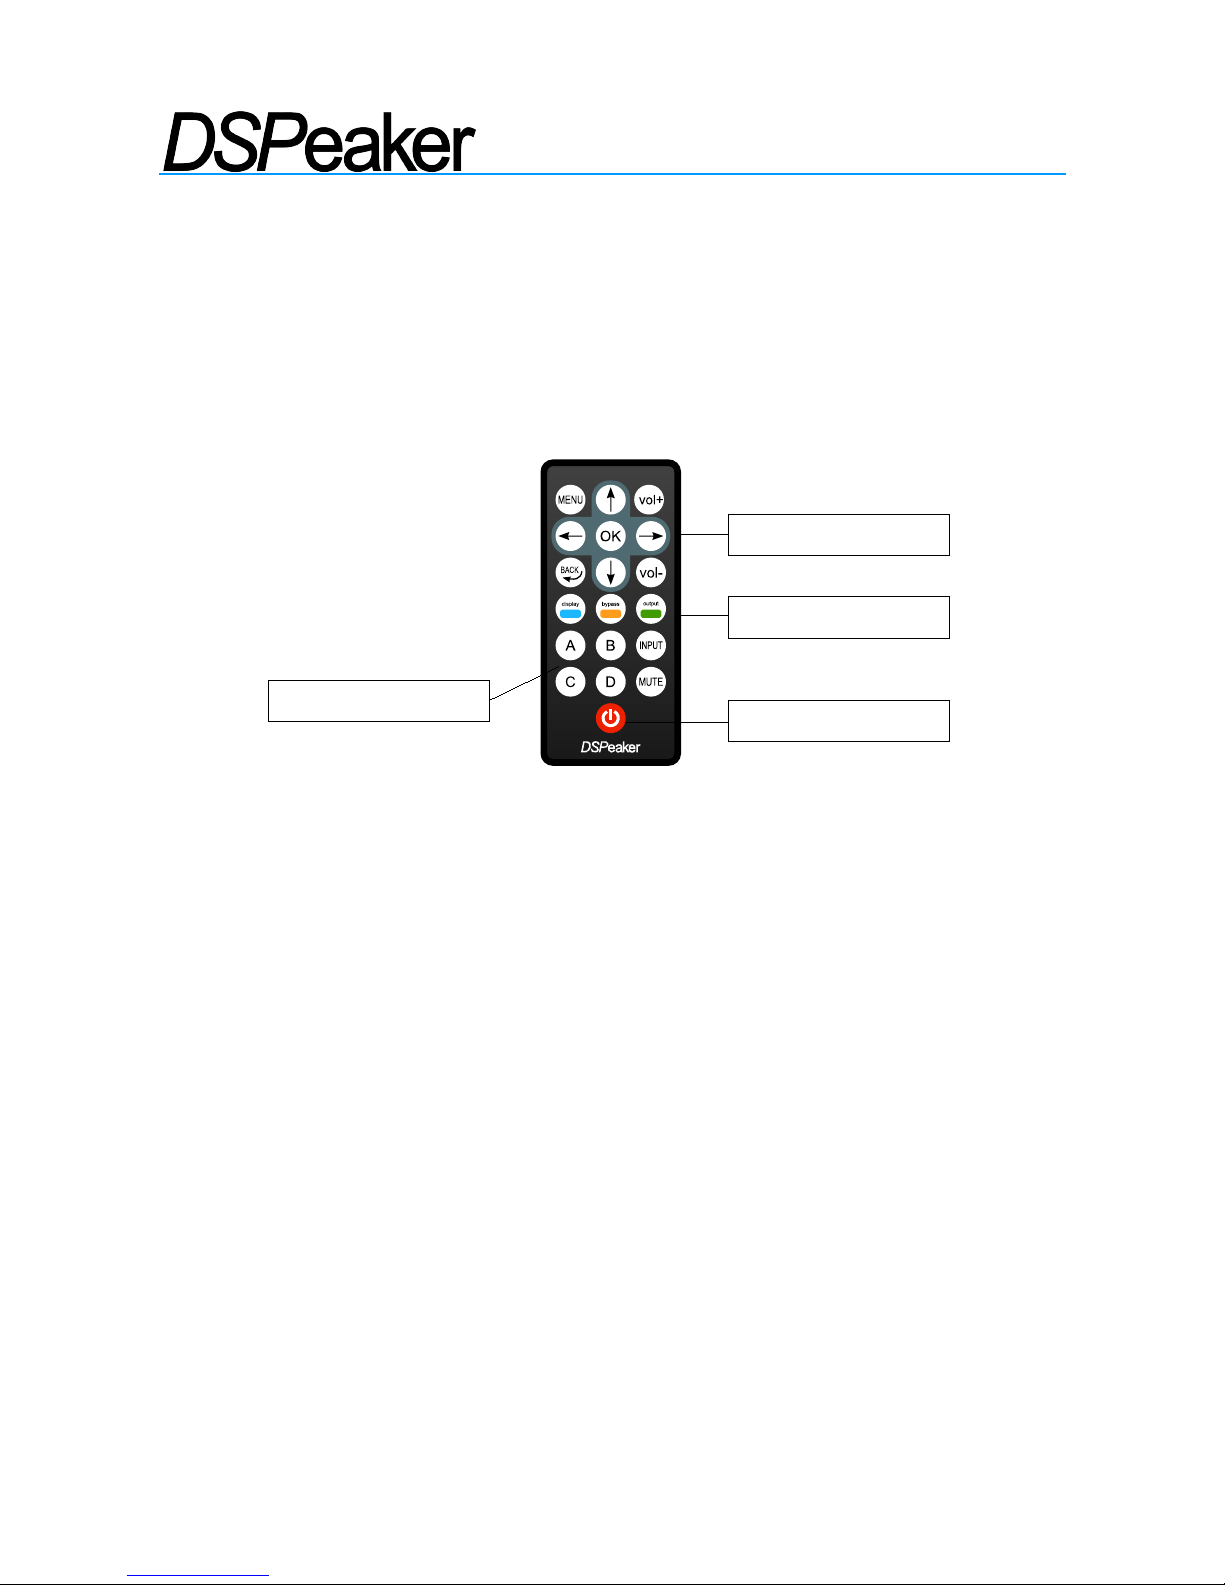
Virtually all of the user interaction is carried out by using the remote controller. Below
are some commands that are commonly used throughout the interface:
➢The MENU button brings out the main menu (press MENU again or the BACK button
to return back to home screen from the main menu)
➢Directional arrow buttons change the active menu item
➢The OK button accepts any changes made and advances to the next screen
➢The BACK button returns to the previous screen
➢The three color-coded buttons (blue, orange and green) select similarly colored
items in the various EQ editor screens. The primary actions of these buttons are active
in the home screen only (display, bypass and OUTPUT.)
When the device is powered up for the first time, the language selection screen
appears. Use the arrow buttons on the remote to select the language and press OK to
confirm. If needed, the language can be changed later from the Settings menu.
It is highly recommended to perform the room calibration process right away.
Follow the steps described in the next “Typical Room Calibration” chapter.
Rev. 0.93 2012-06-08 Page 6 (28)
Color-coded buttons
Profile buttons (A-D)
Menu navigation
Standby
ANTI-MODE 2.0 DUALCORE
OWNER'S MANUAL
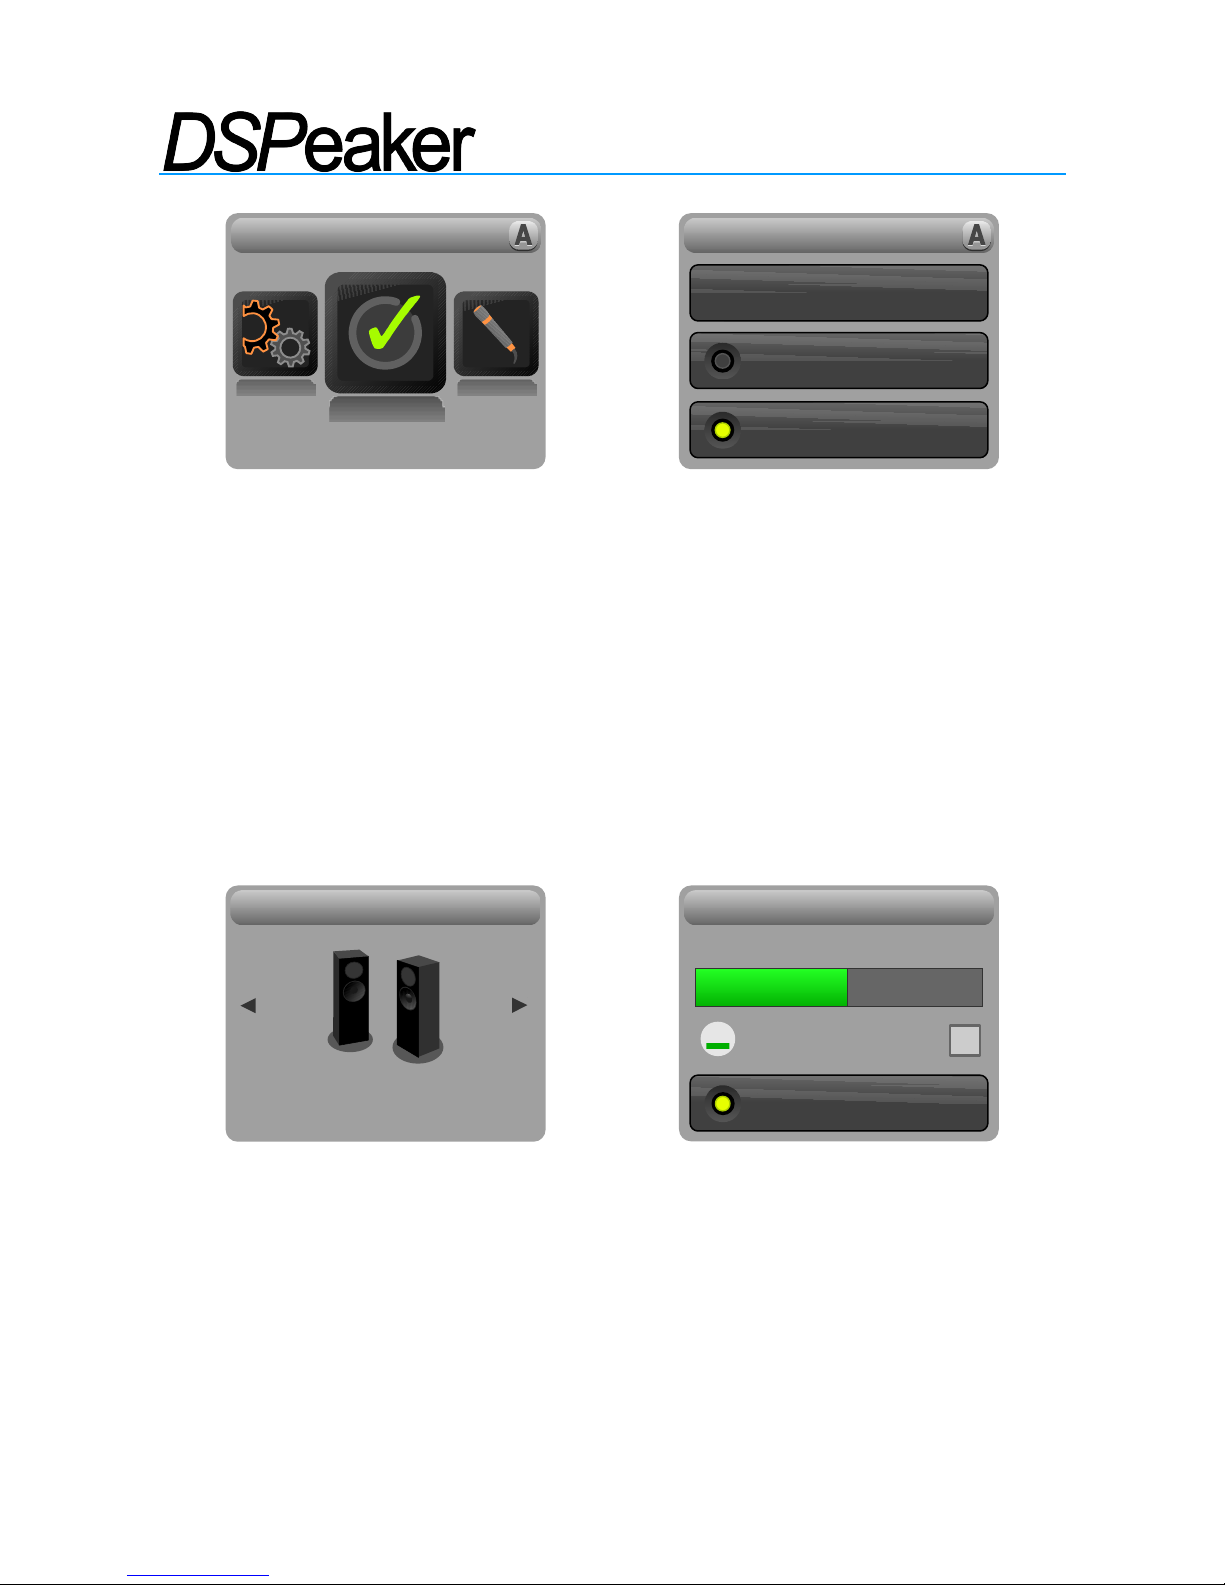
2.4 Typical Room Calibration
➢Press MENU on the remote controller. The main menu screen appears.
➢Use the arrow buttons to highlight Calibration menu item and press the OK button to
select it.
➢Press OK to accept the Typical calibration mode (The Advanced mode allows more
options to choose from. That and Multi-point calibration mode will be described later in this
manual.)
➢The speaker configuration screen appears. Use the arrow buttons to select the option
that best matches your speaker setup. If you are unsure, select the 2.0 Stereo
configuration. Press OK to confirm the selection.
➢The microphone check screen appears. At this point, plug in the provided calibration
microphone to the microphone jack and position it at the primary listening spot. The
microphone should be positioned at ear height, with no reflective surfaces near the tip
and fixed in place.
Do not hold the microphone or the microphone cable in your hand during the
measurement! Rather find a secure position where the microphone stays intact
throughout the whole calibration process.
Rev. 0.93 2012-06-08 Page 7 (28)
MAIN ME NU
Calibration
Multi-point
2.0 CA LIBRATION
Typical
Advanced
CONFIGURATION
2.0 Stereo
PREPARE MIC
Volume OK
S/PDIF OUT PUT
MIN MAX
ANTI-MODE 2.0 DUALCORE
OWNER'S MANUAL
➢Make sure either analog or digital output is connected to powered speakers or
subwoofers. If the analog output is used, a test tone should now be audible.
➢If needed, press the OUTPUT button on the remote to change to digital output.
Please consider the warning below prior to doing so.
WARNING: In order to preserve the dynamic range, digital output
signal is never scaled. Consequently, the digital output level is
always at 0 dB (i.e. maximum.) When using the S/PDIF output,
please be sure to adjust your amplifier's volume controls to a
moderate level in order to avoid damaging your ears and/or your
audio equipment!
➢Use the arrow buttons or the VOL+ and VOL- buttons to adjust the calibration
volume (analog output only).
➢The field at the lower part of the screen displays ”Volume OK” when Anti-Mode
detects a sufficient volume level for a reliable calibration.
➢If you can't hear the test tone (hissing noise), please make sure the output is
connected and the amplifiers or powered speakers are functioning properly.
➢The provided volume indication is a recommendation. Sometimes even lower volume
level may be sufficient for a decently accurate measurement.
➢When you are ready to start the calibration process, press the OK button to proceed.
FOR BEST RESULTS: When calibrating a subwoofer system: 0.2
Stereo, 0.2 Dual-Mono, or a single subwoofer, make sure that the
built-in lowpass filters of the subwoofer(s) are bypassed or set to
the highest cutoff frequency. You can restore the setting after
calibration or use Dual Core's Lowpass Filter Tool.
➢Depending on configuration, the calibration procedure may start with a speaker
distance detection. If the distance detection is successful, room acoustic analysis
begins immediately after it.
➢During the acoustical analysis phase, Anti-Mode generates several frequency
sweeps. After the first sweep, the initial room response graph is shown in red.
➢It is normal that the analysis phase lasts several minutes.
Rev. 0.93 2012-06-08 Page 8 (28)
ANTI-MODE 2.0 DUALCORE
OWNER'S MANUAL
➢You can cancel the calibration process at any time by pressing the BACK button. This
will revert the room correction parameters back to their previous calibration state.
(However, possible new speaker delay values from the distance detection step stay in
effect. Please note that this behavior may change in a future firmware revision.)
➢Once the analysis phase is finished, the corrected room response is shown in black.
The limit of the automatically corrected range is displayed with the vertival dashed
bar. Press the OK button to dismiss the screen. (Both the before and after graphs can be
viewed later in the Room Response menu accessible from the Main menu.)
➢Congratulations! Your system is now optimized for the most accurate sound. Press
the MENU button (or the BACK button) to return from the main menu to the home
screen.
PLEASE NOTE: After Anti-Mode gets rid of the room resonances, it
may appear the result sounds good but is lacking some bass. One
possible reason for this is that the listener has grown used to the
exaggerated bass response previously caused by room
resonances. If you feel that you need to increase the overall bass
level, you can do this using the house curve tool or designing a
custom EQ to lift the low-frequency band.
Rev. 0.93 2012-06-08 Page 9 (28)
 Loading...