

DSC WS4949 Operating Instructions Manual

WS4949 Wireless Panic Button
Operating Instructions
Introduction
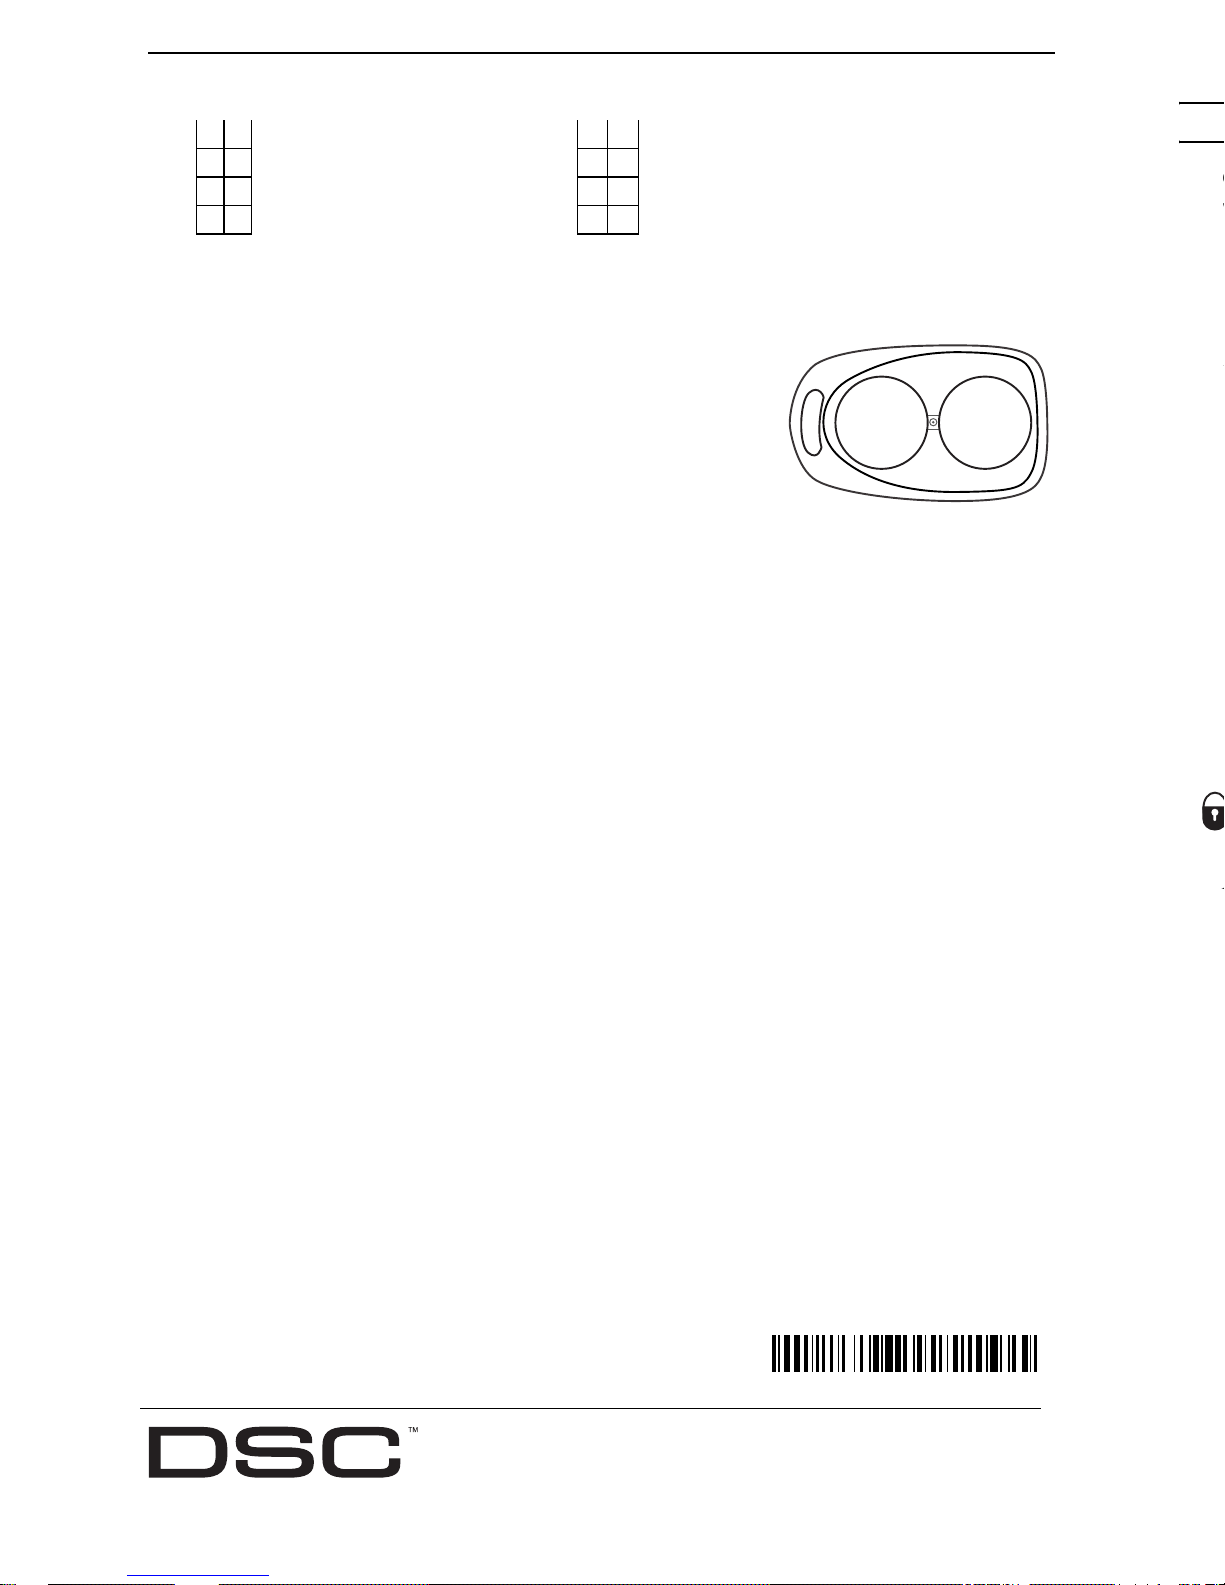
The WS4949 is a 2 button, 3 function remote that can be
used to arm and disarm as well as a variety of other
remote functions. Please discuss all WS4949 options with
your installer in order to program the best possible combination to suit your needs.
NOTE: Signals will not be received if the key is not within the
range of the wireless receiver.
Operation of the WS4949
To activate function 1 or 2 press and hold the appropriate
button for approximately 1 second. For function 3 press and hold both buttons for approximately 3 seconds. The LED located between buttons 1 and 2 will light up indicating a signal has been sent to the control panel receiver. The typical functions are as follows:
Away Arming
Press this button to arm your system in the Away mode. Both the interior and
exterior zones will be armed, allowing you to exit the premises.
Disarm
Press this button to disarm your system. You do not have to enter your access
code when you use the key to disarm the system.
Panic
Press and hold both buttons to notify your central monitoring station of a situation
requiring the police, such as a break-in (requires a monitored account).
NOTE: By default, the user must press and hold the buttons for 3 seconds to activate the panic function.
How to Enroll the WS4949
This section describes how to set up and program your remote and should be done by the
installer. When programming the functions keys in the receiver, Function Key #1 is not used
for the WS4949.
• Button 1 (Left Button) sends Function Key #2
• Button 2 (Right Button) sends Function Key #3
• Both buttons pressed simultaneously and held for 3 seconds sends Function Key #4
The following outlines the basic steps for programming and enrolling this device on
PowerSeries receivers. For additional options or for other receivers please refer to the
specific receiver installation manuals.
Step 1 - Program Electronic Serial Number (ESN)
Section [804], subsections [41] - [56]
[41] Key #1
|______|______|______|______|______|______| . . . [56] Key #16 |______|______|______|______|______|______|
Step 2 - Program Function Buttons
Section [804], subsections [59] - [60]
For the RF5501-433 v5.0 Receiver, Section [804], subsections [61] - [68]*
Button 1 Button 2
[59] Paritition 1 Wireless Key Options *[61] Partition 1 Wireless Key Options (RF5501-433)
Replacing the Batteries
Under normal conditions the batteries can last from 5-8 years. If
the battery is low, the trouble light on the keypad will turn ON.
To replace the batteries, remove the top cover by inserting a
coin into the slot located on the bottom right corner and twist.
Remove the screw at the center of the board to expose the batteries. Replace both batteries with Panasonic CR-2025 lithium
batteries (see diagram).
NOTE: The polarity of the battery must be observed, as shown in the diagram above. Improper handling of lithium batteries may result in heat generation, explosion or fire, which may lead to personal injuries.
WARNING: Danger of explosion if batteries are installed incorrectly. Replace only with the
same or equivalent type recommended by the manufacturer. Keep away from small children.
If batteries are swallowed, promptly see a doctor. Do not try to recharge these batteries. Disposal of used batteries must be made in accordance with the waste recovery and recycling
regulations in your area.
Compatibility
Please refer to the installation sheets of the following receivers for more information. The
WS4949 is compatible with the following receivers:
• PC5132-433 • PC4164-433 • RF5501-433
• NT9005-433 • RF5108-433
Specifications
• 32°to 120°F (0°-49°C)
• 5-93% RH
• Water Resistant
FCC COMPLIANCE STATEMENT
This device complies with Part 15 of the FCC Rules. Operation is subject to the following two conditions: (1)
This device may not cause harmful interference, and (2) this device must accept any interference received,
including interference that may cause undesired operation.
IC 160A-WS4949: The term 'IC:' before the radio certification number only signifies that Industry Canada
technical specifications were met.
0 0 Button 1 Not used for WS4949 0 0 Button 1 Not used for WS4949
0 4 Button 2 Aw a y Armi n g 0 4 Button 2 Awa y Armi n g
2 7 Button 3 Disarm 2 7 Button 3 Disarm
3 0 Button 4 Panic 3 0 Button 4 Panic
.
.
.
.
Panasonic
CR2025
3V
+
WS4949 Wireless Panic Button
Operating Instructions
Introduction
The WS4949 is a 2 button, 3 function remote that can be
used to arm and disarm as well as a variety of other
remote functions. Please discuss all WS4949 options with
your installer in order to program the best possible com-
bination to suit your needs.
NOTE: Signals will not be received if the key is not within the
range of the wireless receiver.
Operation of the WS4949
To activate function 1 or 2 press and hold the appropriate
button for approximately 1 second. For function 3 press and hold both buttons for approxi-
mately 3 seconds. The LED located between buttons 1 and 2 will light up indicating a sig-
nal has been sent to the control panel receiver. The typical functions are as follows:
Away Arming
Press this button to arm your system in the Away mode. Both the interior and
exterior zones will be armed, allowing you to exit the premises.
Disarm
Press this button to disarm your system. You do not have to enter your access
code when you use the key to disarm the system.
Panic
Press and hold both buttons to notify your central monitoring station of a situation
requiring the police, such as a break-in (requires a monitored account).
NOTE: By default, the user must press and hold the buttons for 3 seconds to activate the panic function.
How to Enroll the WS4949
This section describes how to set up and program your remote and should be done by the
installer. When programming the functions keys in the receiver, Function Key #1 is not used
for the WS4949.
• Button 1 (Left Button) sends Function Key #2
• Button 2 (Right Button) sends Function Key #3
• Both buttons pressed simultaneously and held for 3 seconds sends Function Key #4
The following outlines the basic steps for programming and enrolling this device on
PowerSeries receivers. For additional options or for other receivers please refer to the
specific receiver installation manuals.
Step 1 - Program Electronic Serial Number (ESN)
Section [804], subsections [41] - [56]
[41] Key #1
Step 2 - Program Function Buttons
Section [804], subsections [59] - [60]
For the RF5501-433 v5.0 Receiver, Section [804], subsections [61] - [68]*
©2005 Digital Security Controls
Toronto, Canada • www.dsc.com
Tech Support: 1-800-387-3630, 905-760-3036
Printed in Taiwam
29007050R002
 Loading...