

Page 1
Instruction Manual
Page 2
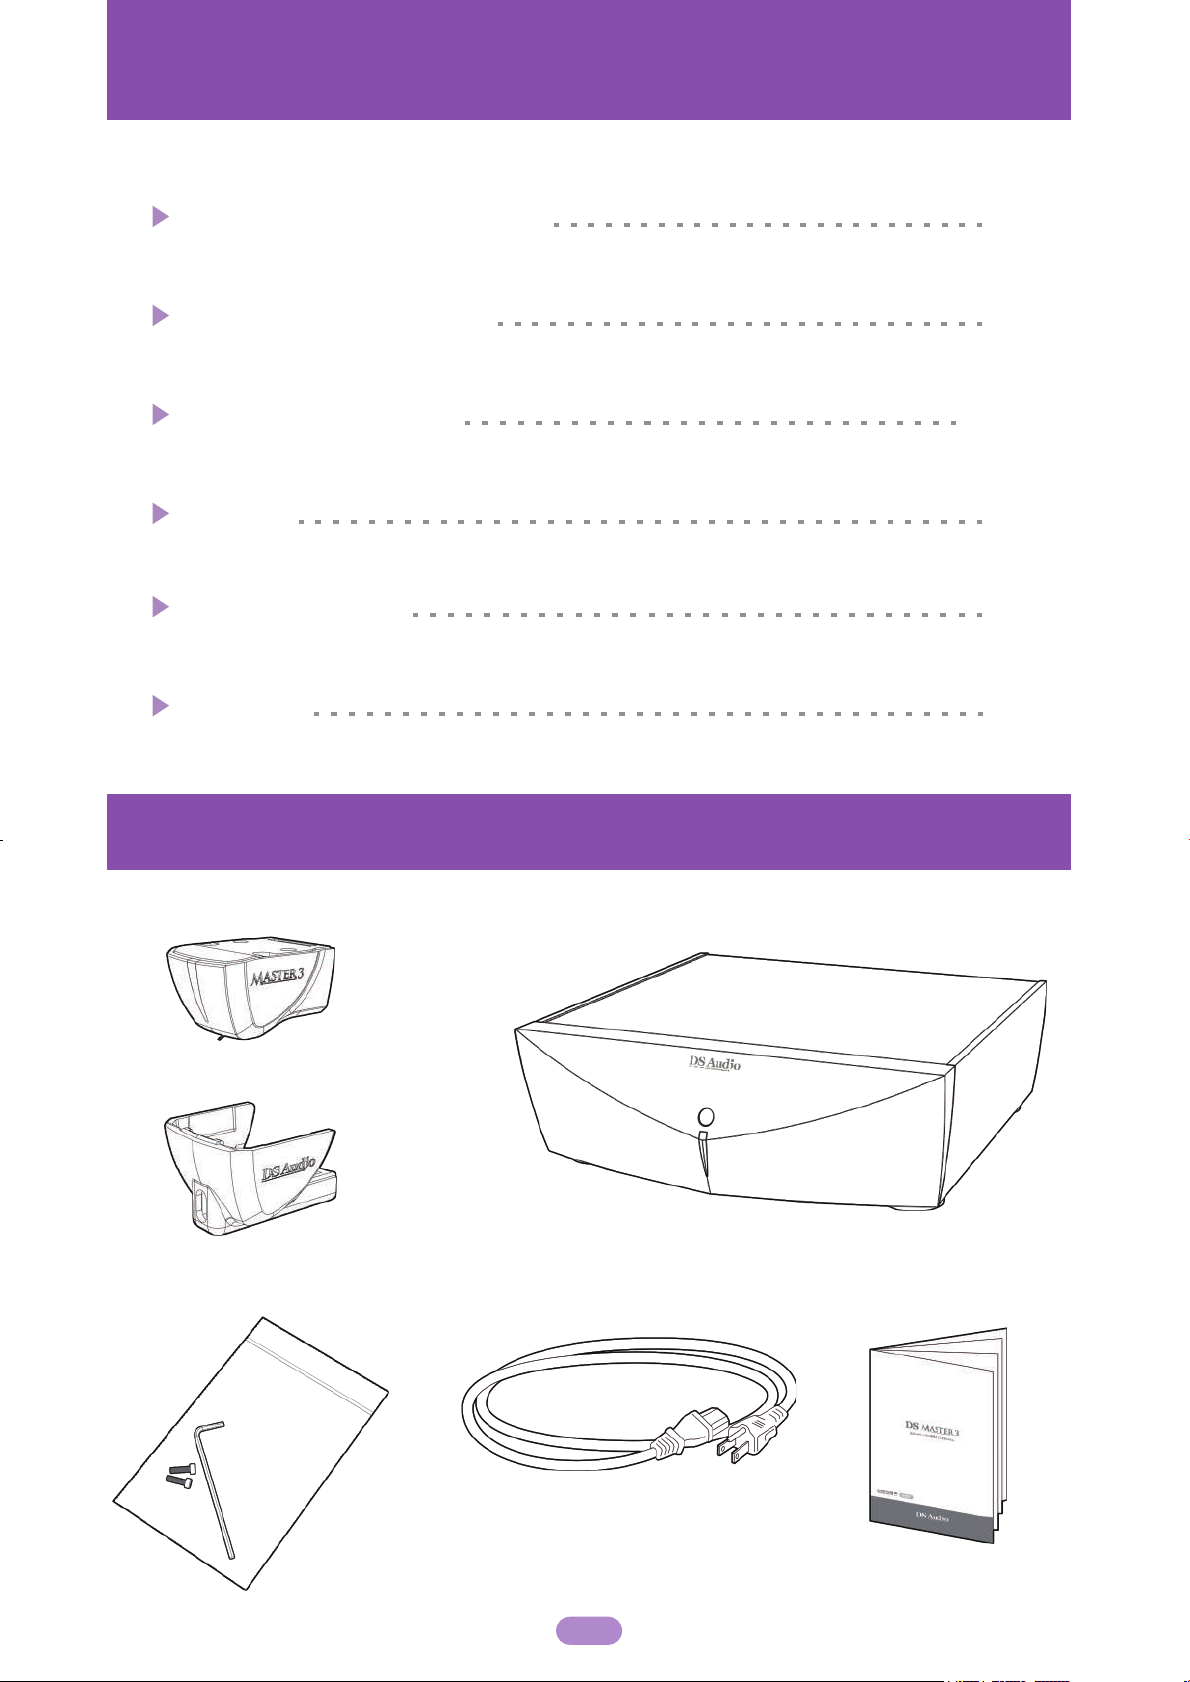
Table of contents
Checking the supplied items
Notes on safe operation
Names and functions
Caution
Trouble shooting
Specification
Warranty
1
2
3.4
5
6
7
Supplied items
DS Master3 Optical Cartridge DS Master3 Equalizer
Needle cover
Cartridge screw (M2.6)
+hexagonal wrench
If any items missing, please contact our
authorized dealer or DS Audio.
Power cable
Instruction manual
1 6
Page 3

Notes on safe operations
Initial setup
●Place the player in a location with adequate ventilation to prevent heat build-up in
the apparatus.
●Do not place the player on a soft surface such as a rug that might block the
ventilation holes on the bottom.
●Do not place the player in a location near heat sources, or in a place subject to direct
sunlight, excessive dust or mechanical shock.
Power requirements
● [ V AC, 50 / 60 Hz ]
POWER-CORD CAUTION
Handle the power cord by the plug. Do not pull out the plug by tugging the cord and
never touch the power cord when your hands are wet as this could cause a short
circuit or electric shock. Do not place the unit, a piece of furniture, etc., on the power
cord, or pinch the cord.
Never make a knot in the cord or tie it with other cords. The power cords should be
routed such that they are not likely to be stepped on. A damaged power cord can
cause fire or give you an electrical shock. Check the power cord time to time.
On repair
●Please consult our authorized dealer nearest to you.
Break-in
●Since a large amount of electrolytic capacitors are used for the DS Master3
equalizer, it takes time to break in.You can enjoy better sound by leaving the
power on for 24 hours after purchase for several months.
25
Page 4
Descriptions of Parts and Controls
Equalizer & Optical Cartridge
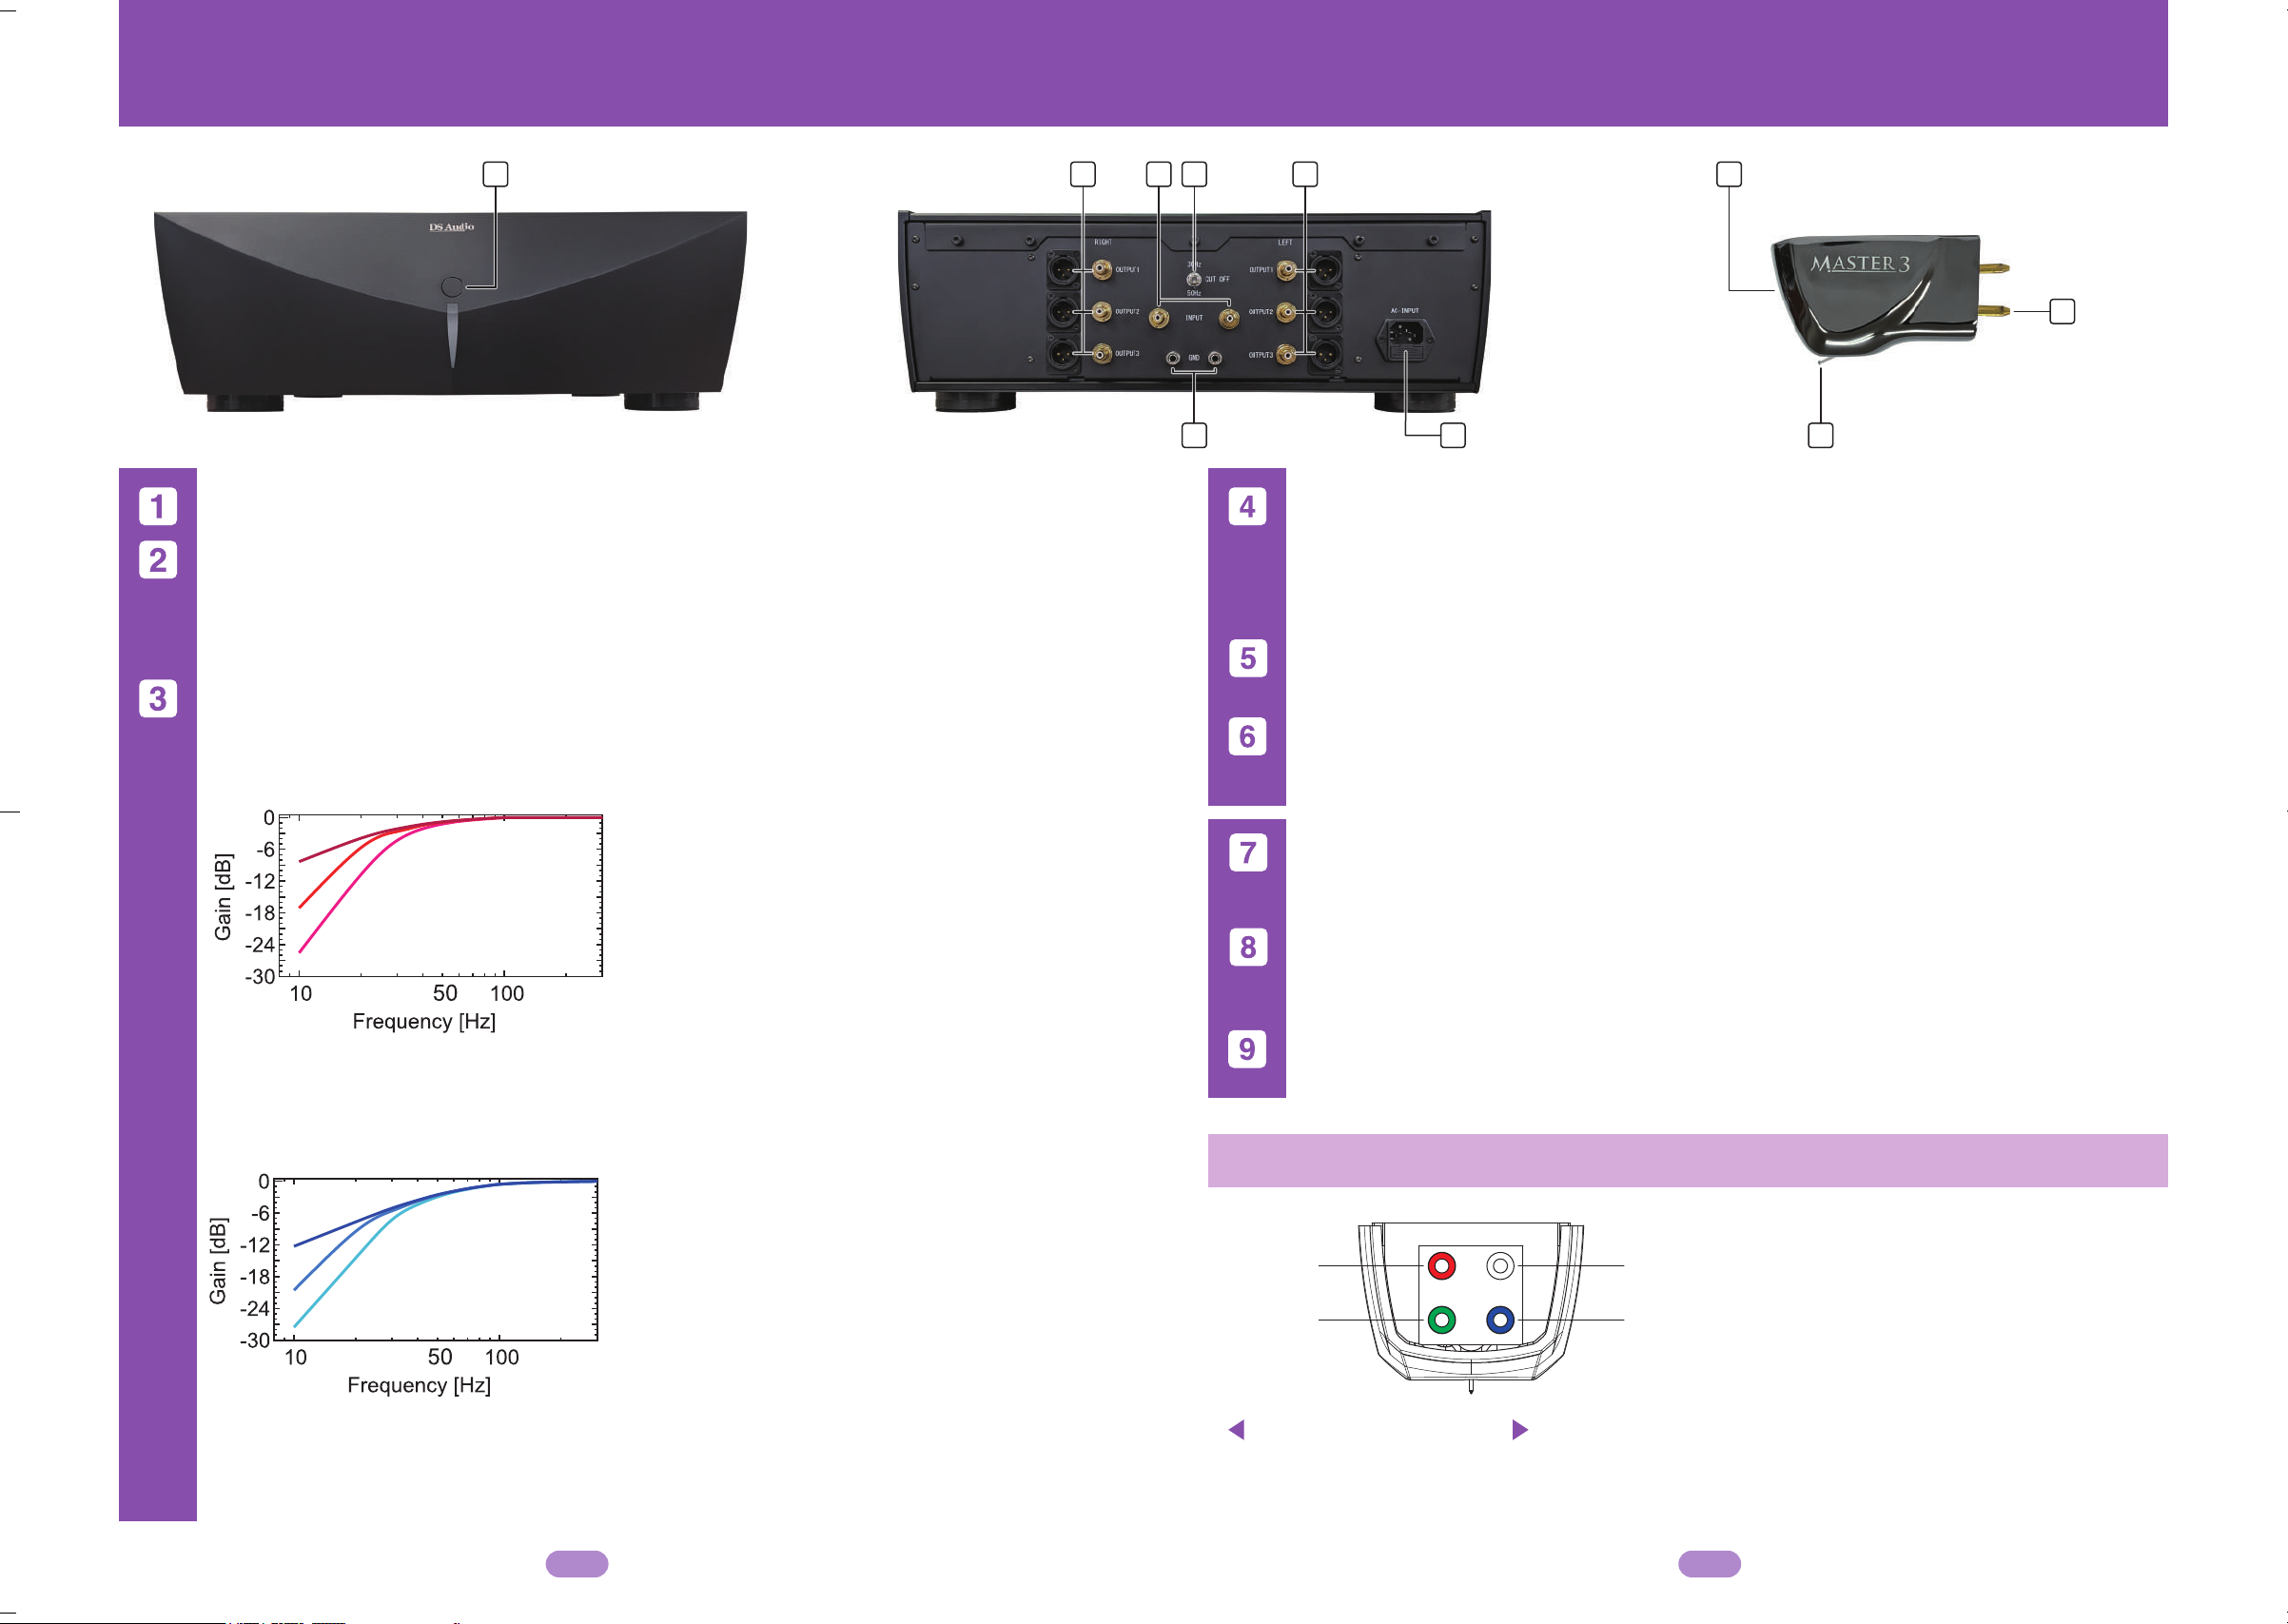
1
Power Switch
Power On / Off button
Low cutoff switch
You can select the cutoff of the low frequency range below 30Hz or below 50Hz.
Refer to the graph below for the low-frequency roll-off graph when each is selected.
RCA output and XLR output (balanced output 2nd hot)
* Connect outputs 1 to 3 to line level input terminals such as AUX terminals.
* You can select from a total of 6 types of patterns so that you can select the output that
best matches your system. These 6 types of outputs differ only in the low cutoff curve.
4 2 33
6 5
INPUT
L / R channel lines of your turn table player are connected to those terminals.
Make sure that each channel is connected to the same channel, while Optical
cartridge is taking power out from those lines, Misconnection may damage the cartridge.
Do not connect MM/MC cartridge to this Equalizer. It may break MM/MC cartridge.
※
Power inlet terminal
Connect to the power outlet with the suppiled AC power cable.
GND
Connect the ground line of your turn table player
7
9
8
a
b
c
a, 30Hz switch selected OUT PUT1 output
(LINE output)
It is equipped with a cutoff analog filter from 30Hz to 6dB/oct.
b, 30Hz switch selected OUT PUT2 output
(LINE output)
Equipped with a cutoff analog filter from 30Hz to 6dB/oct and
25Hz to 12dB/oct.
c, 30Hz switch selected OUT PUT3 output
(LINE output)
The analog filter of the cutoff of 35Hz to 12dB/oct, 30Hz to
6dB/oct, and 25Hz to 12dB/oct is installed.Please use when
you do not want to move the woofer or when there is a lot of
warp in the record.
Power indicator LED
LED indicates power being on when it is lit. When Equalizer is turned on, yet LED
is not lit,check the Cartridge connection and Equalizer connection
Cantilever / Stylus
Adjust the Stylus pressure carefully as to the recommended pressure range.
Do not remove the film on the bottom as it is a dust prevention film.
Output pins
Connect Output pins as described in “Output pin connection”.
“Output pin connection”
d, 50Hz switch selected OUT PUT1 output
d
e
f
(LINE output)
It is equipped with a cutoff analog filter from 50Hz to 6db/oct.
e, 50Hz switch selected OUT PUT2 output
(LINE output)
Equipped with a cutoff analog filter from 50Hz to 6dB/oct
and 25Hz to 12dB/oct.
f,50Hz switch selected OUT PUT3 output
(LINE output)
The analog filter of the cutoff of 35Hz to 12dB/oct, 50Hz to
6dB/oct, and 25Hz to 12d/oct is installed.Please use when
you do not want to move the woofer or when there is a lot of
warp in the record.
RED
GREEN Blue
Stylus Replacement
Stylus replacement is available at DS-Audio. Please consult our authorized dealer for its
cost and time.
R L
White
Red : Upper left / Right Channel (+)
Green : Bottom left / Right Channel (-)
White : Upper right / Left channel (+)
Blue : Bottom right / Left channel (-)
43
Page 5
Caution
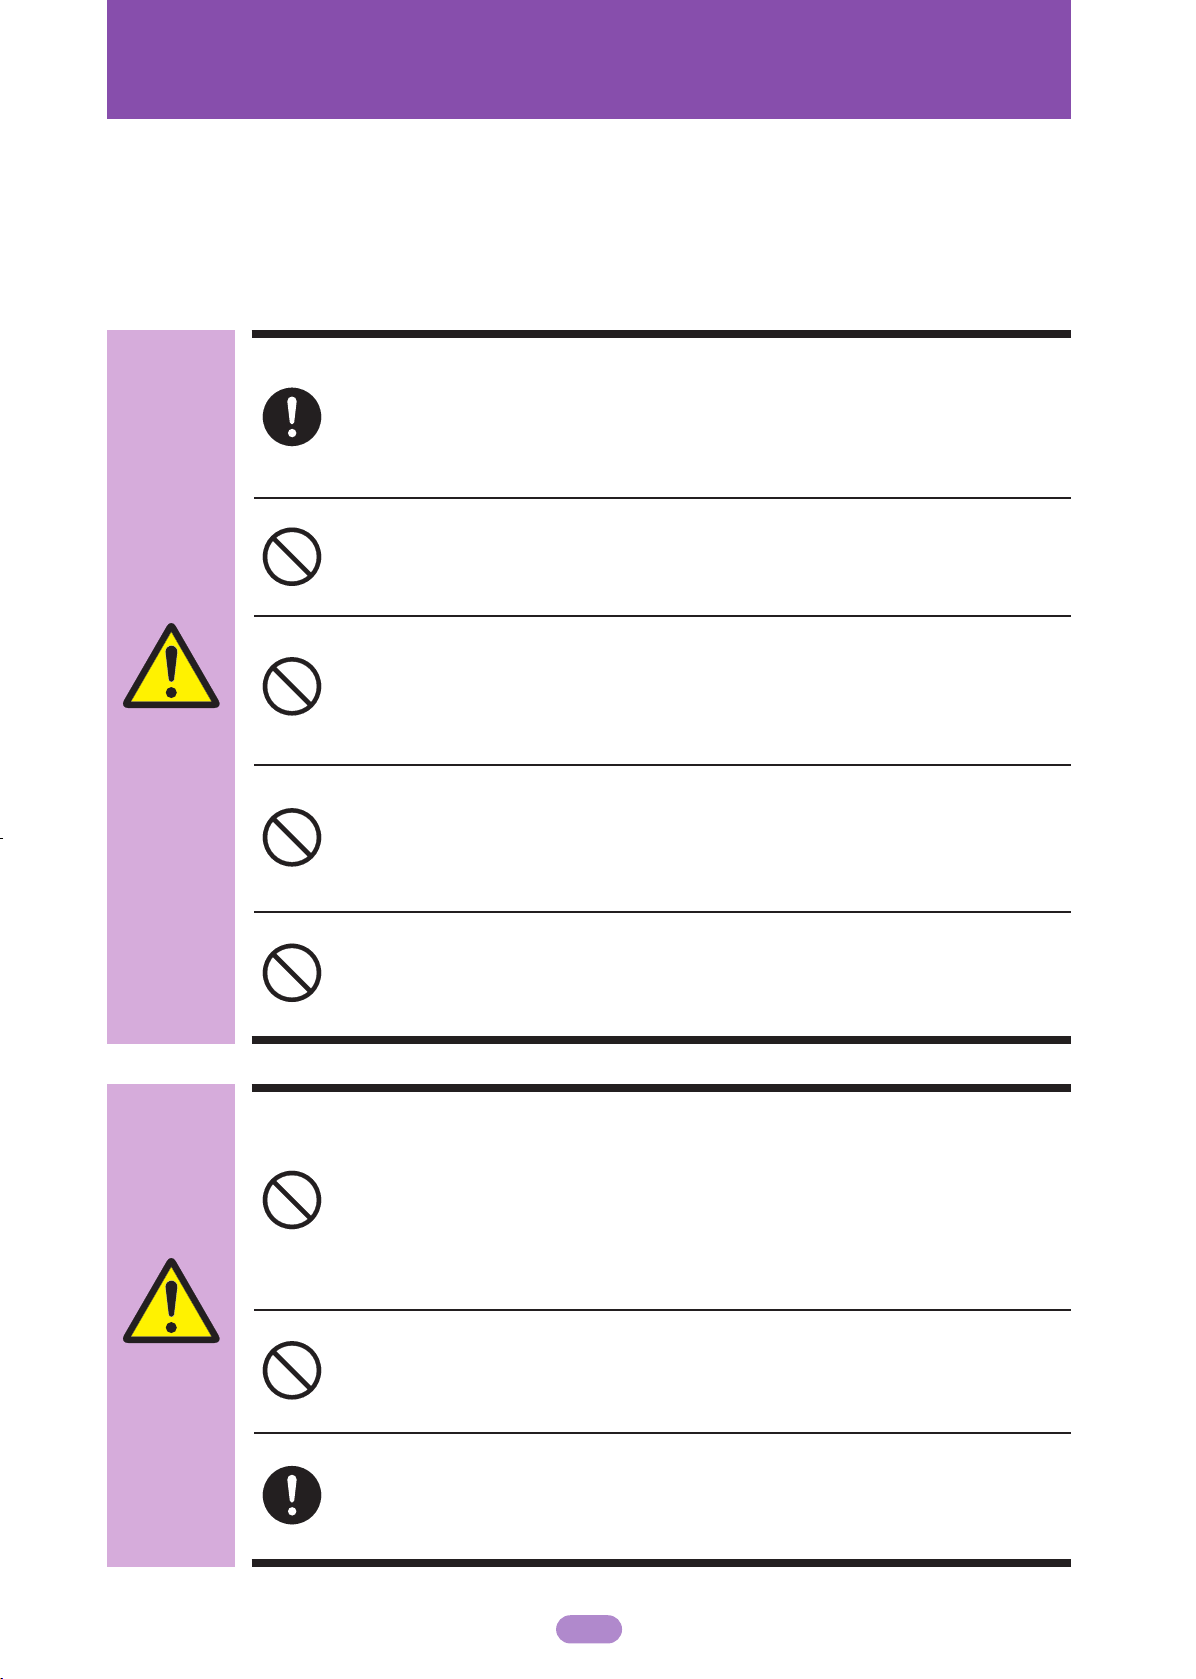
You are cautioned that any changes or modifications not expressly approved
in this manual could void your authority to operate this equipment.
To reduce the risk of fire or electrical shock, do not expose this apparatus to
rain or moisture.
WARNING
Do not operate
this equipment
when it is broken
Do not make
any changes or
modification
Keep away from
water/moisture
No liquid nearby
Do not open the
cabinet
When it is broken, do not turn the power on.
Unplug the AC power line and keep the switch turned off.
Turning the power on may cause fire or smoke.
Do not open the cabinet to avoid electrical shock.
You are cautioned that any changes or modifications not
expressly approved in this manual could void your
authority to operate this equipment.
To reduce the risk of fire or electrical shock, keep this
apparatus away from water / moisture.
To reduce the risk of fire or electrical shock, do not place
drinks/any liquid nearby for precaution.
Should any solid object or liquid fall into the cabinet,
unplug the player and have it checked by qualified
personnel before operating it any further.
CAUTION
Place this
apparatus firmly
Away from heat
and dust
Connections to
other devices
Avoid placing this apparatus on unstable table.
Do not tilt the apparatus.
Avoid placing this apparatus in dusty place / high temperature
When connecting this apparatus, please refer to the setup
manual of connecting devices
Page 6
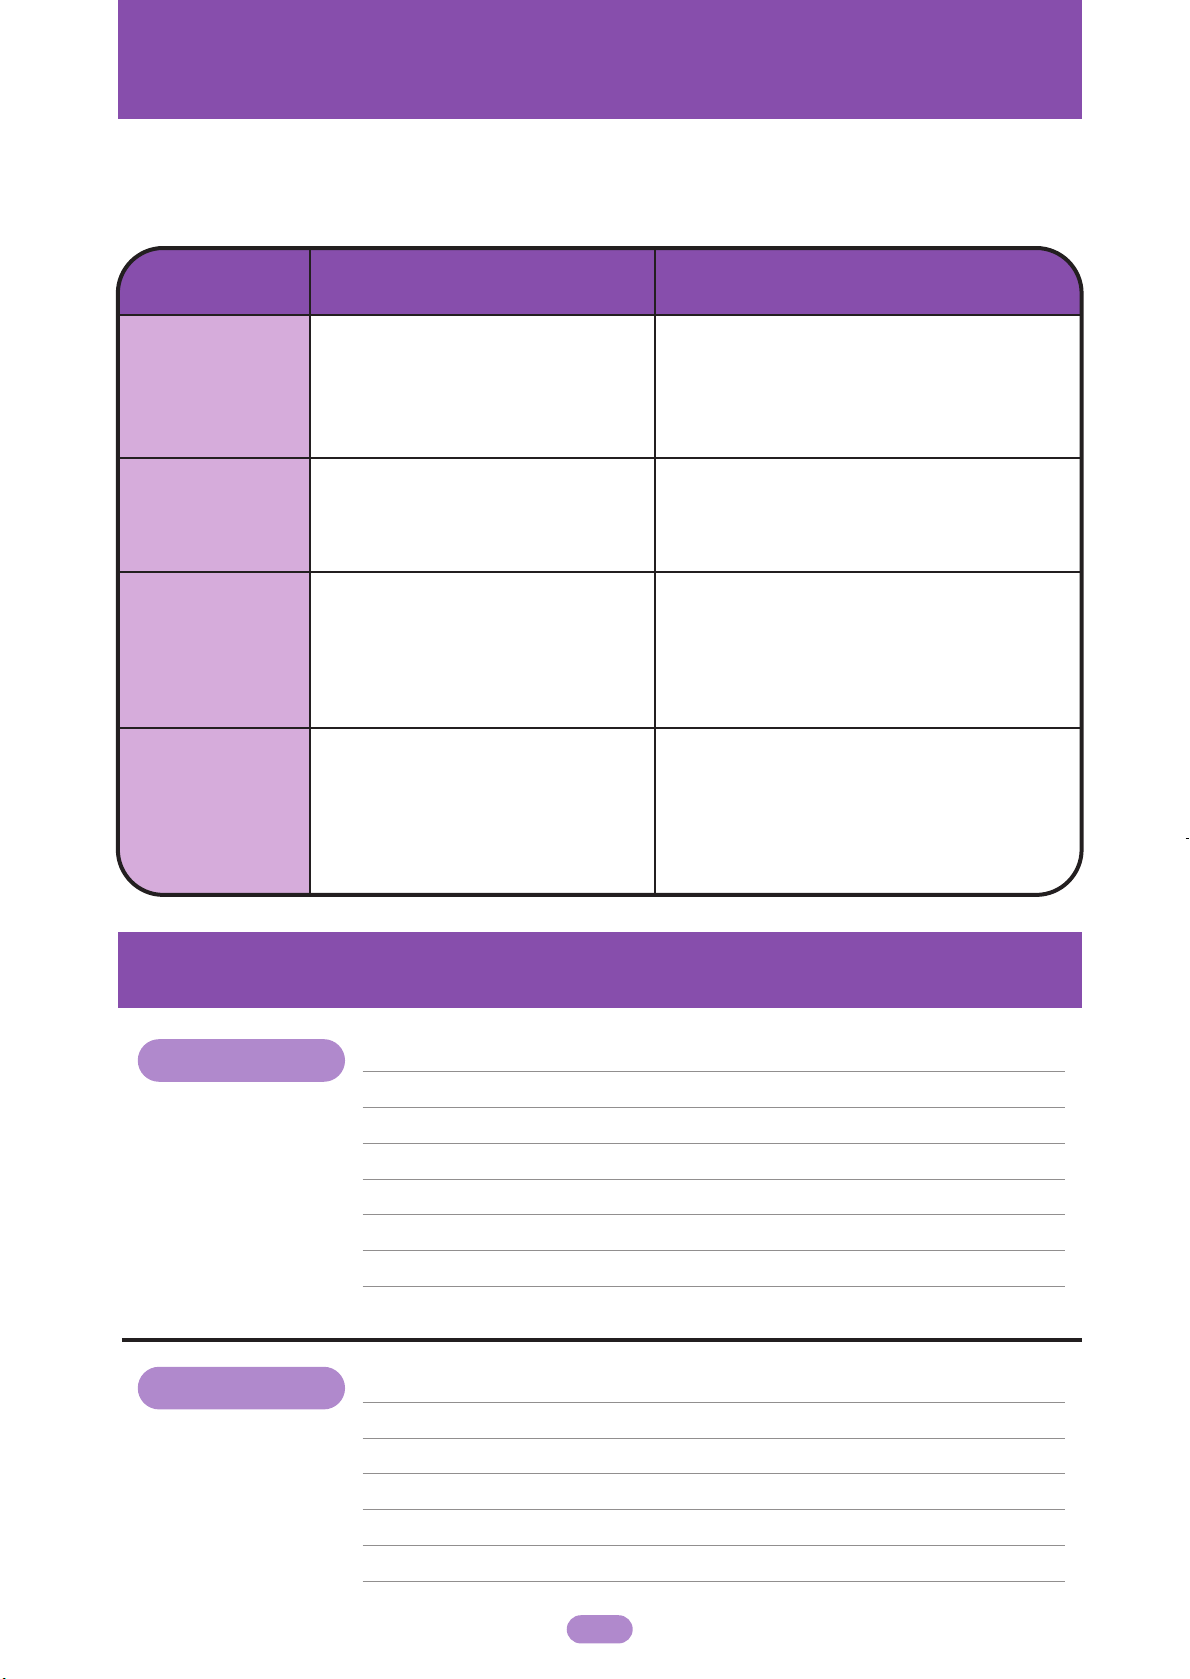
Trouble shooting
Should any problem persist after you have checked those symptoms, please
consult our authorized dealer nearest to you.
Symptom Cause Corrective action
Check the power cord connected securely.
No Power
No sound
Hamming
noise
No AC power
Loose connection
Loose Ground connection
Plugs are dirty
When plugs are dirty, clean the plugs with
a dry soft cloth periodically.
Connect signal plugs firmly. When plugs
are dirty ,Clean the plugs with a dry soft
cloth periodically.
Connect ground line firmly.
place it away from noise
source such as transformer /
motor
This EQ contains ample
No sound
when
switched on
capacitance for the best
sound quality. It takes few
minutes to warm up.
Specifications
DS Master3 CR
we recommend one minute of
warm up time
DS Master3
Signal output
Output Signal level 70mV (1kHz)(at Cartridge output)
Channel Separation
Needle Pressure 2.0g~2.2g(2.1g is Recommended)
Canti-lever Prismatic diamond
Stylus Micro-ridge Stylus
Weight 7.9 g
Body Material Super Duralumin
Phono-electric Conversion
27dB and more(1kHz)
DS Master3 EQ
Rated output voltage
Input terminal RCA Terminals
Output Terminal
Size
Impedance 120 Ω
Weight 23 kg
500mV (1kHz)(at Equalizer output)
RCA Terminals×3, XLR Terminals×3
452W×153H×484D (mm)
(2nd hot)
Page 7

Warranty
WARRANTY
Owner’ s Record
The model and serial numbers are located on the bottom. Record the serial
number in the space provided below. Refer to these numbers whenever you
call your Cartridge dealer regarding this product.
Model No. DS Master3
Serial No.
WARNING
To reduce fire or shock hazard, do not expose the unit to rain or moisture.
IMPORTANT SAFETY INSTRUCTIONS
-SAVE THESE INSTRUCTIONS
-TO REDUCE THE RISK OF FIRE OR ELECTRIC SHOCK, CAREFULLY FOLLOW THESE
INSTRUCTIONS
LIMITED WARRANTY
DS Audio warrants this product against defects in material or workmanship for the time periods as
stated below. Pursuant to this Limited Warranty, DS Audio will, at its option, (1) repair the product
using new or refurbished parts or (2) replace the product with a new or refurbished product.
For the purposes of this warranty, "refurbished" means a product or part has been returned to its
original specifications. In the event of a defect, these are your exclusive remedies.
For a period of one (1) year from the original date of purchase of the product, DS Audio, at its
option, repair or replace with new or refurbished product, product determined to be defective.
This limited warranty covers only the hardware components packaged with the product. It deos
not cover technical assistance for hardware.
Instructions: To obtain warranty service, you must deliver the product, freight prepaid, in either its
original packaging or packaging affording an equal degree of protection to the DS Audio authorized
service facility specified.
Any parts or product replaced under this limited warranty will become the property of DS Audio.
This limited warranty only covers product issues caused by defects in material or workmanship
during ordinary consumer use. It does not cover product issues caused by any other reasons,
including but not limited to product issues due to commercial use, acts of God misuse, limitation
of technology, or modification of any art of product.
This limited warranty is invalid if the factory-applied serial number has been altered or removed
from the product.
This limited warranty is valid with the official receipt of our authorized dealer which indicating the
date of your purchase.
 Loading...