

Page 1
How to clean the Dräger Babyleo TN500
Cleaning in 5 steps
Please complete all cleaning practices according to your hospital‘s guidelines.
This document is for informational purposes only. Refer to the instructions for use
!
Prerequisites: There is no patient in the device.
of the device for full disassembly, cleaning and disinfecting instructions.
Starting the automatic humidifier cleaning:
1
• Open the hood.
• On the Main menu touch the
Special procedures
• Open the
• Touch the
rotary knob.
• Wait until the humidifier cleaning is complete.
This can take up to 60 minutes. Do not
disassemble the device during cleaning.
• Switch off the device and let it cool
before continuing.
Surface disinfection cleaning for:
3 4
• Each part removed during disassembly.
• Hood and access panels from inside and outside.
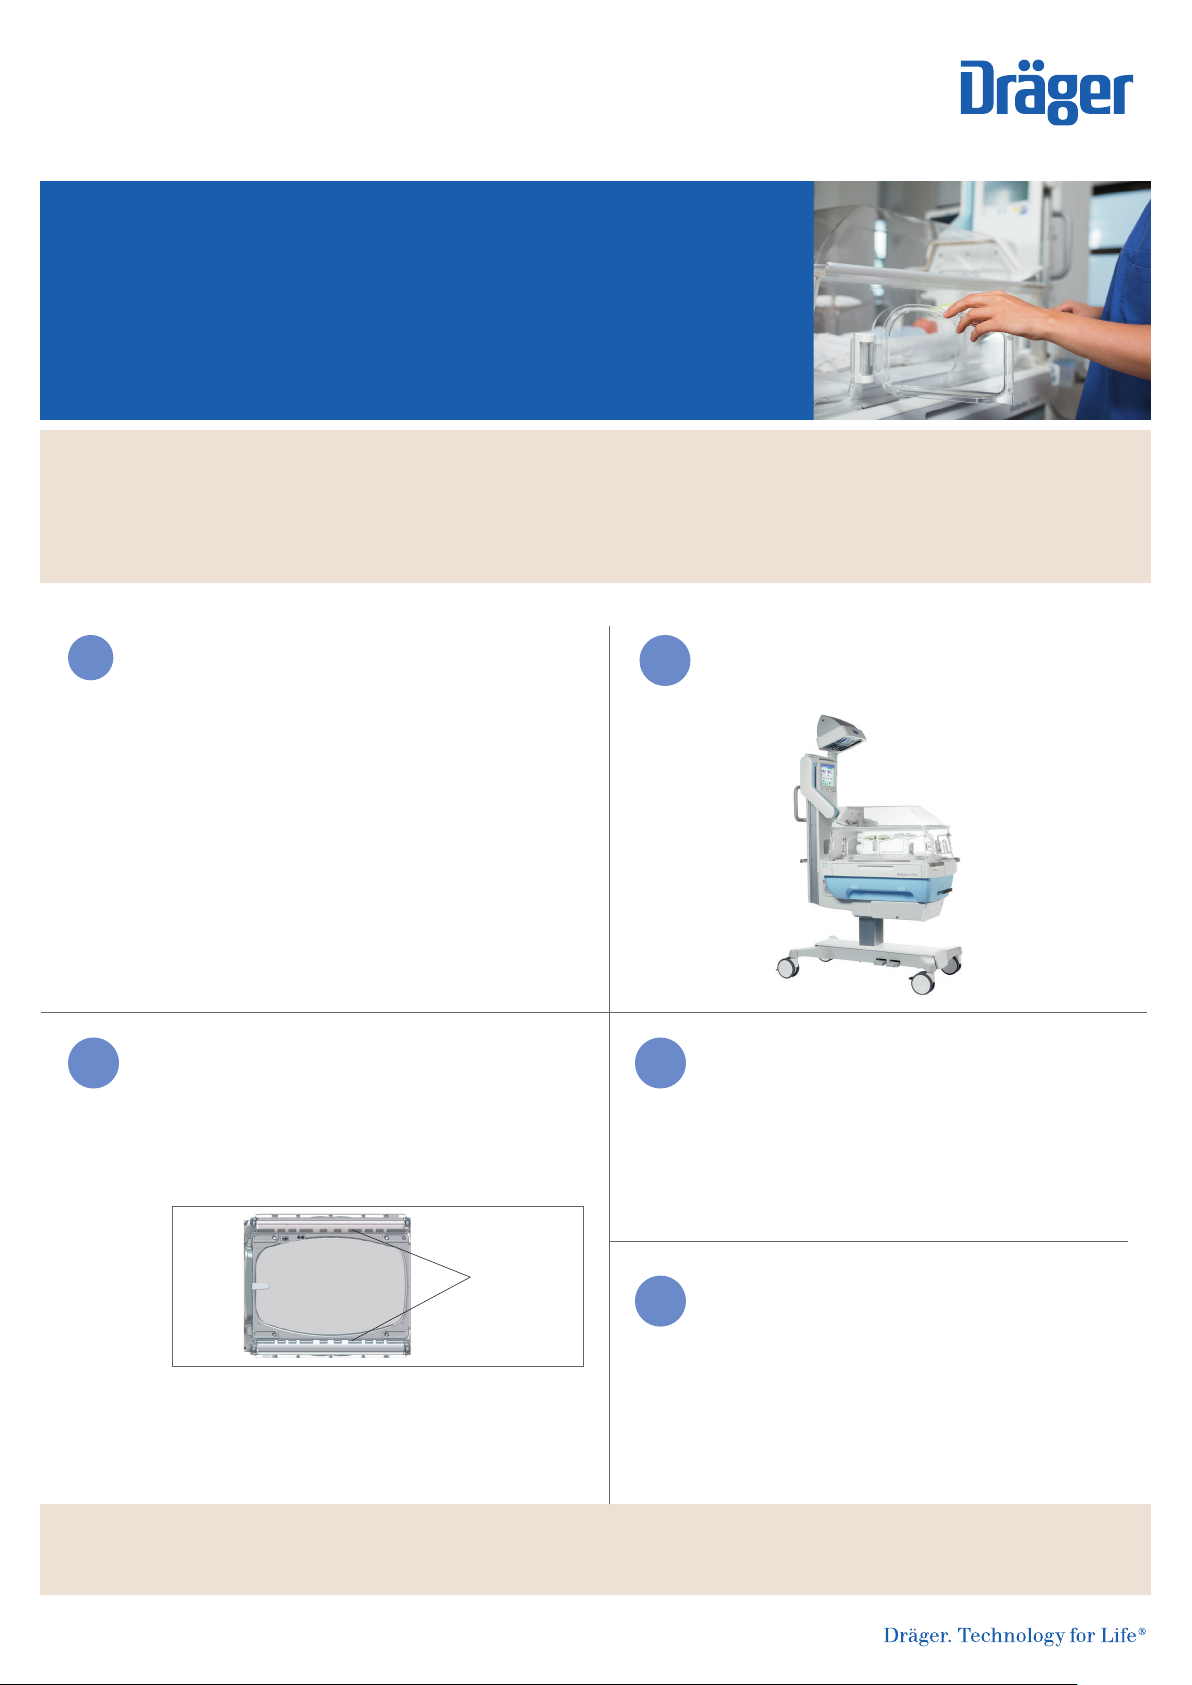
• X-ray flap air ducts (1): clean by pulling a piece
of cloth soaked in disinfectant through each duct.
Humidifier cleaning
On
...
tab.
button and confirm with
2
Please turn the page for
assembling and dissambling.
Machine cleaning and thermal
disinfection for:
• grommets
• fan impeller
!
1)
5
• Display, main column, trolley, handles
and all outer parts.
• Drawer from outside and inside
including insert piece.
Only use disinfectants as listed in the instructions for use.
Make sure no liquid penetrates into the device.
Ensure all surfaces are dry before
using for therapy.
91 03 697 | 17.02-1 | Marketing Communications | HQ | © 2016 Drägerwerk AG & Co. KGaA
Page 2

2
Disassembly ►
Open the hood and
1
remove frame seals from
both sides.
Fasten the seals on the
12 11 10 9
edges of the hood and
ensure the seals are
correctly positioned.
Disconnect heated mattress*
5
and scale* cables
and remove mattress. Or
simply remove SoftBed.
Open front and side
2 3 4
access panels.
Close front and side
access panels.
Remove the mattress tray.
6 7 8
Step 1, 3, 4 and 5, please turn the page
Remove hose grommets
on the sensor wall and on
the front access panel
(6 pieces total).
Insert hose grommets on
the sensor wall and front
access panel (6 pieces
total).
Raise the x-ray tray and
pull it out.
Remove the 2 mini-walls
at both ends of the
mattress tray.
Insert the 2 mini-walls
at both ends of the
mattress tray.
Remove the bed support.
Place mattress on the
8 7 6 5
mattress tray. Pull heated
mattress* and scale* cables
through grommets and
plug into sensor wall.
Remove the T-bars.
9
Attach the T-bars.
4 3 2 1
* Option
Fit the mattress tray in
place.
Remove the small cover
10
for the warm air duct.
Insert the small cover for
the warm air duct.
Slide in the x-ray tray and
close x-ray tray aps.
Remove the large cover for
11 12
the warm air duct.
Insert the large cover for
the warm air duct.
Fit the bed support and
push it over the T-bars.
Raise and remove the
fan impeller.
Insert the fan impeller.
Ensure that it is tightly
pressed down and clicks
into position.
◄ Assembly
 Loading...