

Drummond Nanoject III Instruction Manual
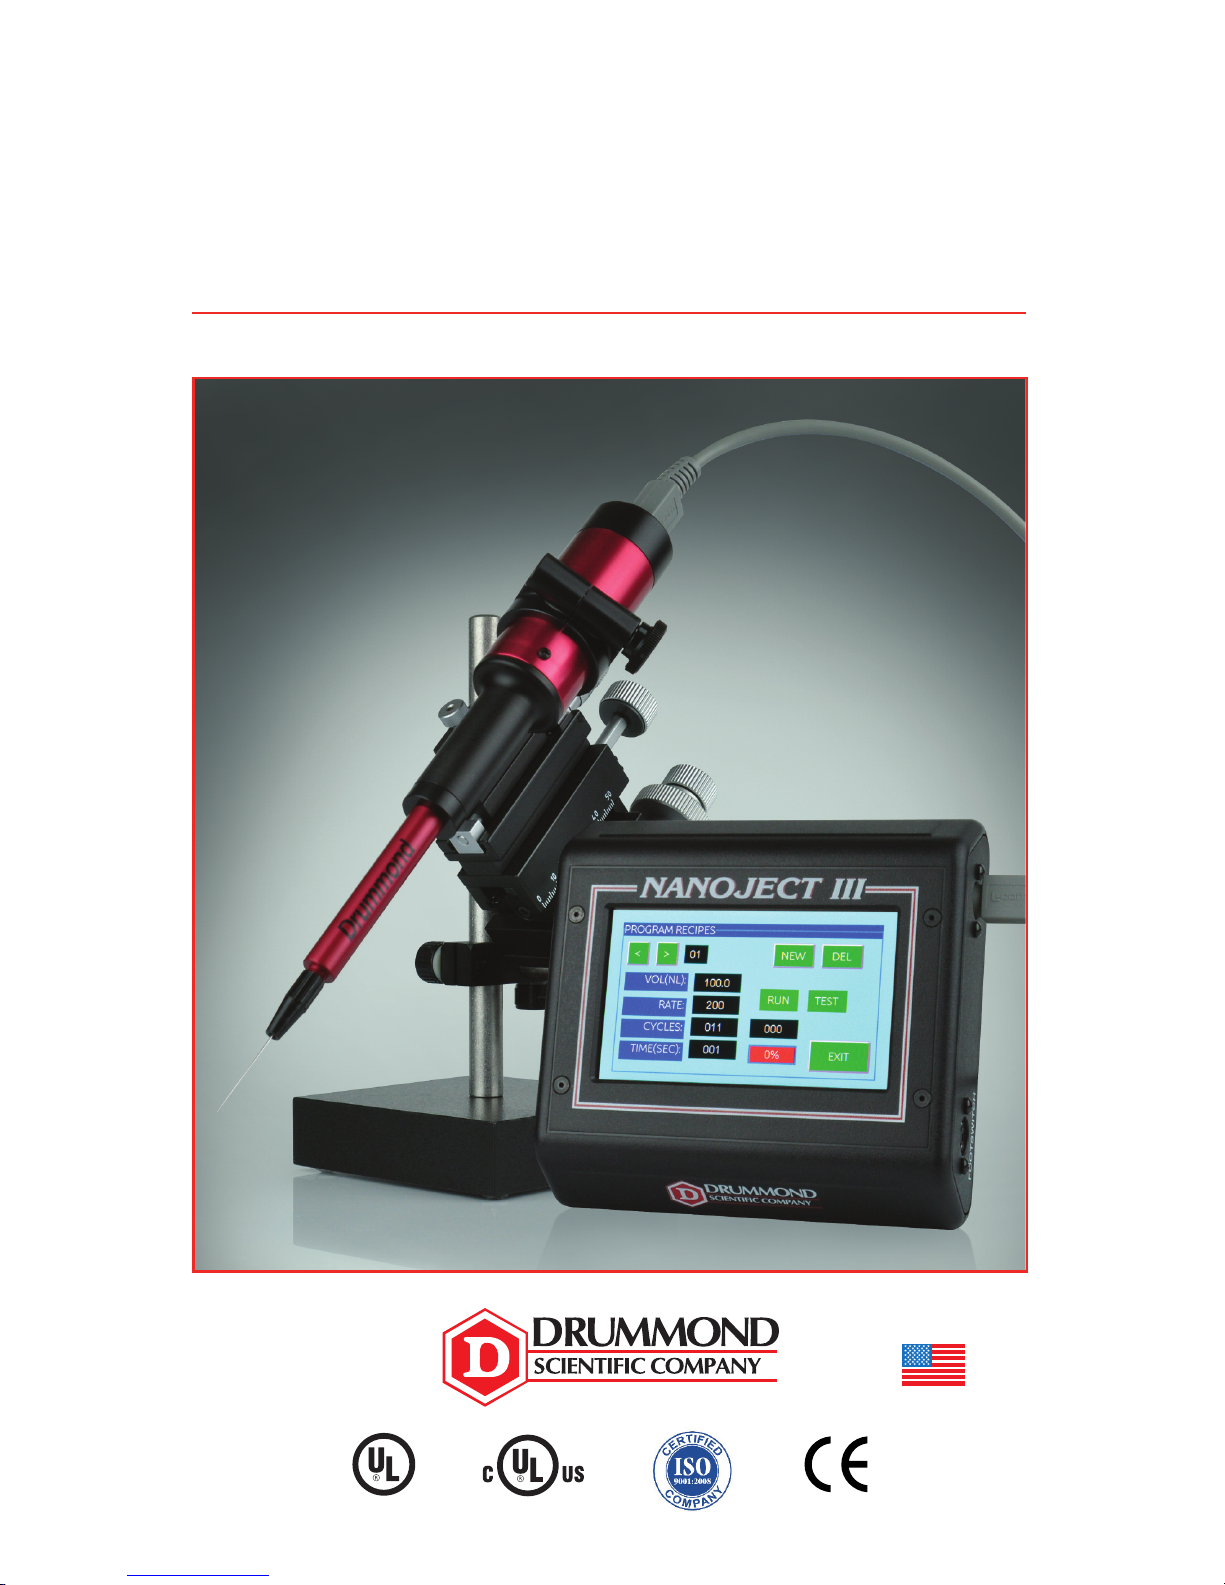
Nanoject III
Programmable Nanoliter Injector
MADE IN USA
INSTRUCTION MANUAL • 3-000-207
LABORATORY EQUIPMENT
E21997

2
• For indoor use only.
• Never operate unit in an explosive atmosphere.
• Do not operate unit with a damaged cord.
• Use power source only in a standard electrical outlet.
• Do not handle power source with wet hands.
• Do not put unit or power source in water or other liquid.
• When servicing, use only identical Drummond replacement parts.
• Save these instructions.
If the equipment is used in a manner not specified by the manufacturer,
the protection provided by the equipment may be impaired. Always use
the power source that is supplied with the unit.
Specifications for Usage
This unit is intended to be used to inject nanoliter quantities of sample.
This equipment is for indoor use only.
Temperature Range 10°C–35°C, Maximum Humidity 60%
FAILURE TO USE THE EQUIPMENT IN ACCORDANCE WITH INSTRUCTIONS
OR MODIFYING THE EQUIPMENT WILL VOID WARRANTIES.
CAUTION: CAREFULLY READ THROUGH THIS ENTIRE MANUAL BEFORE USING
YOUR NEW NANOJECT III. PAY CLOSE ATTENTION TO THE RULES
FOR SAFE OPERATION WARNINGS AND CAUTIONS.
Rules for Safe Operation
Connections to Power Source:
Check the power source to see that the line voltage corresponds to the voltage
indicated on the mains adapter.
If the mains adapter source and the line voltage are not compatible, the electrical
components of the Nanoject III may be damaged or destroyed.
Before each use, confirm that the mains adapter cable is not damaged, worn or
severely buckled and there are no breaks in the insulating surface. If any damage is
noted, do not use the Nanoject III until the damaged mains is replaced.
Connecting to power outlet: The control box has a power source transformer
attached to the box. Plug this into your outlet using the correct adapter supplied.
There is an “on/off” switch on the side of the control box which turns on the control
box once the injector head is attached. To turn off, use the switch to turn off. If you
want to disconnect the power from the unit, merely unplug the transformer from the
wall outlet.
Power/Current Rating: AC 100~V, 50-60 Hz, 38VA DC9V 2A
Input: 100-240~V, 50-60 Hz, 0.6A
Output: 9V 2A

3
Quick Start Guide
1) Carefully insert either end of the cable into the plug on the top of the injector head.
Plug the opposite end of the cable into the “HEAD” port on the right side of the
control box.
2) If using the footswitch, insert the footswitch cable into the “FOOTSWITCH” port on
the right hand side of the control box.
3) Plug in the control box into a standard electrical outlet using the appropriate
adapter head on the power supply.
4) Turn on unit with the on/off switch located on the left hand side of the control box.
5) Initially the Drummond logo will be displayed on the screen and then the operational
mode screen will appear with the following icons:
Select the manual mode by pressing the
[MANUAL] icon.
Note: During this brief startup phase,
the injector head will automatically drive
the plunger to its fully retracted position
(“home”) and the control box will emit an
audible beep upon completion.
6) Install a micropipet onto the injector
plunger by first loosening the black collet slightly. Backfill your micropipet with a
suitable lightweight mineral oil (or any other non-compressible liquid), and slide it
onto the wire plunger until it seats firmly, then tighten the collet. It works best if the
wire plunger is extended slightly so you can see what you are doing.
NOTE: THE MICROPIPET MUST BE FILLED COMPLETELY WITH SOME TYPE OF
BACKFILLING SOLUTION. THE UNIT WILL NOT INJECT ACCURATELY WITH AIR
INSIDE THE MICROPIPET–THIS INCLUDES AIR BUBBLES ALSO.
Once the micropipet is backfilled with oil and secured, press the [EMPTY] icon
down until the plunger is fully extended (approximately 23 mm beyond the end of
the black collet). A single beep will be heard when the plunger is fully extended.
(This will force the backfilling solution to the tip of the micropipet and any excess
will be expelled).
7) Front-fill the micropipet with your sample by placing the micropipet tip into your
sample and pressing the [FILL] icon. You may want to fill at a slow speed or fill by
alternately pressing the [FILL] icon for a few seconds and then the [STOP] icon to
allow the sample to equilibrate before pressing the [FILL] again. This is dependent
on the tip size and the viscosity of your sample.
Note: The plunger will continue to extend or retract until you press the [STOP]
icon, or a fully extended or fully retracted position is reached.
8) To inject the sample, return to the operational mode screen by pressing the [EXIT]
icon, then select inject mode by pressing the [INJECT] icon. Set the desired
injection volume (NL) and rate using the respective [+] and [-] icons. Press the
[INJECT] icon to inject your sample.
Note: Multiple injections can be performed by simply pressing the [INJECT] icon
again and again.
 Loading...