

DREAMS Knightsbridge Assembly Instructions Manual
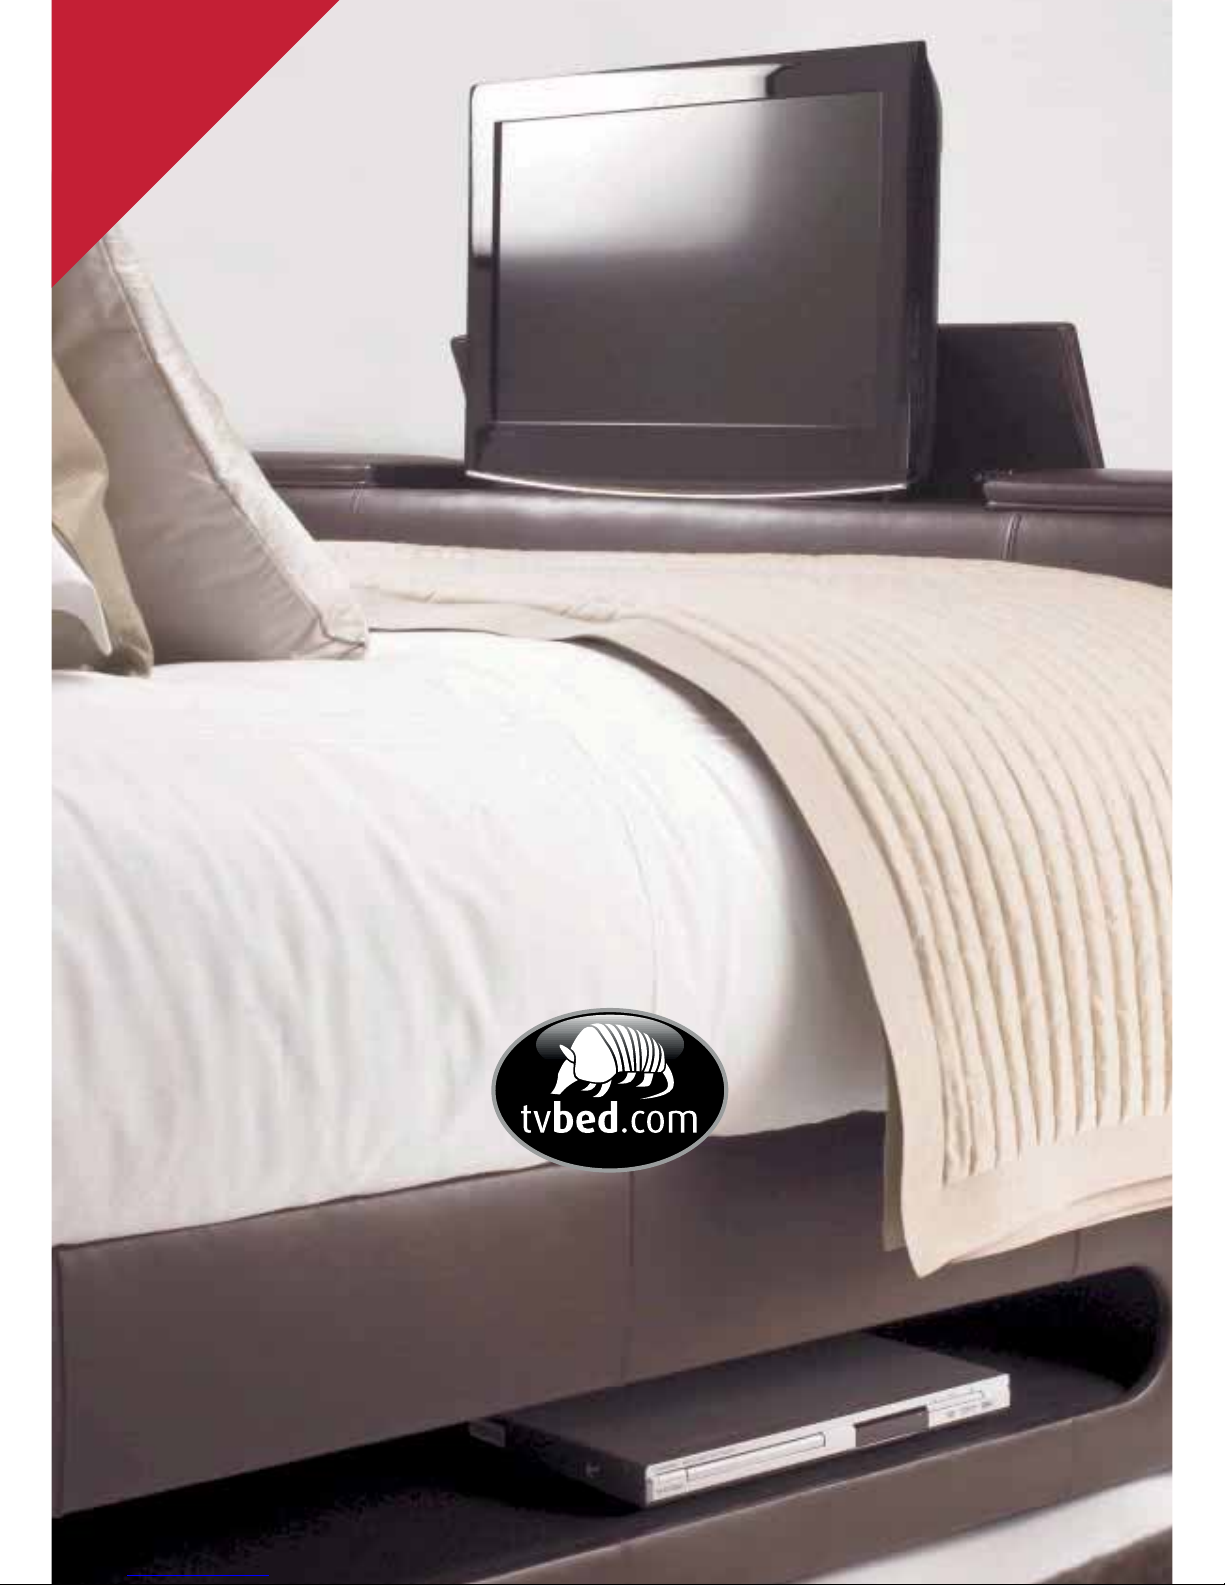
TV bed
ASSEMBLY INSTRUCTIONS
TO BE
RETAINED
BY END USER
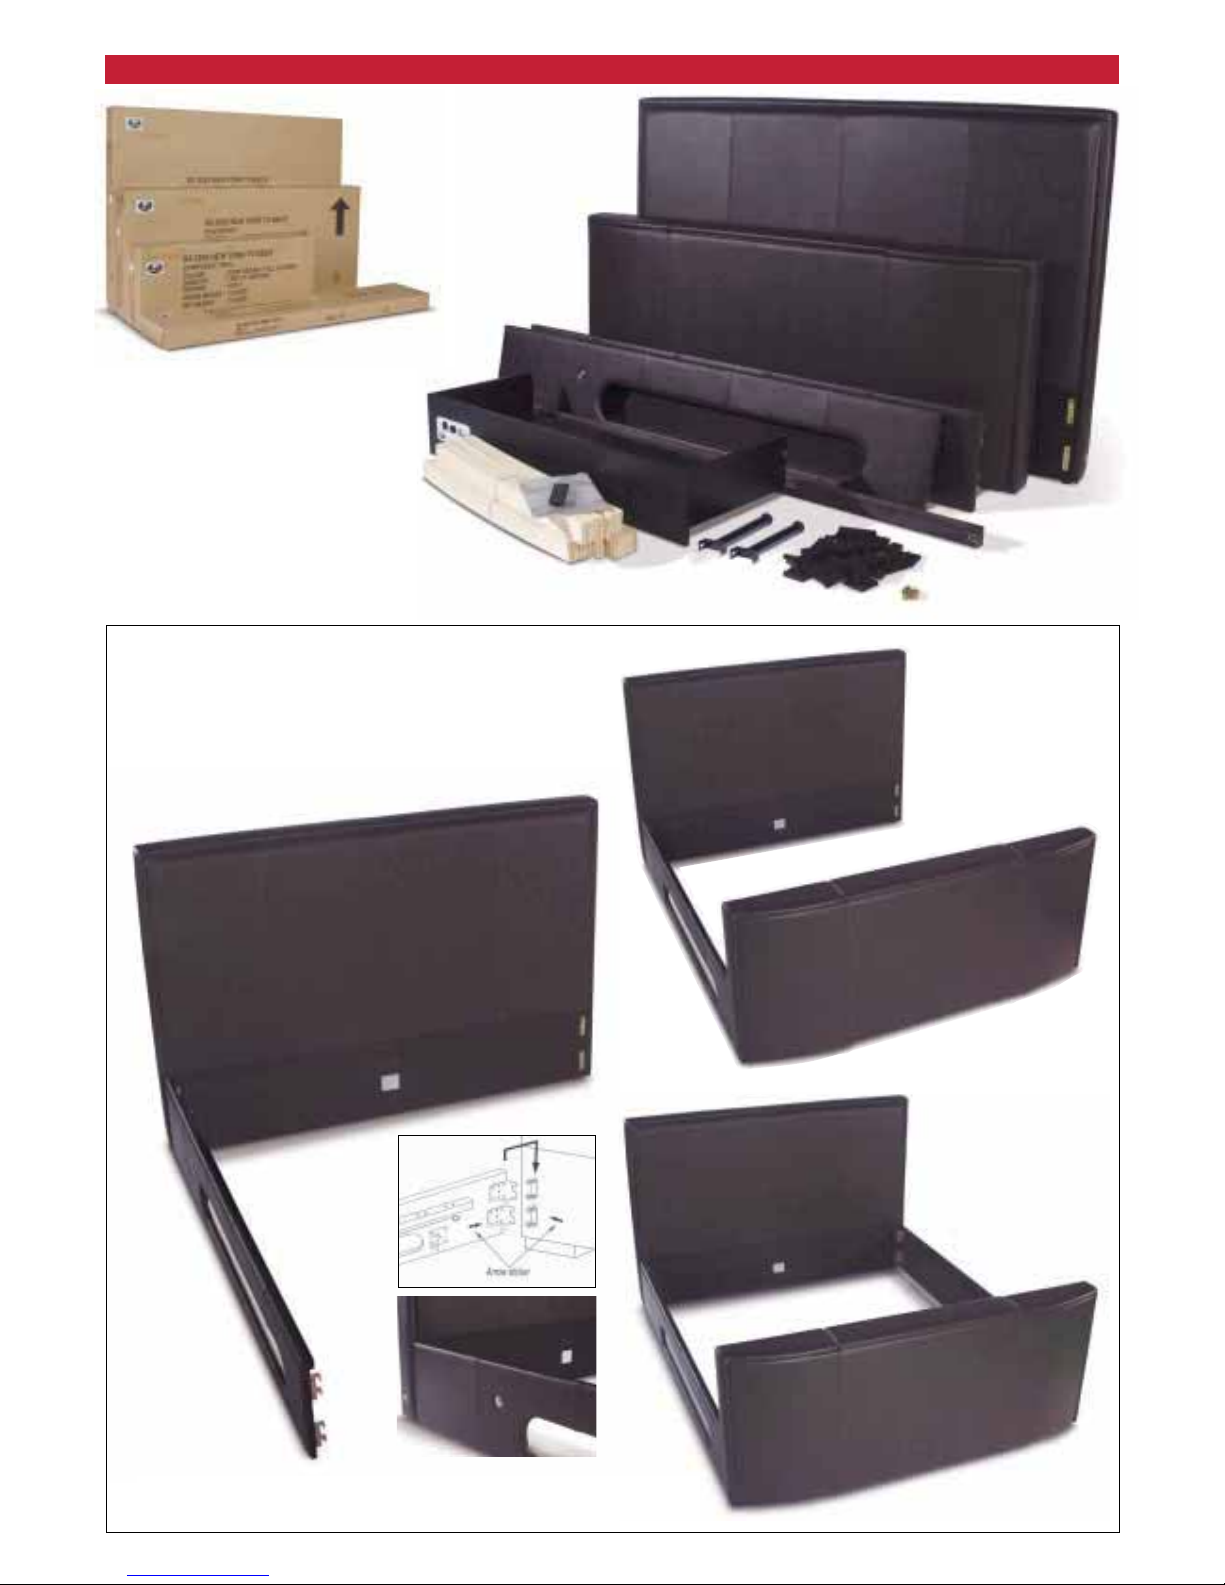
Stage 1 Assembling the frame
Partially screw the four screws into the fixing holes at either end of the
headboard and footboard.
Join the headboard to the side rail with the equipment tray slot ensuring
that the actuating button is at the headboard end of the side rail. (see pic 1)
HEADBOARD
FOOTBOARD
SIDE RAILS
CENTRE RAIL
PLASTIC ENDCAPS
ASSEMBLY SCREWS (20)
WOODEN SLATS
REMOTE CONTROL
AND INSTRUCTIONS
CENTRE
SUPPORT LEGS
EQUIPMENT
TRAY
There are four outer packs containing the
following:
Pack1: Headboard including wooden slats
Pack 2: Footboard including TV, lift and
cabling.
Pack 3: Side rails, centre support rail and
centre supporting legs
Pack 4: Equipment tray, power cables for lift
and TV, control unit, TV instructions and remote
control, plastic end caps and assembly screws.
1
2
3
PLEASE NOTE: Your frame may look slightly different depending on the model purchased. Assembly however, is identical.
Finally, fit the other side
rail and loosely tighten all
screws (see pic 3).
Please note: It is
important to lift the TV
flap and remove all
packaging from the lift
mechanism before
operation.
Join the footboard to the
assembled unit in the
same way (see pic 2).
PLEASE NOTE: Your frame may look slightly different depending on the model purchased.
Assembly however, is identical.
 Loading...