

Dreams Disney Cars Toddler Bed User Manual
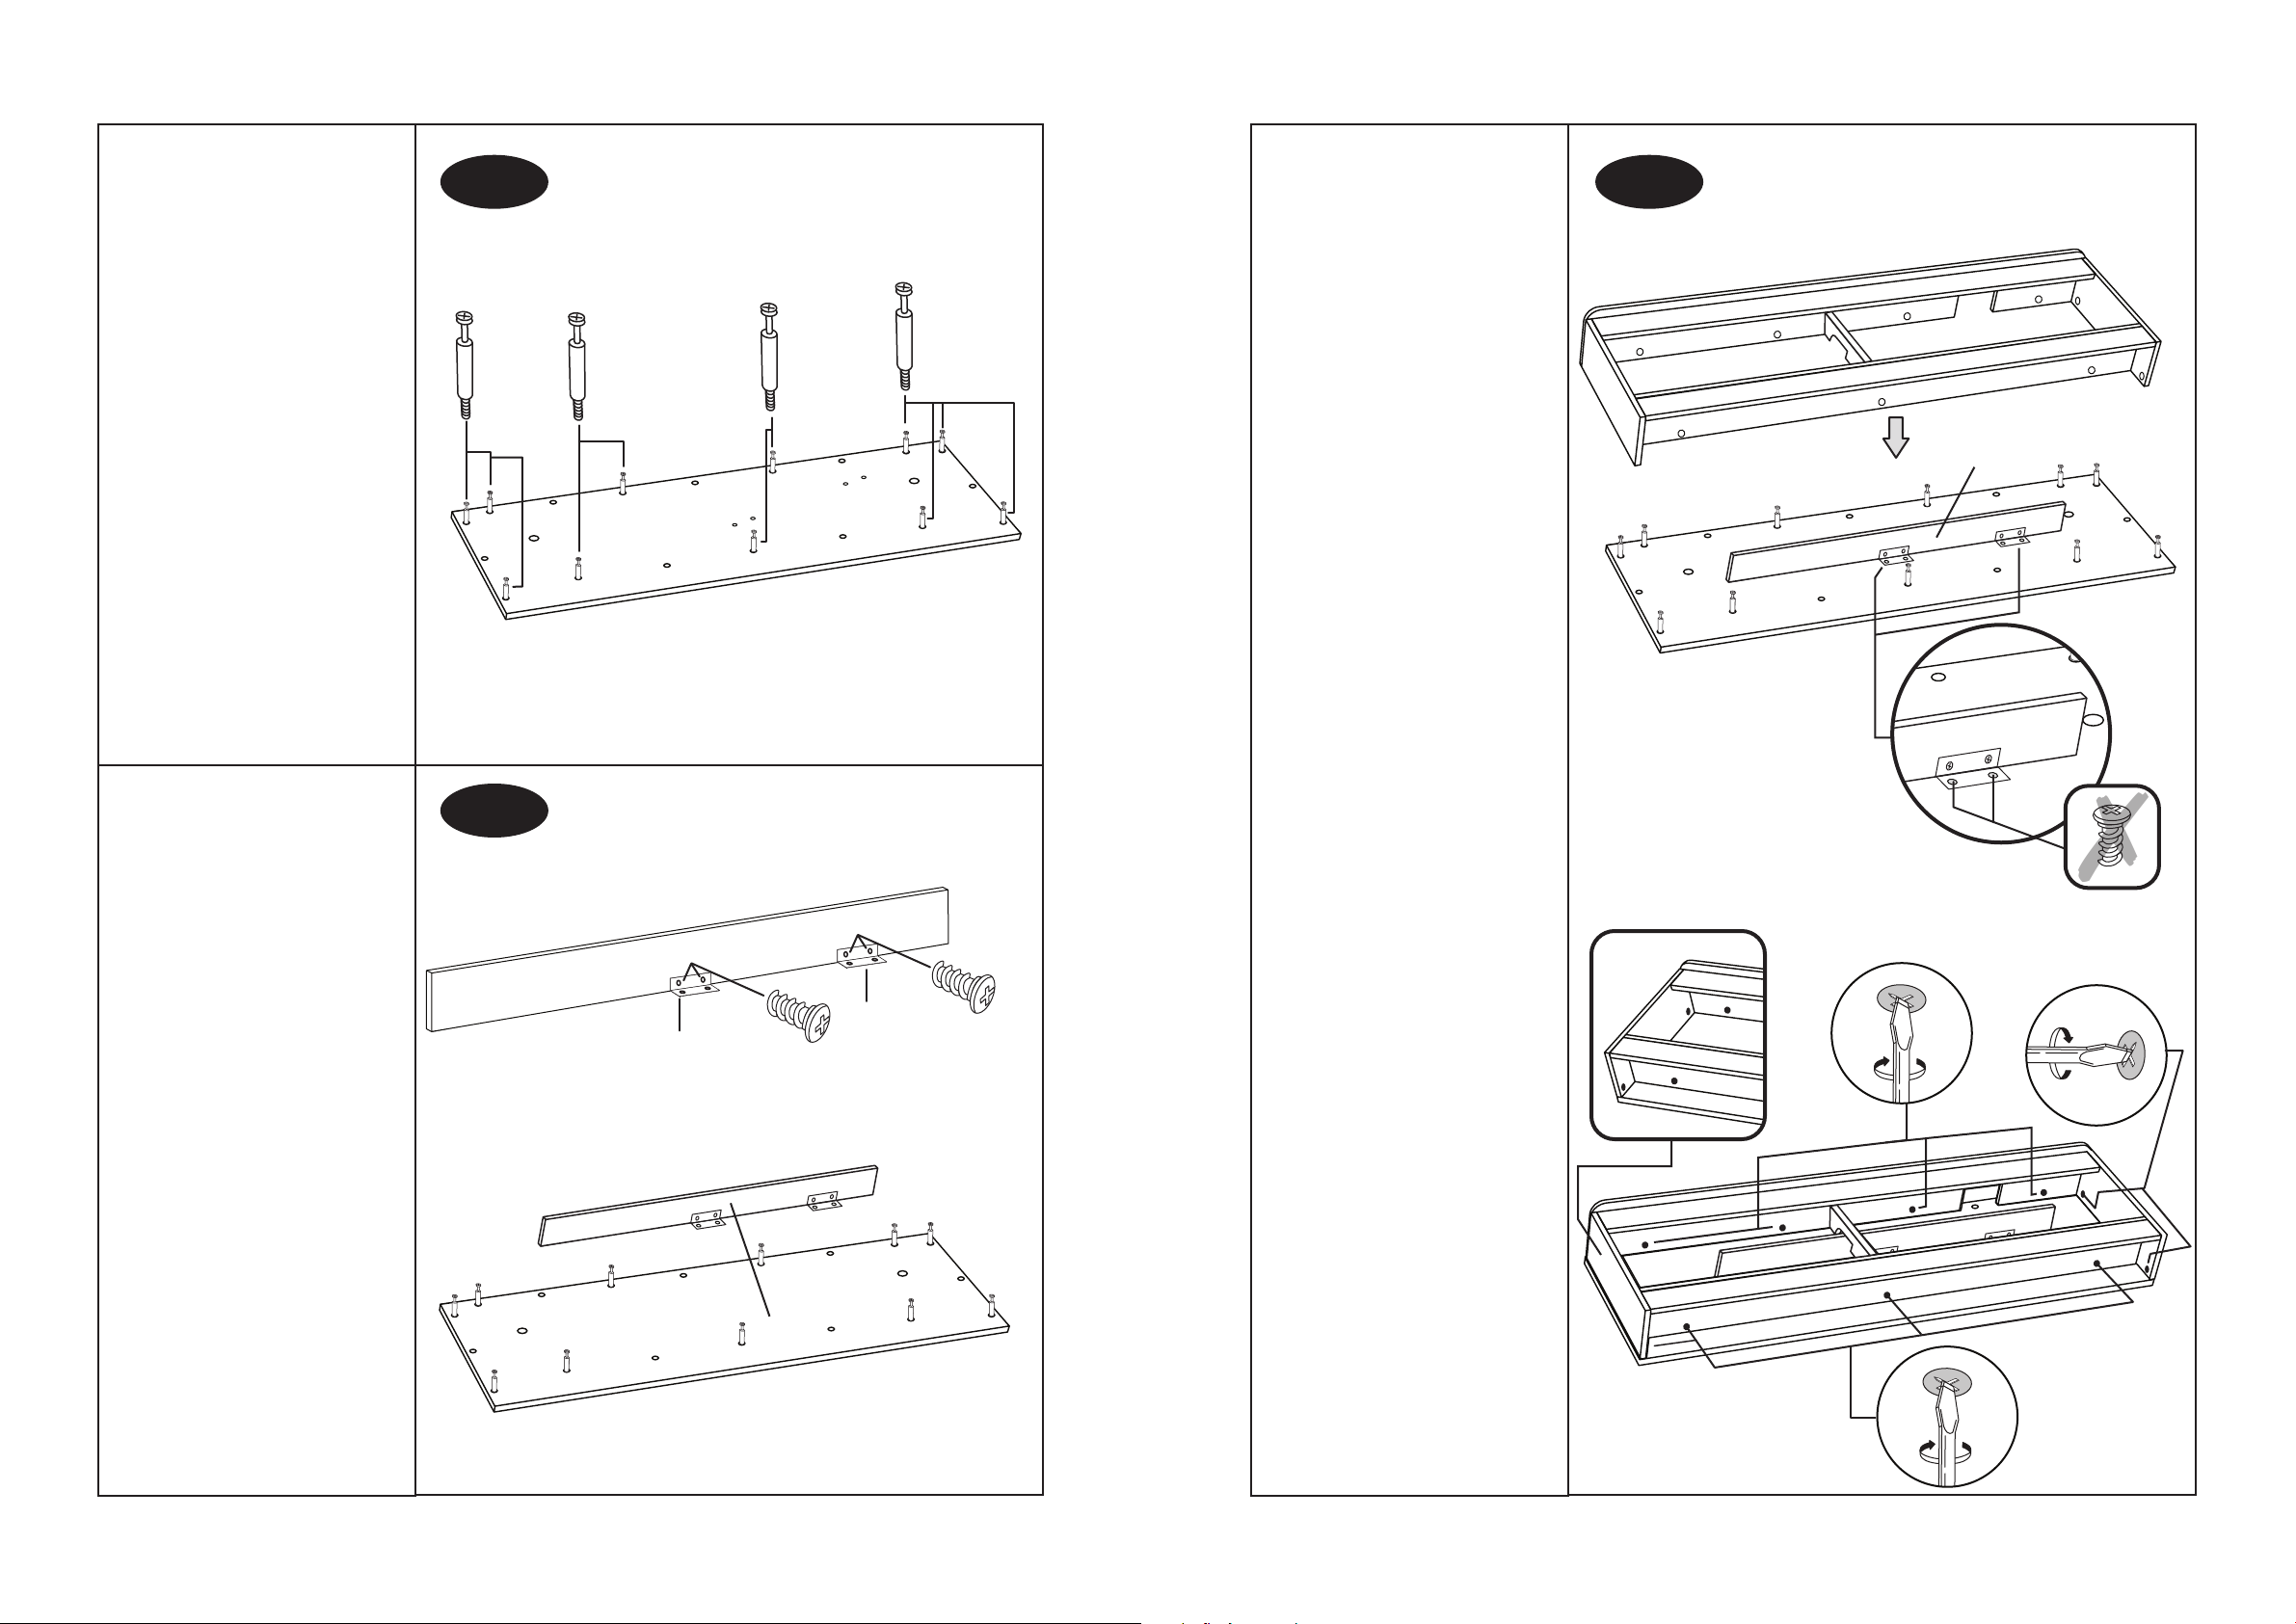
Tilt panel “J” and secure into
place using screws “E21 x 4”
as shown.
STEP 14
E21 x 2
E21 x 2
Attach panel “O” onto panel
“ H ”.
STEP 10
O.
Insert camlocks “D6 x 14” into
panel “B x 2” by hand.
Insert dowel “E1 x 4’ into panel
”B x 2” by hand.
STEP 15
E1
✓
Bx2
D6
✗
D6
Attach panel “G” onto the part
assembled footboard section
and lock into place as shown.
E1
G.
12 of 20
9 of 20
✗
Screw cambolts “D1 x 11” into
panel “E”.
STEP 11
D1
E.
D1
D1
D1
Place the assembled footboard
section onto panel “E” and lock
into place as shown.
Ensure that panel “J” remains
between the footboard section
and panel”E”.
STEP 13
J.
E.
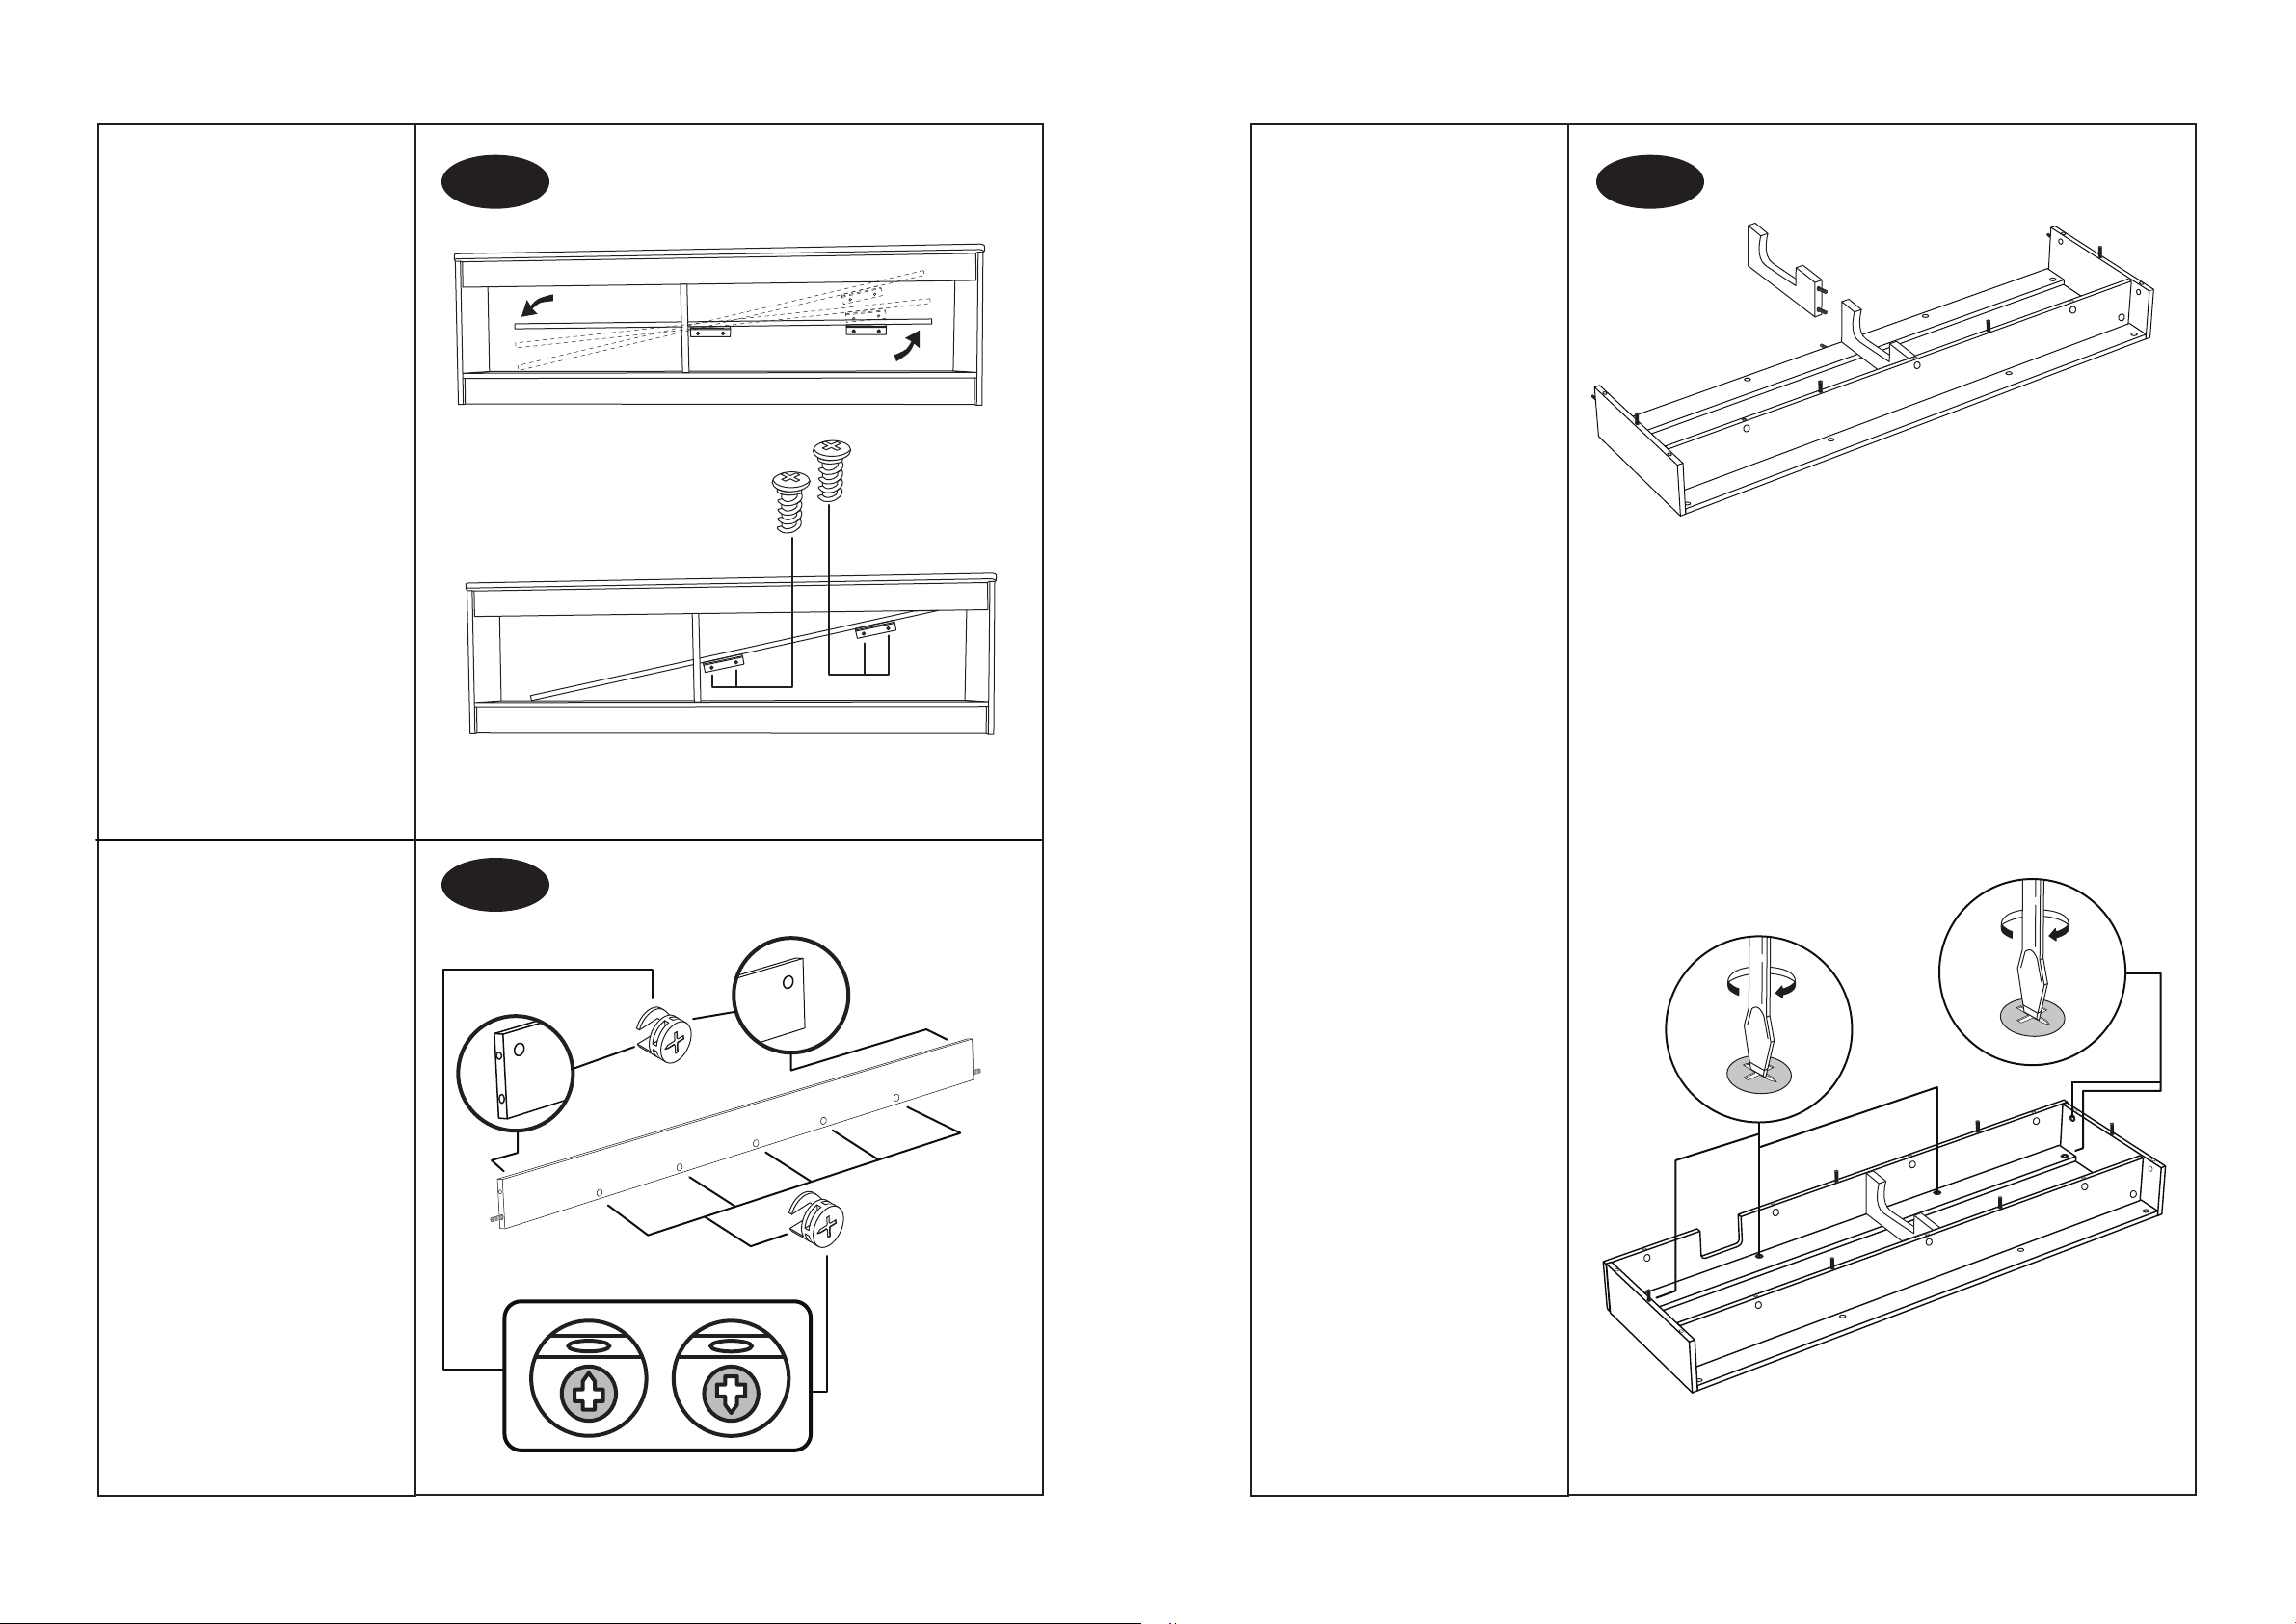
Attach brackets “E24 x 2” onto
panel “J” using screws “E21 x 4”.
Place panel “J” onto panel “E”
at this stage. Do not screw into
place.
STEP 12
J.
E24 x 1
J.
E24 x 1
E21 x 2
E21 x 2
10 of 20
E.
11 of 20
Lock panel “B x 2” into place
as shown.
STEP 18
B.
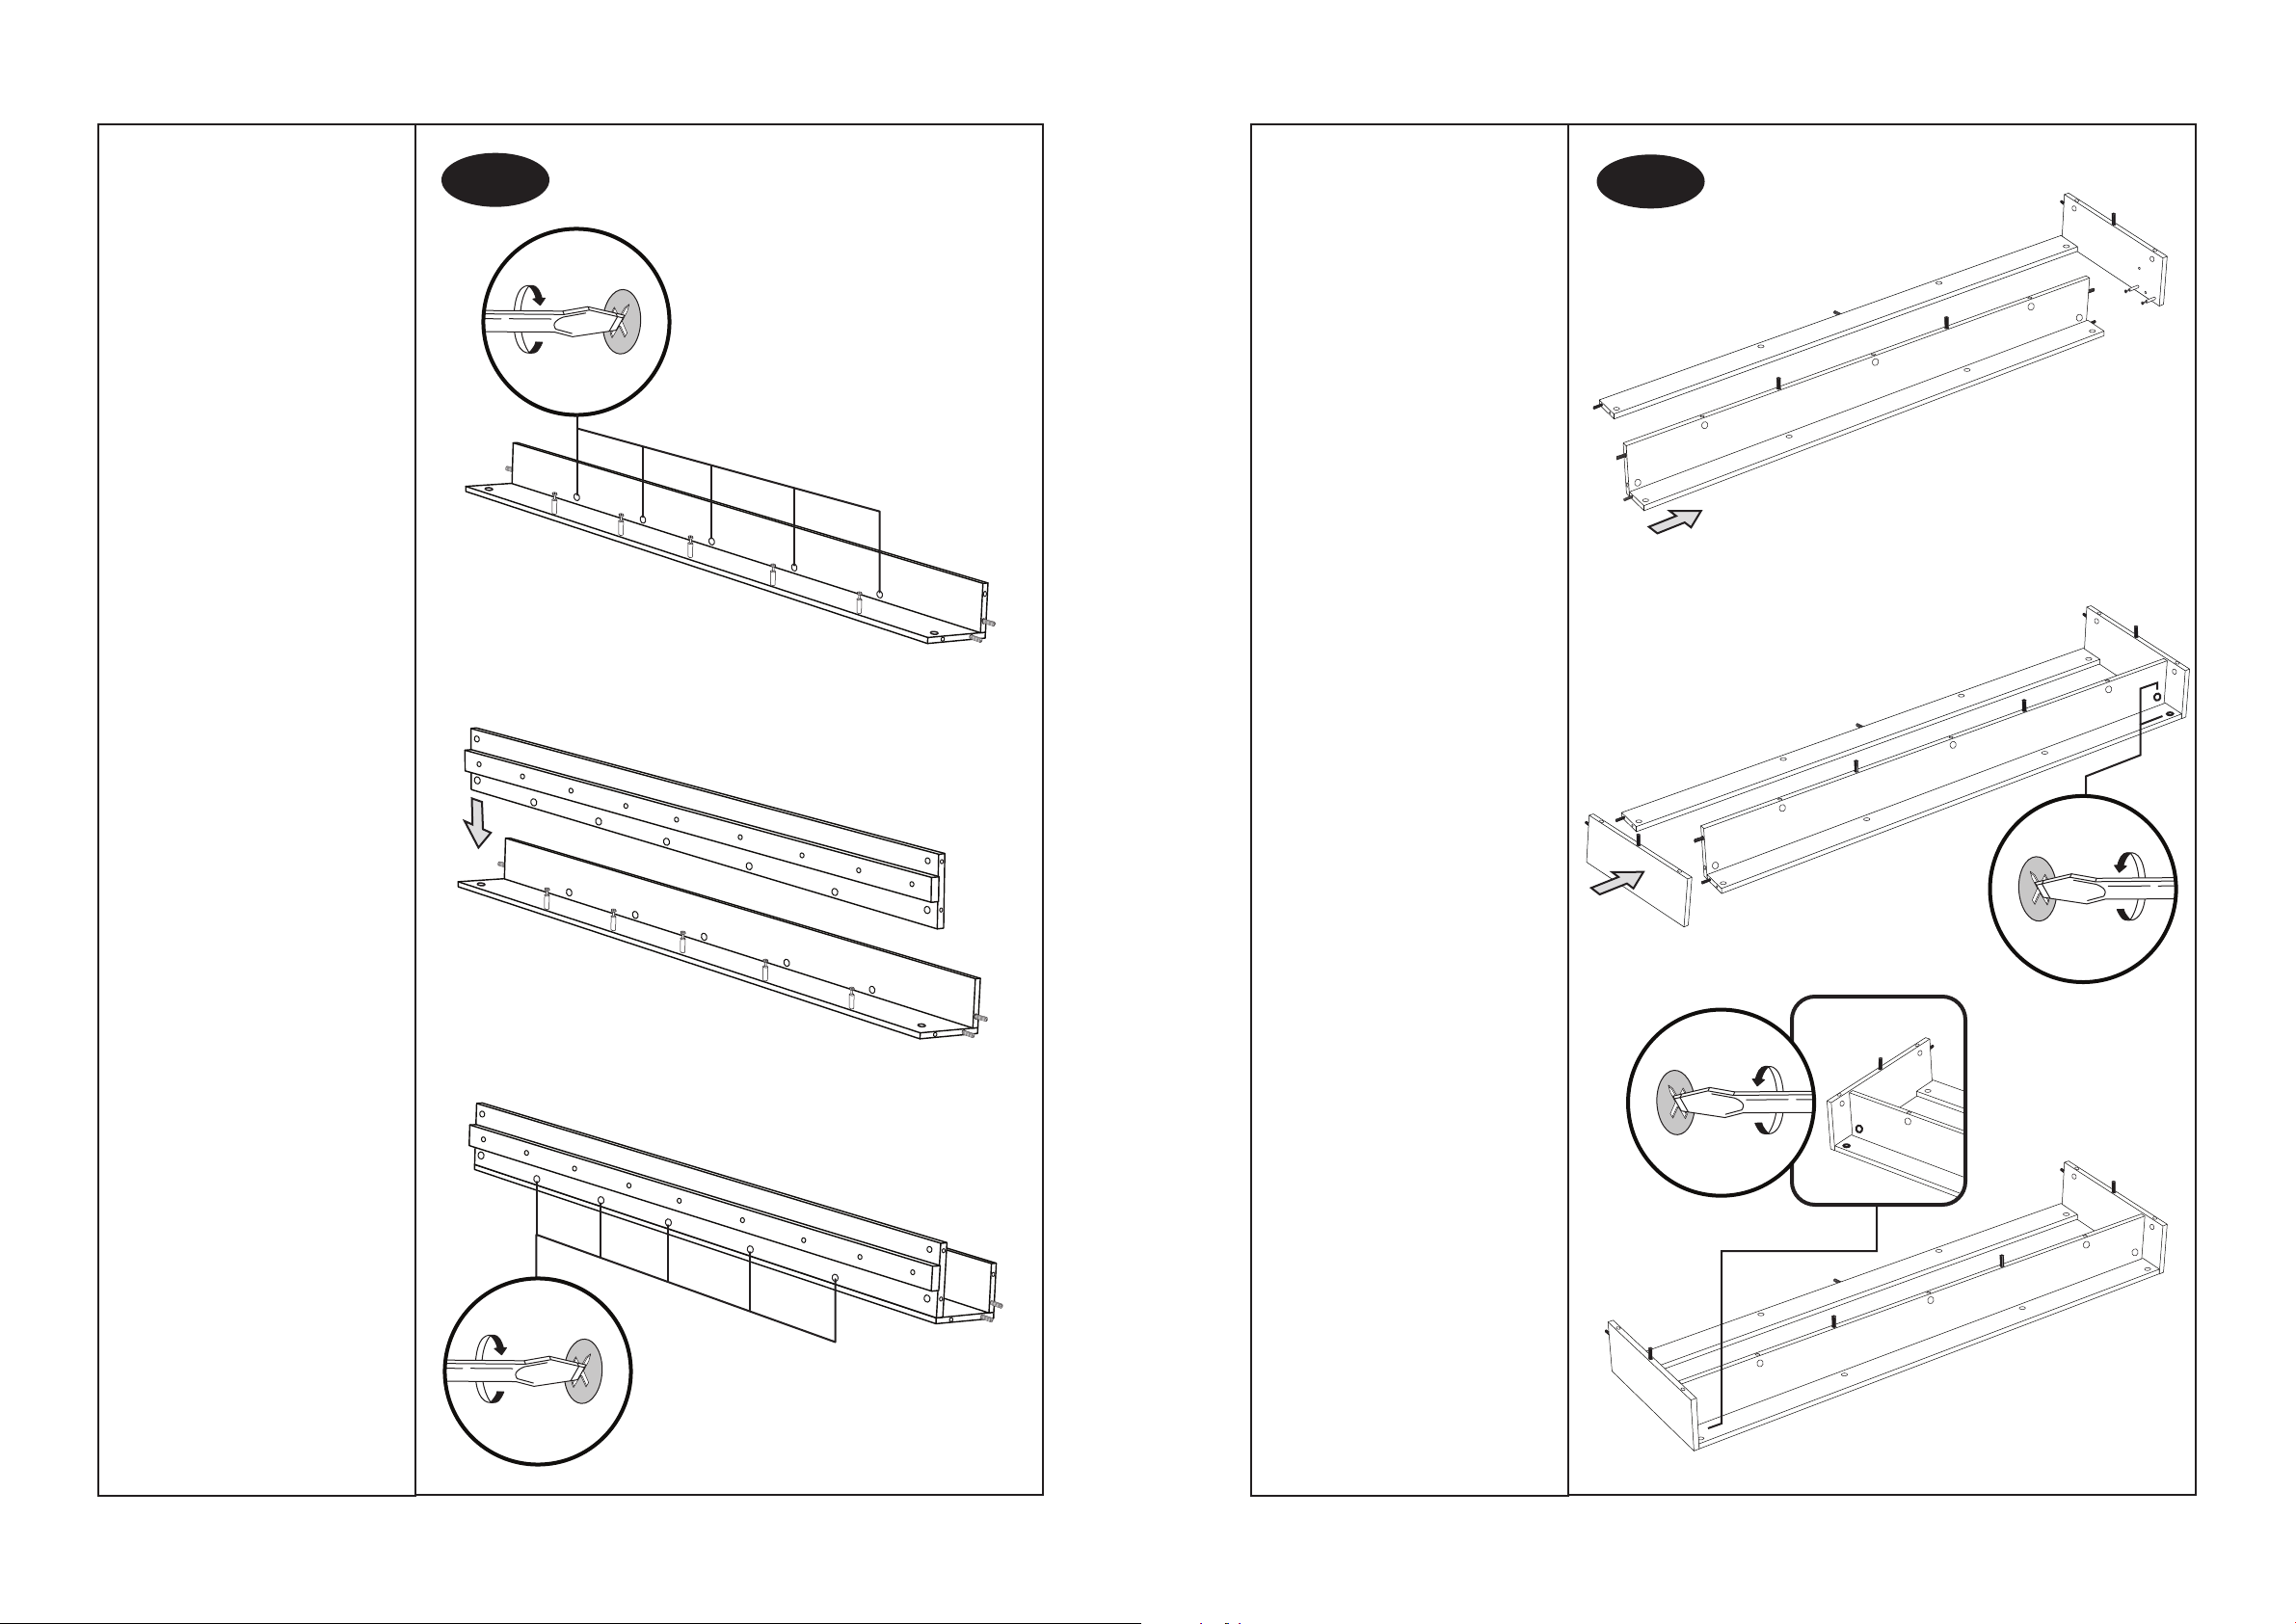
Attach panels “H & I” to panel
“K” and lock into place as
shown.
STEP 7
Attach panel “A x 2” onto panel
“C x 2” and lock into place as
shown.
A.
C.
Attach panel “L” onto panels
“H / I & I” and lock into place
as shown.
L.
C.
14 of 20
7 of 20
 Loading...