

DreamGEAR DGUN-2579 User Manual
User Guide

ENGLISH
HOW TO SET UP THE RETROPLAY CONTROLLER
1. Using a mini-screwdriver (not included), carefully unscrew the battery cover
and remove it from the controller.
2. Insert 3 AAA batteries (not included).
3. Replace the battery cover and screw tightly.
4. Insert the 2.5mm plug end of the AV cable to the top of the RetroPlay Controller.
5. Plug the other end (white and yellow plugs) into your television.
6. Turn your television to the proper input setting.
NOTE: Please refer to your television’s User Guide on how to connect AV cable
to your television and how to use your input settings.
7. Turn the ON/OFF switch located on the top of the RetroPlay Controller to the
ON position.
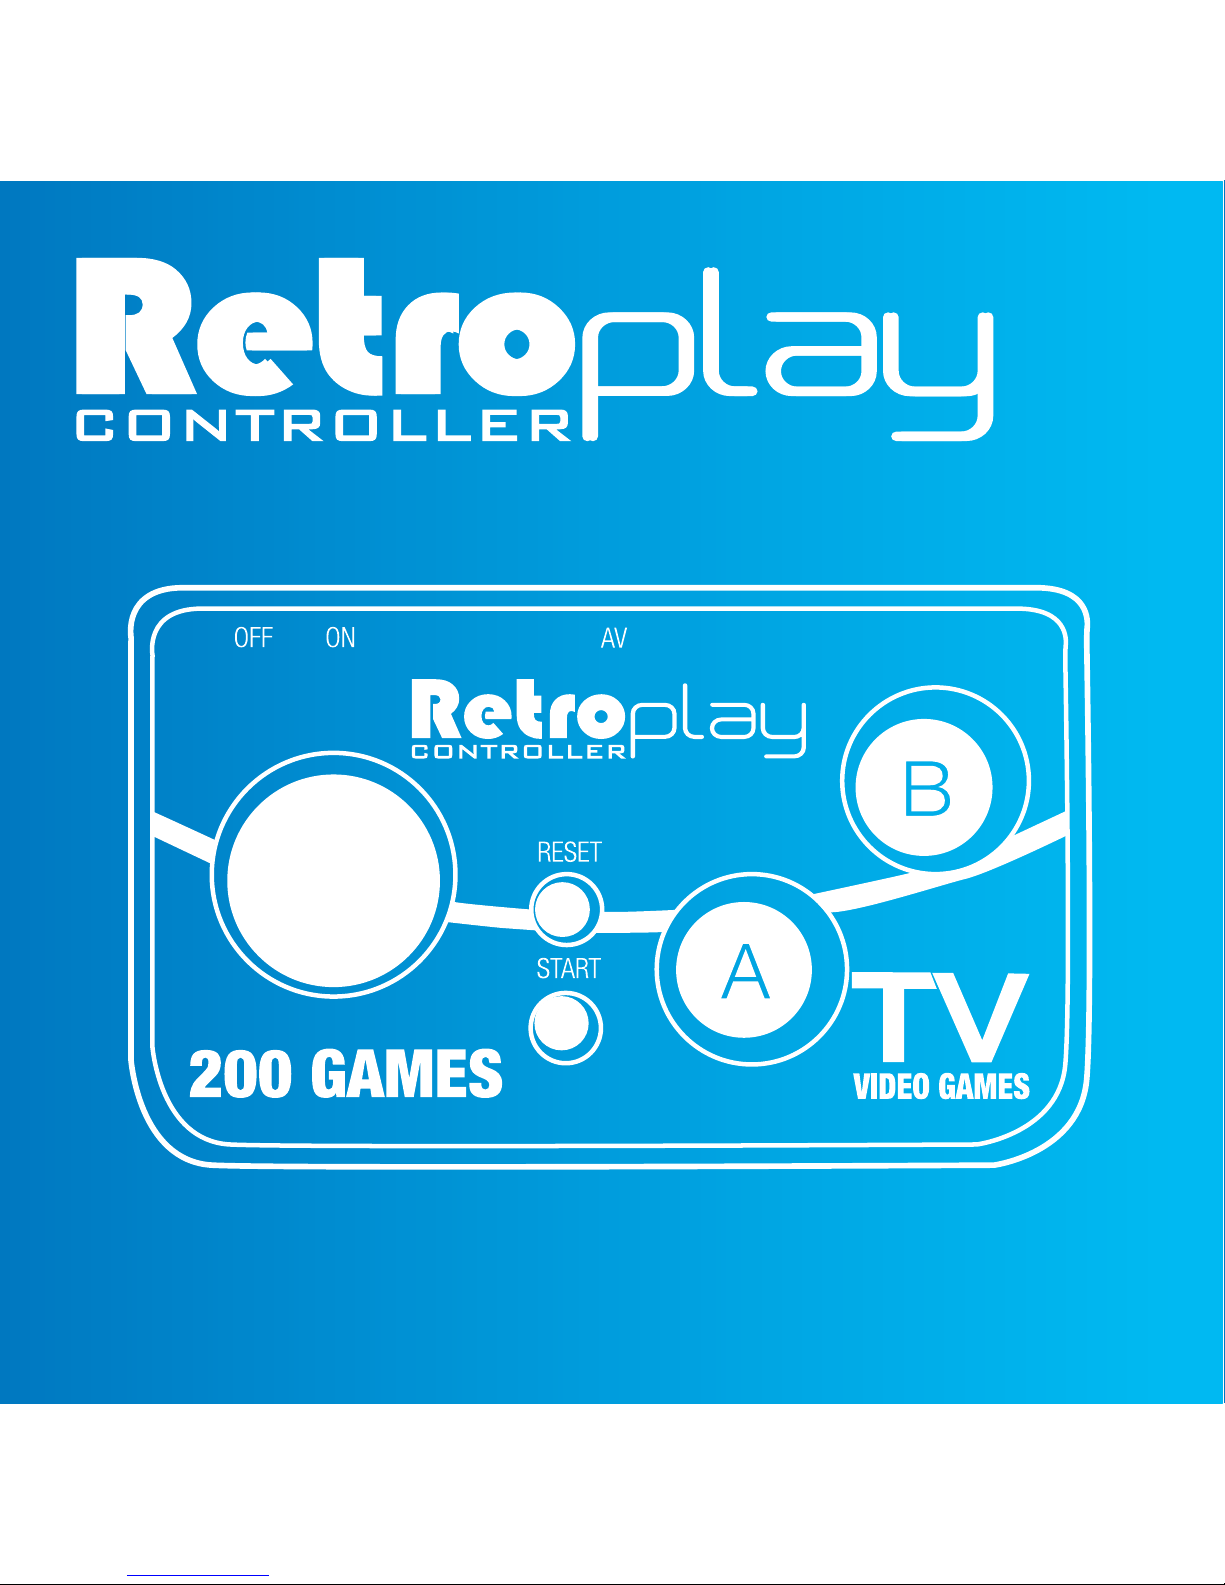
CONTROLS
Reset Button – Resets the game and brings you back to the menu
Start Button – Starts the game and also pauses the game during certain games
PACKAGE CONTENTS
• RetroPlay Controller
• AV cables
• User Guide
• Warranty Card / Registration Card

ON/OFF Switch – Powers the RetroPlay Controller ON or OFF
A & B Buttons – Controls your player throughout the game
NOTE: Make sure that you turn the RetroPlay Controller OFF when not in use to
save battery life.
BATTERY WARNING
NOTE: Leakage of battery acid can cause personal injury as well as damage to
your controller. If battery leakage occurs, thoroughly wash the affected skin and
clothes. Keep battery acid away from your eyes and mouth. Leaking batteries
may make popping sounds.
TO AVOID BATTERY LEAKAGE
• Do not mix used and new batteries (replace all batteries at the same time)
• Do not mix different brands of batteries.
• Do not leave batteries in the controller for long periods of non-use.
• Do not put the batteries in backwards. Make sure that the positive (+) and
negative (-) ends are facing in the correct directions. Insert the negative end first.
• Do not use damaged, deformed or leaking batteries.
• Do not dispose of batteries in a fire.
FCC INFORMATION
This equipment has been tested and found to comply with the limits for a Class
B Digital Device, pursuant to Part 15 of the FCC Rules. These limits are

designed to provide reasonable protection against harmful interference in a
residential installation. This equipment generates, uses, and can radiate radio
frequency energy and, if not installed and used in accordance with the instructions,
may cause harmful interference to radio communications. However, there is no
guarantee that interference will not occur in a particular installation.
If this equipment does cause harmful interference to radio or television reception,
which can be determined by turning the equipment off and on, the user is
encouraged to try to correct the interference by one or more of the following
measures:
• Reorient or relocate the receiving antenna.
• Increase the distance between the equipment and receiver.
• Connect the equipment to an outlet on a circuit different from that to which the
receiver is connected.
• Consult the dealer or an experienced radio/TV technician for help.
This equipment complies with Part 15 of the FCC Rules. Operation is subject to the
following two conditions:
1. This equipment may not cause harmful interference.
2. This equipment must accept any interference received, including interference that
may cause undesired operation.
Modifications not authorized by the manufacturer may void the user’s authority to
operate this device. This equipment complies with FCC RF radiation exposure limits
set forth for an uncontrolled environment. This transmitter must not be co-located or
operating in conjunction with any other antenna or transmitter.
 Loading...