

i n s t r u c t i o n m a n u a l
committed to delivering quality and innovative products for you and your family
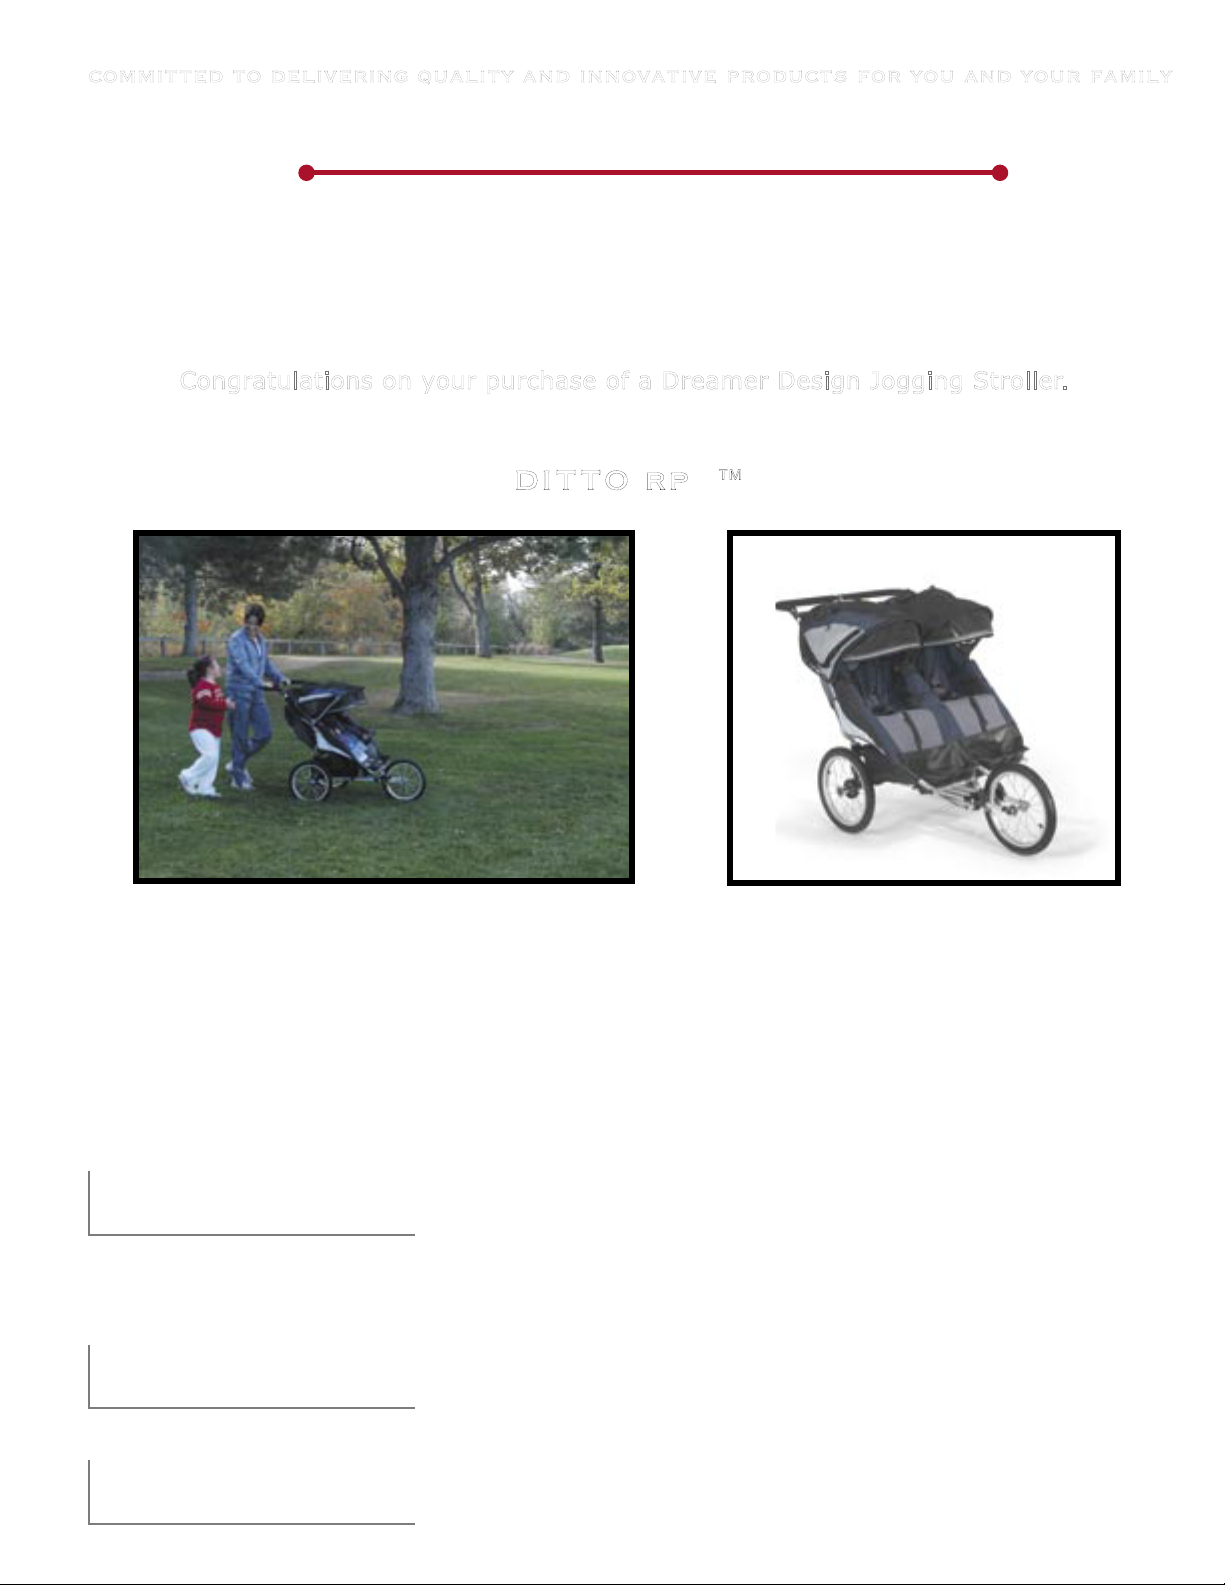
Congratulations on your purchase of a Dreamer Design Jogging Stroller.
ditto rps
™
d r e a m e r
D E S I G N
Before we walk you through the simple assembly of your new stroller we would like you to take
a moment and read through the entire instruction booklet to insure the process goes as
smoothly as possible. After you have finished assembling your stroller keep this booklet for
future reference.
Please note that if you don't follow the instructions you or your child could be seriously injured.
Correct assembly of the stroller is vital and outside of the manufacturer's and distributor's
liability.
i n t r o d u c t i o n
Don't throw your box away! It's good to keep it around so you have it if you need to ship or
transport your stroller in the future.

Check to make sure you have all the parts and necessary items needed to assemble the stroller.
If you don't have something that is pictured please call our customer service line at
800.278.9626.
i n t r o d u c t i o n
watch fingers when folding - folding
mechanism could be a pinching hazard
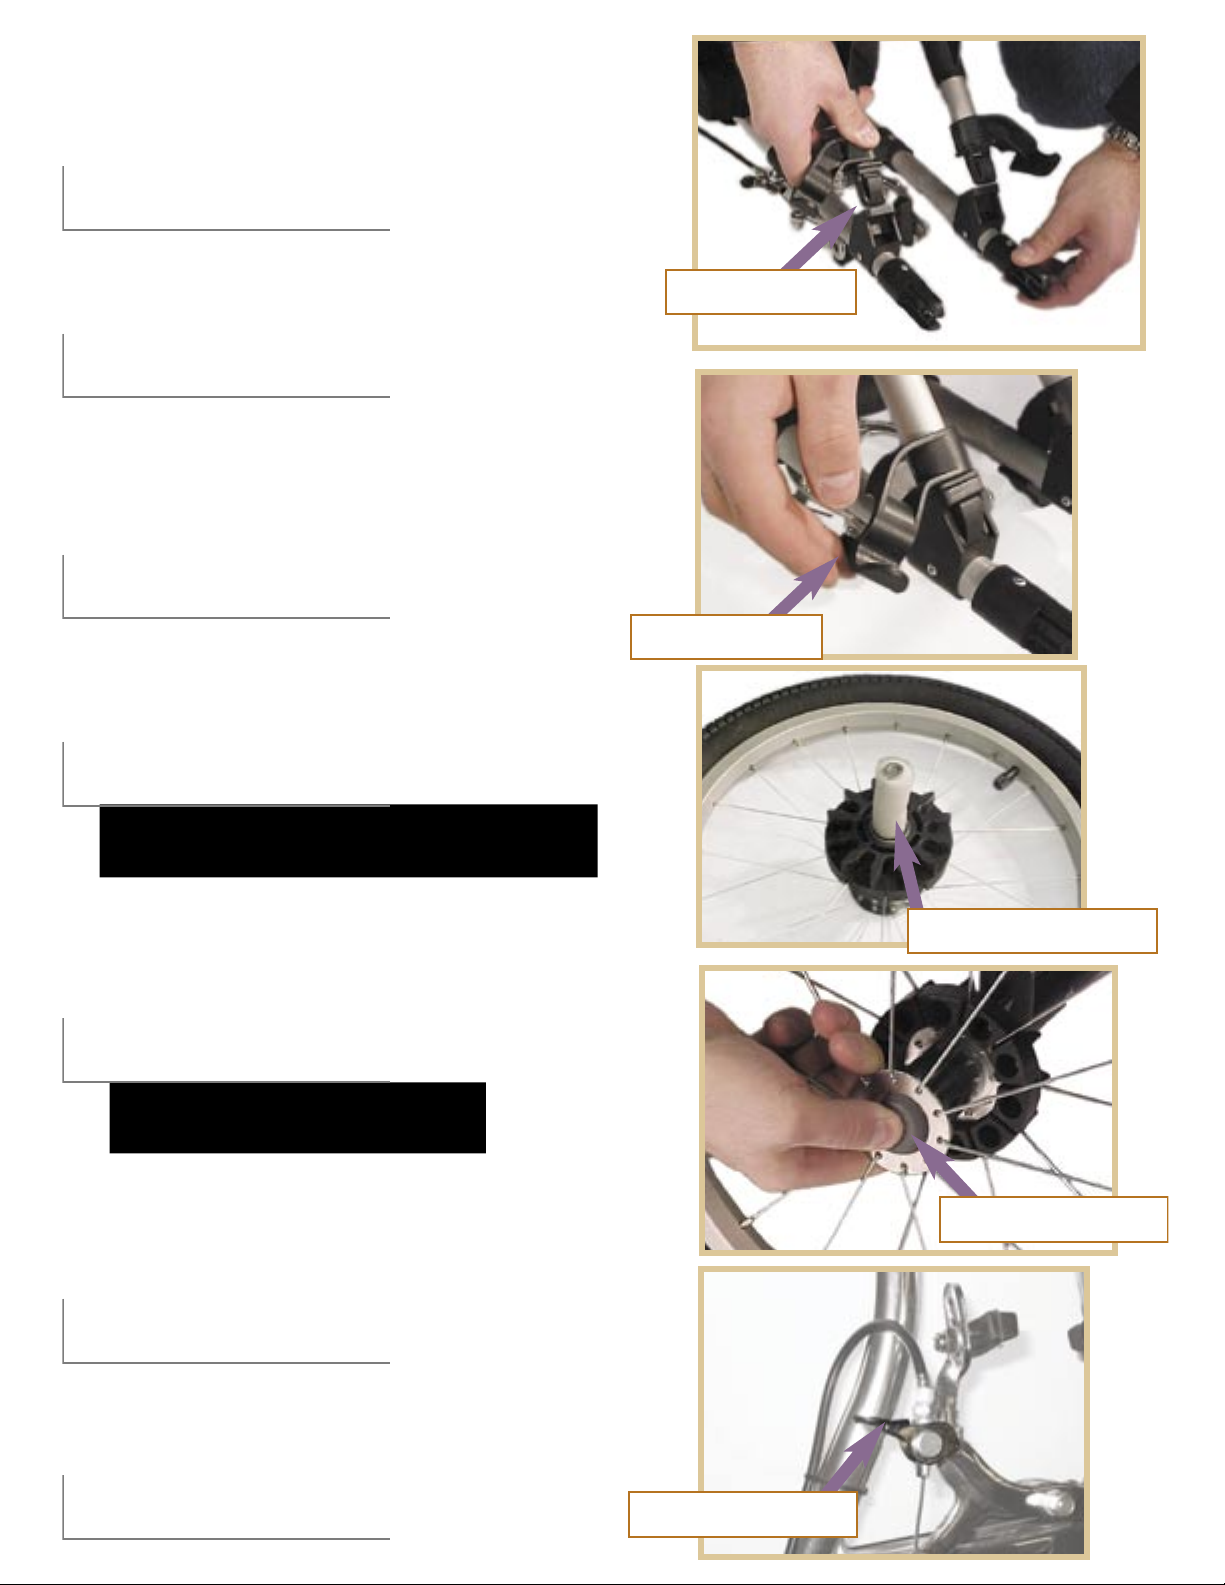
Lay the stroller flat on the fork tubes,
as shown.
Remove the rubber protectors from the
ends of the forks and thumb tabs.
a s s e m b l y
pockets
suspension
Rebound GST™ model only
basket
canopy window
water bottle
holders
hand brak
e
independently rotating
sun canopies
dual foot plates
front quick
release wheel
fork tips
thumb tabs
harness
rear wheel
push button
All Weather Cover
Bike Pump
(not pictured)
fork tip protector
thumb tab protector
foam protector
push button
Make sure the foot brake is in the
unlocked, up, position.
To put the rear wheels on, push the button on
the wheel while pushing the wheel axle into
the stroller frame.
Remove and discard the foam protectors on
the wheel axles.
be sure to discard the plastic bags from the wheels -
they are a suffocation hazard for children
check to make sure the wheels are
secure before each use
a s s e m b l y
Unfold the frame and insert the thumb
tabs into the slots.
Fold the plastic swing clasps in, to latch
around the frame.
Tip the stroller back so it is resting on its
handle and rear wheels to put the front
wheel on.
Make sure the brake release lever is
pointed out, away from the stroller
.
lever pointed out
thumb tabs
swing clasp
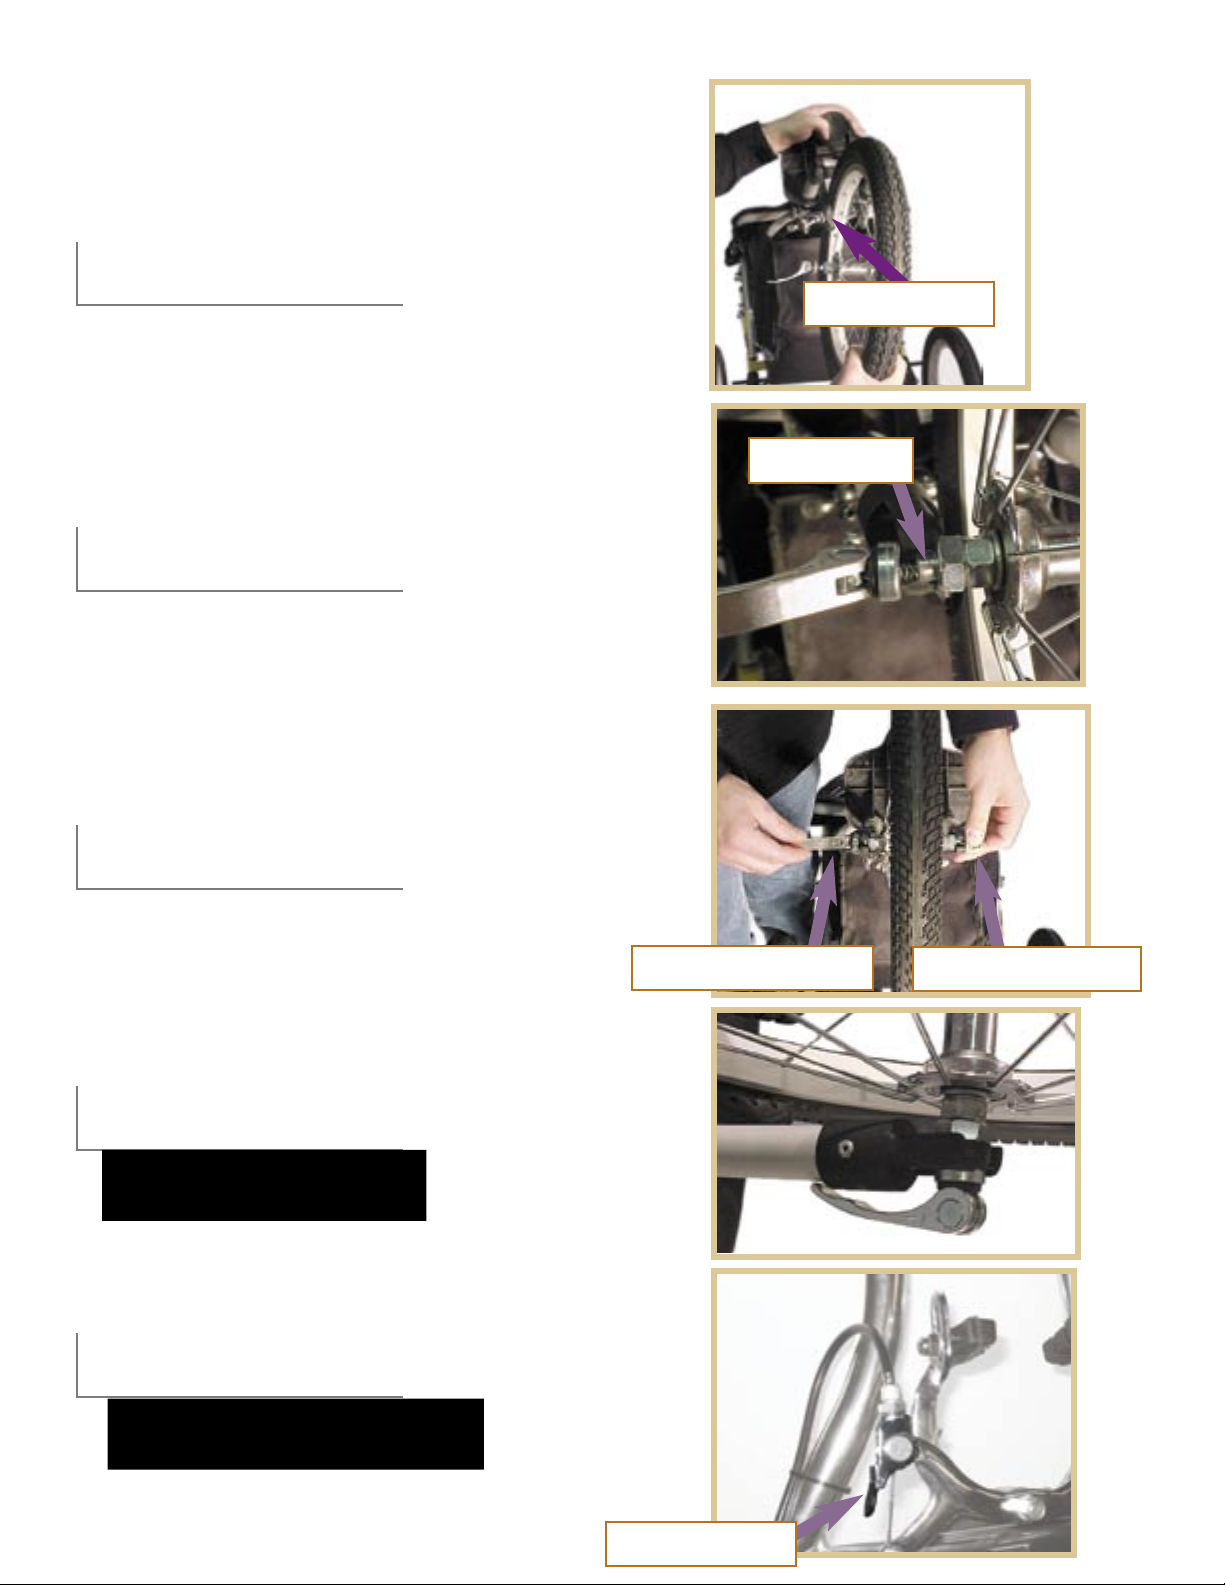
Starting at the bottom of the brake pads,
push the wheel up and in between the
brake pads.
The quick release lever should be straight
out. While holding the lever, tighten the
thumb nut until it is barely snug. The axle
should not move side to side.
Rotate the tire upwards and find the flat
sides on the round axle and slide all the
way to the back of the forks, on BOTH
a s s e m b l y
Push the quick release lever down so it
is flush with the frame. Give the wheel a
tug to make sure it is secure.
Be sure to close the brake calipers by
pushing the lever forward all the way.
flat side
brake pads
thumb nut
quick release lever
check to make sure the wheel is
secure before each use
lever forward
check to make sure the brake caliper
is locked before each use

To lock the hand brake, pull the lever in and
hold it while you push the button down. As you
hold the button down, release the brake lever
.
Your stroller comes with two parking brakes: a
foot brake and a hand brake. The hand br
ake,
located on the handle, locks the front wheel.
The foot brake is located near the basket, on
the rear axle. It locks the rear wheels.
b r a k e s
To release the hand brake pull the lever
in until the button pops up.
NEVER trust your brakes 100%! Always keep
an eye on your stroller. Always use your safety
wrist strap any time a child is in the stroller
.
check to make sure the brake caliper
is locked before each use
Pull the foot brake up with your foot to
release it.
To lock the foot brake you simply push it
down with your foot. Then try to push the
stroller to make sure the brake is secure.
If the front wheel still moves, see the
brake adjustment section on page 24
You should always use both brakes when
the stroller is not being pushed.
lever
push button
releasing brake
brake unlocked

Your canopy has multiple adjustments. It
also has a side ventilation system, with
flaps that roll up and velcro into place.
To bring the canopy to it's next position, flip
the mesh portion under
.
Use the canopy at it's fully extended position
during midday sun to provide your child with
the most amount of shade.
b u b b l e s u n c a n o p y
™
When the canopy is not needed, pull it
all the way back.
To view your child through the top window,
simply roll back the sun cover and velcro into
place. To clean the canopy window use a
damp cloth.
To shade your child during early morning or
late evening sun, unsnap the strap at the
back of the canopy, and pull it all the way
forward.
stationary strap

To remove the sun canopy you will need a
Phillips screwdriver to remove the screws
from both sides of the canopy. Unsnap the
canopy from the back and lift it out.
Before washing the canopy, remove the frame.
The canopy may be washed in cold water with
mild detergent. Place the canopy back on the
stroller to dry
.
b u b b l e s u n c a n o p y
™
s e a t
The amount of recline on the seat is adjusted
by holding the buckle behind the seat and pull
the strap to make the seat more upright.
The seat is fully reclined by unbuckling the
strap behind the seat.
The seat is removed by undoing the velcro
and the straps from the foot plate and the
frame. The seat also needs to be unsnapped
from the frame.
To make the seat recline more, hold the strap
and pull the buckle.
unscrew here
It may be snug, but it will lift out.
When the canopy is wet, extend it fully until
completely dry to prevent any mildew from forming.
WARNING Child may slip into leg opening and strangle.
Never use in reclined position unless the firmness panel is in place.
adjustment strap
velcro straps
snap

To wash the seat take out the firmness
panels by unzipping the pouch at the top and
underneath the seat.
Do not remove the firmness panels
when using your stroller. Removing the
panels could cause suffocation.
s e a t
h a r n e s s
Undo both buckles from the padded center
strap
.
Adjust the padded center strap forward or
backward to fit your child.
Adjust the padded shoulder harness up or
down on the Velcro strips to fit your child.
Buckle the two buckles to the padded center
strap
.
Pull the adjustment strap until the padded
center strap and the padded shoulder harness
are both snug.
Place the child in the seat.
The seat may be washed in cold water
with mild detergent. Snap the seat back on the
frame to dry, to prevent mildewing.
buckles
WARNING Avoid serious injury from
falling or sliding out. Always use seat belt.
adjustment strap
firmness panel

Your stroller has many places to store your
stuff. There are two pockets located on the
back of the seat, as well as pockets for keys
or a cell phone on both sides.
There is also a key leash and four water
bottle holders located on the back of your
stroller
.
s t o r a g e
Another place for storage is the basket under
the seat.
To remove the basket, undo the velcro str
aps
attaching the basket to the frame underneath
the stroller and the straps attaching the
basket to the seat.
Your basket can be removed and washed
in cold water with mild detergent.
WARNING Do not store more than 12 pounds
between the pockets and basket. Overloading the
stroller may cause it to become unstable and tip over.
pockets
key leash
water bottle
holders
basket
Place the basket back on the stroller to dry
to prevent mildewing.
velcro straps

shift tire to right shift tire to left
If you get stuck in the rain, your all weather
cover will keep your child dry. Just drape the
cover over your bubble canopy and seal the
back velcro strips together
.
Next, velcro the straps around the foot
plate, which attach underneath between the
brake calipers and the frame.
a l l w e a t h e r c o v e r
f o l d i n g
Lift the frame out and fold back. Then fold it in
half again, pushing the fork tips up to meet the
handle.
Undo the swing clasps on either side. Push on
the thumb tabs of the fork tips to remove them.
Unsnap the straps on either side of frame,
by the basket. Undo the front velcro straps
of the basket.
t r a c k i n g
If that doesn't work and it continues to pull to
the right, unscrew the front wheel thumb nut and
shift the tire to the left. Tighten the tire again
and push to stroller to see if it rolls str
aight. If it
pulls to the left, shift the tire to the right.
If your stroller is pulling to the left or right
check to see if it is one of the following things.
Check to make sure the tire pressure in all the
wheels is equal.
all weather cover
velcro straps
basket velcro straps
swing clasp
thumb tabs

3
Replace the brake pads when the grooves
become worn away. Check all bolts are tight
and springs are secure for rear foot br
ake.
Check fabric seams and straps for fraying or
tearing. Keep it out of the sun and in a dry
place, when not in use, to prevent fading and
mildew. Check the frame for loose rivets, cr
acks
and wear. Check to make sure all nuts and bolts
are tight on the frame.
m a i n t e n a n c e
We recommend that you have an experienced
dealer perform these maintenance checks once
a year. Lubrication of the following items is
necessary:
To adjust the hand brake if it becomes loose, turn
the barrel towards you, away from the locking
ring. Tighten the locking ring to make a gap no
more than a 1/4" wide. If still too loose, adjust
barrel down by the brake calipers.
1 pivot point and cable of hand brake
2 hand brake cable by caliper lever
3 front wheel axle
4 quick release lever
5 insert in frame for rear wheels
6 wheel nub and ball bearings of rear wheel
these adjustments should be done in small increments -
only a small amount of adjustment is necessary
brake pad
locking ring
barrel
locking ring
barrel
1
2
4
5
6
 Loading...