

Page 1
SINGLE CHANNEL
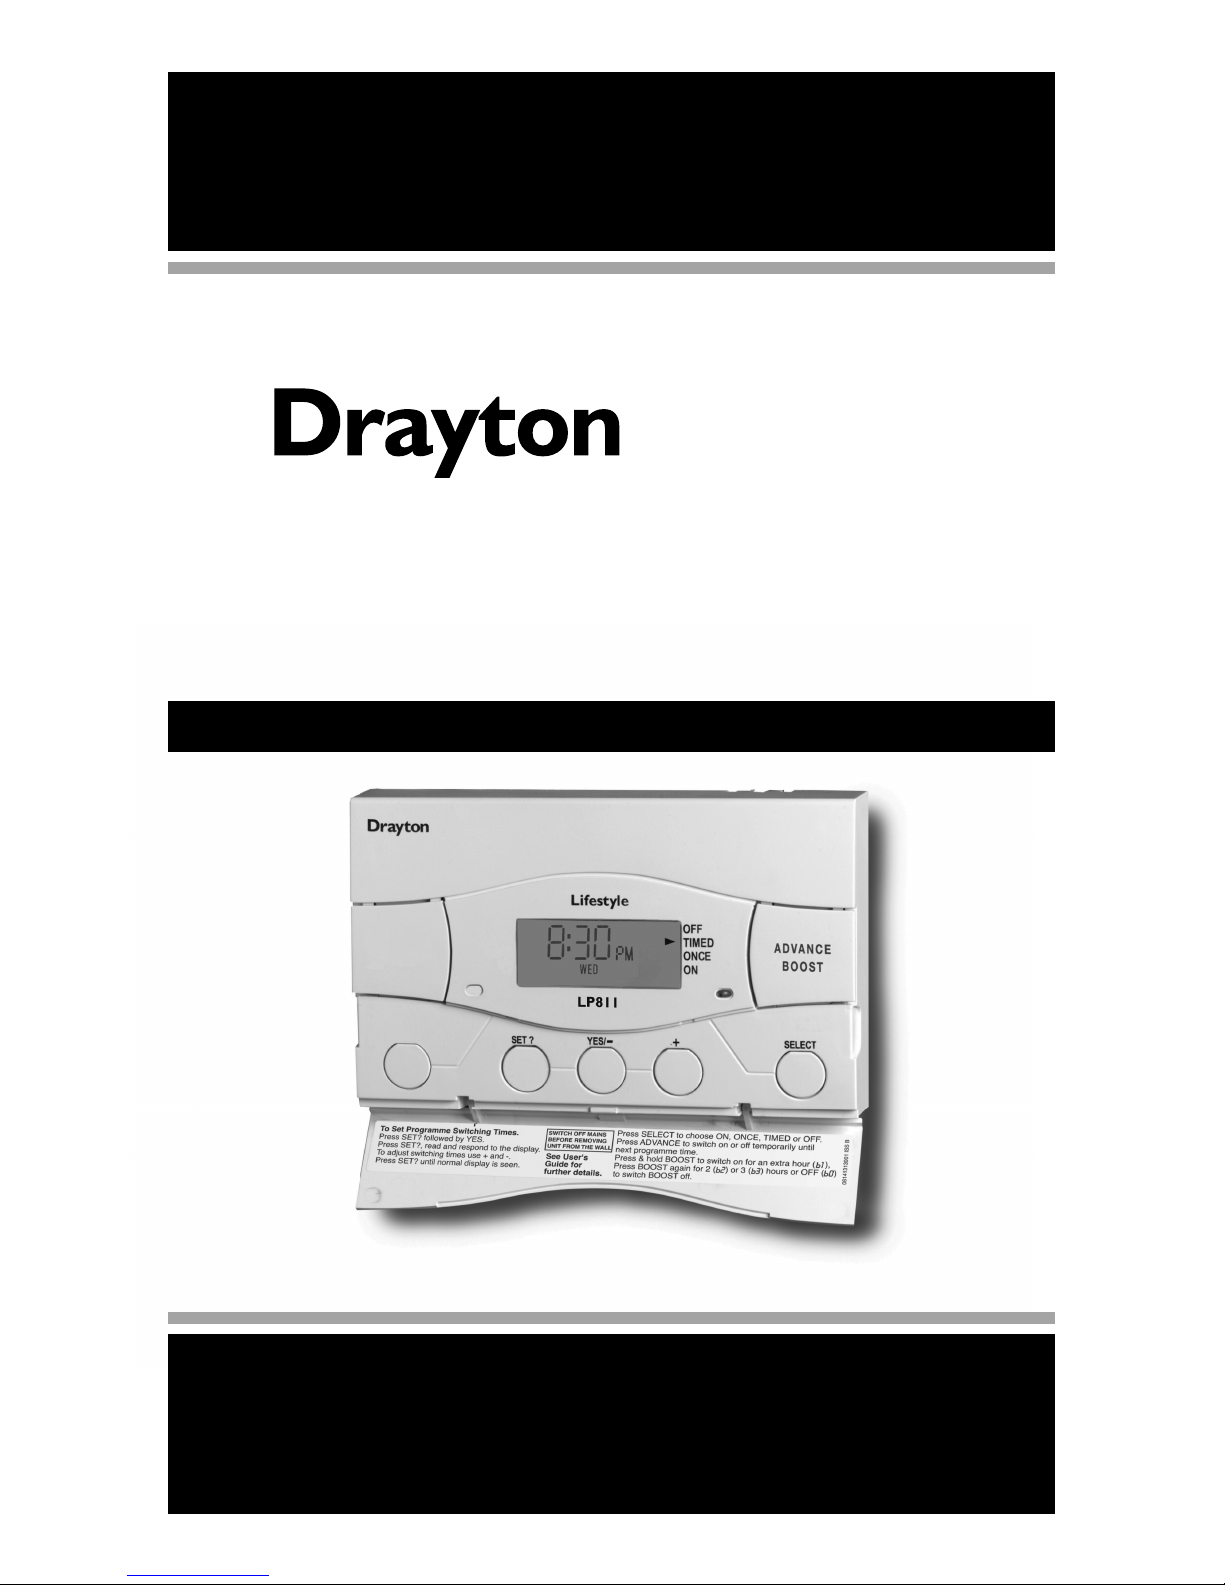
Single Channel
Timeswitch
for heating OR hot water
Installation and User Instructions
06490197001 ISSA
Lifestyle
Page 2

INSTALLATION INSTRUCTIONS
PLEASE NOTE: INSTALLATION MUST ONLY BE
CARRIED OUT BY A QUALIFIED ELECTRICIAN OR
HEATING ENGINEER.
MAKE SURE MAINS INPUT HAS A 3 AMP FUSE.
The Timeswitch conforms to the essential
requirements of these Directives:
2004/108/EC – Electromagnetic compatibility
2006/95/EC – Low voltage
BEFORE INSTALLATION
First, make sure the mains supply is switched off!
USING AN EXISTING WALL-PLATE
Loosen the securing screws on the old timeswitch and unplug it.
Check that there’s 70mm clearance to the right of the wall-plate,
and 25mm above it. Now plug the unit into the wallplate and tighten the securing screws. Check the 3A fuse, and
switch on the mains.
FITTING A NEW WALL-PLATE
The ideal location is 1.4m above floor level, with reasonable
lighting, good access, no condensation, no extremes of
temperature, and a supporting surface that fully covers the back
of the unit.
Position with 70mm clearance to the right, 25mm above, and
sufficient room to access the securing screws underneath.
Fix, with terminals at the top, either direct to a flat wall using wall
plugs and no. 6 x 1" woodscrews, or on a flush mounting single
conduit b
ox type UA1 (BS4662) using M3.5 x 14 bolts. DO NOT
USE A SURFACE MOUNTING BOX.
2
Lifestyle
Lifestyle
Page 3
WIRING THE TIMESWITCH WALL PLATE
For surface wiring, snap out the cable entry strip on the bottom
edge of the wall-plate. Lifestyle units are double-insulated and
need no earth connection, but an earthing continuity (loop)
terminal is provided for convenience.
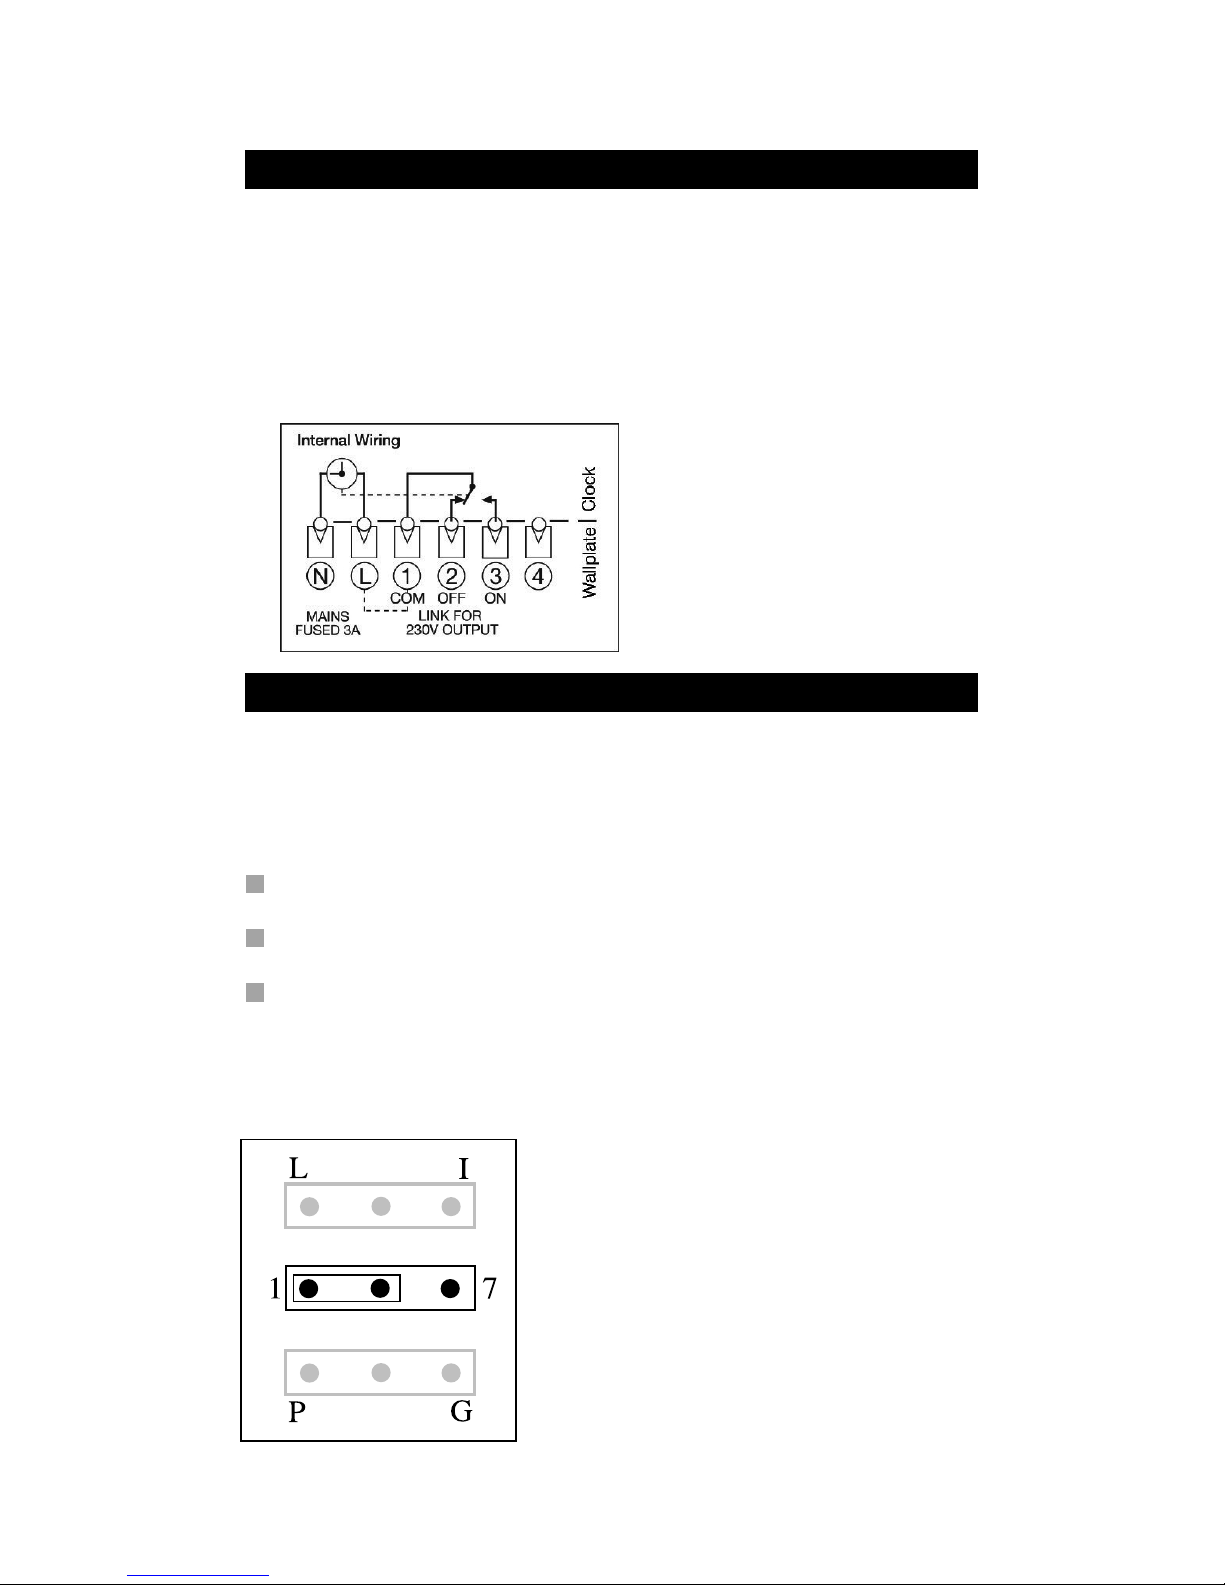
Internal wiring
PRIOR TO MOUNTING THE UNIT SELECT THE PROGRAM SETTING
The Universal Timeswitch is selectable, which means it must be
set to the customer’s requirements as part of the installation
procedure. There are 3 options:
24-hour Program – same times, 7 days a week.
5/2-day Program – weekends different to weekday times.
7-day Program – every day of the week can be different
The factory setting is a 24-hour program. Any changes are
made with the 3 plastic headers on the back of the unit – simply
pull off the header and replace it in the new position.
1 = 24-hour program.
7 = 7-day program
No header = 5/2-day program.
After wiring, plug in the unit and tighten
the securing screws. Check the mains
input has a 3A fuse, and switch on the
mains.
3
ALWAYS SWITCH OFF
THE MAINS BEFORE
REMOVING THE
UNIVERSAL TIMESWITCH
–
AND NEVER FIT IT TO A
LIVE WALL-PLATE!
Page 4

USER’S INSTRUCTIONS
If the engineer has set your program and timings – you won’t
need to do anything else. Just keep this guide in a safe place
for future reference.
INTRODUCTION
The Lifestyle Timeswitch will automatically control your
system by switching it on and off at times that suit you. The
light on the front of the Timeswitch shows when it’s on.
PREPARING TO PROGRAMME YOUR SYSTEM
As your Timeswitch has a built-in, factory set, clock, there is no
need to set the time. However, should you need to, go to
section “Setting the Clock” Page 12.
If the timings haven’t been set for you, then this is how your
timeswitch has been set at the factory. It’s easy to make
changes. Just go to the section on the program that’s already
been selected – 24-hour, 5/2 day or 7-day – and follow the
simple instructions.
Your timeswitch has been set w
ith these standard times.
4
Models
Your timeswitch Instructions for the
is set as
(1)
model are on page
24-hour 7
5/2-day 8
7-day 10
(1) Model to be ticked by the installer
Page 5
They’re based on the 5/2-day program, with different settings for
the weekend.
SWITCHING WEEKDAYS WEEKENDS
ON 1 – start of first timed period 6.30am 7.00am
OFF 1 – end of first timed period 8.30am 9.00am
ON 2 – start of second timed period* 12.00pm 12.00pm
OFF 2 – end of second timed period* 12.00pm 12.00pm
ON 3 – start of third timed period 4.30pm 4.00pm
OFF 3 – final switch-off of the day 10.30pm 11.00pm
* Notice that the second period has the same ON and OFF
times, which means neither your central heating nor hot water
will respond. If you want to activate this middle period, simply
set different ON and OFF times.
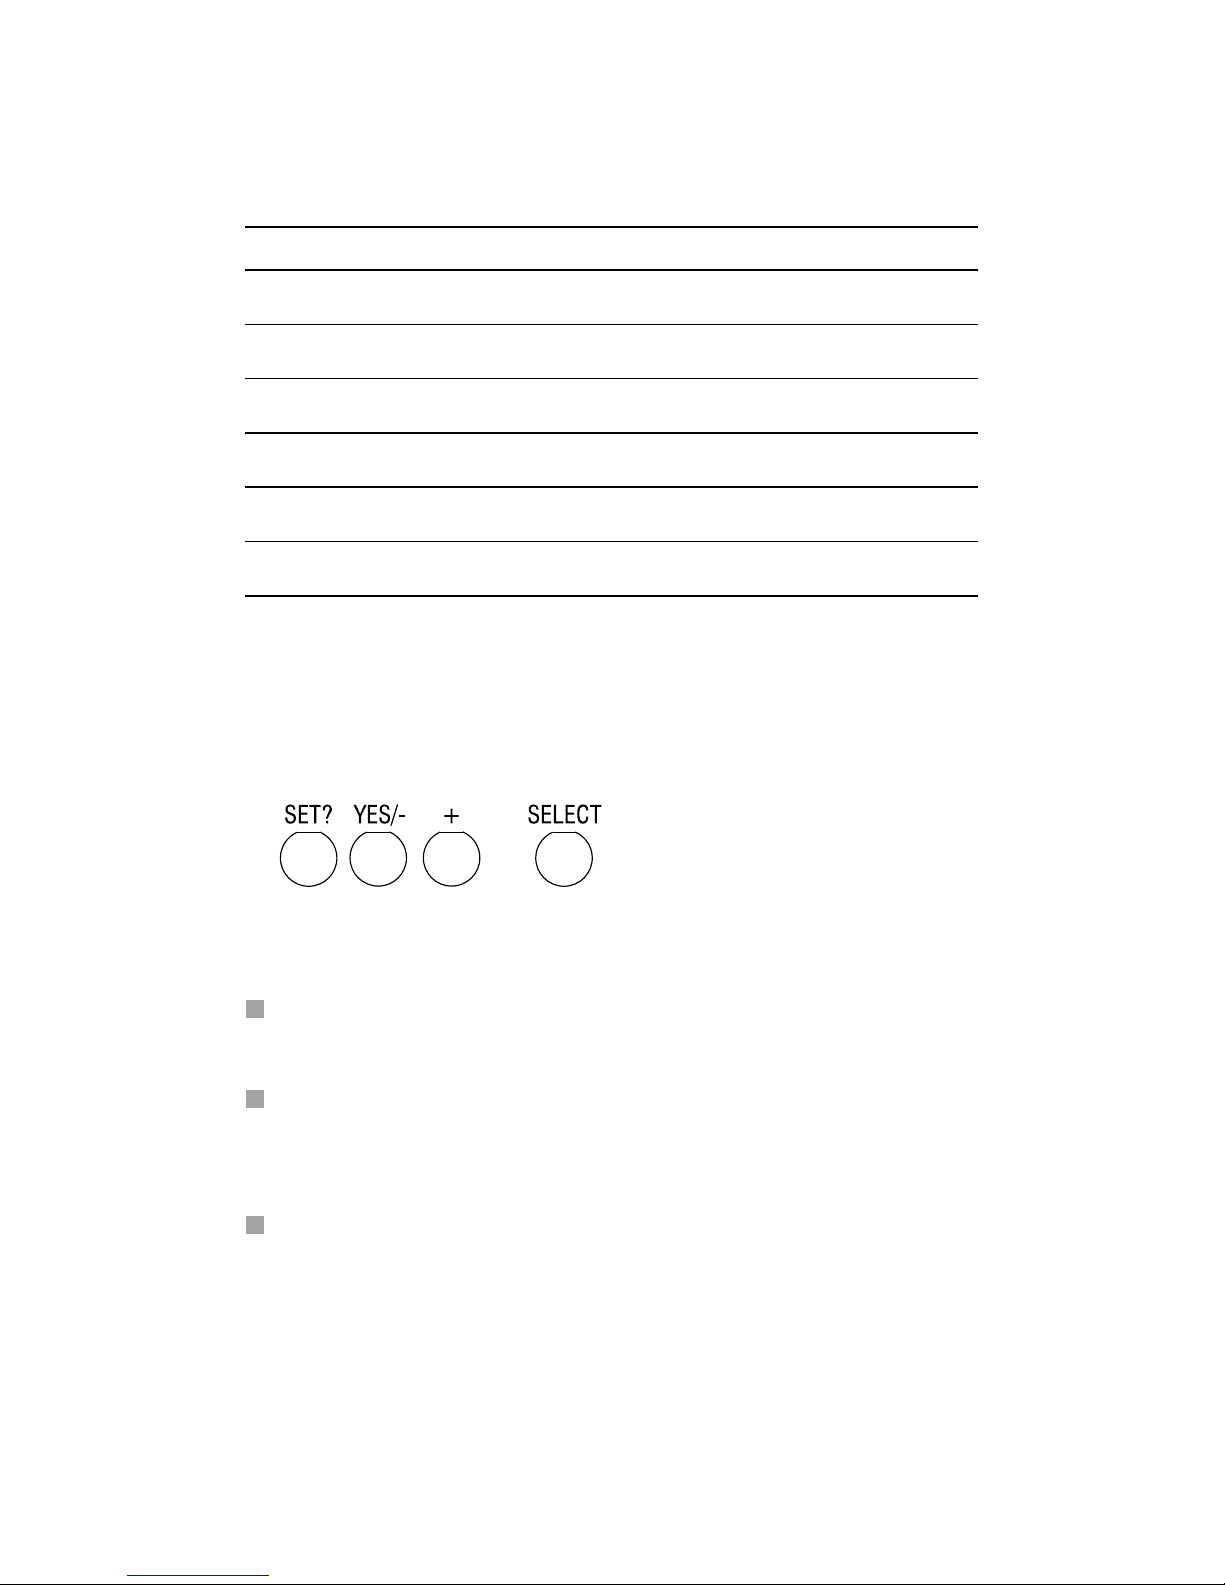
Remember:
Make your changes using the SET?, YES/-, and + buttons
found under the bottom flap.
You can’t set ON1 as the last timing before midnight, but you
can set OFF3 after midnight – providing it’s not more than 23
hours and 59 minutes after ON1.
You need to set the timings in sequence – i.e. ON1, OFF1,
ON2, OFF2, ON3, OFF3. If you get out of sequence, the display
will flash a warning.
5
Page 6

DAY-TO-DAY VARIATIONS
Sometimes you might need to change the way you use your
system temporarily – perhaps due to an exceptionally cold day.
Here’s how to do it – without affecting your program.
6
Use the SELECT button under the flap to change the mode.
This won’t alter the timings in your program, which you can
return to by selecting TIMED.
OFF = continuously off.
TIMED = on for up to 3 periods a day.
ONCE = on for 1 period a day, from the start of ON1
to the end of OFF3.
ON = continuously on.
At the side of the display there are
four operating modes:
Over-riding the program
Switching on and off
On the front of the timeswitch there is an Advance/Boost button.
It allows you to switch your system either on or off, irrespective of
the program. So if the heating is off, and you want warmth now,
you can either –
1. Press Advance to switch it on (ADV will be displayed), and it will
stay on until the end of the next period. Or if the heating is on
and you don’t need it, press Advanc
e and it will go off until the
beginning of the next ON period.
Advance will only operate in TIMED or ONCE modes.
2. Press & Hold Boost to switch on for an extra hour ( & BST will
be displayed), then Press again for two ( ) or three ( ) hours.
To cancel Boost, Press Boost again ( ). Or if the heating is
already on, using Boost will extend the ON time by one, two or
three hours.
Page 7

THE 24-HOUR PROGRAM
This is the simplest program – every day’s the same. Just
follow the sequence.
Want to leave a timing as it is? Just press SET? and move on
to the next one.
Need to delete your timings and start again? Press ‘SET’ and
‘+’ together to go back to the pre-set program.
If you don’t press anything for two minutes, the timeswitch
automatically goes back to normal operation.
These instructions are for setting a 24-hour cycle that will be the
same for every day of the week
– so you’ll only need to go
through the procedure once.
Press the SET? button and you’ll see ‘SET PROG?’.
Press the YES button, and you’ll see ON1, the start of your first
heating period. Adjust it in 1-minute steps using the – and +
buttons. If the – and + buttons are held down, the time
changes in 10-minute steps.
SET
PROG?
7
Page 8

Press SET?, and you’ll see OFF1, the end of your first heating
period. Adjust this in the same way, press SET?, then repeat the
procedure for ON2, OFF2, ON3 and OFF3.
When you press SET? after setting OFF3, the timeswitch will
return to normal operation.
THE 5/2 DAY PROGRAM
Here you’ve got the option of changing times for the
weekends to cope with different demands. Just follow the
sequence, setting weekdays first.
Want to leave a timing as it is? Just press SET? and move on
to the next one.
Need to delete your timings and start again? Press ‘SET’ and
‘+’ together to go back to the pre-set program.
If you don’t press anything for two minutes, the timeswitch
automatically goes back to normal operation.
These instructions are for setting the same timings for
weekdays, and different ones for the weekend.
Set weekday times
Press the SET? button and you’ll see ‘SET PROG?’.
SET
PROG?
8
Page 9

Press the YES button, and the display will ask ‘SET MON to FRI
PROG?’
Press YES to confirm and you’ll see ON1, the start of your first
heating period. Adjust it in 1-minute steps using the – and +
buttons. If the – and + buttons are held down, the time
changes in 10-minute steps.
Press SET?, and you’ll see OFF1, the end of your first heating
period. Adjust this in the same way, press SET?, then repeat the
procedure for ON2, OFF2, ON3 and OFF3.
Set weekend times
When you press SET? after OFF3 for weekdays, the display will
ask ‘SET SAT SUN PROG?’. Press YES, and alter the times in
the same way.
When you press SET? after OFF3 for SAT SUN, the timeswitch
will return to normal operation.
SAT SUN
PROG?
MON TUE WED THU FRI
9
Page 10

THE 7-DAY PROGRAM
This is where you can have different timings for every day of
the week, if necessary. Just follow the sequence, setting
weekdays first.
Want to leave a timing as it is? Just press SET? and move on
to the next one.
Need to delete your timings and start again? Press ‘SET’ and
‘+’ together to go back to the pre-set program.
If you don’t press anything for two minutes, the timeswitch
automatically goes back to normal operation.
These instructions are for setting your
system with the possibility
of having different timings for each day of the week.
Set all weekdays
Press the SET? button and you’ll see ‘SET PROG?’.
Press the YES button, and the display will ask ‘SET MON to FRI
PROG?’
PROG?
MON TUE WED THU FRI
SET
PROG?
10
Page 11

Press YES, and you’ll see ON1, the start of your first heating
period. Adjust it in 1-minute steps using the – and + buttons. If
the – and + buttons are held down, the time changes in 10minute steps.
Press SET?, and you’ll see OFF1, the end of your first heating
period. Adjust this in the same way, press SET?, then repeat the
procedure for ON2, OFF2, ON3 and OFF3.
Set each day
If, after you’ve set OFF3 for the weekdays, you want to fine-tune
one or more days, press SET? until you find the first day you
want to adjust – then go through the procedure, altering any
time you wish. Press SET? to move on to the next day. When
you’ve finished, press SET? until you see ‘SET SAT SUN
PROG?’
If yo
u don’t want to alter any individual days, keep pressing
SET? until you see ‘SET SAT SUN PROG?’
11
Page 12

Set weekends
Press YES, and alter the weekend ON and OFF times in the
same way.
Set each weekday
If, after you’ve set OFF3 for the weekend, you want to fine-tune
Saturdays or Sundays, press SET? until you find the first day you
want to adjust – then go through the procedure, altering any
time you wish. Press SET? to move on to the next day. When
you press SET? after setting Sunday’s OFF3, the timeswitch will
go back to normal operation.
If you don’t want to alter either day, keep pressing SET? until
the
timeswitch goes back to normal operation.
SETTING THE CLOCK AND DATE
Applicable to all models
Setting the Clock
The clock in your timeswitch has been set at the factory, and
automatically keeps time and date, even during power loss,
and accounts for British Summer Time. However, should you
wish to set the clock or date proceed as follows:
SAT
SAT SUN
12
Page 13

Press the SET? button twice and you’ll see SET CLOCK?.
Set the hour
Press YES once, and then the hour will start to flash. Use the
– and + buttons to set the hour, checking for AM and PM.
Set the minute
Press SET?, and the minutes will start to flash. Use the – and +
buttons to set the exact time.
Press SET?, and ‘SET DATE?’ appears in the display.
If you want to change the date, then carry on to the next section.
If not, press SET? to go back to normal operation.
SETTING THE DATE
The weekday is automatically calculated from the date, so if
the weekday is incorrect you’ll need to reset the date.
Press the SET? button three times and you’ll see SET DATE?.
SET
DATE?
SET
CLOCK?
13
Page 14

Set the year
Press YES and the year will start to flash. Use the – and +
buttons to adjust.
Set the month
Press SET? and the month will start to flash. Use the – and +
buttons to adjust.
Set the day
Press SET? and the day will start to flash. Use the – and +
buttons to adjust.
Set the Day Light Saving
Press SET? and the current DLS status will start to flash for day
light saving (British Summer Time). Use the – and + buttons to
turn on or off.
Press SET? to go back to normal operation.
14
Page 15

15
 Loading...