

Page 1
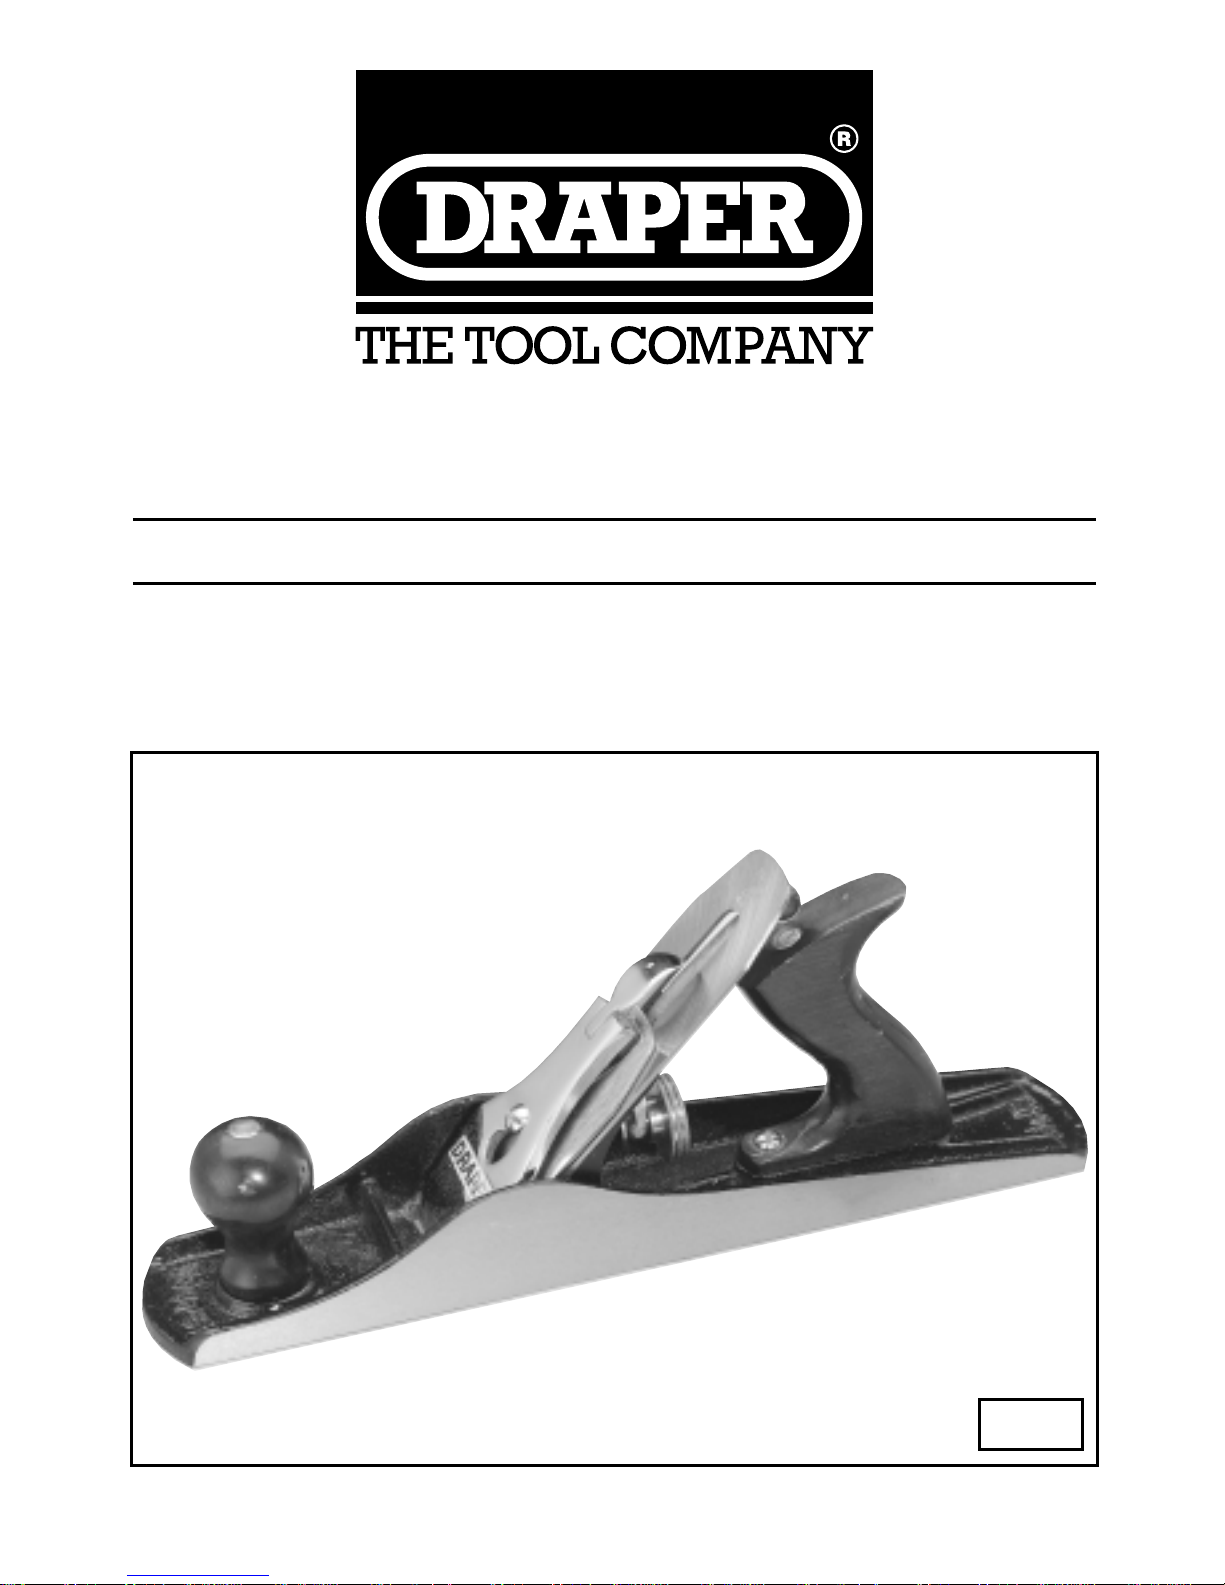
SMOOTHING PLANE
■ STOCK No.57590 ■ PART No.P5
05/99
• INSTRUCTIONS •
IMPORTANT: PLEASE READ THESE INSTRUCTIONS CAREFULLY TO ENSURE
THE SAFE AND EFFECTIVE USE OF THIS TOOL.
Page 2

COMPONENTS
Fig.1
Page 3
APPLICATION SMOOTHING PLANE:
For finishing, and general purpose work.
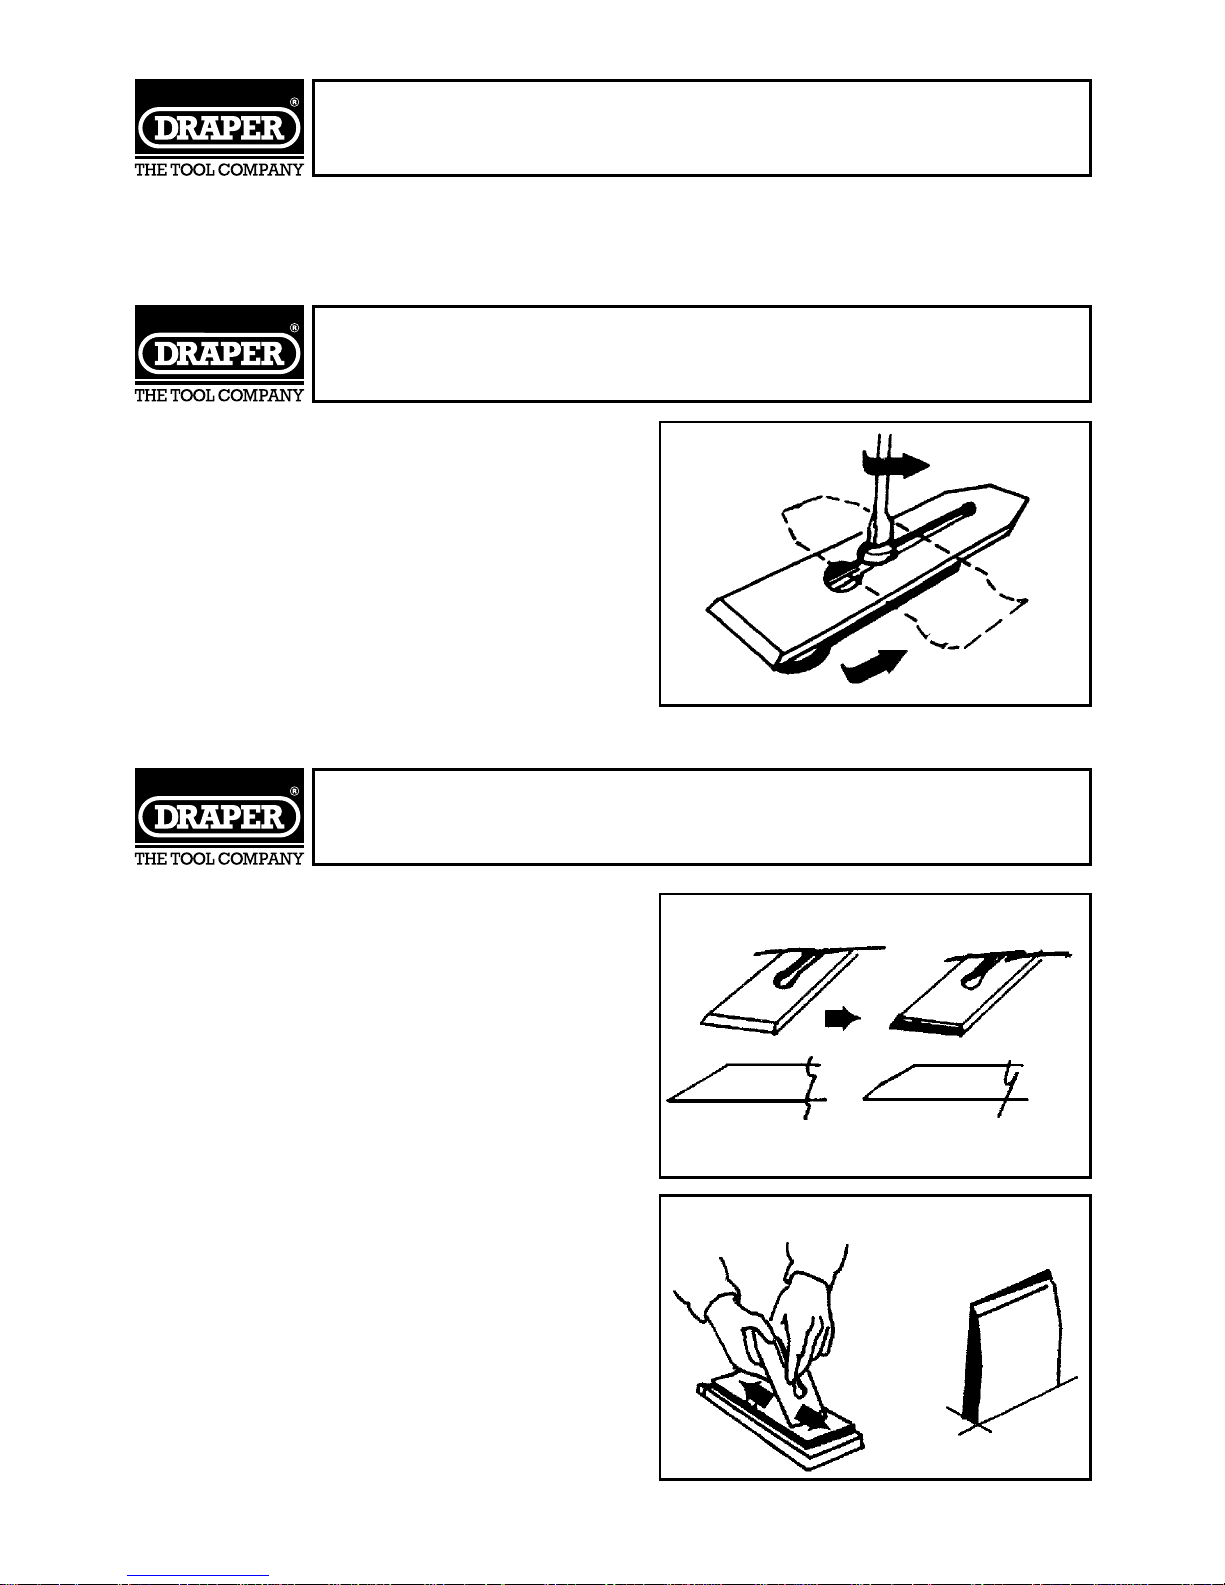
Lift lever cam (17) (Fig.1) and remove
lever cap (16) (Fig.1). Remove the cap
iron and cutting iron (8/9) (Fig.1) and
place on bench. Slacken cap iron screw
(15) (Fig.1) (see Fig.2). Slide back cap,
turn and remove. Iron is now ready for
honing.
IMPORTANT: IRON MUST BE
HONED BEFORE USE.
1. HONING THE IRON
The iron is supplied at a ground
angle of 25˚. Hone on a good
quality, flat oil stone lubricated
with light machine oil.
(a) Place ground 25˚ bevel flat on
oil stone and raise 5˚ to honing
angle of 30˚ (Fig.4).
(b) Hone the bevel along the stone,
until a burr is formed on the
back of the iron.
● For easy honing of plane irons use
Draper HG1 honing guide
Stock No.12400.
HONING THE IRON
PREPARING THE IRON FOR
HONING
BENCH PLANE
Fig.2
Fig.3
Fig.4
Page 4
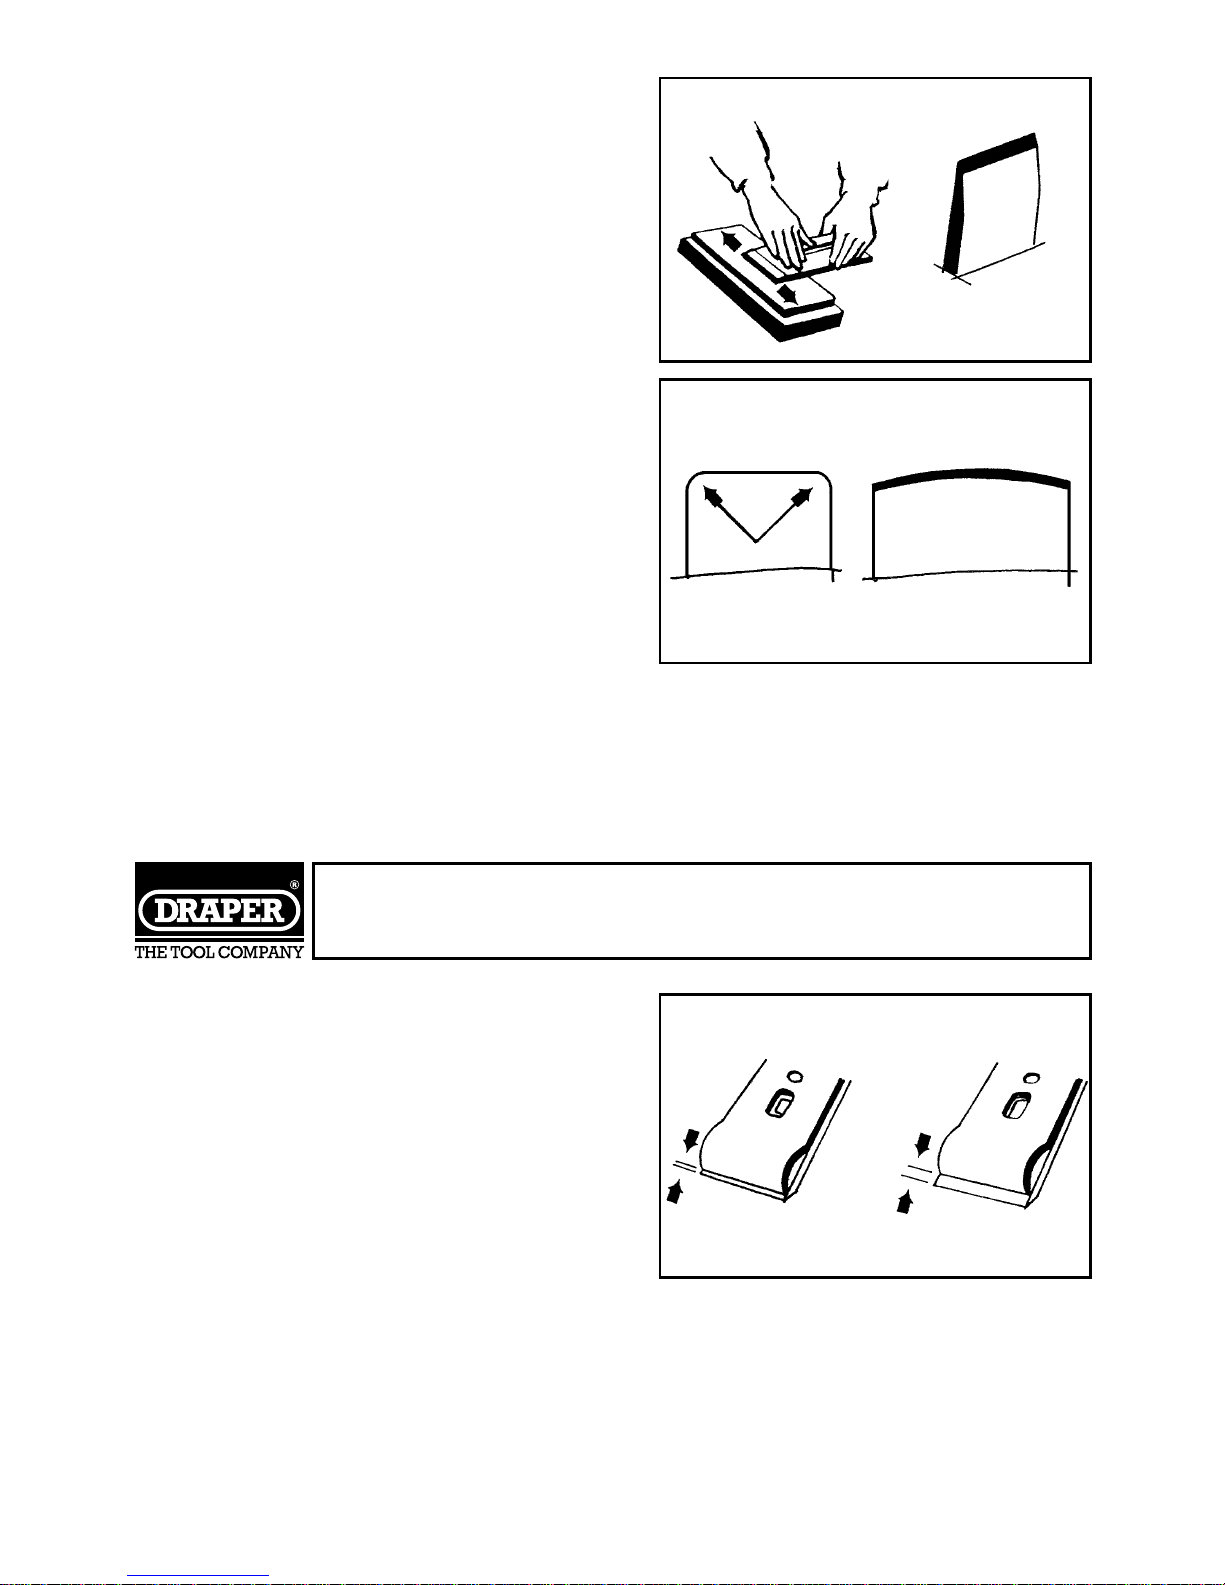
(c) Lay iron flat on the oil stone
with bevel upwards (Fig.5).A
few light strokes along the
stone will remove the burr.
The shape of the honed edge
depends on the final use to
which the plane is to be put.
Straight with round corners for
finishing work (Fig.6) and
curved for coarse stock
removal (Fig.7).
2. GRINDING THE IRON
Re-grinding will become necessary if the edge is damaged, the
bevel rounded or the angle changed.Wet stone grinding is
recommended to prevent overheating.
Follow procedure described in the
‘preparing the iron for honing’
section in reverse order. For general
purpose work, the cap iron (9) (Fig.1)
can be positioned approximately
1mm from the cutting edge on the flat
side of the iron. For very hard or very
soft timber, the cap may be set
respectively nearer or farther away
from the cutting edge as required
(see Fig.8).
SETTING THE CAP IRON
Fig.5
Fig.6
Fig.8
Fig.7
Page 5

The size of the mouth opening (Fig.9)
depends on the use to which the
plane will be put. Fine cabinet work
requires a small mouth; general
purpose work requires a larger
mouth, (as factory setting).
* Remove lever and double iron.
* Slacken frog clamping screws.
* Replace double iron and lever.
* Adjust iron to correct depth (see ‘adjusting the plane’ section).
* Apply hand pressure to move the frog.
* Hold the desired frog position, while removing the lever cap and
double iron, then re-tighten frog clamping screws (7) (Fig.1).
1. DEPTH CUT
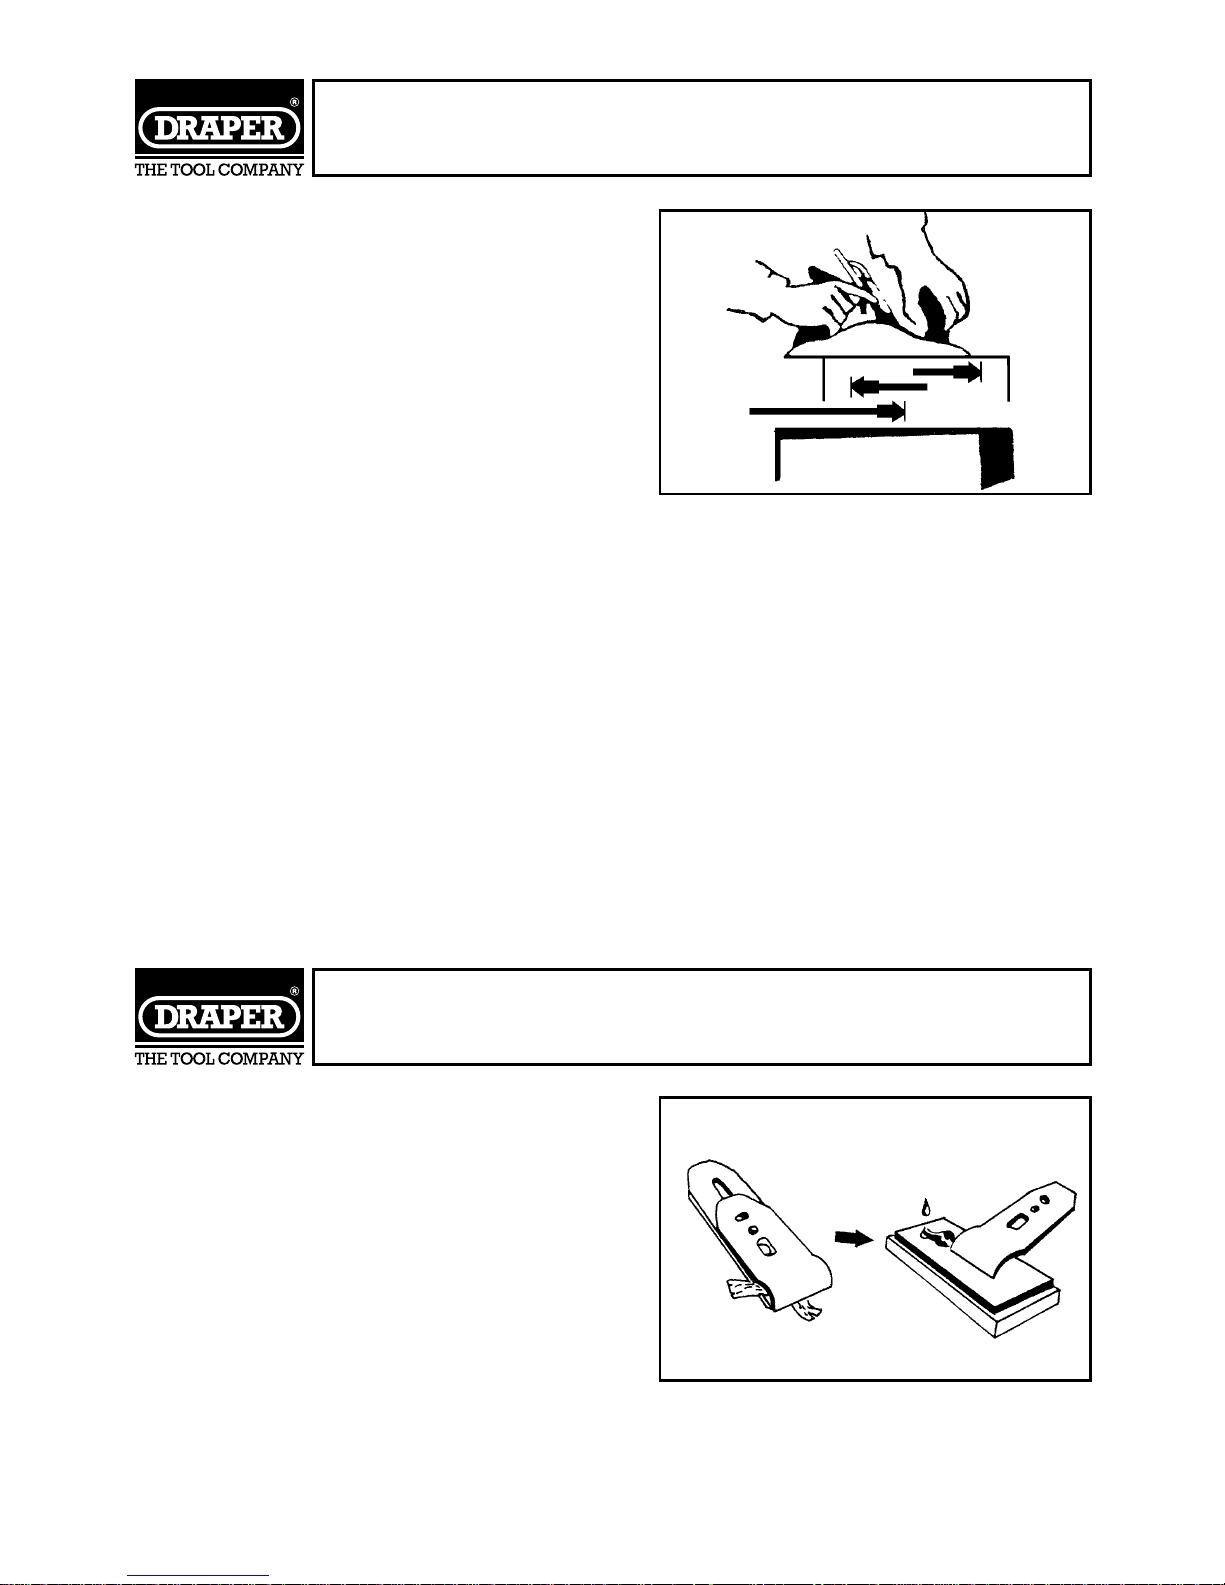
Hold the plane as in Fig.10. Adjust
the depth or iron protruding
through the mouth, by turning the
depth adjusting nut (4) (Fig.1),so
that the amount showing is
approximately the thickness of a
hair.
2. ALIGNMENT
Sight down the base and move
lateral adjusting lever (1) (Fig.1),
(See Fig.11).
ADJUSTING THE PLANE
PREPARING THE PLANE
Fig.9
Fig.10
Fig.11
Page 6
* To improve iron performance, it is
recommended that the procedure
described in the ‘iron sharpening’
section (C) is used to “back-off” or
polish the flat surface of the iron
prior to honing.
* After removing the burr, see ‘iron
sharpening’ section, strop the edge
with a piece of leather, or draw the
edge through a piece of softwood.
* Keep iron very sharp.
* Keep plane base in line with workpiece.
* Set to minimum shaving thickness.
* Plane in same direction as the grain.
* Work from edge to middle when planing end-grain.
* Keep bright parts oiled when not in use.
* Do not clear shavings from mouth with a metallic object.
* To protect iron, always lay plane on side when not in use.
* Do not drop.
1. PROBLEM:
Mouth jams with shaving.
REMEDY:
Too coarse a cut, reset depth of
cut. Poorly fitted cap results in
shavings passing between cap and
iron, re-grind cap edge on oil
stone (Fig.13).
PLANE PROBLEM SOLVING
TIPS AND MAINTENANCE
Fig.12
Fig.13
Page 7
2. PROBLEM:
“Chatter” marks on work surface
(Fig.14).
REMEDY:
Check frog clamping screws.
Check lever cap pressure on iron.
Check seating of iron on frog face.
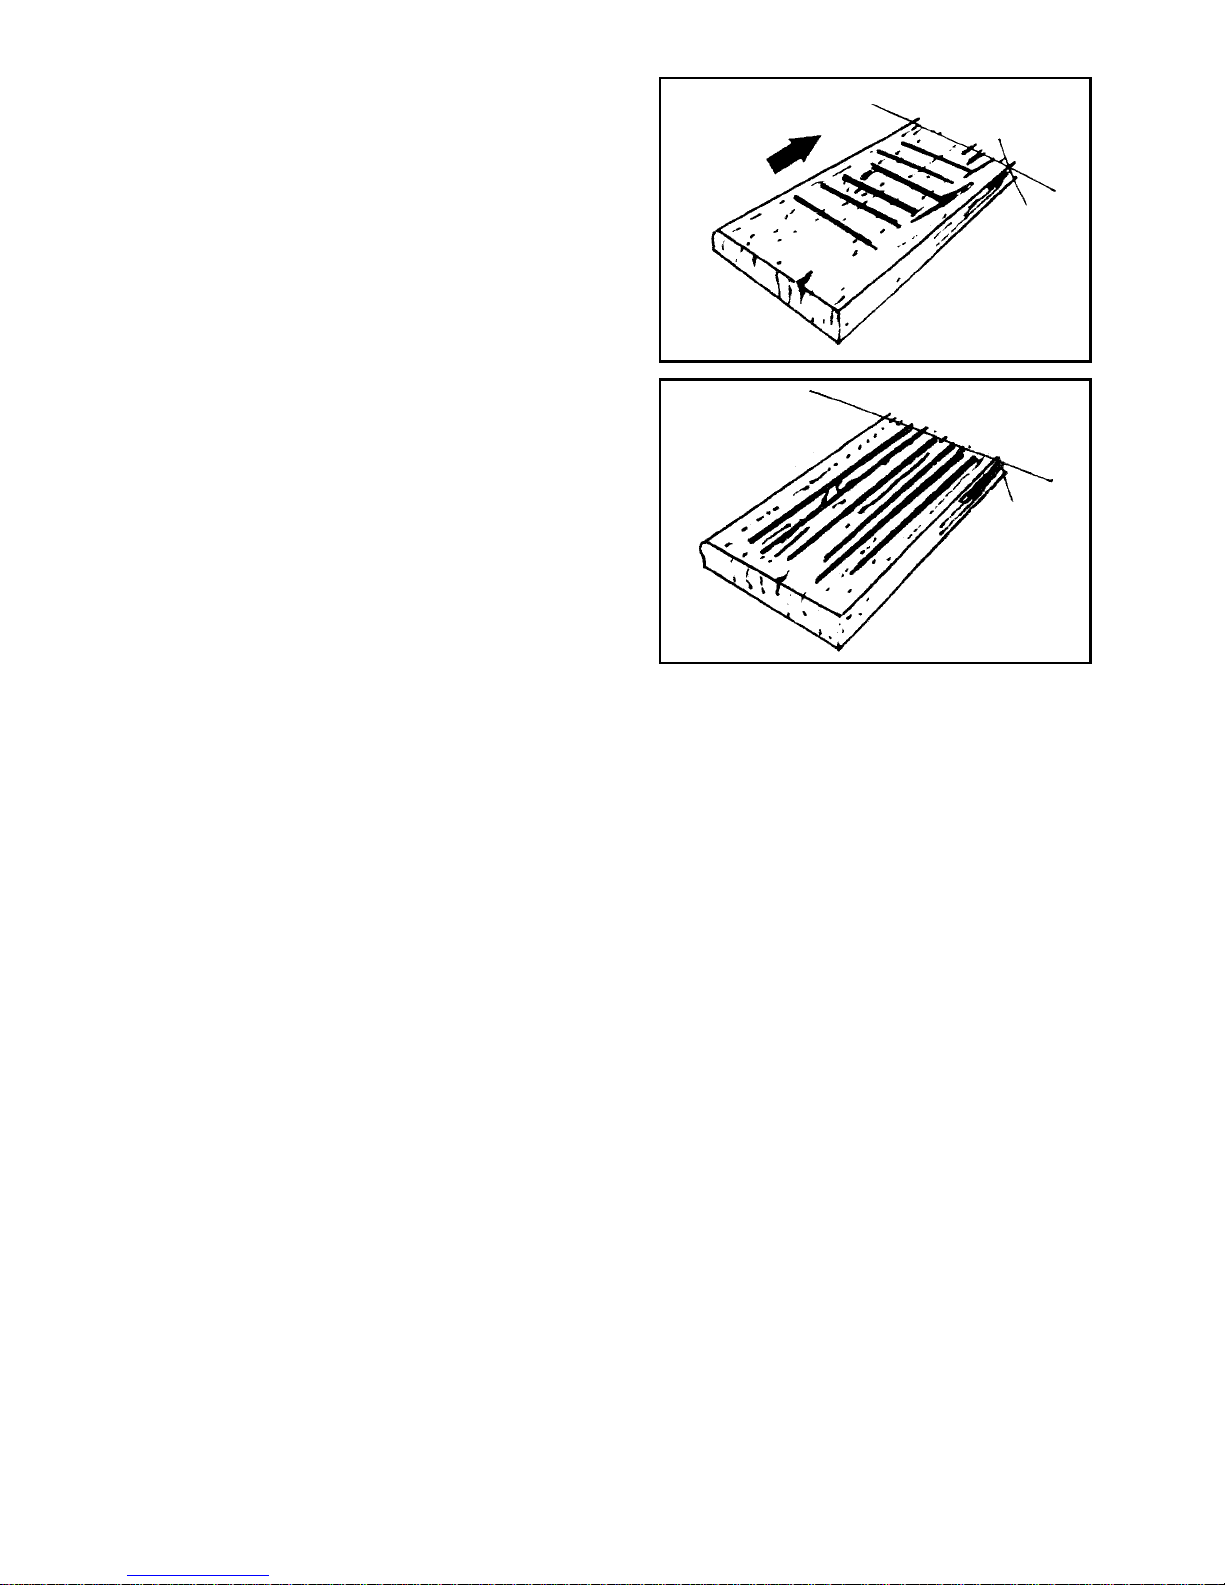
3. PROBLEM:
“Tram” lines or scoring marks on
work surface (Fig.15).
REMEDY:
corners of iron too sharp should
be honed to a radius. Iron may be
hollow on edge. Iron may be
damaged, re-hone or re-grind.
Lateral adjustment poorly set.
4. PROBLEM:
Plane skids over surface.
REMEDY:
Iron may be dull and require sharpening. Clean base with solvent.
Check depth of cut.
Fig.14
Fig.15
Page 8

DRAPER TOOLS LIMITED,
Hursley Road, Chandler's Ford,
Eastleigh, Hants. SO53 1YF. England.
Tel: (01703) 266355.
Fax: (01703) 260784.
©Published by Draper Tools Ltd.
No part of this publication may be reproduced,
stored in a retrieval system or transmitted in
any form or by any means, electronic, mechanical
photocopying, recording or otherwise without prior
permission in writing from Draper Tools Ltd.
YOUR DRAPER STOCKIST
 Loading...