

Page 1
Thank you
DMX Operation Instructions
for purchasing a Dracast Studio Series LED light. We’re
condent that your Dracast light will provide years of
reliable service.
Understanding the controls
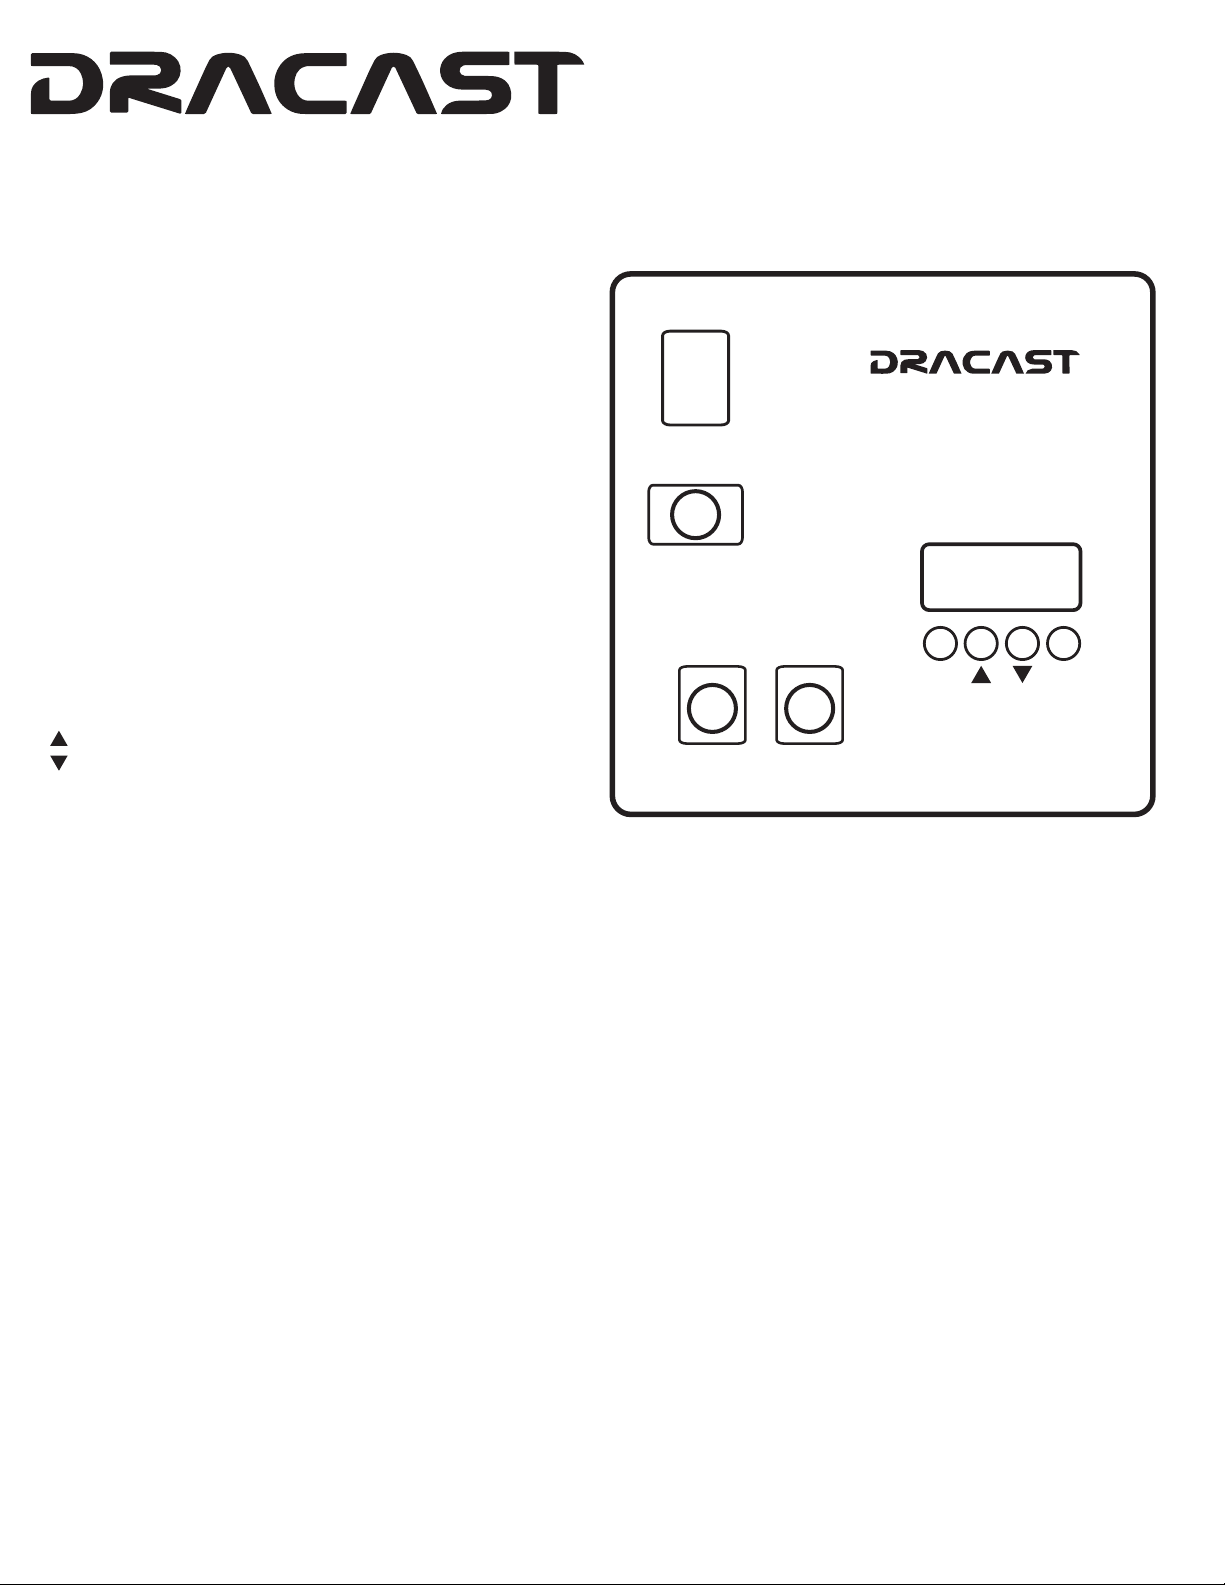
Your Dracast is equipped with full DMX 512
functionality. The dimming and color controls (if
available) can be controlled either via a standard
DMX controller or manually by using the control panel
on the back of the xture.
The control panel has an LCD display and four buttons
directly below it. These four buttons perform the
following actions:
SETUP - Cycles through each adjustable option.
- Adjusts the selected item up.
- Adjusts the selected item down.
ENTER - Conrms the current selection.
DMX Channel Selection (A)
ON
I
O
OFF
XLR
SETUP ENTER
DMX OUT DMX IN
Fig 1
The rst menu item is the DMX channel selector, designated by the letter A on the left of the LCD display. Pressing the SETUP button
once will cause the LCD display to ash. When ashing, use the up and down arrow buttons to select the starting channel for your
DMX board.
In the case of a single color light, you will only be assigning one channel. For example, A002 will assign the dimming function to
channel 2 on your DMX controller. In the case of a bi-color light, you will be assigning 2 channels. The second channel will be assigned
automatically as the channel directly following the selected channel. For example, A002 will assign the dimming function to channel 2
on your DMX controller and the color function to channel 3.
Press ENTER when you have selected your desired channel to conrm your settings.
Manual Dimming (L)
The second menu item is the manual dimming function. To manually control the dimmer press the SETUP button to cycle through to
the L setting. Press SETUP once so that the LCD menu begins to ash. Use the up and down arrows to control your dim level 0 - 100.
Press ENTER when you have selected your desired dim to conrm your settings.
Manual Bi-Color (c)
The third menu item is the manual bi-color function. To manually control the color temperature press the SETUP button to cycle through
to the c setting. Press SETUP once so that the LCD menu begins to ash. Use the up and down arrows to control your color temperature
0 - 100.
Press ENTER when you have selected your desired dim to conrm your settings.
 Loading...