


201(ER/ES) User201(ER/ES) User ’s Manuals Manual
(3) LAN Information : view ADSL MAC Address and IP Address, Subnet Mask
18

201(ER/ES) User201(ER/ES) User ’s Manuals Manual
(4)
Setting WAN status : If you click “WAN ” at the “Configuration” section,
the page is to appear as below. And check the VPI, VCI value.
ENCAPSULATION Mode Change 1483 Bridged, PPPoA, PPPoE
19

NOTE: The VPI and VCI parameter is depend on ISP
201(ER/ES) User201(ER/ES) User ’s Manuals Manual
Ethernet Configuration
Bridge Mode Router Mode
(PPPoA / PPPoE)
20
Router Mode
(Static IP)

201(ER/ES) User201(ER/ES) User ’s Manuals Manual
WAN Configuration
Enabled? Yes Yes Yes
Static IP Address N/A N/A (AUTO) Provided by ISP
Subnet Mask N/A N/A (AUTO) Provided by ISP
WAN Advanced
Configuration
Encapsulation 1483 Bridged IP LLC PPPoA LLC
1483 Bridged IP LLC
PPPoE LLC
Bridge Enabled Disabled Disabled
PPP Service Name N/A N/A(ISP ) N/A
PPP User Name N/A Provided by ISP N/A
PPP Password N/A Provided by ISP N/A
DHCP Client enable UnChecked UnChecked UnChecked
LAN Configuration
DHCP Server Not Checked Checked Checked
NAT Configuration
NAT Disabled NAPT NAPT
DNS Configuration
Default Gateway N/A N/A (AUTO) Provided by ISP
Preferred DNS Server N/A N/A (AUTO) Provided by ISP
Alternate DNS Server N/A N/A (AUTO) Provided by ISP
RIP Configuration
RIP Disabled Disabled Disabled
1. Using PPPoA Mode
1-1) When you click on the "WAN“ from"Configuration" section,
Then set the VPI and VCI value.
21

- VPI, VCI Value EX) 0, 67
- ENCAPSULATION : PPPoA LLC
- BRIDGE : Disabled
201(ER/ES) User201(ER/ES) User ’s Manuals Manual
1-2) [WAN Configuration], then set the picture as follows.
- PPP
22

Service Name : Name of ISP providerUsername : User ID
Password : User Password
201(ER/ES) User201(ER/ES) User ’s Manuals Manual
2) Setting as below, click [Execute] button and click [Save Configuration] to save the value.
click [Submit] button to proceed.
23

3) If you see the link lamp turn on, the value is saved in success.
201(ER/ES) User201(ER/ES) User ’s Manuals Manual
you can use internet.
2. Using PPPo E Mode
24

1-1) When you click on the "WAN“ from"Configuration" section,
Then set the VPI and VCI value.
- VPI, VCI Value EX) 0, 67
- ENCAPSULATION : PPPoE LLC
- BRIDGE : Disabled
201(ER/ES) User201(ER/ES) User ’s Manuals Manual
1-2) [WAN Configuration], then set the picture as follows.
25

- PPP
Service Name : Name of ISP providerUsername : User ID
Password : User Password
201(ER/ES) User201(ER/ES) User ’s Manuals Manual
2) Setting as below, click [Execute] button and click [Save Configuration] to save the value.
click [Submit] button to proceed.
26

3) If you see the link lamp turn on, the value is saved in success.
201(ER/ES) User201(ER/ES) User ’s Manuals Manual
you can use internet.
3. Using Bridged Mode
27

1-1) When you click on the "WAN“ from"Configuration" section,
Then set the VPI and VCI value.
- VPI, VCI Value EX) 0, 67
- ENCAPSULATION : 1483 Bridged IP LLC
- BRIDGE : Enabled
201(ER/ES) User201(ER/ES) User ’s Manuals Manual
1-2) [WAN Configuration], then set the picture as follows.
28

- PPP
Service Name : Blank
201(ER/ES) User201(ER/ES) User ’s Manuals Manual
Username : Blank
Password : Blank
2) Setting as below, click [Execute] button and click [Save Config uration] to save the value.
click [Submit] button to proceed.
29

3) If you see the link lamp turn on, the value is saved in success.
201(ER/ES) User201(ER/ES) User ’s Manuals Manual
you can use internet.
Connect and disconnect the Internet.
After installing 201, you can connect the Internet following procedure..
30

In case of 1483 Bridged Mode
<<Notice >>
If the service type of your local ADSL service provider is PPPoE, please contact to your local ADSL
service provider to get a PPPoE session client application.
We describe the installation procedure of WinPoET, one of PPPoE session client applications
which is generally used. Most local ADSL service providers have the software license agreement of
PPPoE session client applications, so you can download those from their website or get those from
them as CD-ROM.
201(ER/ES) User201(ER/ES) User ’s Manuals Manual
1. Start installation to double-click the “WinPoET.exe” file in WinPoET setup program.
2. In [Software License Agreement] window, please read the License Agreement carefully. click
“[Accept]” button if you accept this agreement.
31

201(ER/ES) User201(ER/ES) User ’s Manuals Manual
3. In [Configuration Analysis] window, click “[Next]” button.
4. In [Destination Folder] window, click “[Next]” button if you want to use default folder.
If you want to use different folder, click “[Browser]” button to select the folder.
32

201(ER/ES) User201(ER/ES) User ’s Manuals Manual
5. If [Installation Completed] window pops up, the installation is done successfully.
Click the “[Next]” button for rebooting your PC.
6. After rebooting, you can find “ [WinPoET]” shortcut icon on the wallpaper in your PC. Doubleclick “[WinPoET]” shortcut icon on the wallpaper in your PC.
33

201(ER/ES) User201(ER/ES) User ’s Manuals Manual
7. In [ WinPoET Dialer ] window, fill in User name & Password according your user account at ADSL
ISP, then click “Connect” button.
<<Notice >>
If you want to save the current information for future use, tick the “Save Password” box.
8. In a few seconds, the WinPoET icon appears in the system tray on your PC.
34
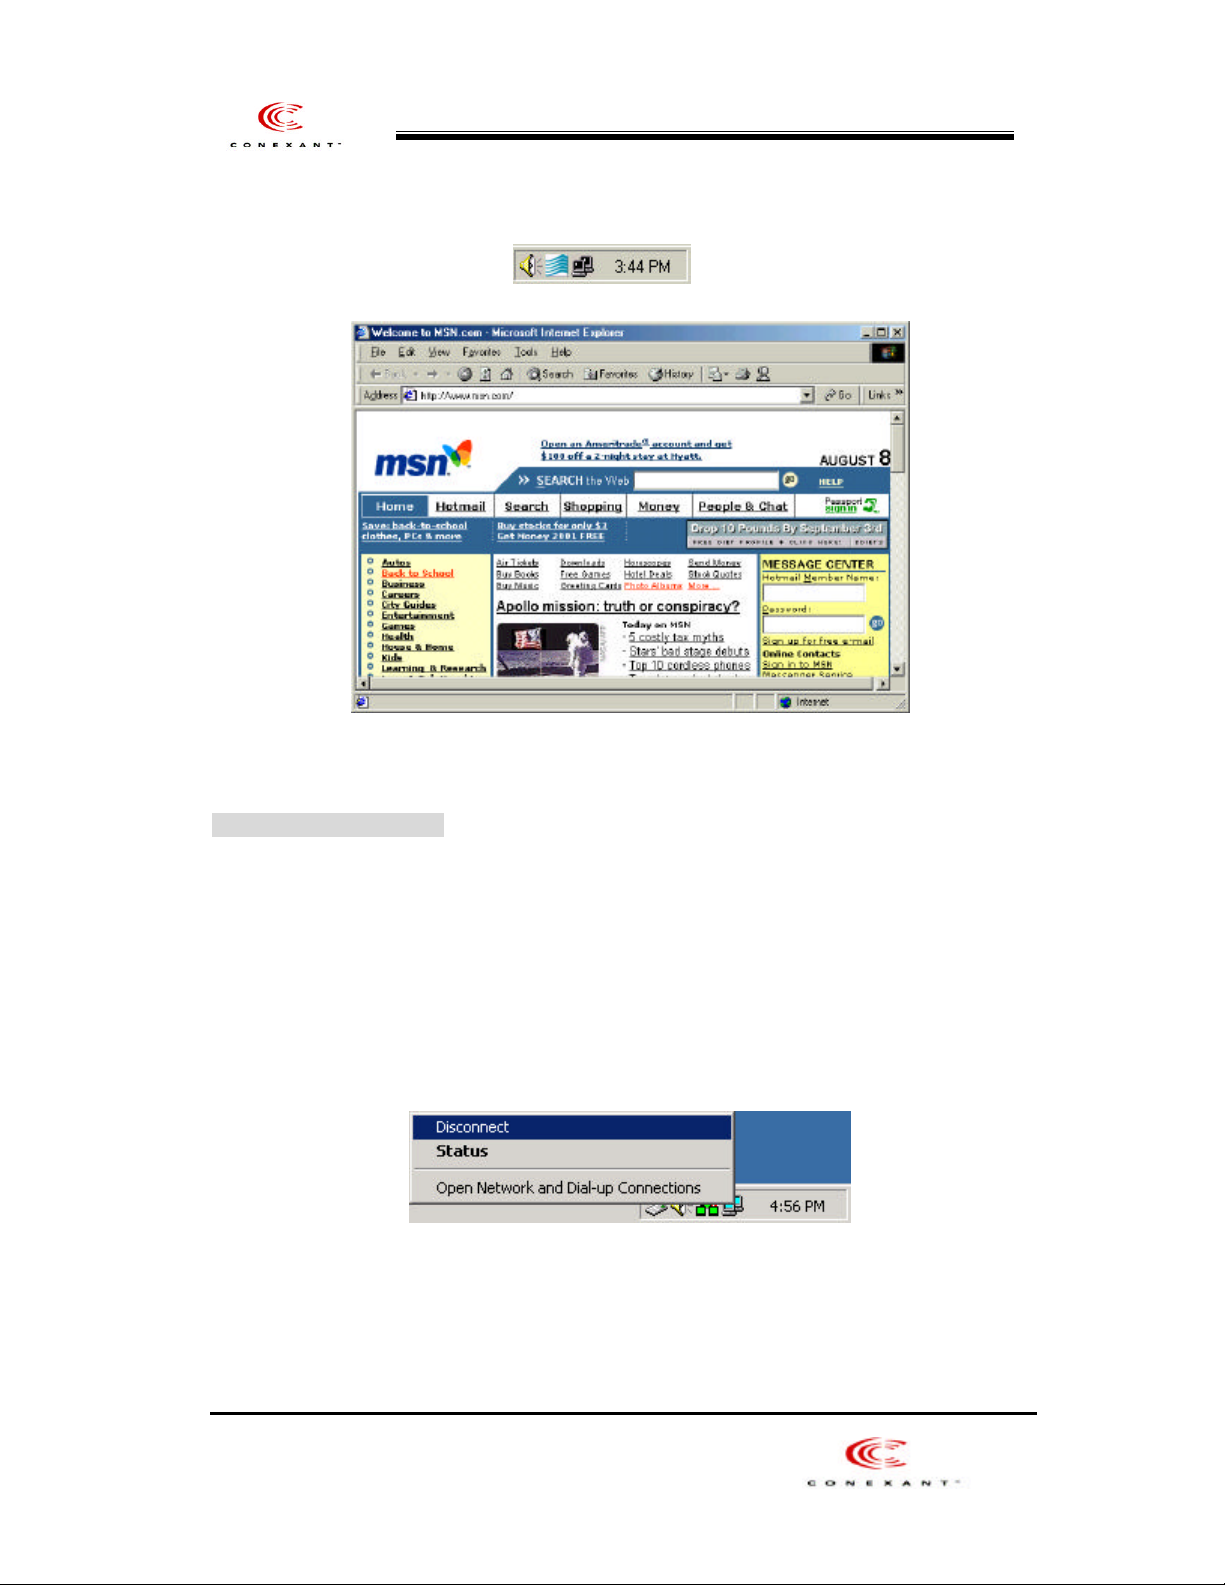
Then, connecting the Internet has finished.
201(ER/ES) User201(ER/ES) User ’s Manuals Manual
Disconnecting to the Internet
Click the right button in your Mouse upon the WinPoET icon in the system tray.
1) move your mouse point over the WinPoET icon in the system tray.
2) Click the right button in your mouse.
3) select “ Disconnect ” and press enter to disconnect Int ernet.
35
 Loading...