

Page 1
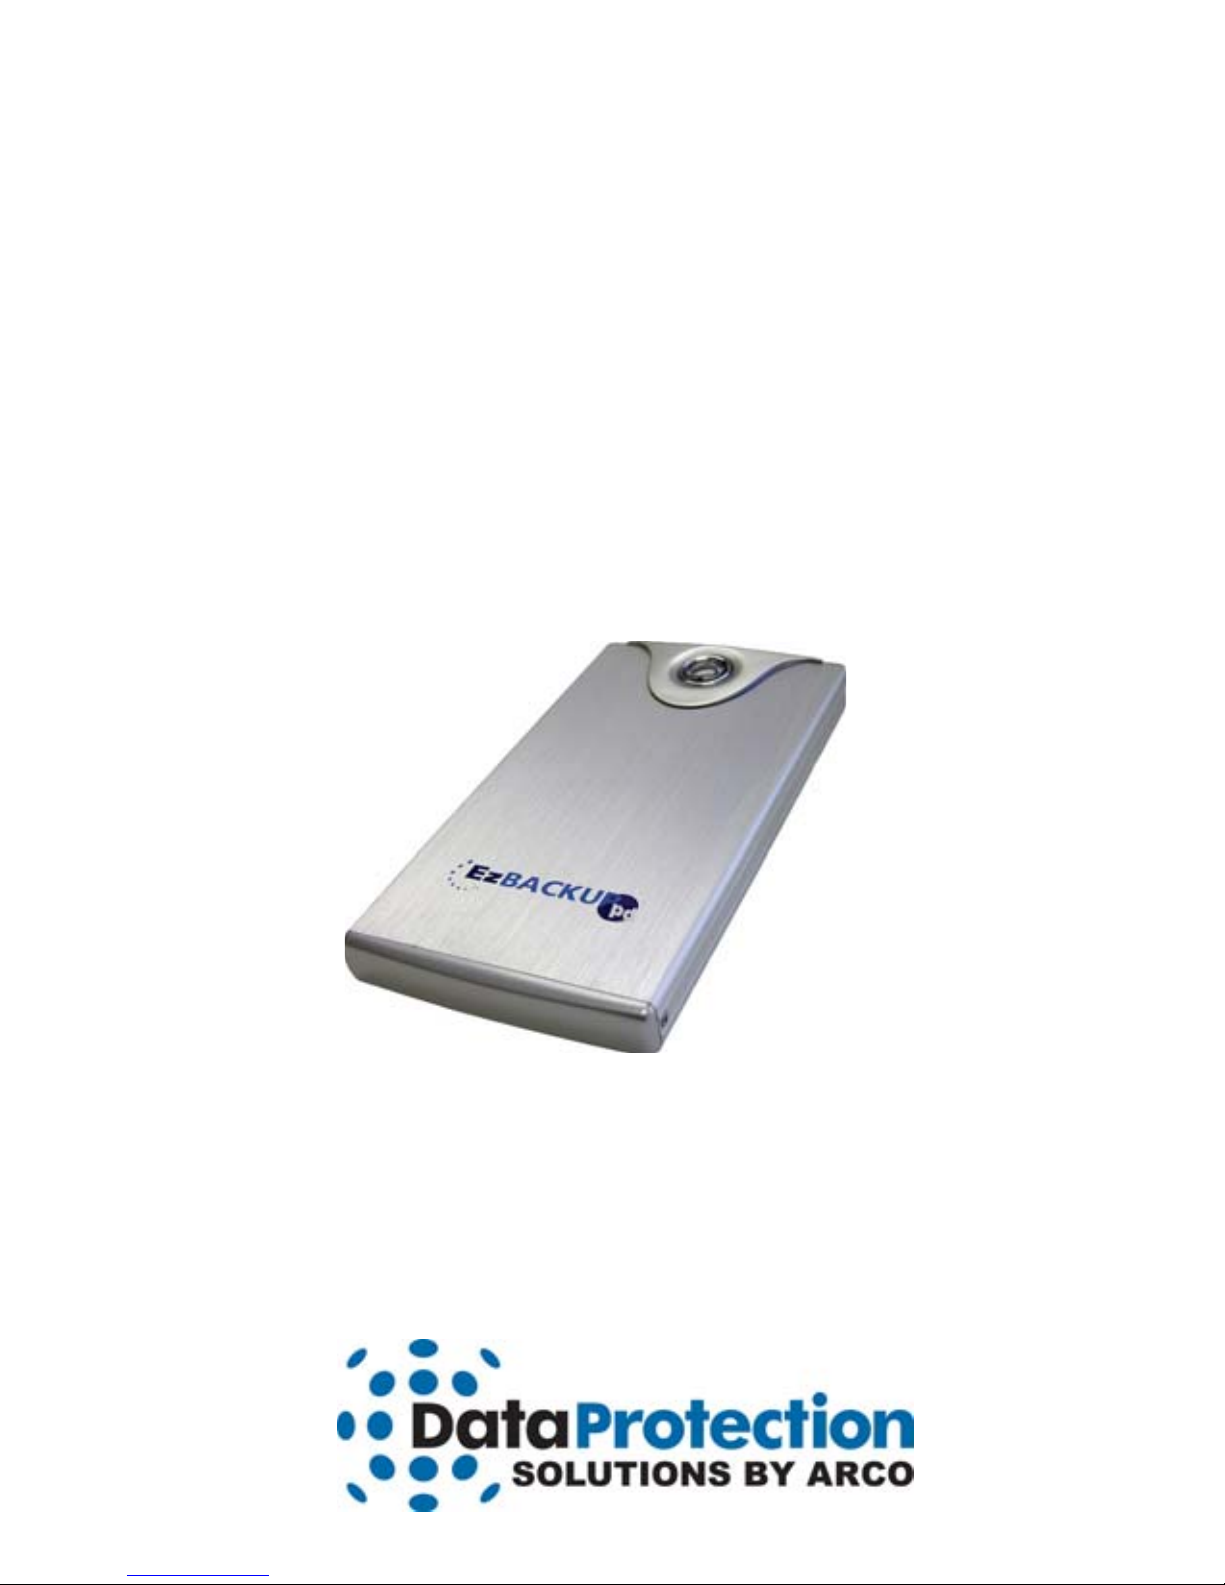
Stand-Alone Backup and Recovery Solution
for 2.5-inch Drives
EzBackup-pd
Quick Start Guide
For Windows
Page 2

Regulatory Notices
This device complies with part 15 of the FCC Rules. Operation is subject to the following
conditions:
This device may not cause harmful interference, and this device must accept any interference
received, including interference that may cause undesired operation.
Pursuant to part 15.21 of the FCC Rules, any changes or modifications to this equipment not
expressly approved by Data Protection Solutions may cause harmful interference and void your
authority to operate this equipment. Use of a shielded data cable is required to comply with the
Class B limits of part 15 of the FCC Rules. For further information, contact Data Protection
Solutions.
Note
This equipment has been tested and found to comply with the limits for a Class B digital device,
pursuant to part 15 of the FCC rules. These limits are designed to provide reasonable protection
against harmful interference in a residential installation. This equipment generates, uses, and can
radiate radio frequency energy and, if not installed and used in accordance with instructions, can
cause harmful interference to radio communications. However, there is no guarantee that
interference will not occur in a particular installation. If this equipment does cause harmful
interference to radio or television reception, which can be determined by turning the equipment
off and on, the user is encouraged to try to correct the interference by one or more of the
following measures:
Reorient or relocate the receiving antenna.
Increase the separation between the equipment and the receiver.
Consult the dealer or an experienced radio/TV technician for help.
Acknowledgements: EzBackup™pd is a registered trademark of Data Protection Solutions.
No part of this publication may be reproduced in whole or in part, or transmitted in any form or by
any means, electronic, mechanical, photocopying, recording, or otherwise, without written
permission from the publisher. For information regarding permission, write to: Data Protection
Solutions, 3100 North 29th Court, Hollywood, Florida 33020 USA
Text and images copyright © 2005 by Data Protection Solutions. All rights reserved. Published by
Data Protection Solutions, 3100 North 29th Court, Hollywood, Florida 33020 USA
While every precaution has been taken in the preparation of this manual, we assume no
responsibility for errors or omissions. Neither, is any liability assumed for damages resulting from
the use of the information contained herein.
Windows® is a registered trademark of the Microsoft Corporation. NET Framework® is a
registered trademark of the Microsoft Corporation. All other trademarks used in this text are
registered trademarks of their respective owners.
©2007 Printed in the USA Rev. 3
2
Page 3
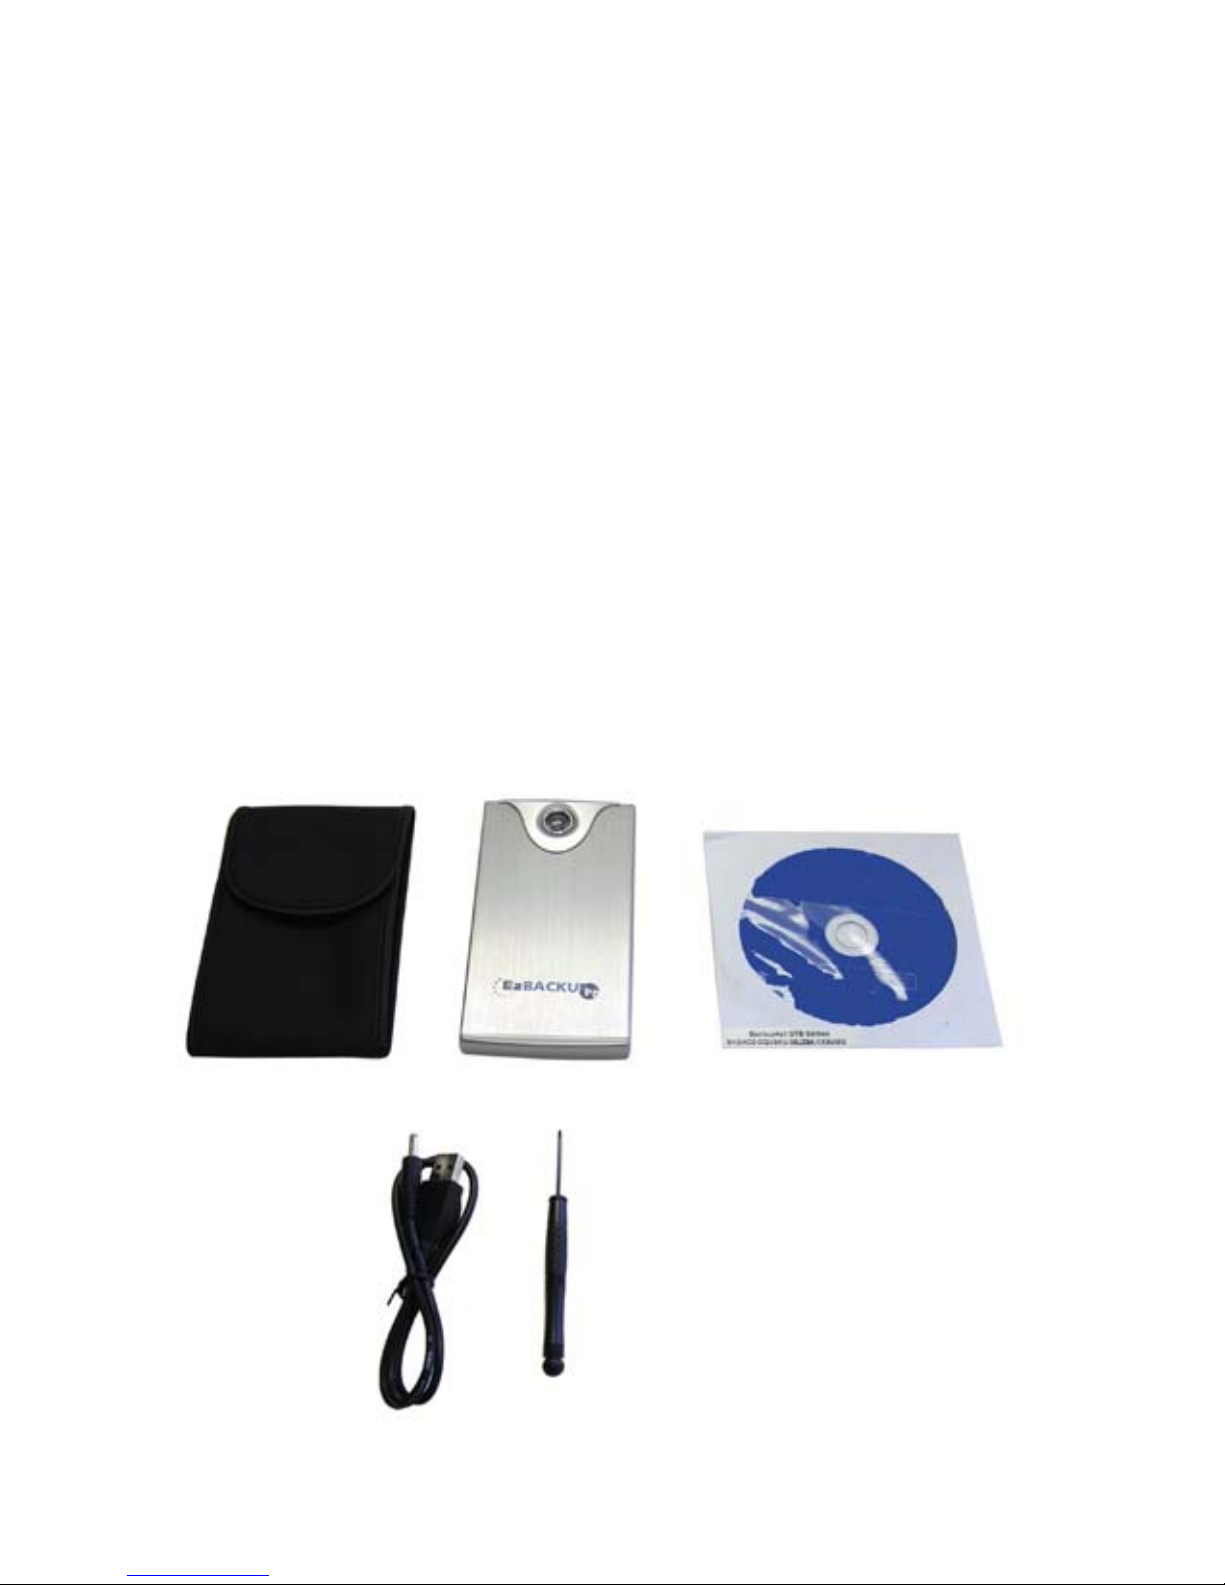
Box Contents
● 1 EzBackup™pd External Drive Unit
● 1 Carry Case
● 1 USB Cable
● 1 Power Adapter
● 1 Quick Start Guide
● 1 Screw Driver
● 1 Warranty Card
3
3
Page 4

Introduction
EzBackup is a complete drive to drive backup and restore
solution. It is designed to protect users against data loss,
whether that loss is due to a single inadvertently deleted file or
the failure of an entire hard drive.
EzBackup will create a mirror image (an exact duplicate) of
your computer ’s internal hard drive, including the operating
system, applications, settings and data files, on a second
drive. The destination drive can be either an internal or an
external drive. After the initial image copy has been created,
individual files and folders may be selected for backup.
Minimum System Requirements
● PC with an available USB 1.1/2.0 port
● 4X CD-ROM Drive
● 32MB of hard drive space
● 256 MB of RAM
● 800 x 600 Minimum Screen Resolution
● Windows® 2000/XP Home or Professional
4
Page 5

EzBackup Quick Start Guide
This Quick Start Guide is designed to allow Windows® users to
get up and running quickly. For additional information and more
detailed explanations, please refer to the full manual provided on
the installation CD.
1. Turn on your computer and boot up to Windows. Close
any applications and temporarily disable any virus protection
software you may have running.
2. Connect the EzBackup™pd to your computer. Connect one
end of each USB cable to a USB port on the EzBackup-pd and
the other end to a USB port on your computer. The unit requires
both cables in order to draw enough power to operate properly.
Switch on the EzBackup™pd.
3. Insert the EzBackup™ Software CD into the CD-ROM drive.
When the splash screen appears, click on Install Now. If the
splash screen does not appear automatically, open My
Computer and double click on the CD-ROM drive icon to launch
installation.
Note: If a question regarding “Microsoft .NET
Framework®” appears during installation, select YES.
5
Page 6

4. When the installation has completed successfully, the
EzBackup™ application will launch automatically. A prompt
will appear asking if you wish to select your drives. Click Yes
to continue.
5. EzBackup™ will now search your computer for available drives.
Two drop-down lists, one labeled Source Drive and the other
Destination Drive, will appear. Select your Source and
Destination drives from the list and click Next.
If either drive is not listed, check that the drive is properly
connected and turned on. If you have negelected to connect
or power on your drive, do so now and click Refresh to
update the drive lists. Click Next to continue. If you need to
return to the drive selection screen at any time select Choose
Drives from the File Menu.
6. Once you have selected your Source and Destinaton drives,
the Set Up Backup Options screen will appear. Select the
Default Backup option if you wish to overwrite the existing
backup files with the most recent version each time you
backup. Select the Incremental File Backup option if you
wish to maintain multiple copies of your backups with dated
restore points. Click Next to continue.
6
Page 7

7. EzBackup™ will now ask if you wish to begin the image backup.
Click Yes. EzBackup™ will restart your computer and begin to
create an image backup (exact duplicate of your source drive on
your destination drive. When the copy process is complete,
strike any key to continue.
Your computer will restart. On restart, a message will appear
offering the option to activate your EzBackup™ software.
Click Yes and enter the activation code on your disk jacket.
Your copy of EzBackup will only operate for 30 days if it is not
activated so it is important to enter your activation code as
soon as possible.
Store the EzBAckup™ software CD in a safe and handy place.
In the event that you must restore your entire drive to its original
(and, if applicable, bootable state), a full image restore will be
necessary and use of the CD will be required.
8. Before you can utilize the one-touch backup feature of the
EzBackup-pd, you must set up this feature. Click on the
Schedule tab from the EzBackup main menu and select
Create New Schedule. Select the Upon Event option and
choose Button Pressed as the event.
For additional information, please consult the full
EzBackup™ manual which is available in Acrobat format on
your EzBackup™ Software installation and recovery CD.
The EzBackup manual is also available for download from
our website at: http://www.ezd2d.com/support_manuals.php.
7
Page 8

To Install or Re-install a Drive
It is not recommended that users disassemble the
EzBackup-pd. However, if it becomes necessary to add
or remove a drive, unscrew the case and slide it apart as
shown below .
Ì
É
1. Connect the drive to the IDE
connector on the PCB board.
2. Slide the drive and PCB
board into the aluminum
case.
3. Replace the screws in the
front cover and attach firmly
to the body case.
8
Page 9

Boot from the CD-ROM Drive
If it is necessary to do a complete image restore, you will need to
boot from the EzBackup CD-ROM disk. If your computer is not
set to boot from the CD-ROM drive you may need to change the
boot sequence in the computer BIOS.
Many computers display BIOS access instructions while the
computer boots. Pressing a key or a combination of keys before
the Operating System begins to load will access the BIOS. In
most cases you will simply press the ‘del’ key after the first visible
text on your screen. Some other common keys are ESC, F1, F2,
F10, Ctrl-Del. For more information, check the documentation
that came with your computer or refer to the list below. If you are
still experiencing difficulty please contact our tech support at: 954925-2889 from 9:00 to 5:00 Eastern Standard Time.
Computer Key Command(s)
Acer® F1, F2, CTRL+ALT+ESC
AST® CTRL+ALT+ESC,
CTRL+ALT+DEL
Compaq® 8700 F10
CompUSA® DEL
Cybermax® ESC
Dell® 400 F3
Dell 400 F1
9
Page 10

Dell Dimension® F2 or DEL
Dell Inspiron® F2
Dell Latitude Fn+F1 (while booted)
Dell Latitude F2 (on boot)
Dell Optiplex DEL
Dell Optiplex F2
Dell Precision™ F2
eMachine™ DEL
Gateway® 2000 1440 F1
Gateway 2000 Solo™ F2
HP® (Hewlett-Packard) F1, F2
IBM® F1
IBM E-pro Laptop F2
IBM PS/2® CTRL+ALT+INS after
CTRL+ALT+DEL
IBM Thinkpad® (newer) W indows: Programs-Thinkpad
CFG.
Intel® Tangent DEL
Micron™ F1, F2, or DEL
Packard Bell® F1, F2, Del
Sony® VIAO F2
Sony VIAO F3
Tiger DEL
Toshiba® 335 CDS ESC
Toshiba Protege ESC
Toshiba Satellite 205 CDS F1
Toshiba Tecra F1 or ESC
10
Page 11

How to Get Help
If you should find that you need help beyond what is offered in
this manual or if your EzBackup™sa is in need of repair or
warranty service, please contact DPS Technical Support by
using the methods below.
Phone 954 925-2889
Fax 954.925.2889
email support@EzD2D.com
3100 North 29th Court
Address
Hollywood, Florida 33020 USA
Hours of Support Mon. – Fri. 9AM – 5PM EST
In the unlikely event your EzBackup™sa is in need of repair, you
will need to obtain a Return Merchandise Authorization (RMA)
number before you can return the product to DPS. To obtain an
RMA number, please have your product serial number handy and
call DPS at the telephone number above. Ship the product back to
us in its original carton or equivalent with the RMA number and
your name and address on the shipping label.
11
Page 12

One-Year Limited Warranty
This warranty gives you specific legal rights. You may also have other rights that vary
from one jurisdiction to another.
THE WARRANTIES GIVEN HEREIN, TOGETHER WITH ANY IMPLIED WARRANTIES
COVERING THE HARDWARE, INCLUDING ANY WARRANTIES OF
MERCHANTABILITY OR FITNESS FOR A PARTICULAR PURPOSE, ARE LIMITED IN
DURATION TO ONE YEAR FROM THE DATE OF DELIVERY TO PURCHASER.
Data Protection Solutions by ARCO (“DPS”) warrants to the Purchaser that DPS’
hardware is free from defects in workmanship or material under normal use and service.
This warranty commences on the date of delivery of the hardware to the Purchaser. Any
claim under the warranty must include a dated proof of purchase or invoice. In any
event, DPS’ liability for defective hardware is limited to repairing or replacing the
hardware.
During the warranty period, DPS agrees to repair or replace, at its sole option, without
charge to Purchaser, any defective component part of the hardware. To obtain service,
Purchaser must contact Technical Support to obtain a Return Merchandise
Authorization (RMA) number. Return the hardware to DPS or an authorized DPS
distributor in an adequate container for shipping. The postage, shipping and insurance
charges incurred in shipping to DPS will be paid by Purchaser and all risk for the
hardware shall remain with Purchaser until such time as DPS takes receipt of the
hardware. Upon receipt, DPS will promptly repair or replace the defective unit and then
return said unit to Purchaser, postage, shipping, and insurance prepaid. DPS may use
reconditioned or like new parts or units, at its sole option, when repairing any hardware.
Repaired products shall carry the remaining warranty period pertaining to original
purchase. This warranty is contingent upon proper use of the hardware by Purchaser
and does not cover: hardware or software incompatibility (covered under DPS’ 30 Days
Money Back Guarantee Policy), damage due to accident, unusual physical, electrical, or
electromechanical stress, neglect, misuse, failure of electric power, air conditioning,
humidity control, transportation, operation with media not approved by DPS, or
tampering with or altering of the hardware.
Page 13

DPS’ 30 Days Money Back Guarantee Policy
DPS GUARANTEES MONEY BACK WITHIN THE 30 DAYS AFTER PURCHASE, FOR
THE FOLLOWING REASONS: NOT SATISFIED WITH THE PRODUCT OR ANY
HARDWARE AND SOFTWARE INCOMPATIBILITY.
DPS SHALL NOT BE LIABLE TO YOU FOR LOSS OF DATA, LOSS OF PROFITS,
LOST SAVINGS, SPECIAL INDIRECTION, CONSEQUENTIAL, INCIDENTAL OR
OTHER SIMILAR DAMAGES ARISING FROM BREACH OF WARRANTY, BREACH
OF CONTRACT, NEGLIGENCE, OR OTHER LEGAL ACTION EVEN IF DPS OR ITS
AGENT HAS BEEN ADVISED OF THE POSSIBILITY OF SUCH DAMAGES, OR FOR
ANY CLAIM BROUGHT AGAINST YOU BY ANOTHER PARTY.
This warranty allocates risks of product failure between Purchaser and DPS. DPS’
hardware pricing reflects this allocation of risk and limitations of liability contained in this
warranty. The warranty set forth above is in lieu of all other expressed warranties,
whether oral or written. The agents, employees, distributors, and dealers of DPS are not
authorized to make modifications to this warranty, or additional warranties binding on
DPS. Accordingly, additional statements such as dealer advertising or presentations,
whether oral or written, do not constitute warranties by DPS and should not be relied
upon.
Returning the product to Data Protection Solutions by ARCO requires contacting DPS’
Technical Support to obtain a Return Merchandise Authorization (RMA) number. You
must have an RMA number before returning the product to us. Ship the product back in
the original container with the RMA number, name, and address on the shipping label.
Purchaser should address all matters concerning this warranty to:
Data Protection Solutions by Arco Telephone: 954-925-2688
3100 North 29th Court Facsimile: 954-925-2889
Hollywood, Florida 33020 U.S.A. Tech Support: 954-925-7347
E-mail: info@arcoide.com
Web Site: http:// www.arcoide.com
This product is protected under U.S. Patent No. 5740397
 Loading...