

Page 1
Warranty I n f o r m a t ion
5-Year Limited Warranty
Cape Cod Wind & Weather warrants all instruments it manufactures
to be free from defects in materials and workmanship for a period of
five (5) years from the time of purchase. This warranty does not cover
damages or malfunctions not resulting from defects in material or
workmanship including, but not limited to, unauthorized repair or
disassembly, modification, accident, improper installation, lightning
or other power surges, or natural disasters. Any defective instrument
returned to Cape Cod Wind & Weather during the warranty period
will be repaired or replaced at the option of Cape Cod Wind &
Weather free of charge. Cape Cod Wind & Weather does not accept
liability for incidental or consequential damages, including without
limitation any liability for products not being available for use. Cape
Cod Wind & Weather disclaims all other warranties, either expressed
or implied, including, but not limited to, implied warranties of
merchantability and fitness for a particular purpose.
Please contact us before sending any item for repair; we
may be able to resolve your problem over the phone.
Phone: 877-438-2294 or 508-432-0970.
Email: [email protected]
Website: www.downeaster.com
Cape Cod Wind & Weather
189 Route 28, Unit 1
West Harwich, MA 02671
Downeaster
Wind & Weather
“For the best in weather”
Instruction Manual
Standard Barometer
—Medallion & Classic Series—
Model #3060
Page 2
Standard Barometer
-Medallion & Classic Series-
SETTING THE BAROMETER:
Consult your local weather report, or search online, for the current
barometer reading in your area. Once you’ve obtained the local
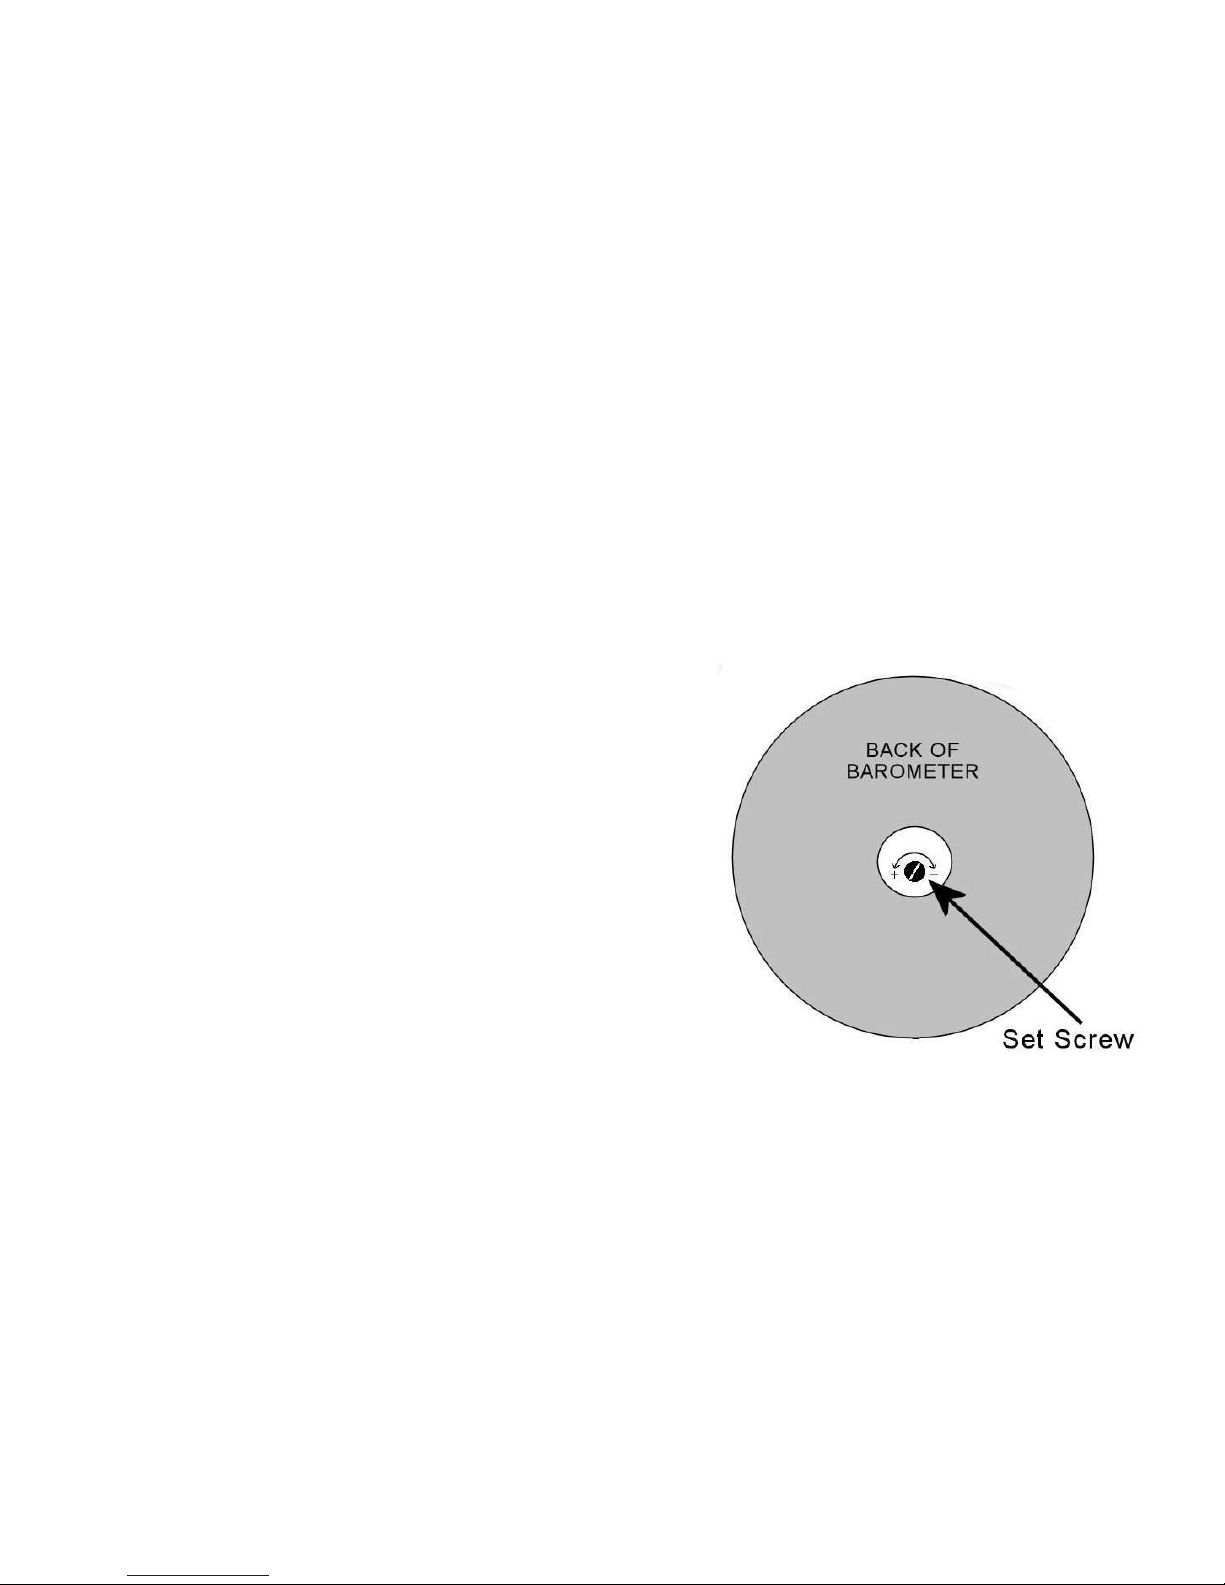
reading, locate the small set-screw recessed in the opening on the
back of the barometer. Using a small flat-head screwdriver,
carefully turn the set-screw in small increments while watching the
motion of the black pointer on the front of the instrument until the
pointer is aligned with the pressure reading for you area. It may be
necessary to tap the front of the glass after each turn of the
screwdriver to get the pointer to settle into place. This setting only
needs to be done once, unless you move the barometer to a
different altitude.
TO INSTALL:
The barometer can be flush mounted directly to the wall using the
brass screws provided, or by using drywall inserts from a local
hardware store if mounting on thin plaster or sheetrock walls.
Downeaster offers wood mounting boards for wall mounting, as
well as mantle stands for placing on a mantle, shelf, desk, or any
other flat horizontal surface. Call, or check our website, for the
available options.
OPERATION:
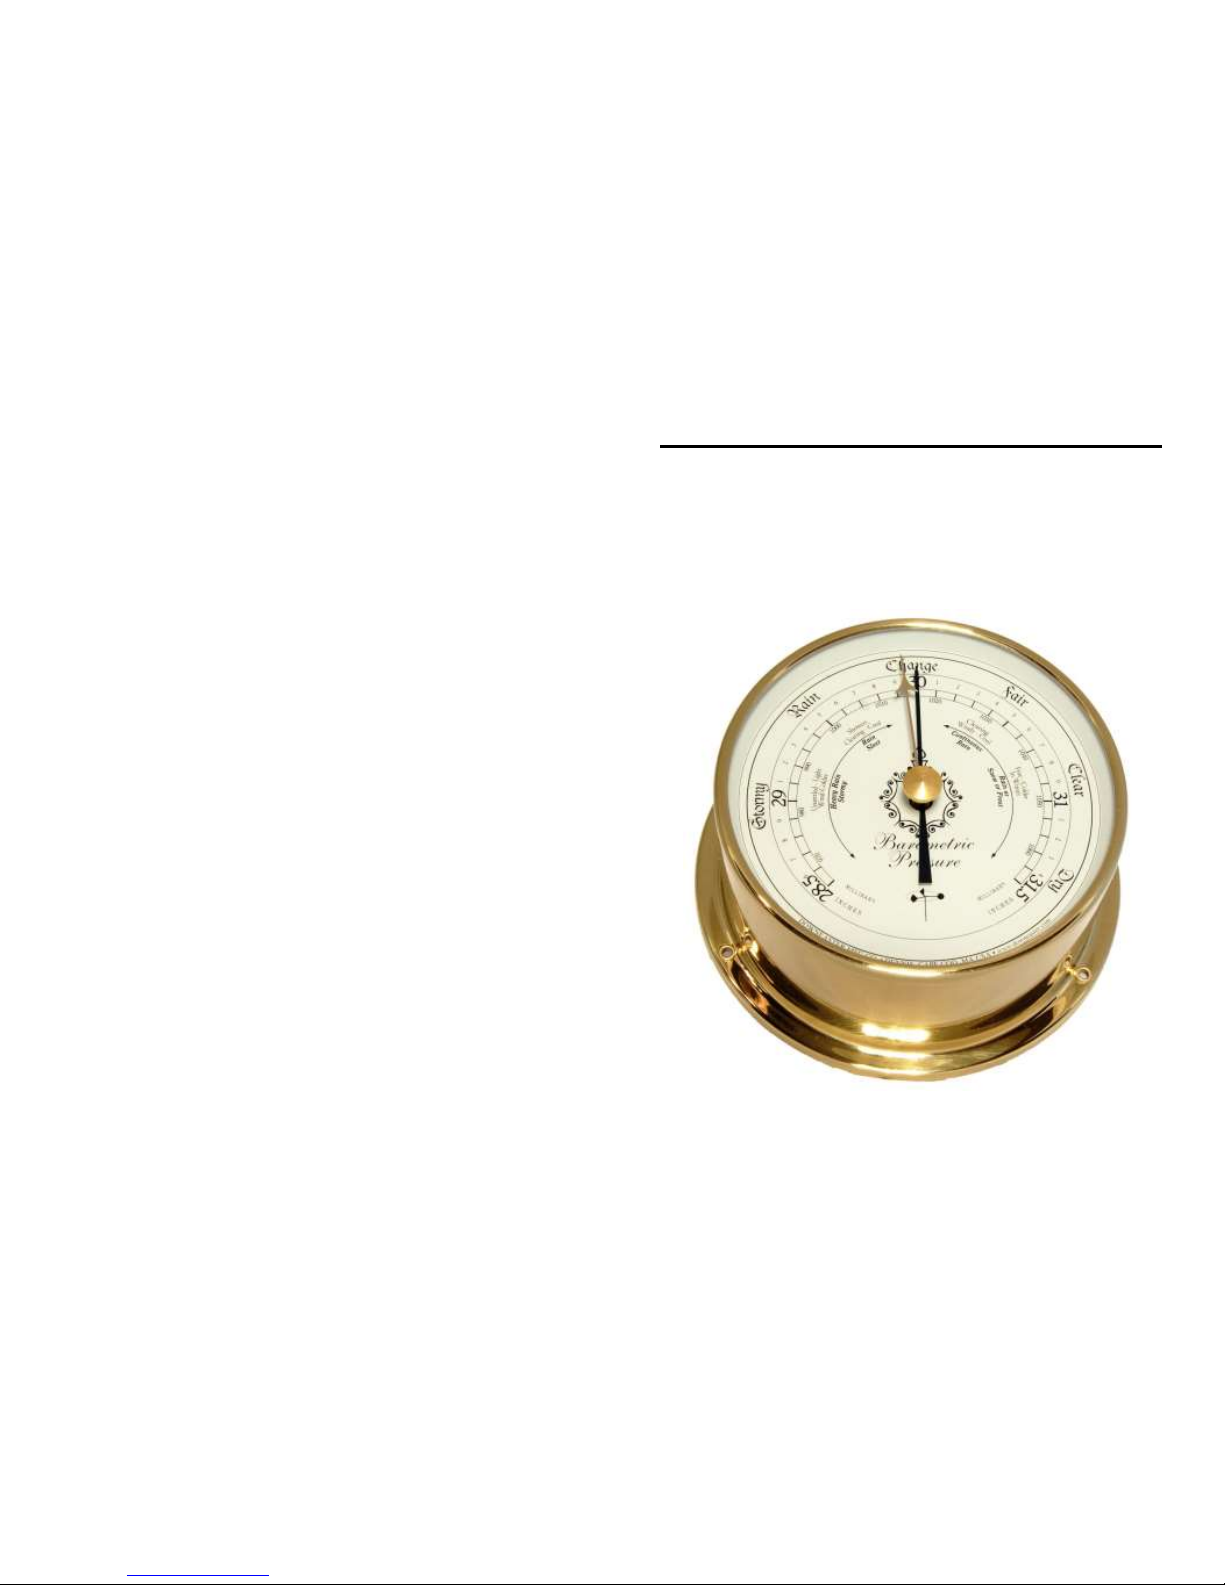
The Brass Reference Needle can be used to track the movement of
the Black Pointer. Turn the brass knob in the center of the glass so
the brass needle aligns with the black pointer. The next time you
check the barometer, tap the glass to release any tension in the
movement, then you will be able to determine whether the black
pointer has moved, how much it has moved, and in what direction.
Watch the rising and falling to get an idea of the incoming weather
patterns. In general, a Rising barometer indicates fair weather
approaching, while a Falling barometer indicates stormy weather is
on the way. However, it is possible for it to rain when the pressure
is high and for the sun to be out when the pressure is low. The
movement of the pointer (whether it is rising or falling, and how
fast it’s changing) is more important than the actual reading. It is
also typical for the barometer to change very little for long periods
of time (days or even weeks), especially during the warmer months.
Barometer Back
Please call with any questions regarding installation or
operation of this instrument.
 Loading...