

Page 1
OWNER’S MANUAL
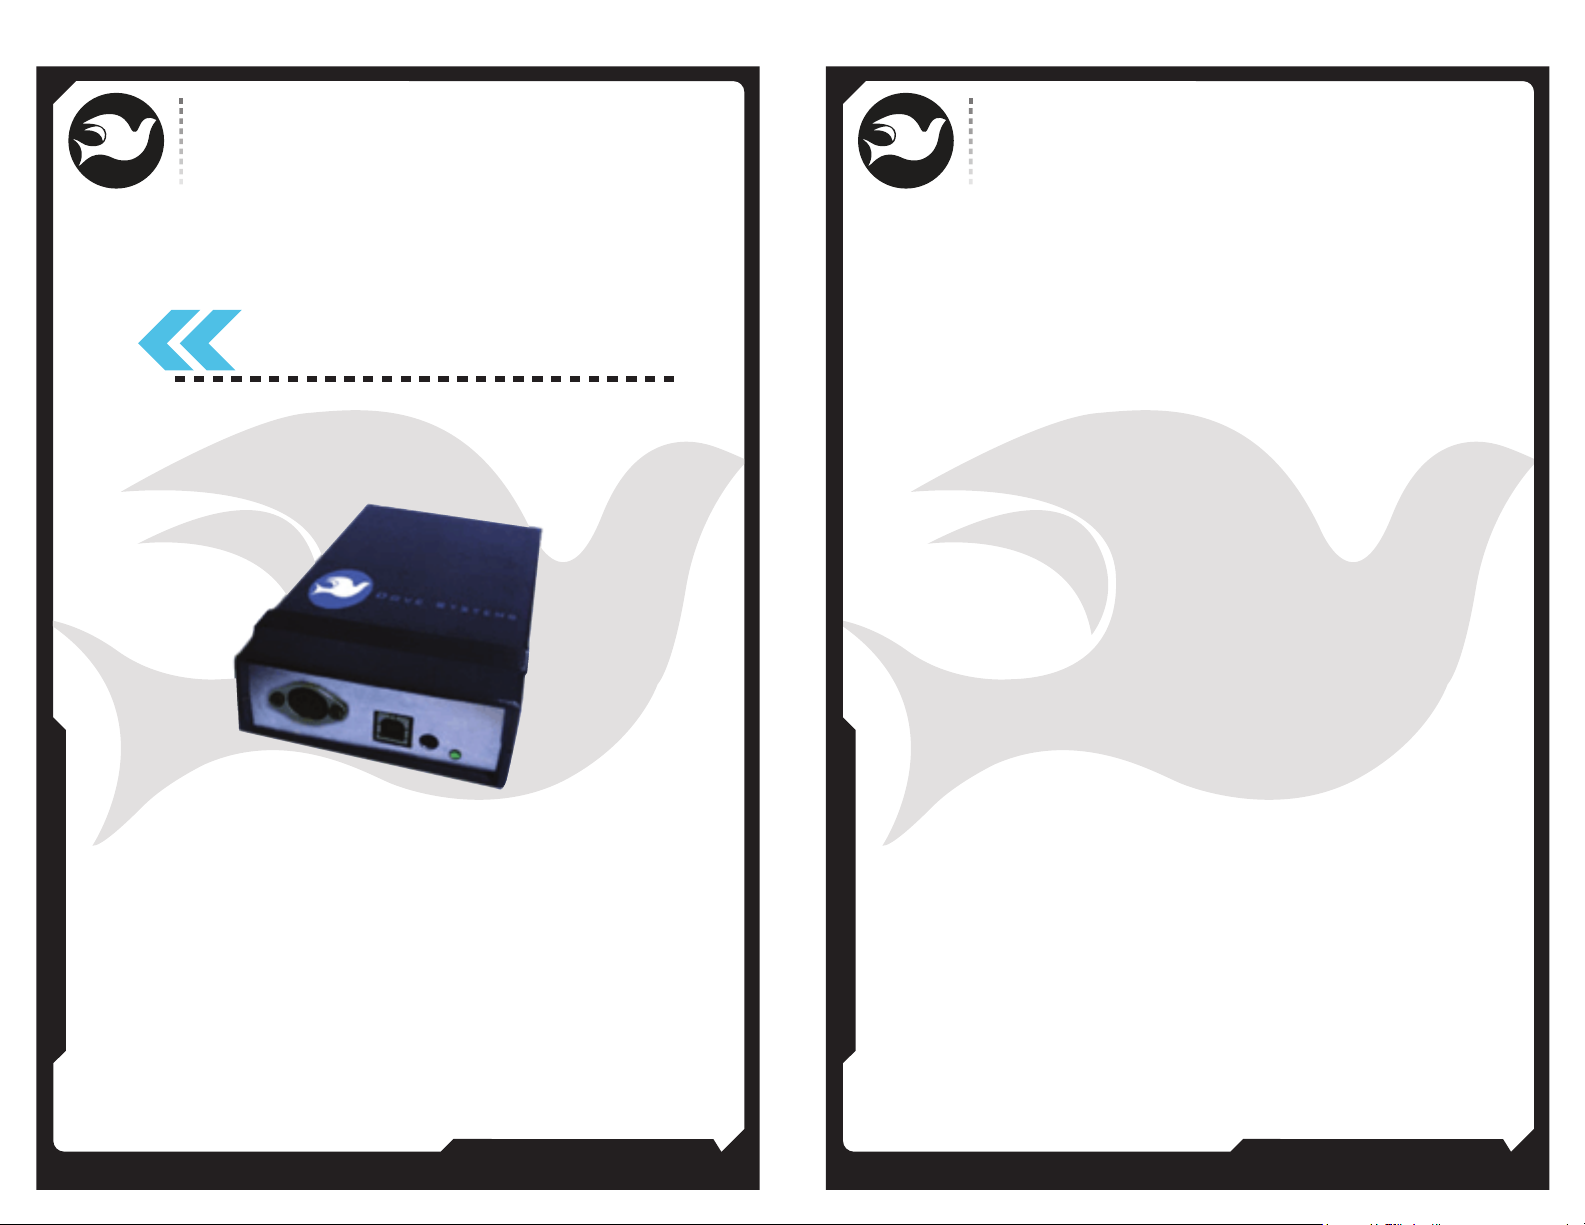
StarPort
Virtual Lighting Controller
For Windows USB
OWNER’S MANUAL
01\\
DOVE LIGHTING SYSTEMS INC.\\3563 SUELDO STREET UNIT E
805.541.8292\\805.541.8293
SAN LUIS OBISPO\\ CA 93401
02\\
805.541.8292\\805.541.8293
DOVE LIGHTING SYSTEMS INC.\\3563 SUELDO STREET UNIT E
SAN LUIS OBISPO\\ CA 93401
Page 2
OWNER’S MANUAL
OWNER’S MANUAL
03\\
:Table of Contents
// INTRODUCTION\\ 00
A General\\ 00
B Receiving your Equipment\\ 00
// SETUP AND CONNECTION\\ 00
A Plugging it in\\ 00
B Control\\ 00
C Dimming\\ 00
D Software\\ 00
// QUICK START\\ 00
A General\\ 00
A Start Program\\ 00
C Create Dimmers/Fixtures\\ 00
D Setting Levels\\ 00
E Record Cues\\ 00
F Setting a fade rate\\ 00
G XY Cue List\\ 00
H Saving Shows\\ 00
//SUBMASTERS\\ 00
//SYSTEM CONFIGURATION\\ 00
//ADVANCED FEATURES\\ 00
//STARPORT FUNCTION BUT TONS\\ 00
//CUE WINDOW & Commands 00
//Incase of Trouble\\ 00
A Troubleshooting\\ 00
B Obtaining Service\\ 00
C Warranty\\ 00
//SCREEN DISPLAY EXAMPLES\\ 00
A Plot Screen\\ 00
B CUE Window\\ 00
C Fixture Window\\ 00
D Submaster display\\ 00
E Preferences\\ 00
//STARPORT CONNECTIONS AND PINOUTS\\ 00
805.541.8292\\805.541.8293
DOVE LIGHTING SYSTEMS INC.\\3563 SUELDO STREET UNIT E
SAN LUIS OBISPO\\ CA 93401
:INTRODUCTION
A// General
The StarPort Memory Control System for PC computers automates the
control of television and theatrical lighting systems. The StarPort
software runs on most windows (98 or later) PCs. Minimum system
requirements are: 64MB memory, 300MHz processor, an open parallel
(printer) port or USB port, CD rom drive, color monitor, and a
Microsoft compatible mouse. The StarPort can accept input from
DMX controllers console but does not require them for operation.
The output is DMX, controlling up to 512 dimmers.
B// Receiving your Equipment
As soon as you have received your equipment, open the boxes and
examine the contents. If any damage is noted, contact the carrier
immediately to file a claim for damages. You can be sure that when the
equipment left the factory it was in good condition, properly packed,
and thoroughly tested. If you find the equipment to be in accordance
with your order and the packing slip and also in good physical
condition you may read on to the section covering SETUP AND
CONNECTION. If, for some reason, the equipment in the carton does
not agree with your order or the packing slip, contact the factory
immediately and we will be happy to help you.
SETUP AND CONNECTION
A// Plugging it In
Control and dimming equipment and computer should be turned off
before installing the StarPort. If a DMX controller is to be used, the
StarPort installs between the manual control console and the
dimmers. The manual control console plugs into the male 5 pin XLR
connector. The dimmers plug into the female XLR. The I/O cable plugs
into the male DB9 connector on the end of the StarPort. Plug the
StarPort into a standard parallel printer port on the back of your PC.
Plug the 12 V DC power supply into the StarPort and an AC outlet.
The StarPort-USB will plug into the USB port on your computer.
It does not require a power supply. The transmit light should start
04\\
to flash, indicating the StarPort is transmitting DMX. See the diagram
on next page.
B. Controller Input
The StarPort can accept up to 512 channels of DMX-512 input as
channels or submasters.
DOVE LIGHTING SYSTEMS INC.\\3563 SUELDO STREET UNIT E
805.541.8292\\805.541.8293
SAN LUIS OBISPO\\ CA 93401
Page 3

OWNER’S MANUAL
OWNER’S MANUAL
C// Dimming Control
Control output to Dimmers is DMX-512 with up to 512 dimmers being
controlled.
D// Program Software
The program will run from the factory supplied CD Rom. It can be
copied to your hard drive and run from there also. The software runs
under Windows. Upgrades of the software is available on:
www.dovesystems.com.
:QUICK START
A// General
StarPort employs a "point and click" user interface similar to that of
many popular applications for personal computers. To select a
command, roll the mouse to place the cursor on the desired command
and press left mouse button. Dimmer or cues must be selected before
a command option can be performed on them.
B// Start Program
To install and start the program insert the CD rom and follow the
instructions. StarPort allows the user to create a new show or load a
saved show. To start a new show click on "new" then type the name
that you want for your show. To load a saved show, click on the name
then click "open".
C// Create Dimmers/Fixtures
StarPort initializes into the "Plot" screen. Each dimmer is indicated by
the light fixture icon that it controls. More than one fixture may be
assigned to a dimmer channel. The StarPort starts up with no
fixtures assigned. To create your dimmer fixtures, click on "Add Light".
Choose a fixture of the types of light fixtures. Click the fixture on
the screen where it will go in a plot view of the stage. Each left click
of the mouse will place that type of fixture on the screen, and assign
it the next sequential dimmer number. To change the type of fixture,
click twice again on the "Add Light" and choose another fixture
type. When all the dimmer channels that you have are assigned to a
fixture icon and are placed on the screen, then end the session by
clicking once more on "Select Pointer" or "Add Light". To delete a
fixture click on "Delete Tool" then click on top the fixtures to be
deleted. Click again on "Select Pointer" to disable this function.
05\\
DOVE LIGHTING SYSTEMS INC.\\3563 SUELDO STREET UNIT E
805.541.8292\\805.541.8293
SAN LUIS OBISPO\\ CA 93401
D// Setting a Level, Fixture Info
To record fixture information or to set a dimmer level, right click on
fixture, click on "Properties", and fill in the fixture information,
wattage, gel, focus, etc. To set a level, click on "Set tings" then move
06\\
the slide pot with the mouse by holding down left mouse button and
move the slide pot knob, or click on the up/down arrow until the
value you want appears. You may also use a level wheel if your mouse
has one. Then click on "OK". In "Live" mode (the default) the dimmer will
respond on stage. Set each fixture to the level that you want for
your cue. Levels set with mouse or a manual controller appear in
white. Levels may also be set using a manual input.
DOVE LIGHTING SYSTEMS INC.\\3563 SUELDO STREET UNIT E
805.541.8292\\805.541.8293
SAN LUIS OBISPO\\ CA 93401
Page 4

OWNER’S MANUAL
OWNER’S MANUAL
E// Recording a Cue
When levels have been set and you want to record a cue, click on the
XY Cue list, then click on "Record" in the XY Cue window. The next
higher cue number will be created. The fixture levels on the screen
will be recorded. A cue description may also be entered into the info
box for your created cue. Type in the description (example, act 1,
scene one) and click on "update" to record. Levels that have been
recorded in a cue appear yellow.
F// Fade Rate
There are three fade times, the current stage cue fading down, a delay,
then the next cue fading up. The default fade time will fade the stage
cue down and the next cue fade up in four seconds with no delay.
Fade times may be changed by clicking the cue pointer on the cue to be
updated, then clicking up or down on the fade times (up, delay, down)
in the cue info box, then click on "update" to save.
G// The XY Cue List
The cue list allows the user to create cues, edit cues, delete and
insert cues, as well as change fade times and descriptions. You can
move around in the cue list by clicking the cue pointer on the cue
and viewing the levels in the "live" or "blind" mode. When you click on
the "Blind" button, you can see what the levels will be but the stage
levels (stage cue) will remain active. When the "Live" mode button is
clicked, the stage cue levels will be replaced by the cue that the cue
pointer has selected. When "Live" is clicked again, the stage cue will
be returned. The cues may be stepped through by clicking on the Q+
and Q-. Any cue may be selected for the "Stage Cue" and any cue may
selected for the "Next Cue". The "Stage Cue" is highlighted in red and
the "Next Cue" is highlighted in green. The "Next Cue" will always be the
cue that the stage cue fades to when the "GO" is activated. Cues
may be inserted, deleted and copied. To change levels on a cue that
has been recorded or to change the "Cue Info", click the cue pointer
on the cue to be changed, then click “Live” or “Blind” make the
level changes, fade time changes and cue information changes, then
click on "Update". To play back your show click on the "GO" button in
the upper right corner of the cue window. The fade progress will
07\\
be shown as the red and green highlight bar graphs move. A fade may
be stopped by clicking on the "Stop" button. To continue the fade, click
again on "GO". See page 6 for other more Advanced Features for
the cue list.
H// Saving Shows
To save a show click on the "Save" button. It is good practice to save
your show periodically while your working on creating a show in case
of a power failure. If you forget to save your show, you will be
reminded when you exit the program.
:SUBMASTERS
Submasters allow the user to "pile on" a "look" at any time quickly.
There are 24 submasters available and they show at the bottom of
the screen unless they have been disabled in "Preferences". Any dimmer,
group of dimmers, or any recorded cue may be recorded on a
submaster. To record a submaster right click on the submaster
number then click on "Record" button in the submaster window.
The on-screen fixture levels will be recorded. You may also type a
description in the "Name" box (example: all red lights). Submasters
levels will appear as purple and always "pile on" to the stage cue
until the submaster is set back to zero. Each submaster level is shown
in the level box just above the submaster number. Submasters may be
"bumped" to full by clicking on the level text. Click again to rest to
zero. Or left click on submaster number to access the submaster
slider pot.
:System Configuration
StarPort may be custom configured in several ways. Under the "Edit"
window, select "Preferences". The StarPort can accept a DMX manual
input. Any manual DMX controller may be used either for setting
dimmer channels or as submasters. Configuration can allow the
submaster panel to be dis6 played or not. The default fade times may
be changed. Select any changes and click "Save". Click on "Reset" to
restore default values. The default values are: no manual input,
show submasters, and fade time 4 seconds with no delay.
08\\
DOVE LIGHTING SYSTEMS INC.\\3563 SUELDO STREET UNIT E
805.541.8292\\805.541.8293
SAN LUIS OBISPO\\ CA 93401
DOVE LIGHTING SYSTEMS INC.\\3563 SUELDO STREET UNIT E
805.541.8292\\805.541.8293
SAN LUIS OBISPO\\ CA 93401
Page 5

OWNER’S MANUAL
OWNER’S MANUAL
:Advanced Features
Movinglights may be programmed by clicking on moving light fixture
in the "Add Light" window. Movinglights take up five DMX channels.
Select the proper type of moving light from the fixture library or
enter the parameters for your instrument.
"Loop" function will allow the fades to continue to the next cue,
falling through several cues. "Loop" will allow this sequence of
cues to be repeated for a preset number of times or continuously.
Multiple Simultaneous Fades: StarPort can have multiple part fades
by using the "XY", "AB" and "EF" cue lists. The "AB" cue list works just
like the "XY" and can be started by entering the XY and cue number in
the Simultaneous Start box in the XY cue window. Also, the "EF"
effects cue list (usually a chase sequence) can be started by
entering the EF cue in the Simultaneous Start box. Remote "GO"
The go command to start a fade may be initiated in several ways.
Click on "GO" in cue window, or click on right arrow go button at
top of screen, or hit the space bar on the keyboard, or hit the "G" key
on keyboard . The StarPort also has an input to allow a remote switch
or relay closure to start the go command.
Rotate Fixtures Fixtures on the screen may be rotated to show the
focus area of their position. Click on the "Rotate" icon at the top of
screen, then click on the fixture to be rotated, then adjust the
compasspointer as desired.
Pan and Zoom Fixtures on the plot screen may be moved around as a
group and "Zoomed" in and out. This is useful for systems with large
number of dimmers. Click on the "Pan Tool" or the "Fluid Zoom" button.
Grandmaster Click on "grandmaster" at the top right of the screen to
adjust all stage dimmers that have a value more than zero either
up or down.
09\\
805.541.8292\\805.541.8293
DOVE LIGHTING SYSTEMS INC.\\3563 SUELDO STREET UNIT E
SAN LUIS OBISPO\\ CA 93401
StarPort Function Buttons
(top of screen, left to right)
"Open Show" Opens the "Open Project" window. Choose Recent,
Existing, or New project. Type in
the name of your new show., then click "Open"
"Save" Saves the current show in the usual way.
"XY" Opens the XY cue list. This is main default cue list .
"AB" Opens the AB cue list . This is special cue list for multi part fades.
7
"EF" Opens the Effects cue list. This is usually a chase sequence.
"Reset Cue" Double left arrow icon will reset the stage cue to
lowest cue, usually cue 0.
Note: remote "GO" input held down 10 seconds will also do this.
"Q-" Left arrow with line icon will jump the stage cue
and next cue back one cue.
"Q+" Right arrow with line icon will jump forward the
stage cue and next cue.
"GO" Right arrow will start fade to next cue.
Note: Cue list "GO", space bar, and "G" key
and remote "GO" input also work.
"STOP" Click on "Stop" box to stop a fade in progress.
Click "GO" to continue.
"Queue" Center box displays the current "on stage" cue, and description.
"Blackout" Click on "Blackout" black box to turn off all dimmers,
Click again to return to stage cue.
Blackout warning will flash to remind you.
"Select Pointer" Click on "Select Pointer" to return
mouse cursor to default pointer.
"Add Light" Light bulb icon brings up fixture window to select
fixtures to place on the screen.
A fixture should be placed on the screen for each dimmer channel
in the system. Click the fixture icon on the screen where you want
to show this dimmer channel. Double click to select other fixture
types. Click on "Select Pointer" to return to default pointer when
finished. "Delete Tool" "Delete Tool" is used to erase fixtures that you
don't want. Drag delete tool icon on top of fixture, and left click to
delete. "Pan Tool" Hand icon is used to move all of the fixtures
10\\
around on the screen. "Fluid Zoom" Magnify glass icon is used to
zoom in and out to view fixtures. "Rotate" Click on "Rotate" icon then
click on fixture to be adjusted. Right click to set degrees to set
direction. "Grand masterl" Slide Pot icon is used to adjust all dimmers
that have a level value more than 0. Click in the "Level Wheel" and use
the mouse to change levels up or down. New levels may be saved by
using "Update" function.
DOVE LIGHTING SYSTEMS INC.\\3563 SUELDO STREET UNIT E
805.541.8292\\805.541.8293
SAN LUIS OBISPO\\ CA 93401
Page 6

OWNER’S MANUAL
OWNER’S MANUAL
:Cue Window
The cue window allows the recording of cues, their fade times and
descriptions. A default cue 0, the blackout cue exists. The stage cue
box at the top of the window displays the current "Stage Cue"
and the "Next Cue" with their fade times and descriptions.
Fading box at upper right has the main command buttons for cue list.
Cue Information box displays information of the cue that the cue
pointer arrow is pointing at. This box allows fade times, descriptions,
and simultaneous fades to be entered. Click on up/dn arrows to
change fade times and type in descriptions and simultaneous starts as
needed. After entering a change click "Update" to save.
Cue list is center of window and displays all recorded cues. The cue
pointer arrow defaults to pointing at the stage cue, but can be moved
around for viewing or editing purposes. The cue list may be
scrolled to see any cue. Hundreds of cues may be recorded.
The "Stage Cue" is highlighted in red and the "Next Cue" is highlighted
in green. During a fade, the red and green highlights become a bar
graph to show the progress of the fading cue. Editing function
buttons are at the bottom of the cue window.
:Cue List Commands
"Record" Records the next highest cue number using the fixture levels
currently on the screen. Default fade times (4 sec) and
description will be recorded.
"Update" Records any changes in levels, fade times or descriptions.
Onto cue pointer cue.
"Stage Cue" Replaces the current stage cue with the cue that
the cue pointer is at.
"Next Cue" Replaces the current next cue with the cue that
the cue pointer is at.
"GO" Starts the crossfade from stage cue to next cue.
"Stop" Stops the crossfade from stage cue to next cue.
11\\
Click "GO" to resume.
"+" Jumps the stage cue and next cue up by one.
"-" Backs up the stage cue and next cue by one.
"Insert" Inserts a new cue in below the cue of the cue
pointer between recorded cues. Cue number will be a decimal.
Up to 9 inserts possible.
“Delete" Deletes the cue that the cue pointer is at.
Cue numbers stay the same.
"Copy" Copies the cue pointer cue as a new cue or
to replace recorded cue.
Click cue pointer on the cue to be copied.
Click on "Live" or "Blind" to view and capture these levels.
Click on "Record" to create new cue with these copied levels.
Or, click on existing recorded cue, then,
Click on "Paste" to update the cue with copied levels.
"Paste" Copies or updates an existing cue with information
from the "Copy" command.
Click on "Paste" will update the cue information of the
current cue pointer cue.
Follow the "Copy" command to use "Paste"
Press “update” to save your changes.
"Live" "Live" will change the levels being sent to the stage cue to
the values of the cue pointer cue.
Click on a cue to be viewed. Click on "Live". The cue pointer
levels now on the screen, will also be
on stage. Click on "Live" again to return to stage cue.
"Blind" "Blind" will change the stage cue levels on the screen to
show the levels of the cue pointer.
Click on a cue to be viewed. Click on "Blind".
The cue pointer levels are now on the screen.
The stage cue levels are still on stage and are NOT changed.
"Loop" "Loop" will cause the fading to continue,
or "drop through" several cues.
Click on "Loop" enter the starting cue and
the last cue and the cue count.
Click on "OK" Now these cues will continue with
"GO" command on start cue.
"Loop" cues can repeat if loop count is more than one.
"
12\\
DOVE LIGHTING SYSTEMS INC.\\3563 SUELDO STREET UNIT E
805.541.8292\\805.541.8293
SAN LUIS OBISPO\\ CA 93401
DOVE LIGHTING SYSTEMS INC.\\3563 SUELDO STREET UNIT E
805.541.8292\\805.541.8293
SAN LUIS OBISPO\\ CA 93401
Page 7

OWNER’S MANUAL
OWNER’S MANUAL
:Trouble Shooting
The latest version of this manual is always on the Dove web site at
www.dovesystems.com. Trouble shooting hints and answers to
frequently asked questions (FAQ) are also on the web. For additional
help call (805) 541-8292 anytime. To have a unit repaired, return it
freight prepaid
to:
Dove Systems
3563 Sueldo Unit E
San Luis Obispo, CA 93401
Please include a return address, daytime phone number, shipper
preference (UPS ground, UPS second day air, etc.), and "need by" date.
The repair process is expedited when a note describing the
specific symptoms is included with the unit.
:Warranty Information
The manufacturer agrees that its products shall be free from
defects in material or workmanship over a period of one year from
date of shipment from the factory. Said warranty will not apply if
equipment is used under conditions of service for which it is not
specifically intended. The manufacturer is not responsible for damage
to its apparatus through improper installation, physical damage, or
poor operating practice. If any device is found unsatisfactory under
the warranty, the buyer should notify the manufacturer, and after
receipt of shipping advice, buyer may return it directly to Dove Systems,
San Luis Obispo, CA, shipping prepaid. Such equipment will be
replaced or put in proper operating condition, free of all charges
except transportation. The correction of any defects by repair or
replacement by the manufacturer shall constitute fulfillment of all
obligations to the purchaser. Manufacturer does not assume
responsibility for unauthorized repairs to its apparatus, even though
defective. Manufacturer shall not be liable for any consequential
13\\
damage in case of any failure to meet the conditions of any warranty
of shipping schedule, nor will claims for labor, loss of profits,
repairs, or other expenses incidental to repl acement be allowed.
No other representation, guarantees or warranties, expressed or
implied, are made by the manufacturer in connections with the
manufacture and sale of its equipment. This warranty is
non-transferable and applies to the original buyer only.
DOVE LIGHTING SYSTEMS INC.\\3563 SUELDO STREET UNIT E
805.541.8292\\805.541.8293
SAN LUIS OBISPO\\ CA 93401
:OTHER TERMS
Manual DMX: Input must be configured as dimmer channels or
as submasters in "Preferences".
Colors: Levels set by mouse or manual channel input
are shown in white.
Levels recorded in a cue are shown in yellow.
Levels comming from the submasters are shown in purple.
Pile On: StarPort uses "highest takes precedence". That is, if
cues, effects, manual channel input,
and submaster input are all happening at the same time, then
the highest level value will be sent to
the dimmers. Also, the color of the level on the screen will
tell you where the highest level is coming from.
Printing: Select “Print” under the file menu to print your current
plot view. Currently, printing cue lists in unavailable.
"
:StarPort I/O CONNECTIONS AND PINOUTS
5 PIN XLR (DMX) DB9 (DMX)
PIN1 Common PIN 1 Common TO DIMMERS
2 Data Not 2 Data Not TO DIMMERS
3 Data 3 N/C
4 N/C 4 Data TO DIMMERS
5 N/C 5 N/C
6 Data FROM CONTROL
7 N/C
8 Data Not FROM CONTROL
9 Common FROM CONTROL
Phone:805.541.8292
Fax:805.541.8293
DOVE LIGHTING SYSTEMS INC.
14\\
3563 SUELDO STREET UNIT E
SAN LUIS OBISPO\\ CA 93401
www.DOVESYSTEMS.com
DOVE LIGHTING SYSTEMS INC.\\3563 SUELDO STREET UNIT E
805.541.8292\\805.541.8293
SAN LUIS OBISPO\\ CA 93401
 Loading...