

Doughpro PP1800 Installation Manual
Operational Manual
PP1800
Manual Dough Press
Proprocess CorporationO7328 Madison St.OParamount, California 90723
(562) 531-0305
O
Toll Free (800) 624-6717OFax (562) 869-7715
Website: www.doughpro.com
O
E-Mail: info@doughpro.com
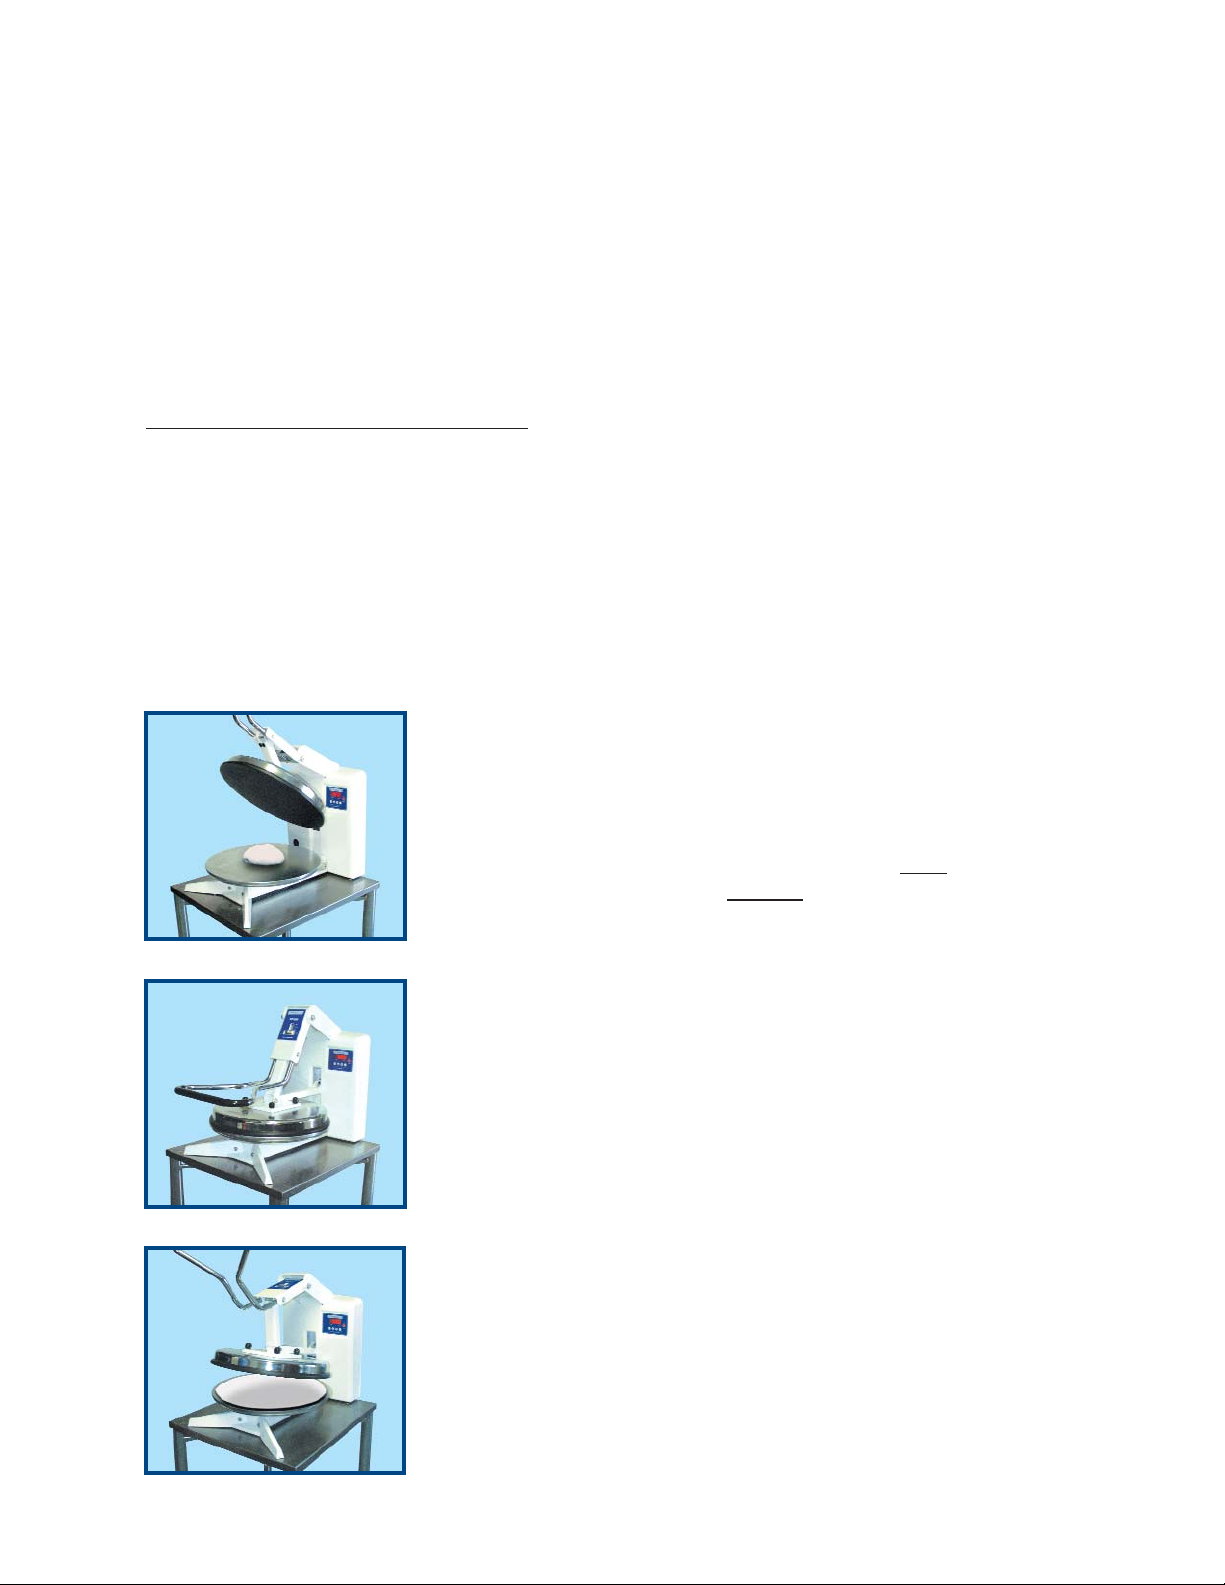
STEP 1 - After allowing upper platen to reach desired
temperature, place pre-portioned ball of dough in approximate
center of lower plate. An approved lubricant/release agent such
as olive oil or DOUGHPRO’s Cookware Food Release Spray #
DPPC1 applied to the top of the dough ball will greatly
improve the pressing operation. Flour is NOT
required to
press crusts and should NEVER
be used on any part of the
machine.
STEP 2 - Lower upper platen by pressing down the
handle until it locks into position. After your timer has
reached its pre-set time, the timer will beep letting you
know the cycle has been reached.
STEP 3 - Quickly lift up the handle, releasing the upper
platen. Remove the flattened crust turning it over so, the
top becomes the bottom, place the dough on a cooking
screen, disc or pan. Now you’re ready for make-up and
baking. Always keep in mind that the final crust shape
and size are result of proper portioning and rounding.
Introduction
Before attempting to operate your new PP1800 pizza press, take time to read these instructions. The press
has been designed for use by even totally unskilled employees after just a few minutes of simple instructions. Following these step-by-step instructions will have them pressing pizzas faster, safer, more consis-
tently and equal in quality to the best hand tossed crusts.
Getting Started
First make sure the press is placed in an area with sufficient room for cleaning and unobstructed
operation. Start by plugging the press into a properly rated outlet depending on the electrical rating of the
press selected - 120V or 240V. Start by setting the temperature as follows dependent on the desired product: Fresh dough pizza crusts: 150
o
F (65.5oC). Vary the temperature setting to suit the desired result.
ALLOW 15-20 MINUTES FOR W
ARM-UP.
Now let’s start pressing pizza crusts.
First allow upper platen to reach set temperature. In most instances, 150oF (65.5C) is ideal, but trial and
error testing will determine the best temperature for your dough. For best results your dough should be
proofed before pressing, but it will also press directly out of your refrigerator. Flour is not required to
press a crust and should not be dusted on any part of the machine. Determining the proper amount
of pressing time will vary depending on the diameter of your product. Start with 5 seconds and go up or
down from there.

General Specifications
1. Thickness Dial - Adjusts the pressure of the upper platen.
2. Handle - Used to clamp the upper platen closed.
3. Lower Platen - Place your pre-portioned dough here.
4. Digital Diplay - Controls the power, time and temperature.
5. Upper Platen - Teflon coated heated platen. Helps dough flow evenly.
Electrical: 120V / 60hz / 1ph / 1450W / 12.5 amps
240V / 50/60hz / 1450W / 12 amps
Includes 72” cord and NEMA approved plug.
Shipping Weight: 150lbs. (70kg)
1
2
3
4
5
 Loading...