

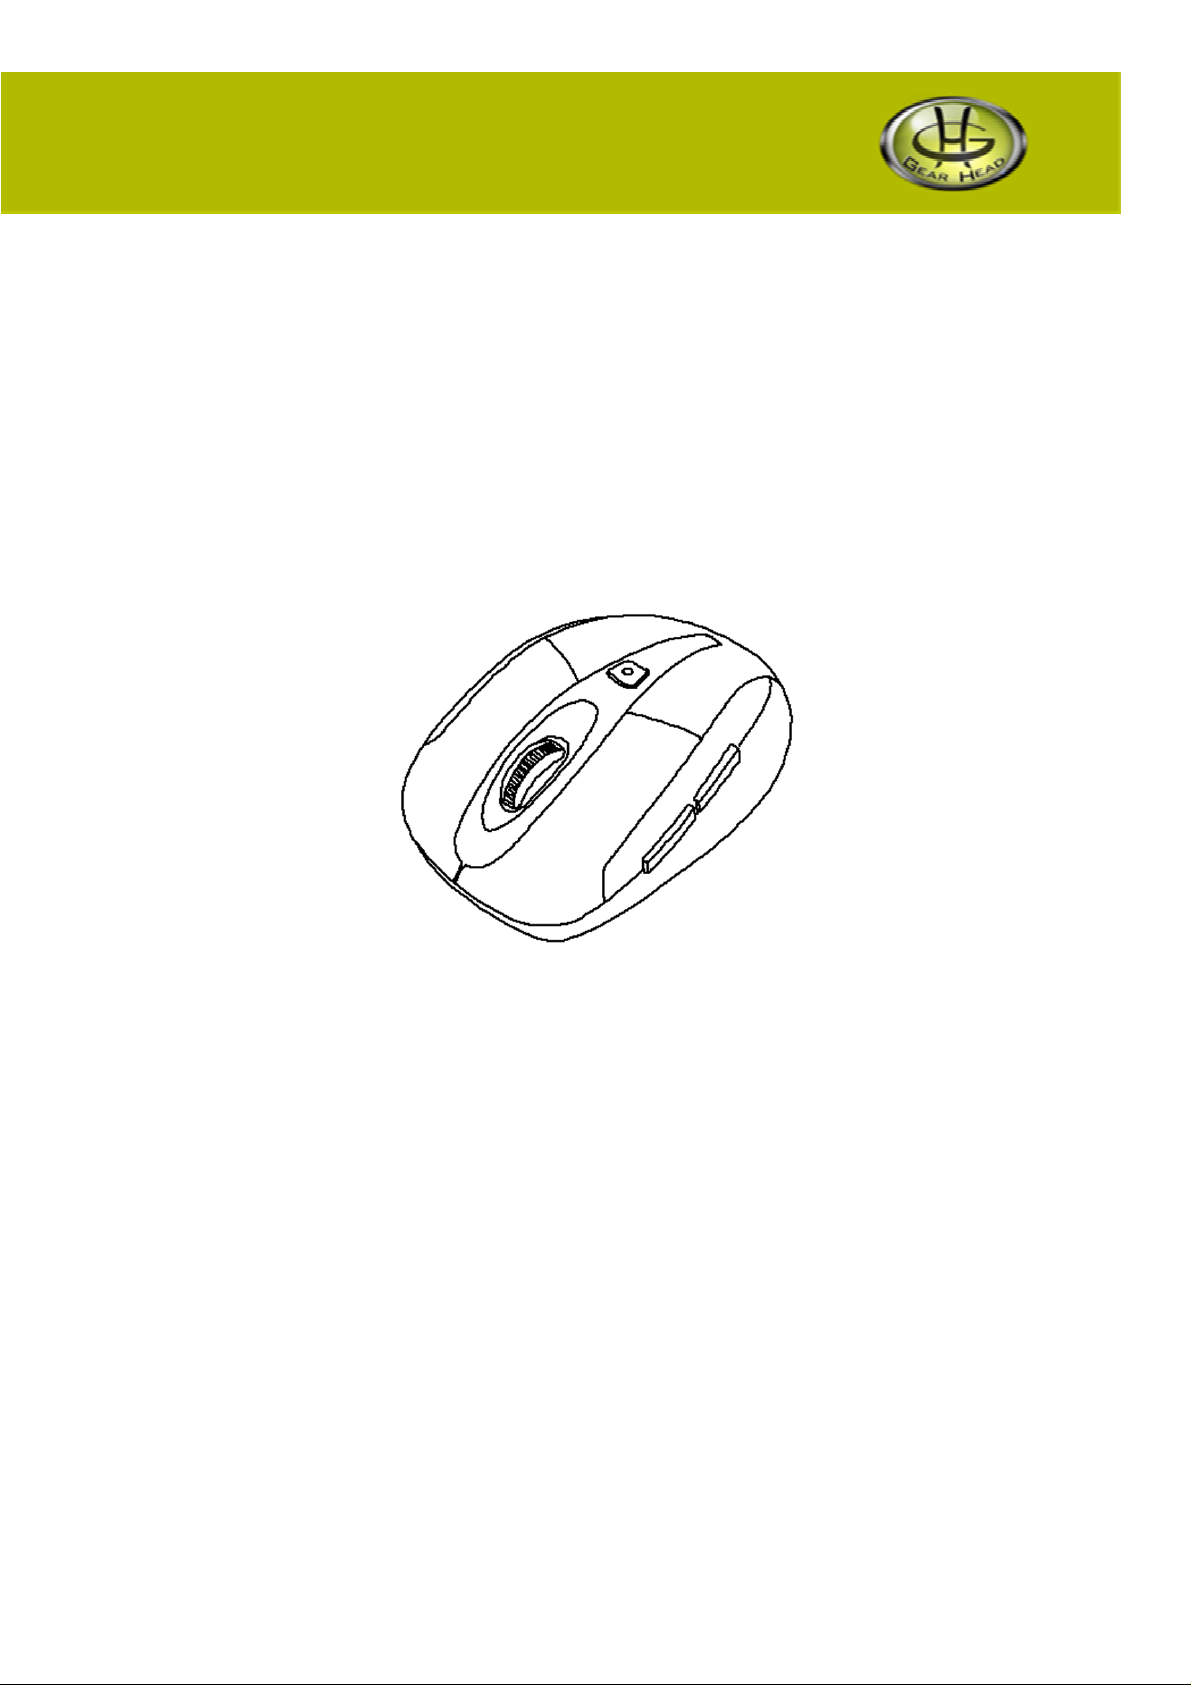
2.4 GHz Wireless Optical
Nano Mouse
User Manual
PID#:111383/384/385/386/603-109289
PID #: 111625/626/627/628-109289
Rev. 140408

All brand name and trademarks are the property of their respective companies
Mac and Mac OS X are registered trademarks of Apple Inc.
Windows, Windows XP, Windows Vista, Windows 7 and Windows 8 are registered
trademarks of Microsoft Corporation in the United States and/or other countries.
USER RECORD
To provide quality customer service and technical support, it is suggested that you keep the
following information as well as your store receipt and this user manual.
Date of Purchase: ________________________________
Model Number: ________________________________
Product Rev Number (located below the UPC on the package): ____________________
FCC RADIATION NORM
FCC
This device complies with Part 15 of the FCC Rules. Operation is subject to the
following two conditions : (1) this device may not cause harmful interference, and
(2) this device must accept any interference received, including interference that
may cause undesired operation.
FCC Compliance Statement
Warning: Changes or modifications to this unit not expressly approved by the
party responsible for compliance could void the user’s authority to operate the
equipment.
NOTE: This equipment has been tested and found to comply with the limits for
a Class B digital device, pursuant to Part 15 of the FCC Rules. These limits are
designed to provide reasonable protection against harmful interference in a
residential installation. This equipment generates, uses and can radiate radio
frequency energy and, if not installed and used in accordance with the
instructions, may cause harmful interference to radio communications.
However, there is no guarantee that interference will not occur in a particular
installation. If this equipment does cause harmful interference to radio or
television reception, which can be determined by turning the equipment off and
on, the user is encouraged to try to correct the interference by one or more of the
following measures:
_ Reorient or relocate the receiving antenna.
_ Increase the separation between the equipment and receiver.
_ Connect the equipment into an outlet on a circuit different from that to which
the receiver is connected.
_ Consult the dealer or an experienced radio/TV technician for help.
2

CAUTION
The Federal Communications Commission warns the user that changes or modifications to the
unit not expressly approved by the party responsible for compliance could void the user’s authority
to operate the equipment.
3

PACKAGE CONTENTS
Your new mouse will ship with the following items:
- 2.4GHz Wireless Optical Nano Mouse
- Nano Receiver
- 2 AAA Batteries
- User Manual
- Warranty Information
SYSTEM REQUIREMENTS
Please be sure that you meet all of the system requirements below to avoid difficulties during
installation
- Windows® XP, Windows® Vista ,Windows® 7 and Windows® 8 operating systems
- Mac OS X® 10.3 and above (Tilt-Wheel function is compatible with PCs only)
Compatible with: PCs, Mac® computers, and Chromebook™ notebook computers
Works with:
- An available USB port
SPECIFICATIONS
Your new mouse complies with the following specifications:
-
USB Interface
Note: In order for the tilt-wheel function to work on your mouse you MUST download the
setup software from the Gear Head website.
4

INSTALLING BATTERIES
To properly install batteries into your mouse, please follow the instructions below:
1. Remove the battery compartment cover from your mouse.
2. Install two AAA batteries into the battery compartment following the orientation guide in the
battery bay.
3. Replace the battery compartment cover back onto your mouse until it locks securely.
5

INSTALLATION
For All Operating Systems
1. Make sure you have successfully installed the batteries into your mouse. Refer to the
Installing Batteries section in this manual if necessary.
2. Pull out the Nano Receiver stowed in the bottom of your mouse.
3. Turn on your computer and plug the Nano Receiver into an available USB port on your
computer. (If you are not able to find a USB port on your computer, please refer to the user
manual of your computer for more detail.) Your wireless optical mouse is now ready!
6

DOWNLOADING TILT-WHEEL SETUP SOFTWARE
In order for the tilt-wheel function to work on your mouse you MUST download the setup
software from the Gear Head website.
1. Go to the Support page (http://pcgearhead.com/support.php) on the Gear Head website
and click the DOWNLOAD: DRIVERS, MANUALS, OR SOFTWARE button.
2. Find Desktop Mice and click Select Category.
7

3. Find Model MPT3000/ MPT4000 and click get downloads….
(NOTE: Please check the FCC ID number on the rating label which is located under the
mouse. Then follow FCC ID number to download relevant software.)
FCC ID
(
(A)))) FCC ID ((((B))))
((
V4P-MS-148OR-C
8

4. A pop-up window will appear to initiate the download; click Download to start downloading.
5. Follow the onscreen instructions to download the setup software.
INSTALLING THE SETUP SOFTWARE
1. Decompress the downloaded software and click the Set Up icon to begin installation.
2. The USB Optical Mouse - InstallShield Wizard will appear on the desktop. Choose your
installation language on the following screen and click Next to continue.
3. Follow the onscreen instructions to finish the software installation. Please restart your
computer after the installation is finished.
9

USING THE SOFTWARE
Button Assignment
You can assign a function
to any button of your
mouse by selecting from
the functions stored in the
drop-down menu of each
button. These are the 12
options:
-
Click
-
Menu,
-
Universal Scrolling,
-
Double-click
-
Advanced
Functions (see right
for details)
-
Button 4
-
Button 5
-
Switch Profile
-
Cycle of Switch
Profile
Pan Left
-
Advanced Functions
Single/Macro You can assign any key
function or key combination
to a single button on your
Basic
Commands
Additional
Commands
Media
Functions
mouse.
The drop-down menu
provides 9 basic word
document software
operations.
The drop-down menu
provides 7 basic system
operations.
The drop-down menu
provides 7 basic media
operation modes.
Tip: Press and hold the DPI
button on your mouse for 5
seconds and then it can be
used to play/pause your
media, while the horizontal
tilt-wheel function can be
used as volume up/down.
To return to the normal
mode, press the DPI button
for 5 seconds again.
10

-
Pan Right
-
Button Off
Switch
Profile
You can set the functions of your mouse
buttons to go to a specified mouse
configuration profile, every time that mouse
button is clicked.
Cycle of Switch Profile You can rotate between the 5 profiles you
have set by clicking the assigned mouse
button. The 5 configurations can be set
and stored using the software.
Advanced Mousewheel
Options
Config Save/Load
Settings
Click Save/Load Settings
to enter the following
screen and perform one of
four functions.
You can assign a function to the vertical (up or down) operation of
your tilt-wheel by selecting from the functions stored in the dropdown menu: Click, Menu, Double-click, Advanced Functions, Scroll
Up, and Scroll Down are available.
Load Config
Save Config
Retrieve a configuration
previously saved to your
computer.
After assigning custom functions
to your mouse buttons, you can
save up to 5 different
configurations.
Reset to Default Configuration
Reset Current Profile
Revert all settings back to the
default configuration.
Change the current settings
shown on the software screen
back to the default settings.
You can store up to 5 different configurations with this software.
Select a number then change the configuration in the Button
Assignment and Advanced Mousewheel Options menu. Next
click Ok under the Advance Config Options menu to save your
settings to that profile.
11

CHANGING THE SPEED OF YOUR MOUSE
To adjust the speed of the cursor or the scroll button features on your computer, follow the
instructions below:
NOTE: The screenshots show in this section are for demonstration only and your screen may look
slightly different but with similar options.
For Windows® Operating Systems
Open the Control Panel. Double-click the Mouse icon to open the Mouse Properties screen and
then select Pointer Options. Adjust the settings to your liking and select Apply then OK.
For Mac OS X® 10.3 and Above
Open System Preferences. At the System Preferences screen, click the Keyboard & Mouse
icon. Select the Mouse tab and make your changes.
Windows® Operating Systems Mac OS X® 10.3 and Above
12

WARRANTY INFORMATION
Gear Head, LLC warrants that this product shall be free from defects in materials and
workmanship for the reasonable lifetime of the product. If the product is defective, Gear Head,
LLC’s sole obligation under this warranty shall be at its election, subject to the terms of this
warranty, to repair or replace any parts deemed defective. This warranty is for the exclusive
benefit of the original purchaser and is not assignable or transferable. THIS WARRANTY IS
MADE IN LIEU OF ALL OTHER WARRANTIES, EXPRESS OR IMPLIED, AND ANY IMPLIED
WARRANTIES, INCLUDING THE IMPLIED WARRANTIES OF MERCHANTABILITY AND
FITNESS FOR A PARTICULAR PURPOSE, ARE LIMITED TO THE TERMS OF THIS
WARRANTY, UNLESS OTHERWISE PROHIBITED BY LAW.
To the fullest extent permitted by law, Gear Head, LLC expressly disclaims and excludes from this
warranty any liability for damages, including but not limited to general, special, indirect, incidental,
consequential, aggravated, punitive or exemplary damages, and economic loss (even if Gear
Head™ is informed of their possibility), third party claims against you, including for any loss or
damages, and claims or damages related to loss of, or, damage to, your records or data. This
warranty does not apply to any product the exterior of which has been damaged or defaced. This
warranty will be voided by misuse, improper physical environment, improper repair, acts of God,
war or terror, commercial use, and improper service, operation or handling.
Exclusions
Technical Support
Please access Technical Support on the web or contact our technicians at info@pcgearhead.com
for help.
www.pcgearhead.com
Gear Head™ provides phone support, 866-890-7115, Monday - Friday from 9:00 am – 5:30 pm
Eastern Time. Before calling, please make sure you have available the Model # (located on the
front page of your User Manual) and information regarding your computer’s operating system.
Return Merchandise for Service
Any claim under this warranty must be made in writing to Gear Head, LLC, within 30 days after the
owner discovers the circumstances giving rise to any such claim, and must include a copy of this
warranty document, a receipt or copy of your invoice marked with the date of purchase, and the
original packaging. You may contact us on the web at
info@pcgearhead.com to receive service or request a return service authorization.
www.pcgearhead.com
or by emailing us at
13
 Loading...