

Dometic Weather Pro 3310287 Series, Weather Pro 3311917 Series User Manual
EXTEND
RETRACT
PATIO
DOOR
EXTEND
EXTEND
RETRACT
RETRACT
USA
SERVICE OFFICE
Dometic Corporation
1120 North Main Street
Elkhart, IN 46514
CANADA
Dometic Corporation
46 Zatonski, Unit 3
Brantford, ON N3T 5L8
CANADA
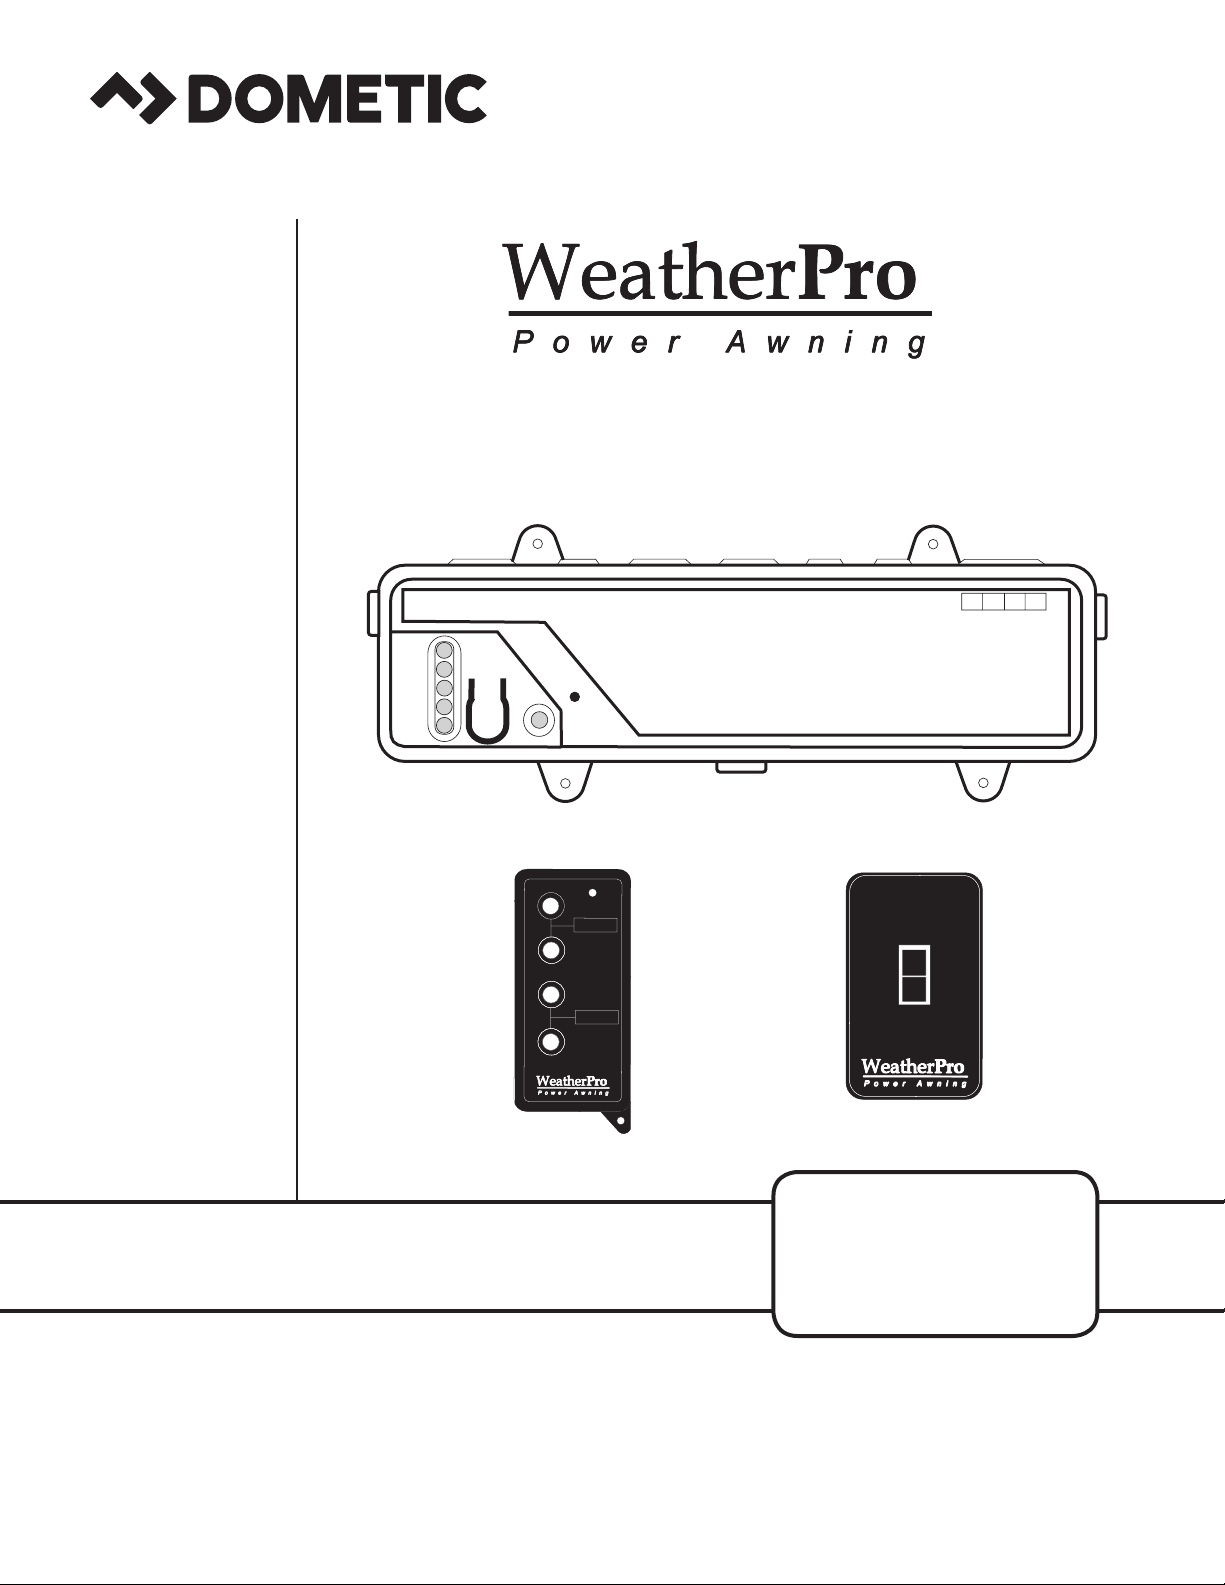
Control System
Control Box
WIND
SENSOR
24
21
18
15
12
WIND
LIMIT
SWITCH
ON
PATIO
SWITCH
U.S.A. PATENT NO 6,798,158.
DOOR
SWITCH
PATIO
MOTOR
DOOR
MOTOR
–
+
POWER 12 VDC
SERVICE CENTER &
DEALER LOCATIONS
Please Visit:
www.eDometic.com
USER’S GUIDE
REVISION A
Form No. 3309525.057 10/16
©2016 Dometic Corporation
LaGrange, IN 46761
Remote Control (Key FOB)
Remote Rocker Switch
Electronic Control Kit
3310287.XXX
3311917.XXX

To Open Awning:
EXTEND
RETRACT
PATIO
DOOR
OPEN
OPEN
CLOSE
CLOSE
PATIO
DOOR
OPEN
OPEN
CLOSE
CLOSE
A. Using The Remote Control (Key FOB)
1. Press and hold the “Extend” button
for 3 seconds and the awning will
automatically open. If not held for
three seconds the awning will remain in the position when button is
released and will continue to extend
when pressed again.
B. Using The Remote Rocker Switch
WeatherPro Awning User’s Guide
To activate the wind sensor, simultaneously press and hold buttons 1 & 2 for
3 seconds.
To de-activate the wind sensor simultaneously press and hold buttons 3 & 4
for 3 seconds.
1
2
3
4
The wind sensor is specically designed to allow air to
pass across sensor probe.
1. Press and hold the “Extend” button
for 3 seconds and the awning will au-
tomatically open. If not held for three
seconds the awning will remain in the
position when button is released and
will continue to extend when pressed
again.
Note: To stop awning during automatic opening operation
(remote control) simply press and release any key FOB
button or the Remote Rocker Switch button. Awning will
stop in the position when button was pressed. To resume
“OPEN” operation, press the “OPEN” button once again.
When using the Remote Rocker Switch follow the same
sequence.
Important: When installed correctly on a motorized
RV, this system is wired to prevent accidental awning
“extension” when vehicle ignition key is in the “ON”
position. When the ignition key is turned “ON”, the
“extension” mode is de-activated and awning will not
extend. This however, will not prevent the awning from
being retracted.
The WeatherPro awning is equipped with a wind sensing
device that will automatically close the awning when wind
conditions are present that may damage the awning. The
factory preset setting is 18 MPH. To activate the wind sensor feature, locate the control box (usually mounted in a
storage compartment), simultaneously depress and hold
buttons 1 & 2 on the Remote Control (Key FOB) for 3 sec-
onds. One of the wind speed LED’s will illuminate. Wind
sensor is activated when shipped from the factory. The
wind sensor should be enabled whenever possible.
To de-activate the wind sensor feature, simultaneously
depress and hold buttons 3 & 4 on the Remote Control
(Key FOB) for 3 seconds. There are no wind speed LED’s
illuminated when de-activated. Damage to the awning
can occur in high winds if the awning is left in the
open position with this feature de-activated.
Important: Do not attach or hang any objects from
the awning or tie the awning down. If the sensor is
activated or the retract button is depressed and the
awning rolls up, damage to the awning and attached
objects can occur.
Obstructions in the proximity of the wind sensor can diminish the sensitivity. If wind sensor is de-activated and
damage to awning occurs, the awning warranty will be
void.
Important: The wind sensor will only function cor-
rectly if the airway to the sensing probe is clear. Keep
airway clear of dust, insects, ice, snow, or other debris.
The sensing probe can be cleaned with a mild soap
solution and a small soft bristle brush.
There are six (6) LED’s in the WeatherPro control and one
(1) button for selecting the wind speed.
A. 12 VDC Power Indicator/Fault Indicator (ON)
B. Wind Speed Setting
1. The LED that is yellow indicates the wind speed
currently selected.
C. Wind Speed Selection Button
1. Wind speed is preset from the factory at 18
MPH.
2. The wind speed can be adjusted by pressing the
wind speed selection button. To increase or de-
crease the sensor sensitivity, press and release
the wind speed selection button until the desired
wind speed LED is lit. The recommended setting
is 18 MPH.
Note: Awning is not intended for cold weather operation.
Awning will automatically close when the wind sensor detects temperatures below 32° F.
WeatherPro Control Box
24
21
18
15
B
Wind
Speed
Setting
Wind Speed
Selection Button
12
C
WIND
SENSOR
12 VDC Power
Indicator And
Fault Indicator
LIMIT
SWITCH
A
2
PATIO
SWITCH
U.S.A. PAT
 Loading...