

Dome Ex Display User Manual
Dome® Ex Display
User’s Guide

© 2014 NDS Surgical Imaging. All rights reserved.
Information in this document has been carefully checked for accuracy; however, no
guarantee is given to the correctness of the contents. This document is subject to
change without notice. Go to web site ndssi.com for the latest documentation. NDSsi
provides this information as reference only. Reference to products from other
vendors does not imply any recommendation or endorsement.
This document contains proprietary information protected by copyright. No part of
this manual may be reproduced by any mechanical, electronic, or other means, in
any form, without prior written permission of NDSsi.
NDS Surgical Imaging, NDSsi, the NDSsi logo, Dome, the Dome by NDSsi logo,
Dome E2cHB, Dome E3, Dome E3cHB, Dome E5 are either registered or unregistered
trademarks of NDS Surgical Imaging. All other trademarks are the property of their
respective owners.
020-0932-00 Rev. D

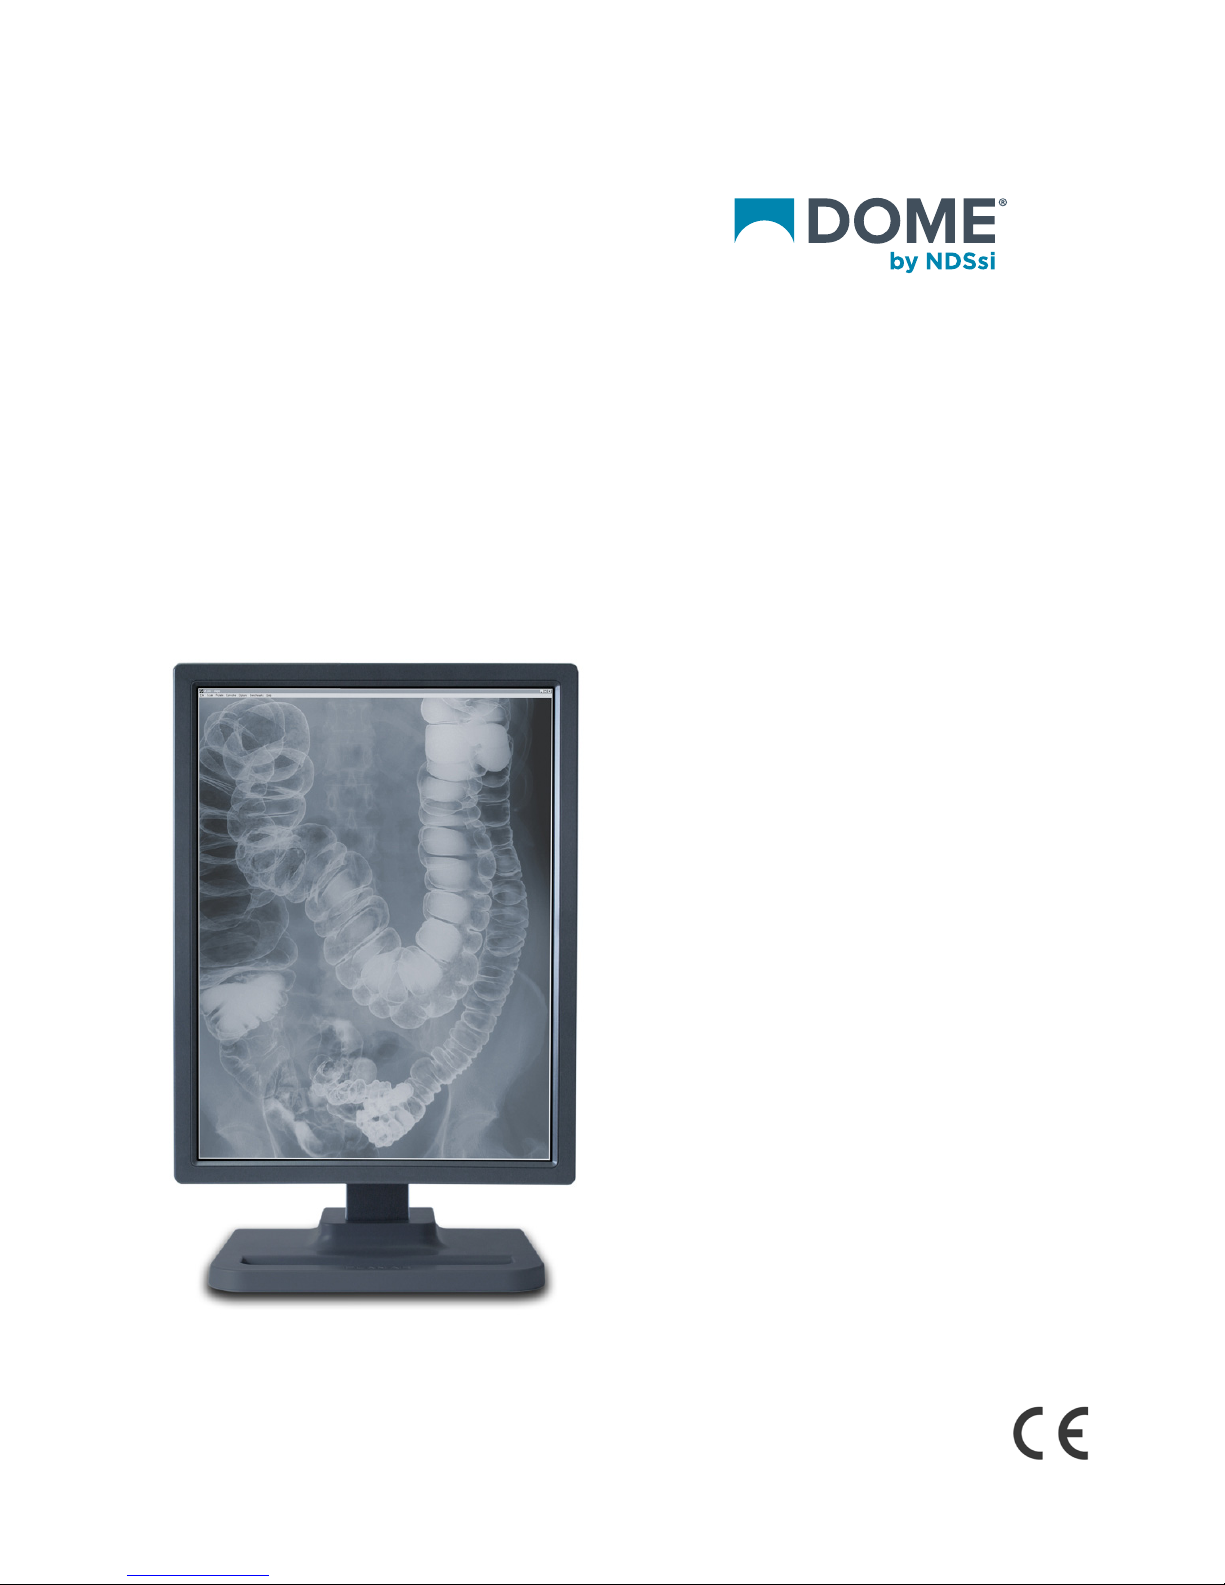
About the Display
The Dome® Ex displays are available in 2, 3, and 5 megapixels and
contain a TFT LCD panel. The display’s thin film transistors, in a
transmissive-type display, use an integrated cold cathode fluorescent
tube (CCFT) backlight system.
The display is designed for medical imaging in diagnostic settings, in
portrait or landscape orientation, and comes fully tuned with gamma
correction that complies with the DICOM Part 14 Standard. The alldigital design enables the display to produce the sharp, crisp images
critical to softcopy medical viewing. Unwanted analog display image
artifacts are eliminated.
For display classification and intended use; environmental guidelines;
safety precautions; handling, cleaning, and storage tips; and
specifications, see “Technical Information” on page 6.
System Requirements
• Windows 7 (x86 or x64) or Windows XP Service Pack 3 (x86 or x64)
• Intel or AMD multi-core processor
• PCI Express x16 lane slot
• 50 MB hard disk space
• 512 MB RAM
• CD-ROM drive
• Power supply, 350 watts or greater
2 | Dome Ex Display
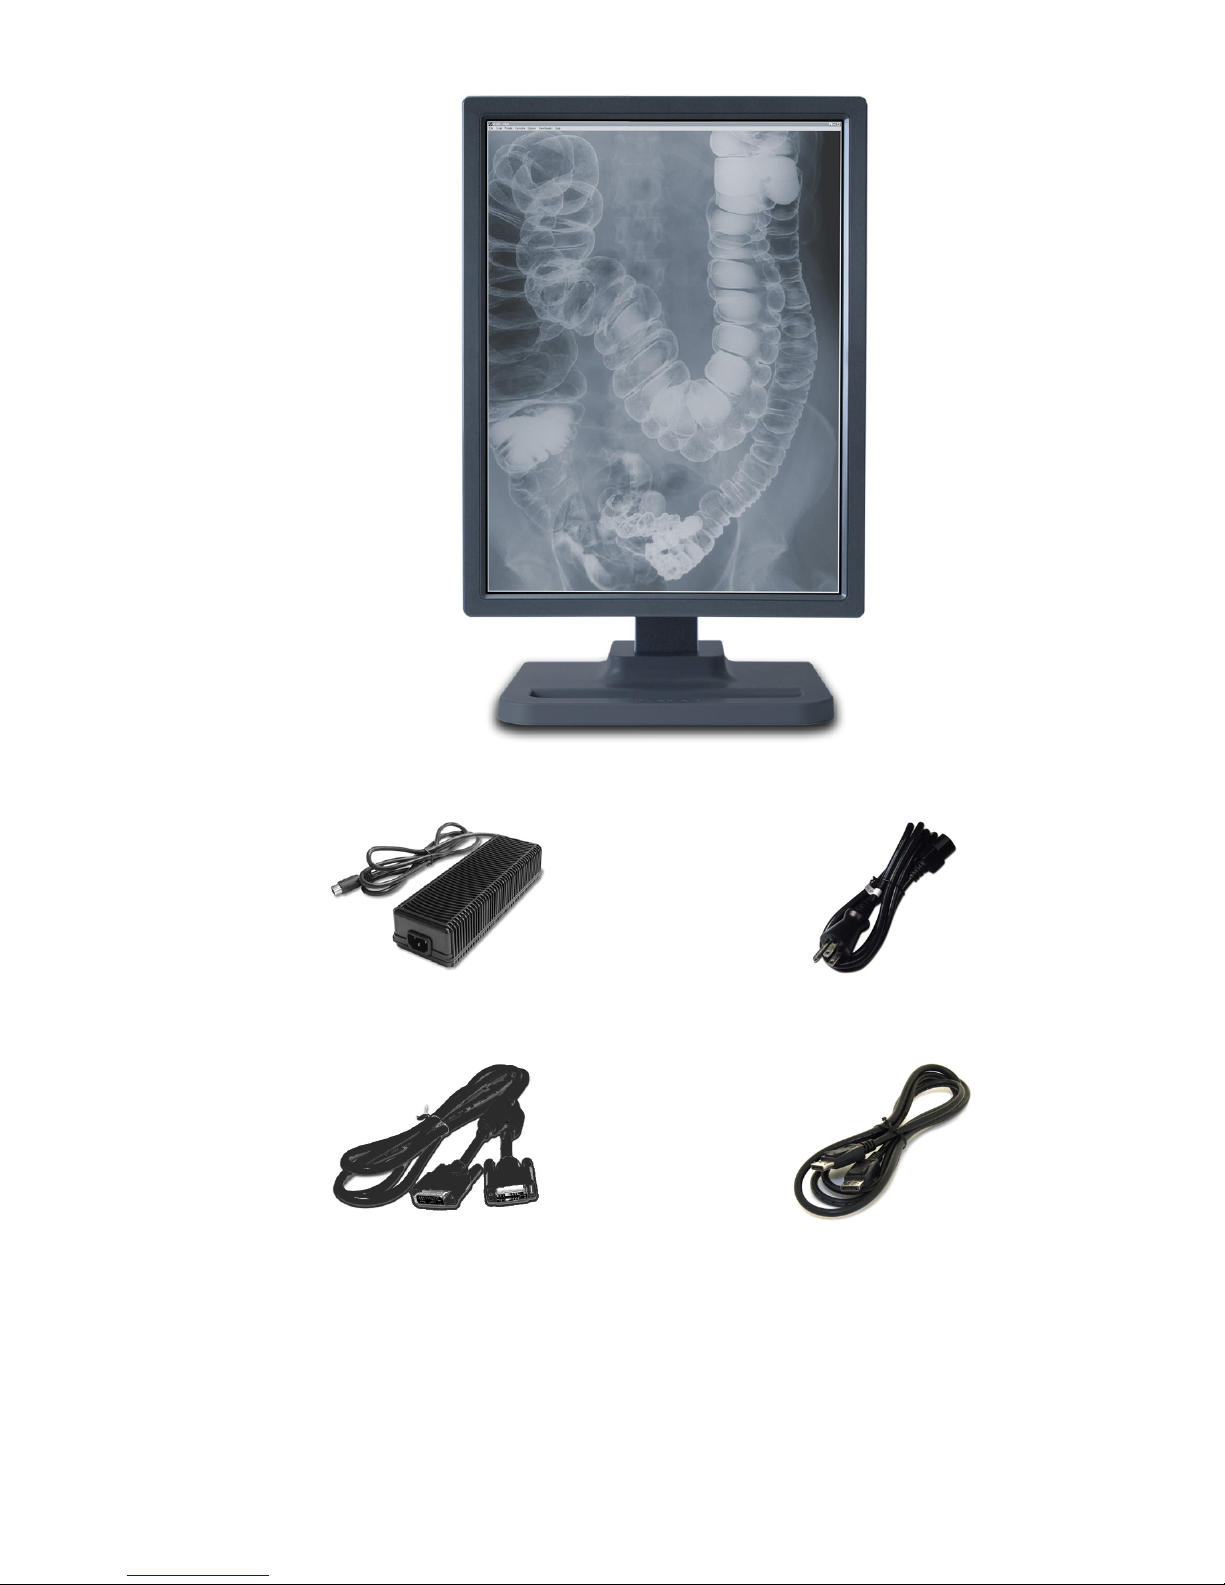
* Some Dome Ex displays ship with a DC adapter that operates per power switch.
** For Dome E3cHB unit only.
Dome Ex display mounted on desk stand
DC power adapter* Power cords
DVI cable
DisplayPort cable**
About the Display | 3
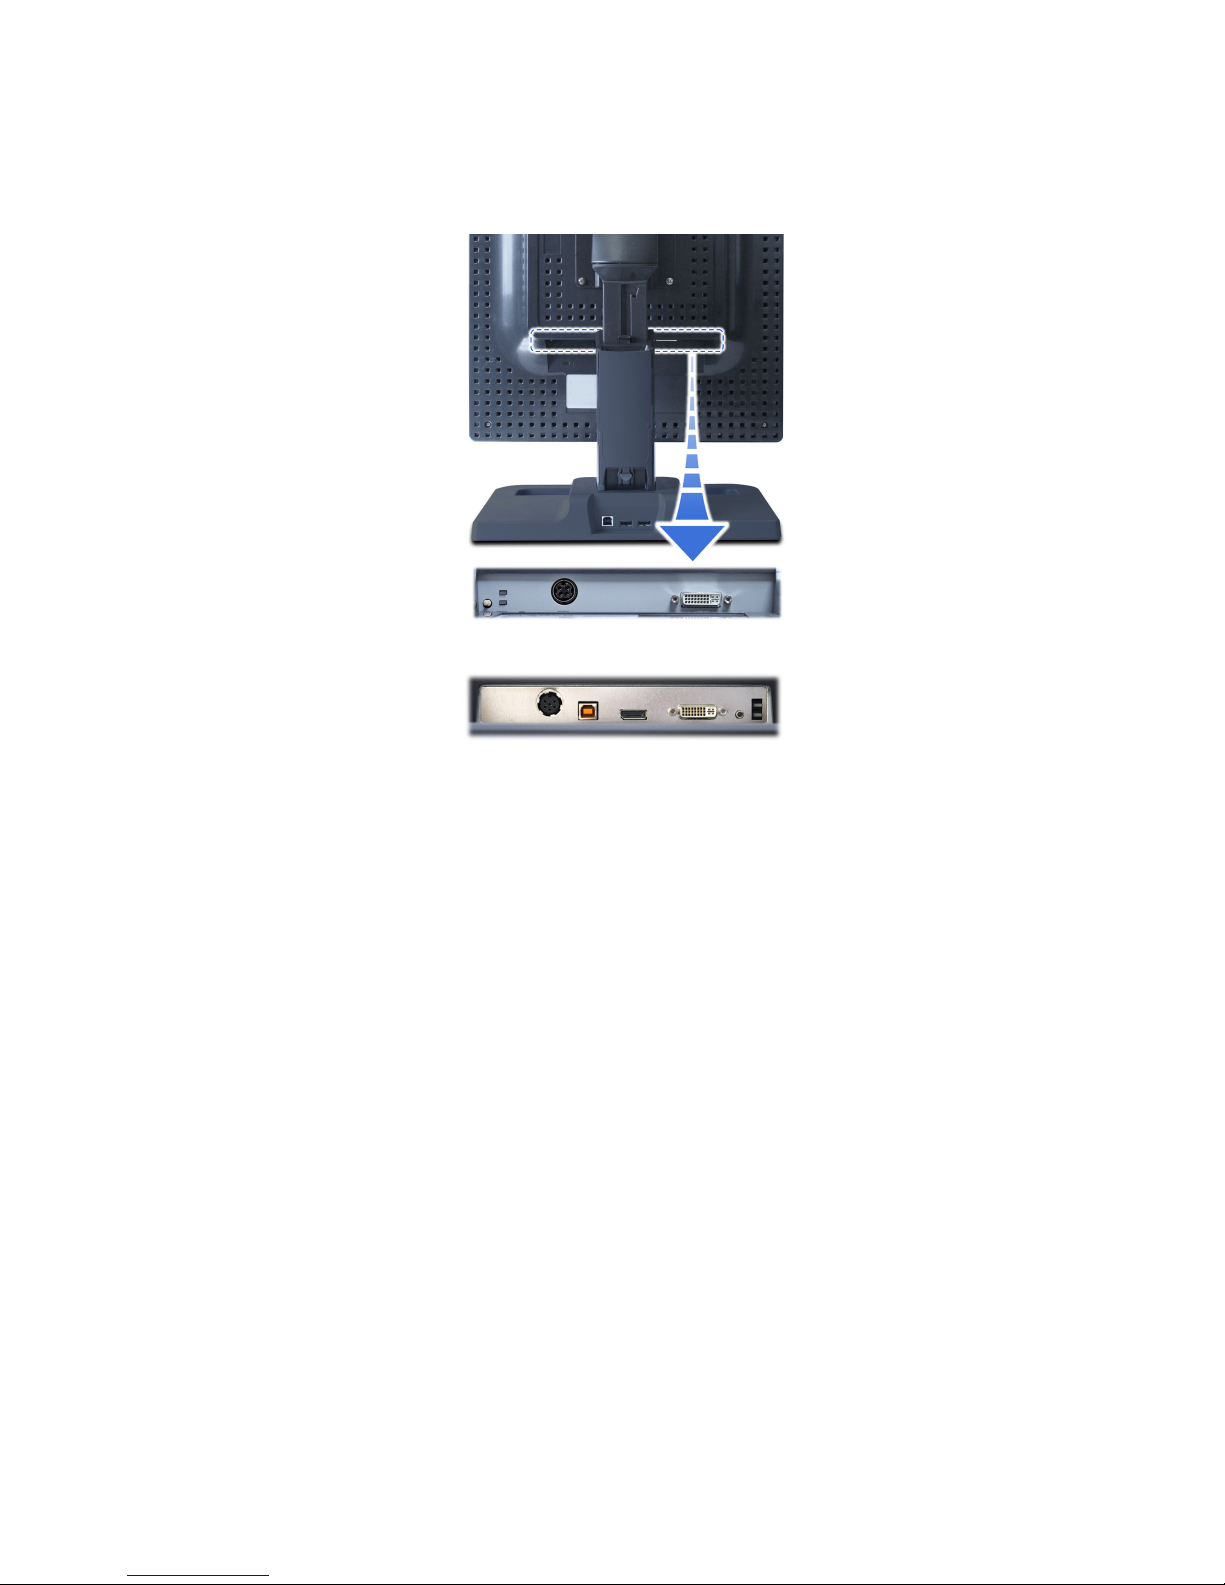
Display Components
Review this illustration of the back panel to identify controls and
ports on the display unit. Also see “Connector Ports” on page 21.
All Dome Ex displays include the following on the connector plate:
• Power input. Drives power to the display; 8-pin port on
Dome E2cHB, Dome E3, and Dome E5, and 6-pin port on
Dome E3cHB.
• Video input. Drives the data to the display. All Dome Ex displays
have a standard DVI connector. The Dome E3cHB unit also
includes a DisplayPort connector port.
• Reset button. Restores the display configuration to default
setting.
• LED lights. Provides information on the status of the display.
NOTE: Usage of the USB-B port on Dome E3cHB to be defined at
a future time.
Dome E2cHB, Dome E3,
and Dome E5
Dome E3cHB
4 | Dome Ex Display
Installing the Display
Turn your computer off. Leave the power cord plugged into
the grounded outlet. Use the Dome Ex display with the power
adapter and video cable shipped.
Connecting the Video and Power Cables
IMPORTANT! For the Dome E3cHB unit only. Install either the DVI or
the DisplayPort video cable, not both.
To connect the cables
1 Plug one end of the video cable into the video port on
the connector plate. Secure the connection.
2 Plug the power cord into the power input port on
the connector plate.
3 Plug the other end of the video cable into the video port on
your computer system. Secure the connection.
4 Plug the other end of the power cord into the power supply.
5 Plug the power supply cord(s) into a grounded AC outlet.
6 If you are using a BridgePower adapter, turn on the adapter power
switch before you turn on the computer.
WARNING
No modification of this equipment is allowed.
In locations where 240V outlets are used, connect the Dome Ex
display only to a center-tapped, 240V, single-phase supply
(for Canada and the United States only).

Installing the Display | 5
HARDWARE INSTALLATION TIPS
• Access to ports. For displays mounted on a desk stand, rotate
the LCD panel from portrait to landscape for better access to
the ports.
• Threading cables. Thread the DVI cable and power cord through
the stand column. Make sure the cable and cord run through the
notches. To reattach the stand cover, align the hooks with the
slots on the stand. Press the cover into place. A click sound
signals a secure connection.
6 | Dome Ex Display
Technical Information
The design of the Dome® Ex digital display takes into account every
known measure to ensure your personal safety. Improper use of
the display can result in electric shock, fire, or damage to the display.
Read all instructions before setting up the display.
Classification:
Shock Protection: Class I.
Degree of Protection Against Electric Shock: No applied part.
Degree of Protection Against Harmful Ingress of Water:
Ordinary equipment (IPX0).
Degree of Safety in the Presence of Flammable Anaesthetic
Mixture with Air or with Oxygen or Nitrous Oxide:
Not suitable for use in the presence of a flammable
anaesthetic mixture with air or with oxygen or nitrous oxide.
Mode of Operation: Continuous.
No applied part.
Important recycle instruction:
HAZARDOUS SUBSTANCE. Lamp(s) inside this product contain
mercury. This product may contain other electronic waste
that can be hazardous if not disposed of properly. Recycle
or dispose in accordance with local, state, or federal laws.
For more information, contact the Telecommunications
Industry Association at WWW.ECYCLINGCENTRAL.COM. For lampspecific disposal information, check WWW.LAMPRECYCLE.ORG.
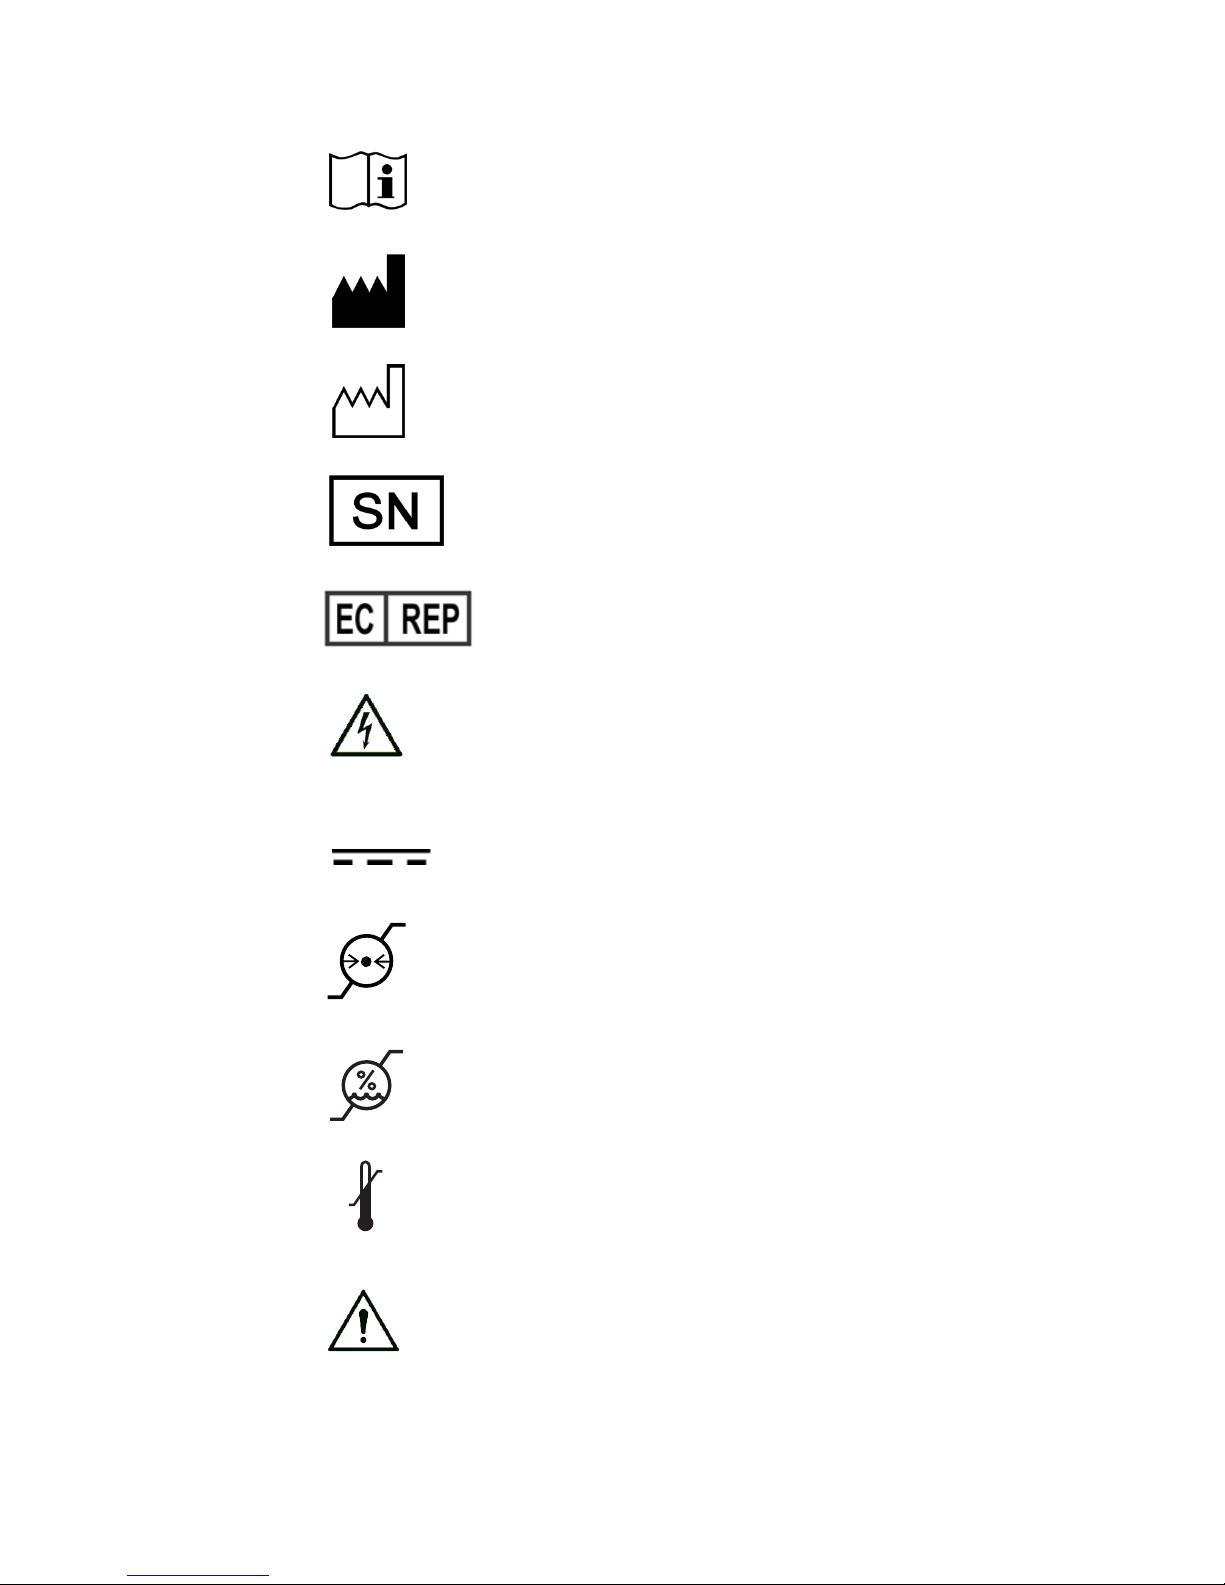
DISPOSAL. Do not use household or municipal waste
collection services for disposal of electrical and electronic
equipment. EU countries require the use of separate
recycling collection services.
ENVIRONMENT-FRIENDLY USE PERIOD. Hazardous
substances are present. The number encircled by the
recycling symbol indicates the safe-use period (in years).
China requires the use of recycling services at the end of
product life.
Technical Information | 7
Symbol explanations
READ DOCUMENTATION. Follow operating
instructions or consult instructions for use.
MANUFACTURER.
DATE OF MANUFACTURE.
SERIAL NUMBER.
AUTHORIZED REPRESENTATIVE. European
Community.
DANGEROUS VOLTAGE. Important precautions about
electric shock. Read the accompanying text carefully,
to prevent damage to display components and to
guard your safety.
DIRECT CURRENT.
BAROMETRIC PRESSURE. Transport and storage
12,000 meters (39,400 feet), maximum in
unpressurized container.
RELATIVE HUMIDITY. Transport and storage 5% to
90% (noncondensing).
TEMPERATURE. Transport and storage -10° to 60° C for
Dome E3, Dome E3cHB, and Dome E5; -20° to 60° C for
Dome E2cHB.
WARNING.
8 | Dome Ex Display
The Dome Ex display is an AMLCD display designed for viewing
medical X-ray images. This unit should not be used near patients and
should be kept outside of 1.5 m perimeter and 2.29 m vertical.
Intended use
Dome Ex line, model Dome E2cHB is intended for use in the
displaying and viewing of medical images for review, analysis, and
diagnosis by trained medical practitioners.
For the European market, Dome Ex line, model Dome E3 is intended
for use in the displaying and viewing of radiography images for
review, analysis, and diagnosis by trained medical practitioners.
Dome Ex line, model Dome E3cHB is intended for use in the
displaying and viewing of medical images for review and analysis by
trained medical practitioners.
Dome Ex line, model Dome E5 is intended for use in the displaying
and viewing of medical images, including radiographs of the breast,
for review and analysis by trained medical practitioners.
WARNING! In the Dome Ex display series, only the Dome E5 display
can be used for primary image diagnosis in mammography. The
Dome E2cHB, Dome E3, and Dome E3cHB units must not be used for
primary image diagnosis in mammography.
Federal law restricts this device to sale by or on the order of
a medical practitioner.
Safety precautions
External equipment intended for connection to signal input, signal
output, or other connectors, must comply with the relevant IEC
standard (IEC 60601-1:2005 and EN 60601-1:2006 series for medical
electrical equipment). In addition, all such combinations (systems)
must comply with the standard IEC 60601-1:2005, Safety
requirements for medical electrical systems.
Equipment not complying to IEC 60601-1:2005 must be kept outside
the patient environment, as defined in the standard as at least 1.5
meters from the patient or the patient support.
Technical Information | 9
Any person who connects external equipment to signal input, signal
output, or other connectors has formed a system and is therefore
responsible for the system to comply with the requirements of
IEC 60601-1:2005. If in doubt, speak with a qualified technician.
The power cord is the only disconnect device that allows you to cut
power from the AC main. Position the display in order to operate the
disconnect device without difficulty.
Never touch the display and the patient at the same time.
WARNING! No modification of this equipment is allowed.
GROUNDING RELIABILITY CAN ONLY BE ACHIEVED WHEN
EQUIPMENT IS CONNECTED TO AN EQUIVALENT RECEPTABLE
MARKED “HOSPITAL ONLY” OR “HOSPITAL GRADE.”
WARNING! TO AVOID THE RISK OF ELECTRIC SHOCK, THIS EQUIPMENT
MUST ONLY BE CONNECTED TO A SUPPLY MAINS WITH PROTECTIVE
EARTH.
Safety tips
• Never open the display case, even when the power is off.
Dangerous voltage inside may cause electric shock or death.
• To avoid damage to the display, use the grounded power supply
and video cable supplied by NDSsi, or use certified replacements.
• Be sure the display is electrically grounded. You must connect the
third grounding pin on the US power cord to a grounded outlet.
The European power cord does not have a third grounding pin,
but it must be plugged into a grounded outlet.
• If you cannot insert the plug into the outlet you plan to use, have
a licensed electrician replace the outlet with a properly grounded
outlet. If the power cord connects directly into the computer,
make sure the computer is grounded.
• Keep the display dry if it is part of a surgical system. The display
lacks protection against liquids or spills.
• In locations where 240V outlets are used, connect the
Dome Ex display only to a center-tapped, 240V, single-phase
supply (for Canada and the United States).

10 | Dome Ex Display
Unpacking and handling tips
The Dome Ex display is a precision instrument that requires proper
care to maintain product operation and adherence to specification.
Unpack the display and components carefully, then set up and
handle the unit properly to avoid damage to the LCD panel.
• Use both hands to grasp the display case when lifting it from the
shipping carton, but avoid touching the screen.
• Do not apply pressure to the screen or touch the screen with bare
fingers or objects. Pressure can affect image quality. Cosmetics and
oils on the skin are both detrimental to the screen and difficult to
remove.
• Allow the display to warm up to room temperature before turning it
on. Avoid sudden temperature changes in the environment, as this
may cause condensation, which damages the display.
• Secure the display properly onto a standard VESA 100-mm
mounting unit if you elect not to use the desk stand.
• Do not set up the display near strong light or heat sources.
• Do not block the vents on the back of the display or install the
display in a built-in enclosure. Blocked vents cause excessive heat
to build up inside the display, increasing risk of fire.
• When installing components, turn off your computer, but leave it
plugged into a grounded outlet.
• Do not remove the back cover or disassemble the display. There are
no user-serviceable parts inside.
Preventing fire and injury
• Replace the power supply or cables if damaged.
• Use only the power source indicated in this guide or listed on the
display.
• Do not plug the power supply into an overloaded AC outlet or
extension cord. Overloaded AC outlets and cords can result in
electric shock or fire.
• Do not drop or push objects into the display case. Internal
components contain high voltage.
• Unplug the power cord from the wall outlet during thunderstorms.
• Do not place magnetic devices, such as motors, near the display.
Technical Information | 11
Cleaning the display
Observe the following guidelines to maintain the display and
the LCD screen.
• Use a clean, lint-free, absorbent cotton cloth to clear off any
residual glue from removal of the protective film or to remove
surface dust. Apply light pressure to remove the dust.
• Dampen a clean cloth with a small amount of isopropyl alcohol to
remove glue or dust if the screen is still not clean. Do not saturate
the cloth; otherwise, alcohol may seep into the display case and
collect in the enclosure. Use a clean, dry cloth to completely
remove the alcohol residue.
• Do not use chemically treated dust cloths, acetone, toluene, or
harsh solvents on the display case or the screen. They can damage
the polarizer and the display case.
• Do not expose the display to water or excessive moisture. Do not
allow water or other stains to stand on the unit. Wipe liquids off
immediately to prevent damage to the display case and the screen.
Shipping/storing the display
Keep the display in its shipping container until installation. Return the
display to its original container whenever you need to store the unit,
move it to another location, or return it for repair. The packaging
supplied by the manufacturer protects the display while it is in transit.
See environment specifications for more information.
Before returning the display to the container, do the following:
1 Swivel the display panel to landscape mode.
2 Push the panel down to the lowest position.
3 Use the stand lock to anchor the panel.
Disposal information
Follow your local governing ordinance and recycling policy for
proper disposal or recycling of display components.
WARNING! DISCONNECT SUPPLY BEFORE SERVICING
AVERTISSEMENT
COUPER L’ALIMENTATION AVANT L’ENTRETIEN ET LE DEPANNAGE

12 | Dome Ex Display
Dome E2cHB Specification
In locations where 240V outlets are used, connect the Dome E2cHB display to a centertapped, 240V, single-phase supply only (for Canada and the United States).
Category Characteristic Item Specification
LCD Technology TFT AMLCD Dual Domain IPS,
3 subpixels per pixel
Screen size, diagonal 498 mm (19.6 in.)
Display resolution 1200 x 1600 pixels (portrait)
1600 x 1200 pixels (landscape)
Pixel pitch 249 m, 102 DPI
Viewing angle 170° horizontal/vertical
Response time 25 ms (typical)
Refresh rate 60 Hz
Optical Brightness 800 cd/m
2
(typical)
Contrast ratio 700:1 (typical)
DICOM LUT 16-bit architecture with 0.3 JND precision
Colors supported 16.7 M
Pixel arrangement RGB vertical stripe
Interface Display control - brightness/
contrast
DDC2B+
Display identification EDID read using DDC2B+
Display status Dual-stack tricolor LEDs on back panel
Panel
Connectivity
Video input DVI-D
Pixel data sizes 8-bit, 16-bit, and 24-bit per pixel color
VGA compatibility 640 x 480 to 1280 x 1024
USB interface Built-in USB 2.0 HUB on stand
Physical Display size (without stand),
H x W x D
440 mm x 343 mm x 95 mm
(17.3 in. x 13.5 in. x 3.7 in.)
Display weight (without stand) 5.4 kg (12 lb)
Display weight (with stand) 9.1 kg (20 lb)
Mounting options 100 x 100 mm VESA mounting standard. Desktop
stand includes height, pivot, swivel, and tilt
adjustment.
Power
Requirement
Adapter BridgePower BPM130S12F02 (with power switch)
(CAUTION: Use only the adapter supplied with unit.)
 Loading...