

DogWatch R7m, R9 Operating Instructions Manual
Using the magnet to reset the R7m.
Using the magnet to reset the R9.
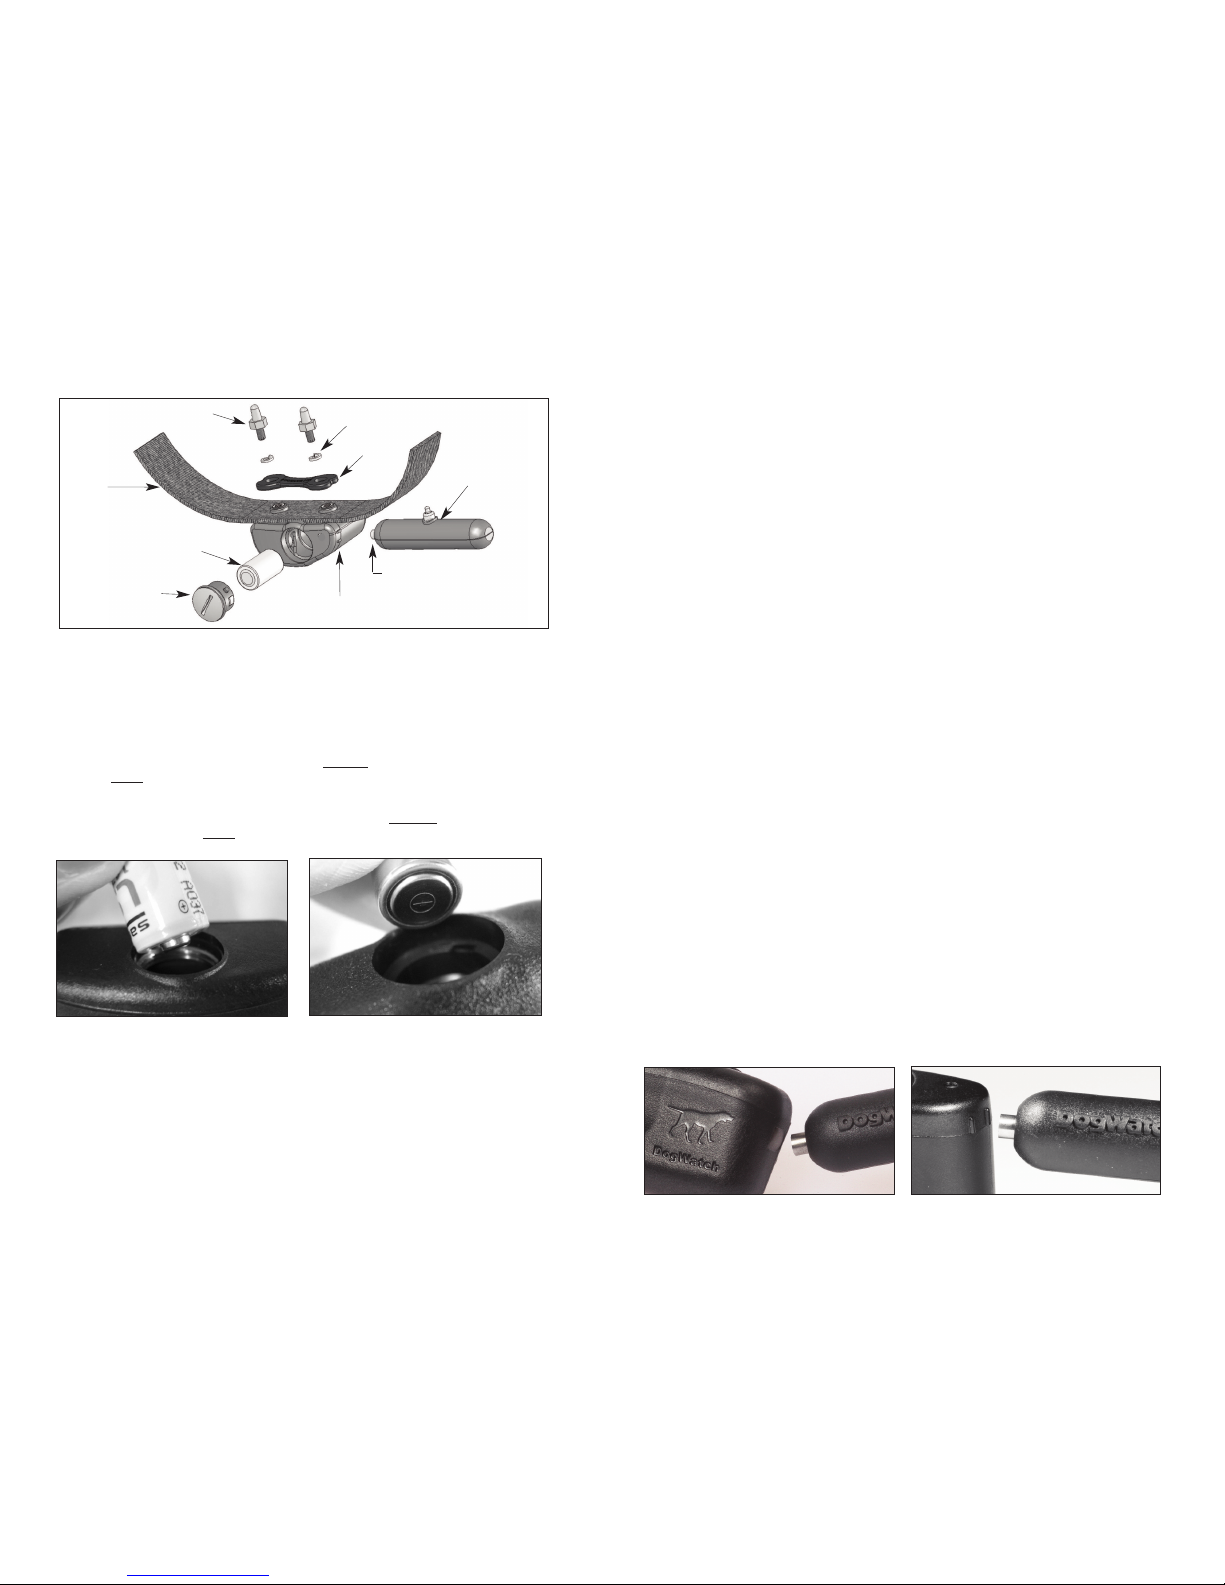
The components of both the R9 (above) and the R7m are the same except the R7m
is smaller and uses a different battery.
Receiver Battery
Both the R7m and the R9 operate on a replaceable battery. Both receivers are waterproof when the battery cap is fully seated.
R9 Battery: The R9 receiver is powered by a 3.6 volt lithium battery. With normal use,
the battery should last about two years. The positive (+) end of the battery must be
inserted down.
R7m Battery: The R7m receiver is powered by a 3 volt (1/3 N) lithium battery. With
normal use, the battery should last about six months. The negative (-) end of the
battery must be inserted down.
Adjustable
Nylon
Collar
T
est Light
Magnet
C
ontact Posts
3.6 Volt Battery (R9)
Battery Cap
Marks on receiver indicate where
to hold magnet to change setting
M
etal Lock Washer
C
ollarBone
R7m and R9 Receiver
Insert battery POSITIVE end down.
Insert battery NEGATIVE end down.
Resetting the Battery Status Light
1. Remove the old battery.
2. Let the receiver sit for five minutes before inserting a new battery.
3. Insert a new battery.
If you forget to wait prior to inserting a new battery, the flashing red battery
status light will continue to flash for 24 hours before automatically resetting.
Battery Plans: Ask your DogWatchDealer about a battery plan. If your Dealerdoes not
offer a battery plan, you can join the DogWatch Battery Program, where a new battery is
mailed to you every 6 or 24 months, depending on the type of receiver you own. Call
DogWatch at 800-793-3436 or join through the website at www.dogwatch.com.
R7m and R9Receiver Features
AutoMemory™ When the receiver is set to one of the AutoMemory levels, our patented
AutoMemory feature automatically adjusts the correction level of the receiver when your
pet challenges the boundary by entering the avoidance zone. When this happens, the
receiver will automatically advance the correction level setting by one level. If the dog does
not enter the signal field again in the next 24-hour period, the receiver defaults to the
original setting. The AutoMemory feature operates when your Receiver Training Level is
set to 4, 5, or 6.
Status Light
■ Start-Up When you first insert the battery into your receiver, the status light will flash
red and green. This indicates that the receiver has started properly. Once started, the
status light will continue to flash green once every 30 seconds indicating normal
operation. In the event that the light does not flash, check the battery to be sure that it
has been inserted properly.
■ Training Level Indicator When programming the training level of your receiver, the
status light will flash green in conjunction with audible beeps. The number of flashes
will equal the training level you have chosen.
■ Signal Field Indicator When testing the receiver in the signal field the status light will
flash green when the receiver is in the audible zone and will flash green and red when
the receiver is in the correction zone.
■ Correction Alert You will be able to tell if your pet has tested the boundary by looking
at the status light. The status light will double flash green every 30 seconds during the
24-hour period after the dog has entered the boundary area.
■ Battery Indicator This feature monitors the voltage level of the battery. Once the
receiver detects that the battery has reached a low voltage level, the status light will
change from the normal blinking “green” every 30 seconds to blinking “red” every 10
seconds. This indicates that your battery is close to the end of its useful life and you
should change the battery within the next 3-4 days.
SETTING THE RECEIVER
Receiver Training Levels Your receiver provides eight training levels that allow you to
customize the training setting to your dog’s individual needs: Audible Only, Level 1 (extra
low), Level 2 (low), Level 3 (low medium), Level 4 (medium), Level 5 (medium high), Level 6
(high), and Level 7 (extra high). When the receiver is first shipped from the manufacturer, it
will automatically be set to Training Level 2 (low).
Changing the Receiver Settings If you need to change the Training Level on the receiver,
hold your test light magnet to the marked area on the side of the receiver. Hold the magnet
steady and you will hear a series of beeps that indicate the current training level. The
“Audible Only” level is one long beep, Level 1 is one short beep, Level 2 is two short
beeps, Level 3 is three short beeps, etc. The Training Level will continue to advance while
the magnet is held in position. When you reach the desired setting, pull the magnet away
from the receiver. The receiver is now set.
10 Michigan Drive ■ Natick, MA 01
7
60
■ 800-
793-343
6 ■ www.dogwatch.com
©2011 DogWatch Inc. All rights reserved. 295050 Rev D 01-11
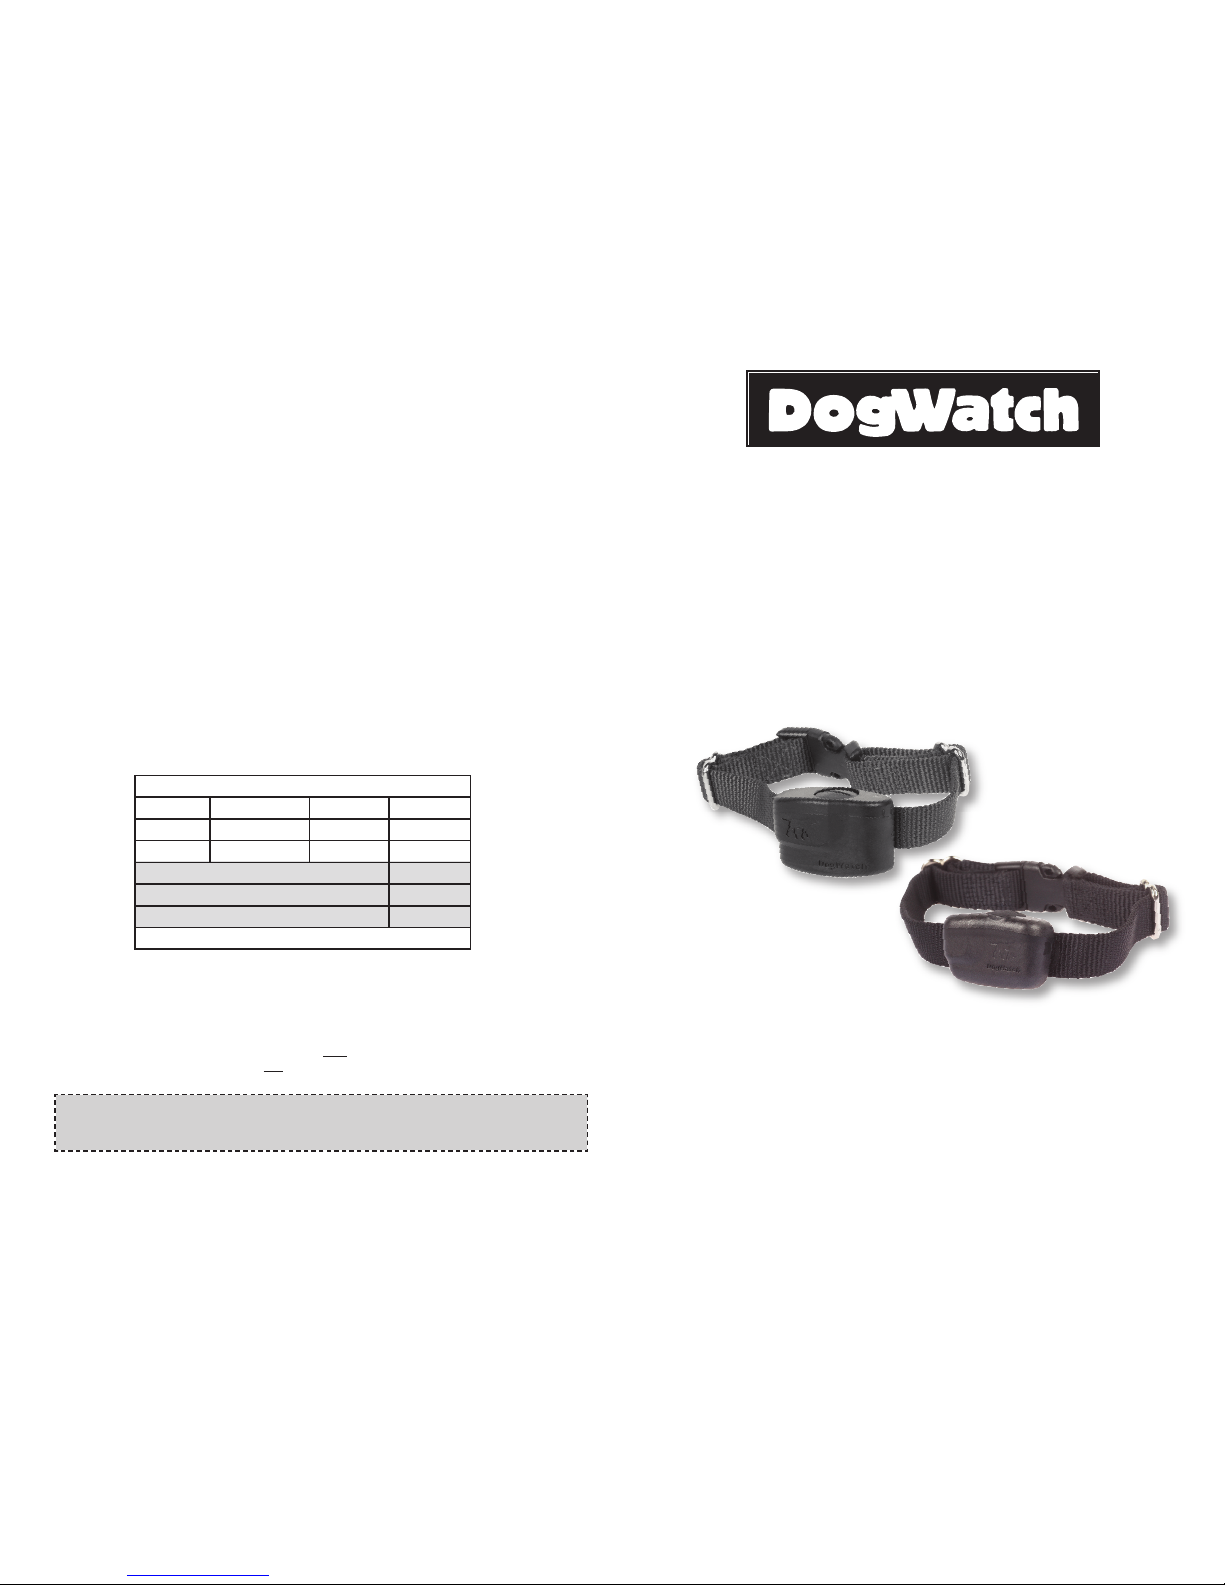
R7m and R9 Receivers
Operating Instructions
...............................................
R7m Receiver
Hidden Fences
®
R9 Receiver
For Use With
Performance Series Systems
For example: If the receiver is on Level 1 and the transmitter is on Rate 1, your dog willreceive the
lowest level ofcorrection and the least numberof pulses per second.
Please remember that if your Receiver Level is set to 1, 2, or 3 and you switch the Training Mode to
QuickAlert (Mode B), your trainingsetting may change. For example, if the receiveris set to Level 3 and
the transmitter is set to Rate 1, yourdog will receive a slow correction. If youswitch your Training Mode
to QuickAlert, your dog will now receive a fast correction.
Receiver Levels and Transmitter Settings
T R AN S M I T T E R M O D E A N D R A T E S E T TI N G S
Mode A Mode A Mode A Mode B
Rate 1 Rate 2 Rate 3 QuickAlert
TM
Transmitter Rate Fixed at Medium
Slow Medium Fast Slow
Slow Medium Fast Medium
Slow Medium Fast Fast
Fast Fast
X-Fast X-Fast
XX-Fast XX-Fast
Audible and XXX Fast Correction are Simultaneous
AutoMemory
TM
self activates
and advances
to the next level.
}
Note: Any time the magnet activates the receiver, the number of beeps will indicate
the current receiver level. As long as the magnet is held in place, it will advance the
receiver to the next training level and continue to cycle through the settings in the
order shown in the chart below.
PROGRAMMABLE FEATURES
Using the RATE and TRANING MODE settings on yourDogWatch transmitter in conjunction
with the TRANINING LEVELS on your receiver,you can customize the receiver to one of 20
training settings, as outlined in the chart below.
TRANSMITTER SETTINGS
Rates The Transmitter Rate switch adjusts to three settings: (1 = slow, 2 = medium,
3 = fast). Increasing the rate means that he will receive a greater number of pulses per
second. Rate 1 is the slowest pulse rate per second; 3 is the fastest.
Training Modes The Training Mode switch allows you to choose between two
training options: Basic (Mode A) and QuickAlert
TM
(Mode B). In Mode A, there is an
audible before a correction. For harder to train dogs, Mode B delivers a very quick
“alert” correction before the normal audible warning and correction.
*** IMPORTANT ***
Never change the receiver Training Levelswhen your dog is wearing the collar.
 Loading...