

Page 1
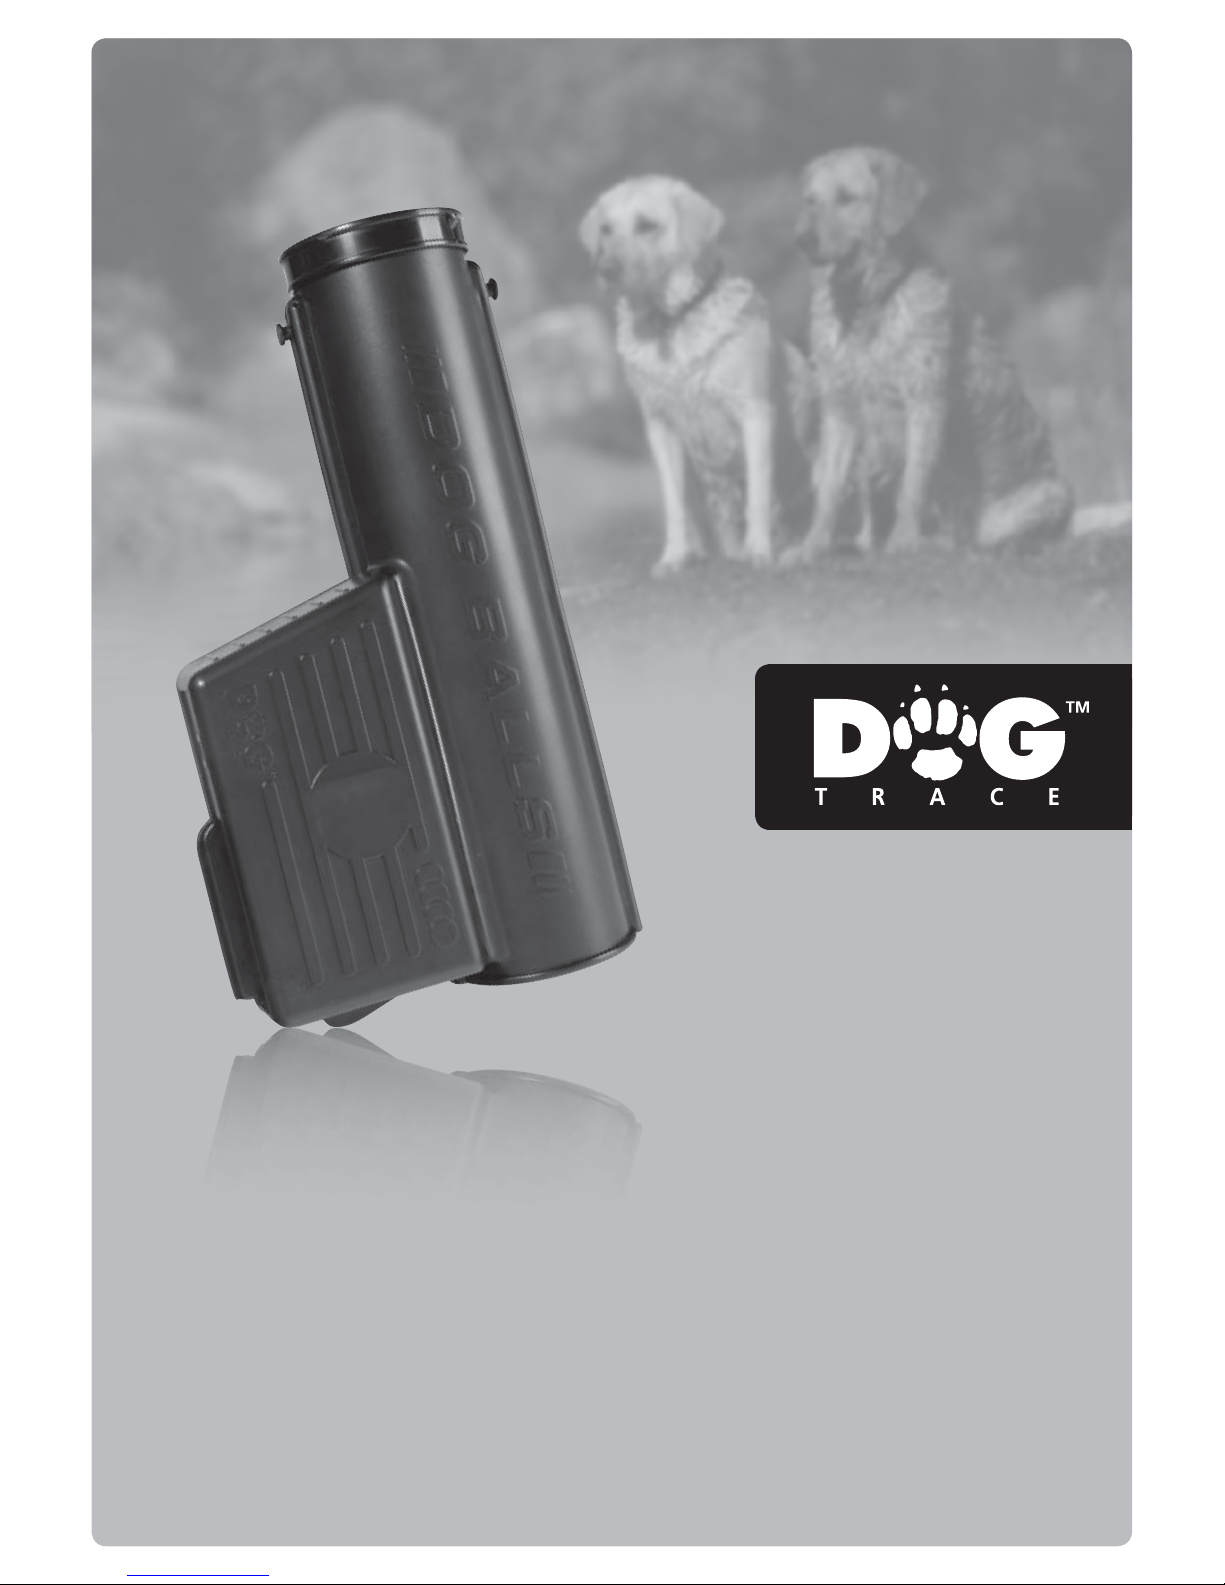
Electronic ball machine
User‘s Guide
dog balls
Page 2

Thank you for purchasing the product DOGtrace™ dog balls
produced by the company VNT electronics s.r.o., Czech Republic.
We would like to ask you to read this user‘s guide carefully before you start using the
product. Keep it please for further use after reading.
EC declaration of compliance ● Guideline R&TTE 1999/5/CE
The manufacturer: VNT electronics s.r.o. declares that the below mentioned product:
Electronic ball machine DOGtrace™ dog balls
complies to all Europe Council Guidelines, under No. 1999/5/CE of 7.4.1999
and corresponds to the following standards: ETSI EN 300 220
CE
2
Introduction . . . . . . . . . . . . . . . . . . . . . . . . . . . . . . . . . . . . . . . . . . . . . . . . . . . . . . . . . . . . . . . . . . . . . . . 3
Delivery contents . . . . . . . . . . . . . . . . . . . . . . . . . . . . . . . . . . . . . . . . . . . . . . . . . . . . . . . . . . . . . . . . . . 3
Optional accessories . . . . . . . . . . . . . . . . . . . . . . . . . . . . . . . . . . . . . . . . . . . . . . . . . . . . . . . . . . . . . . . 3
Product description . . . . . . . . . . . . . . . . . . . . . . . . . . . . . . . . . . . . . . . . . . . . . . . . . . . . . . . . . . . . . . . . 4
Battery installation and replacement . . . . . . . . . . . . . . . . . . . . . . . . . . . . . . . . . . . . . . . . . . . . . . . 5
Turning ON/OFF . . . . . . . . . . . . . . . . . . . . . . . . . . . . . . . . . . . . . . . . . . . . . . . . . . . . . . . . . . . . . . . . . . . 6
Programming (matching) of the remote controller and the receiver . . . . . . . . . . . . . . . . 7
How to use the remote controller . . . . . . . . . . . . . . . . . . . . . . . . . . . . . . . . . . . . . . . . . . . . . . . . . . 7
For the best results . . . . . . . . . . . . . . . . . . . . . . . . . . . . . . . . . . . . . . . . . . . . . . . . . . . . . . . . . . . . . . . . 8
User instructions . . . . . . . . . . . . . . . . . . . . . . . . . . . . . . . . . . . . . . . . . . . . . . . . . . . . . . . . . . . . . . . . . . . 8
Maintenance . . . . . . . . . . . . . . . . . . . . . . . . . . . . . . . . . . . . . . . . . . . . . . . . . . . . . . . . . . . . . . . . . . . . . . . 8
Troubleshooting . . . . . . . . . . . . . . . . . . . . . . . . . . . . . . . . . . . . . . . . . . . . . . . . . . . . . . . . . . . . . . . . . . . 9
Warranty . . . . . . . . . . . . . . . . . . . . . . . . . . . . . . . . . . . . . . . . . . . . . . . . . . . . . . . . . . . . . . . . . . . . . . . . . . 9
Technical data . . . . . . . . . . . . . . . . . . . . . . . . . . . . . . . . . . . . . . . . . . . . . . . . . . . . . . . . . . . . . . . . . . . . 10
Obsah
VNT electronics s.r.o. • Němčice 23 • 561 18 Němčice u České Třebové
Phone: +420 461 310 762 • Czech Republic • www.dogtrace.com
Persons with a personal instrument to support heart activity (pacemaker, defi brillator) must
respect the relevant precautionary measures. The product dog balls emits a certain stationary
magnetic fi eld (lower part of the remote controller and RF signals).
Frequency = 869.52 MHz, maximum transmitted power = 25 mW).
Page 3

3
Introduction
The remote control training ball machine dog balls is an excellent training device suitable
for the following exercises: sending the dog forward, running round dummies and checking them, territorial training, overcoming obstacles and so on.
The ball machine is remote controlled at distances up to 250 m. Up to 8 feeders can be
operated by one remote controller. Each of them has a container for 4 balls. It is not necessary to load them after every use. The dog is rewarded after completing an exercise only in
case it deserves it. Suitable for training centres as well as home use.
● dog balls (ball machine)
● 4 balls
● Strap with loops for hanging
● 4 LR6 AA 1.5 V batteries
● Set of marking labels with numbers
● Remote controller (transmitter)
● 1 CR2 3 V battery
● Hanging string
● User‘s guide and certifi cate of warranty
● Further connectable ball machines dog balls
● Spare batteries
● Spare balls
● Battery charger
● Rechargeable GP270AAHC batteries (AA, 2600 mAh type)
● Feeder holder with a spike
Delivery contents
Optional accessories
Page 4
4
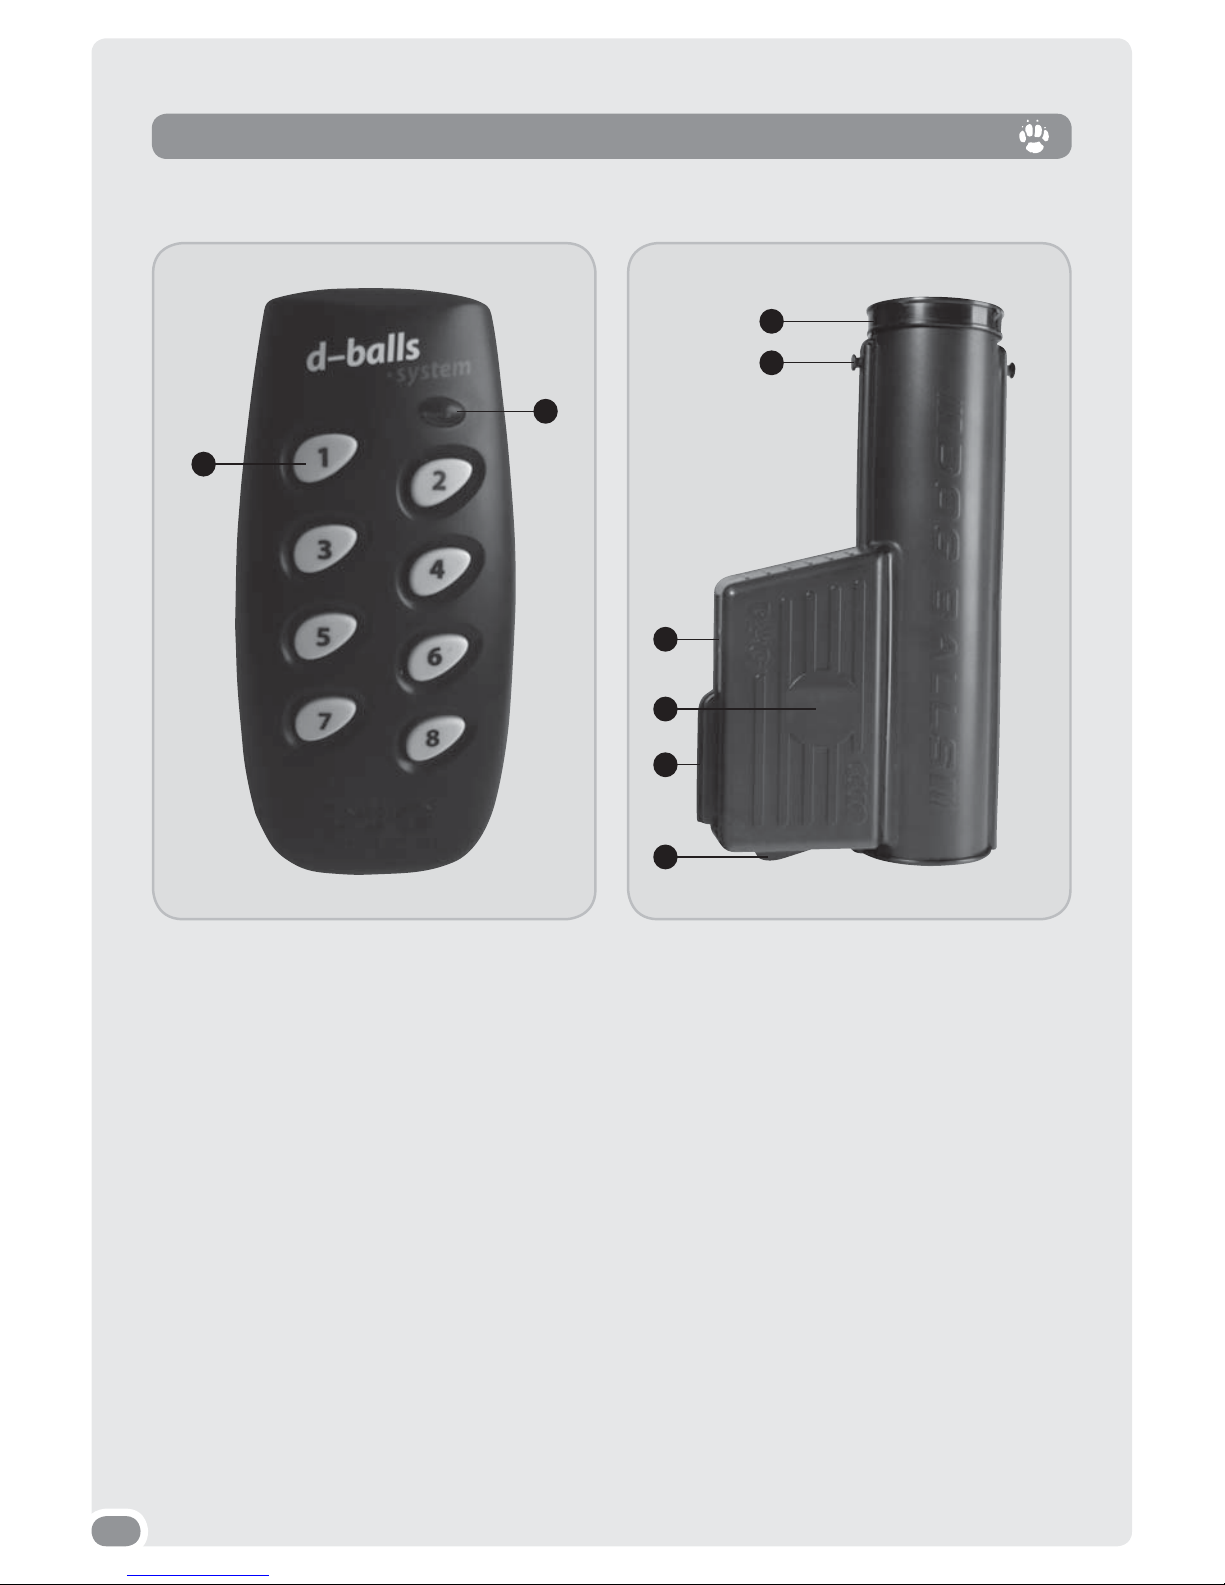
Remote controller Ball machine
Product description
REMOTE CONTROLLER
➊ Indication light
➋ Ball machine control buttons
1–8
BALL MACHINE
➊ Ball machine cover
➋ Holders for hanging a strap
with buckles
➌ Indication lights
➍ Marking number space
➎ Holder slot
➏ Battery space cover
1
2
1
2
3
4
5
6
Page 5
5
Installation (replacement) of the battery in the ball machine
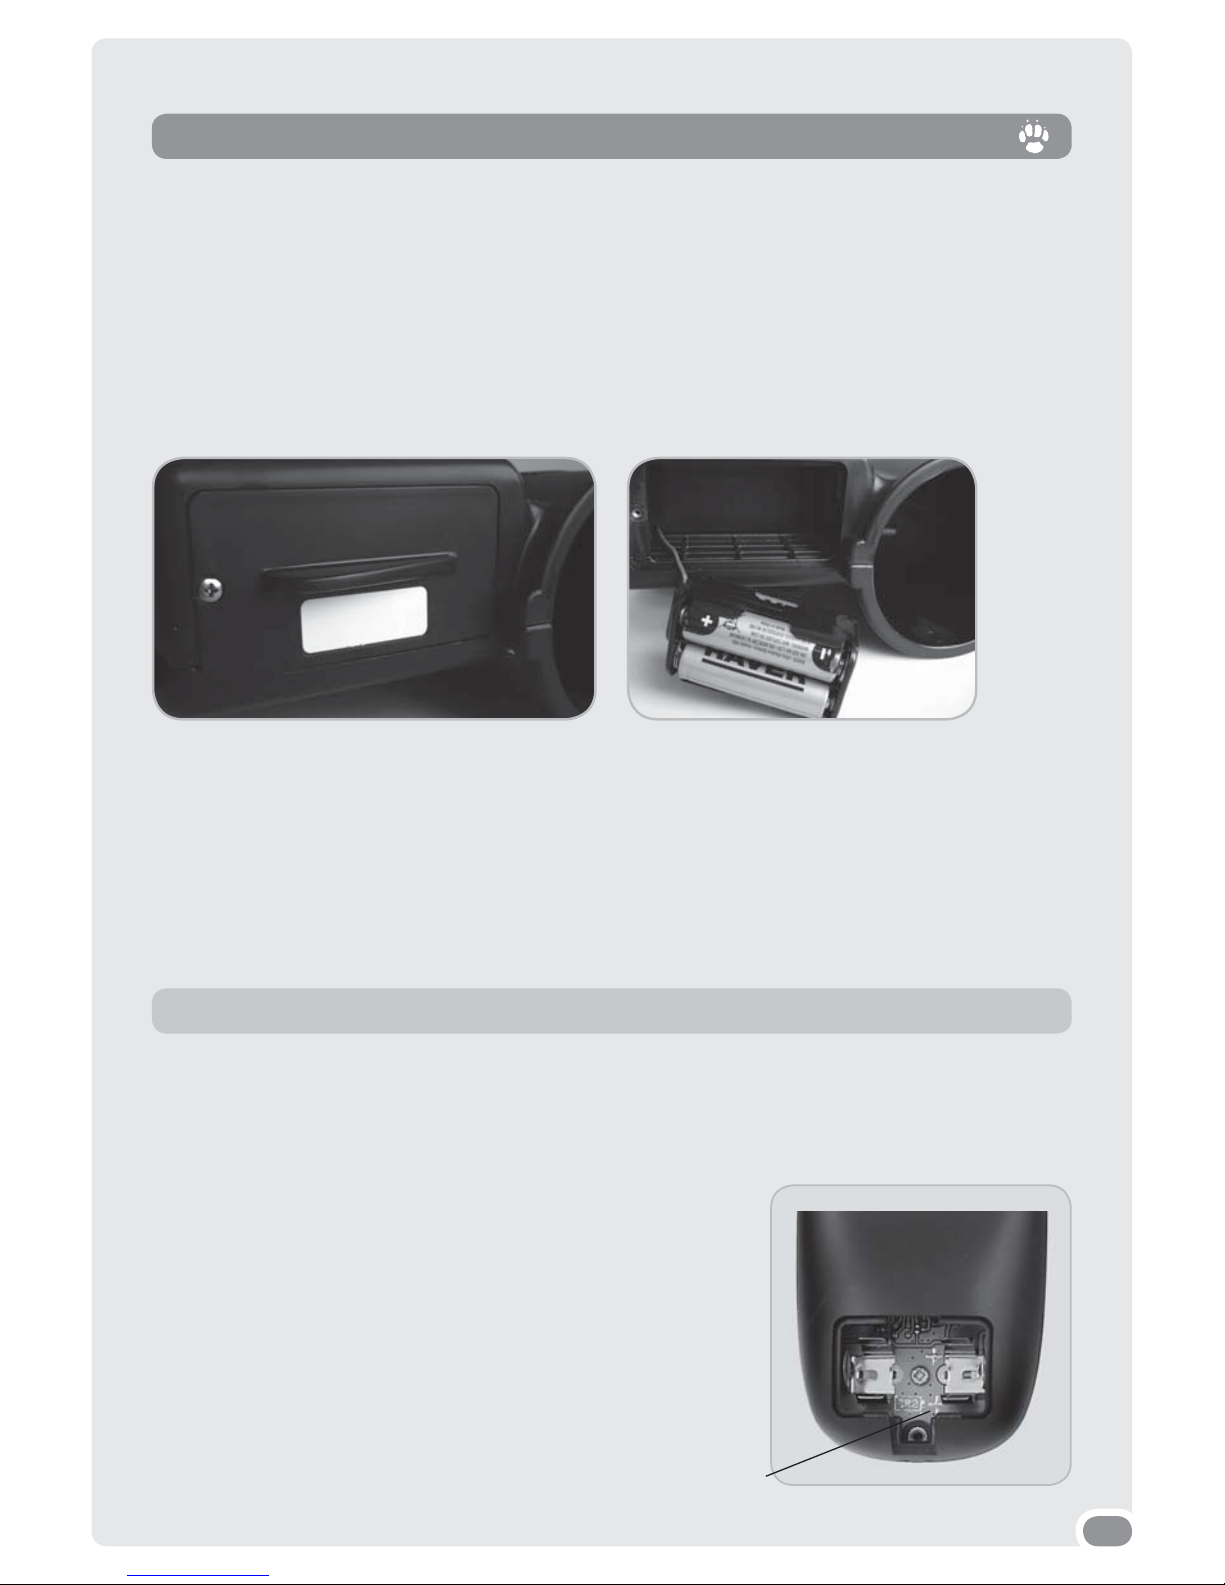
● Remove the screw from the ball machine battery space cover with a cross-head screwdriver.
Take the battery holder out carefully. Insert 4 LR6 AA 1,5V batteries. Mind the polarity
marked on the battery holder.
● Before putting the battery space cover back to its place make sure that the battery holder
is seated in the battery space correctly. Tighten the screw on the battery space cover
using adequate force.
Installation (replacement) of the battery in the remote controller
● Unscrew the battery space cover screw on the back side
of the remote controller and litt the cover carefully.
Insert a new 3V CR2 battery. Mind the polarity marked
on the battery cover (see the picture). Put the cover back
and tighten the screw using adequate force.
Battery installation and replacement
Battery space cover Battery holder
Checking the battery status
Look at the indicator light on the front panel of the ball machine to check the battery status:
● The battery is fully charged: the LED indicator blinks slowly in green in on-state.
● The battery is weak: the LED indicator blinks in red in on-state. Prepare a spare 3V lithium
battery CR2 and follow the section describing the battery installation. Make sure the ball
feeder works correctly.
TIP: The device can also be operated using LR6 rechargeable batteries.
Battery compartment
Page 6
6
Turning the ball machine ON / OFF
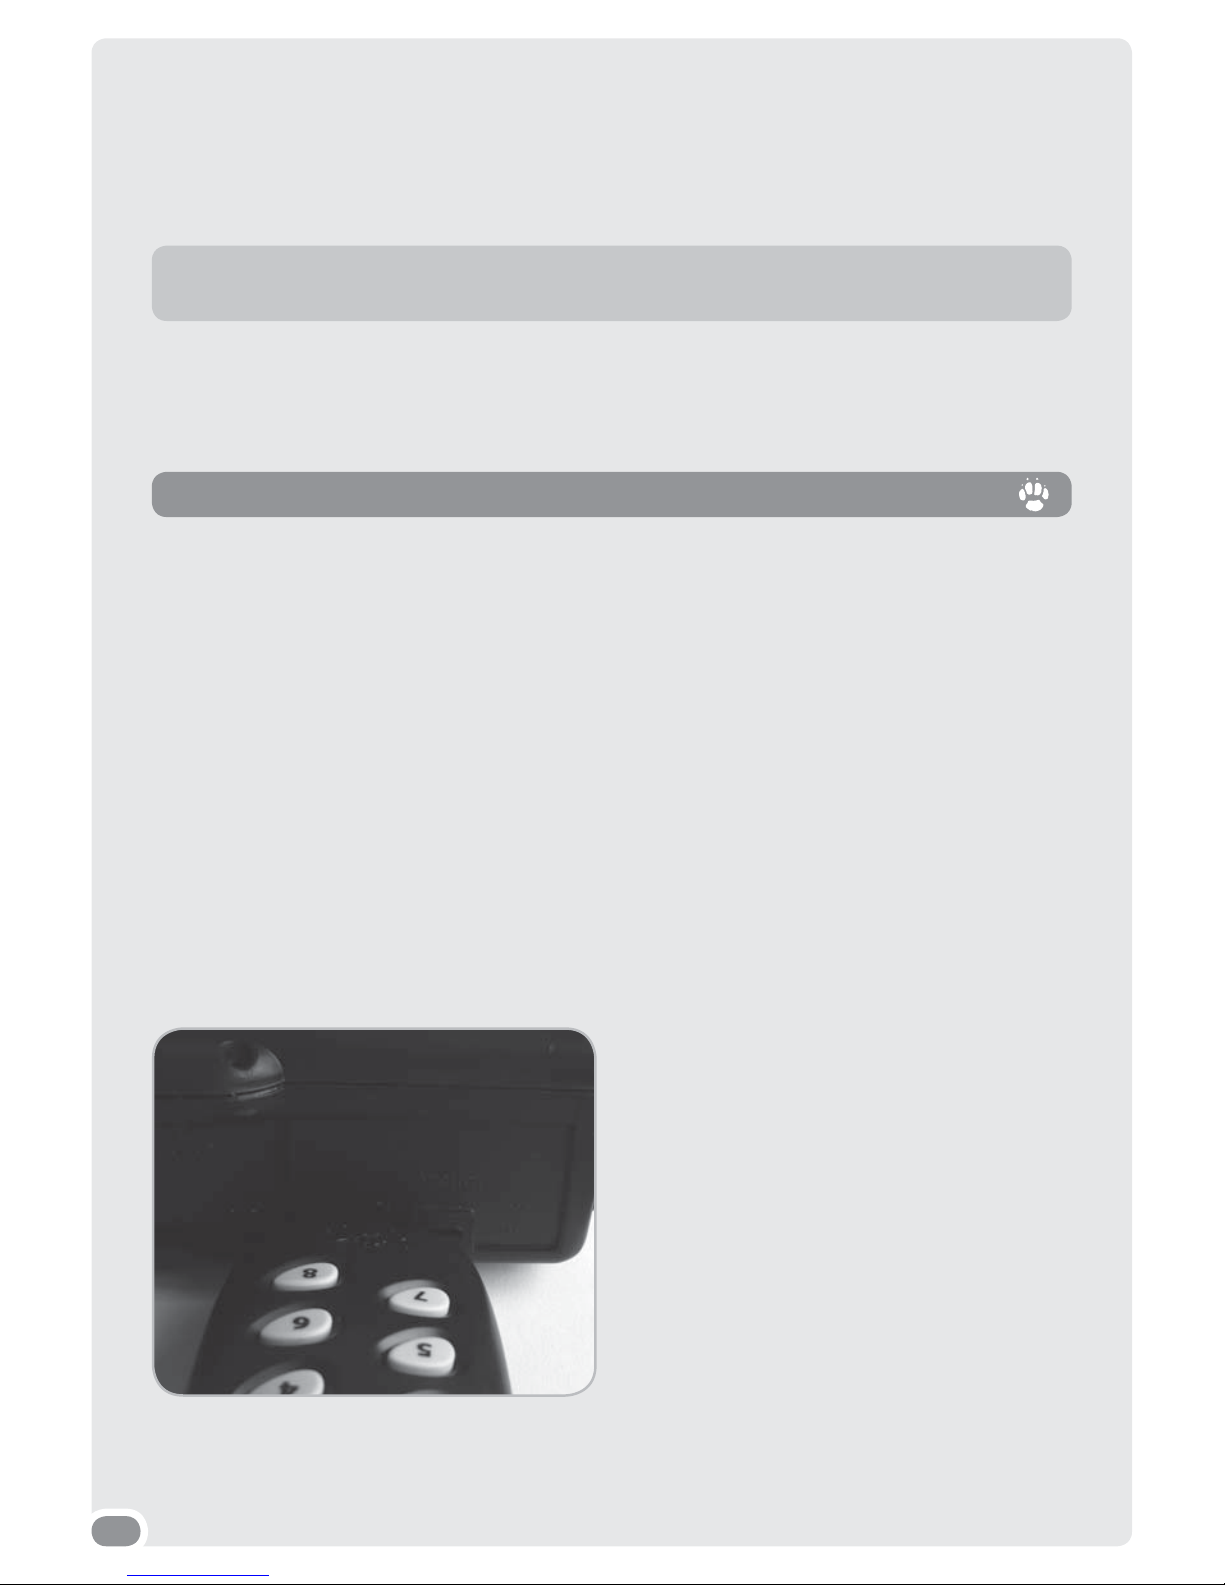
● Turning on: Place the lower part of the remote controller to the marked arrow (see the
picture). The ball machine indicator blinks in red (The ball machine is recognised).
Remove the remote controller when the LED diode lights up in red permanently.
The diode starts blinking in green indicating the ball machine is ready for use.
● Turning off : Place the lower part of the remote controller to the marked arrow (see the
picture) again. The receiver indicator lights up in red. Remove the remote controller.
The red LED diode goes out. The ball machine is turned off .
To prolong the battery lifetime, the ball machine is always to be turned off after training.
If the ball machine is not used for a longer period of time, removing batteries is recommended.
Turning ON/OFF
Position when turning the ball
feeder on/off and when matching
the transmitter with the ball machine.
When the battery gets weaker, the remote controller performance (radio signal coverage)
decreases. The battery needs to be replaced. Discharged battery is indicated by red LED
diode which is lit up by pressing any button on the remote controller. Prepare a spare
battery and follow the instruction above for replacing batteries in the remote controller.
TIP: You can remove the batteries more easily using a small screwdriver inserting
it carefully under the edge of the battery.
Make sure the remote controller is working correctly. By pressing any button, the green
LED diode lights up.
Page 7
7
Every remote controller has its own RF operational code. Programming of the remote
controller with the ball machine will be performed during the fi rst use of the DOGtrace™
dog balls set or with a new remote controller or ball machine (in case they get lost).
This operation enables you to match your remote controller with the delivered ball machine.
IMPORTANT: Before programming (matching) is started, make sure no one else is
using his/her dog balls ball machine or another DOGtrace™ product close to you. Your
ball machine could randomly receive a code from another remote controller and set
itself to it. If this happens, program your ball machine once again using your remote
controller.
● If you have inserted balls into the container, replace them.
● Place the lower part of the switched-off remote controller to the arrow marked on the
ball machine (see the picture on page 6). The red LED diode blinks, the green LED diode
lights up for 3 seconds. Then the red as well as the greed LED diode starts blinking.
The ball machine is ready for matching. Remove the remote controller now and press
buttons 1 to 7 which you want to control the ball machine with. Ejection cycle is performed at the same time. This way you make sure the matching has been successful.
● Use the same procedure for matching more ball machines.
Programming (matching) of the remote controller
and the receiver
How to use the remote controller
Remote controller DOGtrace™ dog balls is designed to control up to 8 ball machines.
Buttons
to
By pressing these buttons, an ejection signal is sent to the feeder which is matched
to the button.
Page 8

8
● Don’t put the remote controller close to objects sensitive to magnetic fi eld to avoid cau-
sing permanent damage to them.
● Don’t expose the dog balls set to high temperatures.
● It is necessary to replace the batteries every two years, even in case the set has not been
in use for a longer period of time. Don’t leave discharged batteries in the device to avoid
potential damage.
● The set is designed to be used with four balls maximally. Don’t use any extenders to
increase the capacity. It could cause damage to the device.
● Use only balls delivered with the set or recommended by the manufacturer. Using diff e-
rent balls than recommended can cause damage to the device.
User instructions
Don’t use any essential substances such as diluents, petrol or various cleaners to clean the
DOGtrace™ dog balls set. Use a soft wetted cloth, eventually a neutral cleaning agent.
The remote controller is not water resistant. Protect it from water and humidity as much
as possible. If dropped into water, the device will probably be damaged permanently.
The ball machine is designed to be able to stay in the rain for a short time after closing
the cover of the ball container.
The set remembers the confi guration settings (autocoding). It stays in the last selected
mode after you switch it on again.
Maintenance
Commands for balls ejection are sent from the transmission unit to the ball machine on
radio waves. Radio wave propagation is infl uenced by many factors. The reach of this
device is approximately 250 m at common circumstances (depending on geographical
conditions and surroundings).
Follow the instructions below to get the best results with this device:
● To get the best connection, hold the remote controller in your hand not covering its
front part (the antenna is installed in this part).
● The reach is increased by holding the remote controller with your hand outstretched in
front of you.
● Check the battery status in the remote controller as well as in the ball machine before
using the set. Replace the batteries if necessary.
● Battery performance decreases moderately at temperatures below zero. If possible, keep
the remote controller warm in your pocket and take it out only when using.
For the best results
Page 9

9
Do the following before you consider your device defective:
● Read the user’s guide again and check whether the problem isn’t caused by weak batte-
ries or incorrect use.
● Check the correct polarity and position of batteries.
● If it doesn’t help, reprogram the ball machine according to the instructions in this user’s
guide.
● If the problem prevails, try to initialize the system by removing batteries from the holder
in the ball machine and from the remote controller. Create a shortcut to the contacts
using a steel tool (screwdriver, scissors for instance) for about 2 seconds. Insert the batteries again and carry out matching.
If the problem still prevails, contact your dealer.
Troubleshooting
The company VNT electronics s.r.o. provides warranty for potential manufacture faults
to the extent of two years from the date of purchase.
The manufacturer does not take responsibility for damage to the device caused by
incorrect use, unauthorized repairs and dismantling.
The warranty does not cover the following items:
● Batteries
● Strap with loops for hanging
● Direct or indirect risks during transportation of the product to the dealer
● Damage to the product caused by user’s negligence or by an accident
(e.g. by masticating, breaking, impacts, etc.) and by interventions of unauthorized
persons.
The information contained in this user’s guide may be subject to alterations without
prior notice.
Warranty
Page 10

10
Transmitter
● Weight: 60 g (without battery)
● Reach: approx. 250 m in an open space
● Power supply: 3V CR2 lithium battery
● Battery lifetime: 6–12 months depending on use
● Frequency (performance): 869.525 Mhz (25 mW)
● Antenna: integrated
● Radio connection security and coding: microcontroller
● Number of connectable ball machines: 8
● Working temperature: –10 °C to +50 °C
● Dimensions: 110 × 52 × 30 mm
Ball machine
● Weight: 560 g (without strap and balls)
● Power supply: 4 LR6 AA 1.5 batteries (or rechargeable LR6 batteries)
● Battery lifetime: 6 moths depending on use
● Frequency: 869,525 Mhz
● Antenna: integrated
● Covering: against short rain with the ball container cover closed
● Radio connection security and coding: microcontroller
● Working temperature: –10 °C to +50 °C
● Dimensions: 320 × 180 × 80 mm
Technical data
 Loading...