

Page 1
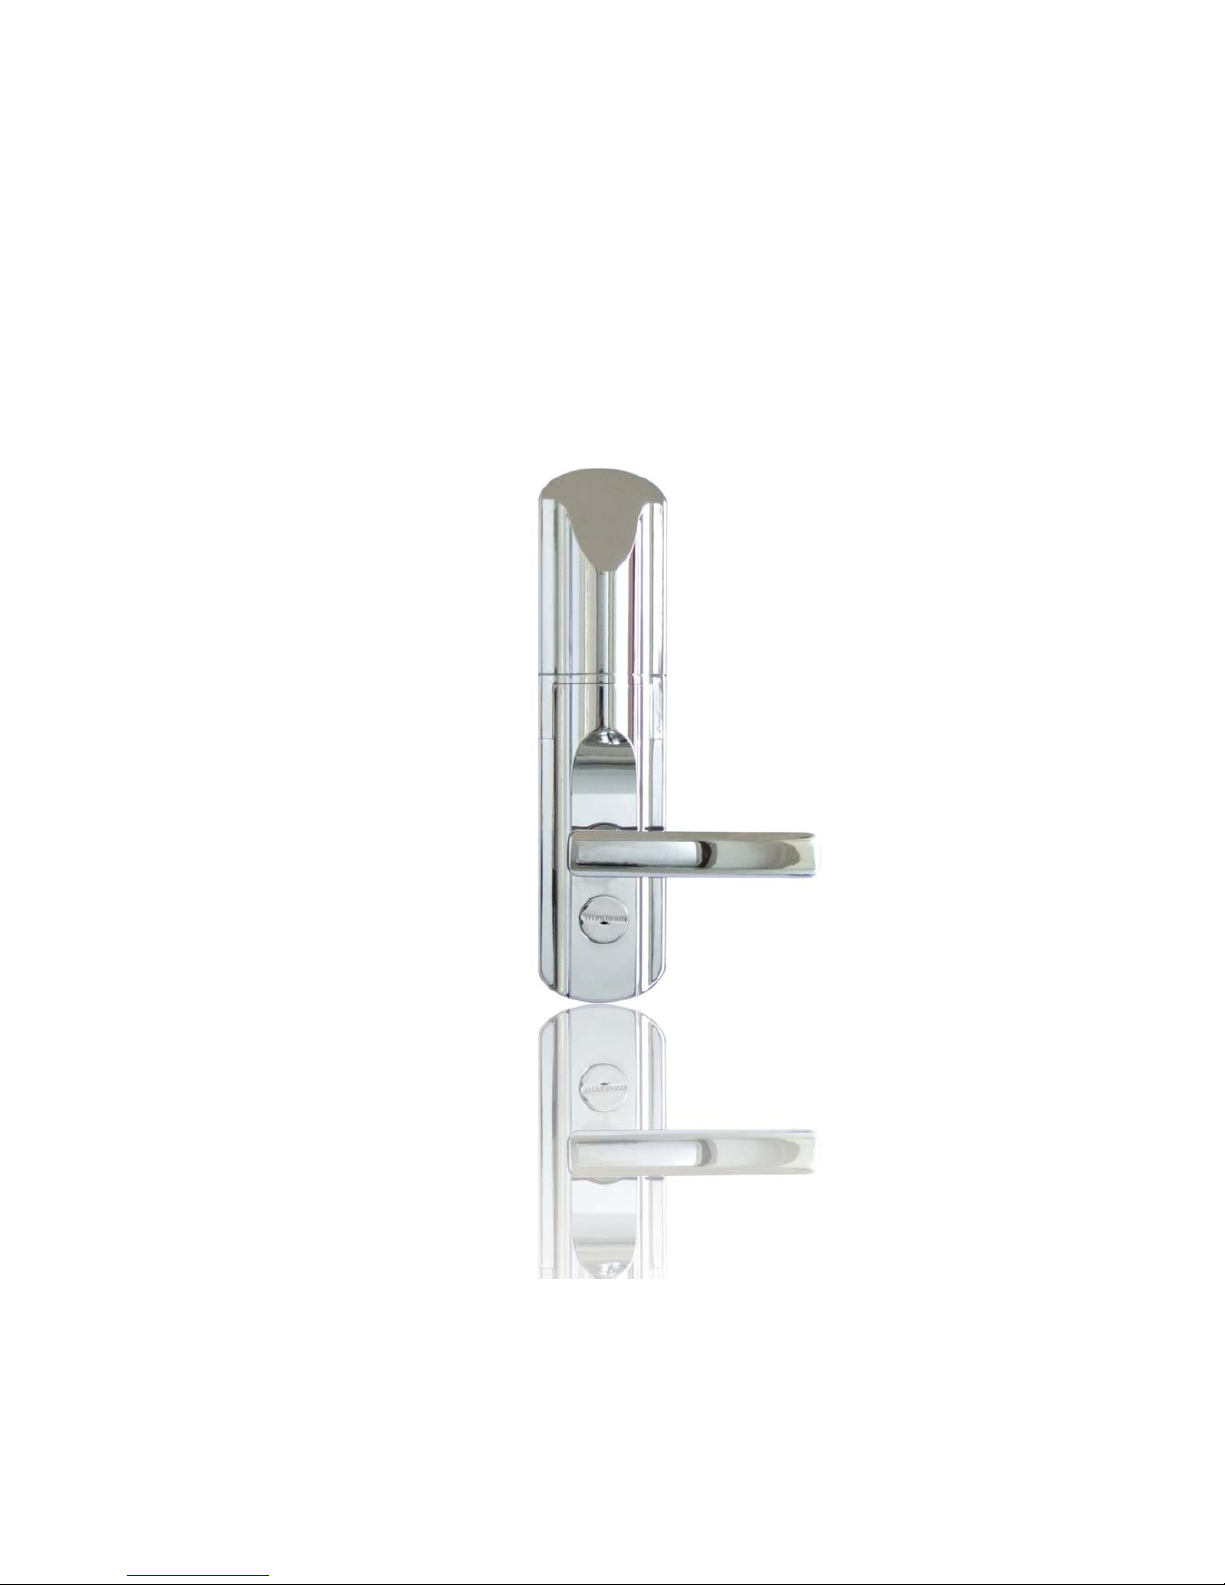
BF400Fingerprint Door Lock
Installation Manual
Page 2
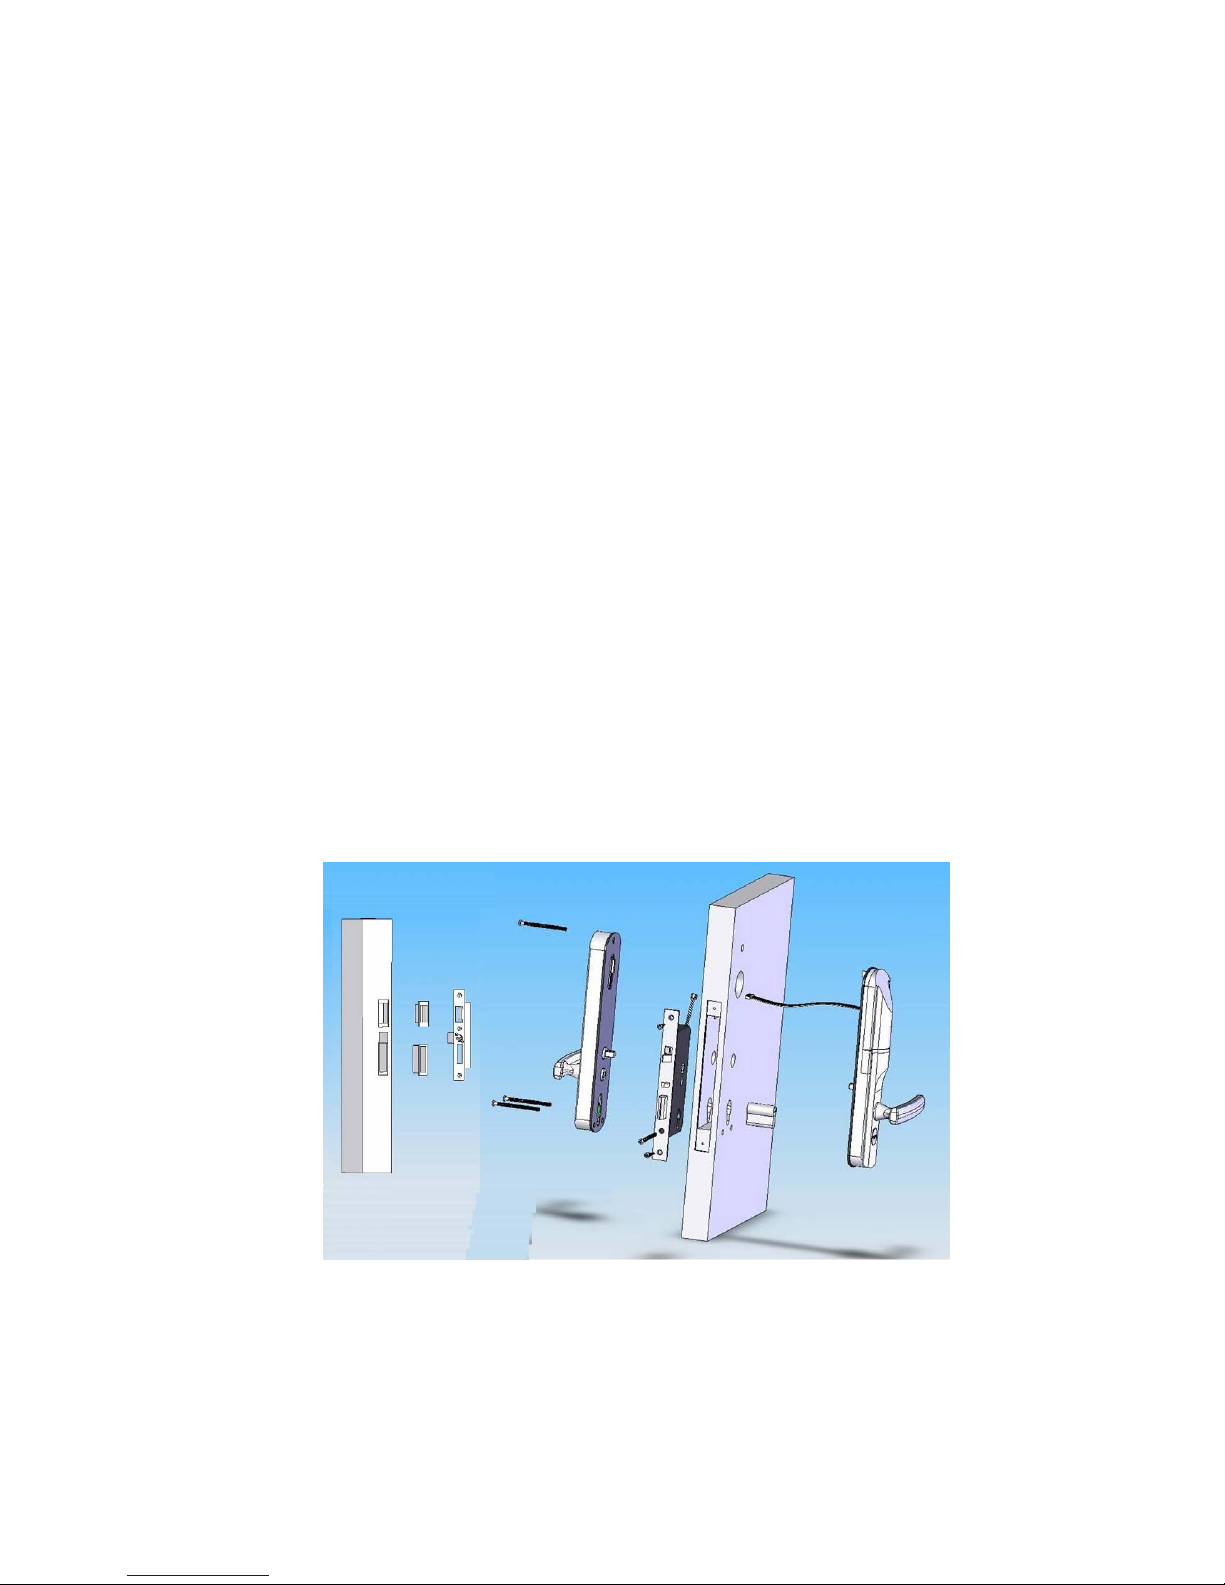
1, Before installation
一、Notice
1. To check all the enclosed material following the package list.
2. To check the new door lock is perfect or defaced.
3. Don’t register the finger before to finish the installation.
4. To make sure that the Key can open the door before to finish the installation.
5. To make sure that the finger is registered successfully and the finger can open
the door before to close the door.
(Some time, the end user will face the troubles, he/she can not make sure that
the finger registered successfully or failed, and the key is inside the room. But
he/she closes the door, then he/she will face the trouble. He/she cannot open
the door)
6. To learn all the options before installation.
7. To make sure that all the installation should be careful , so that the Door will be
never defaced or destroyed
Page 3
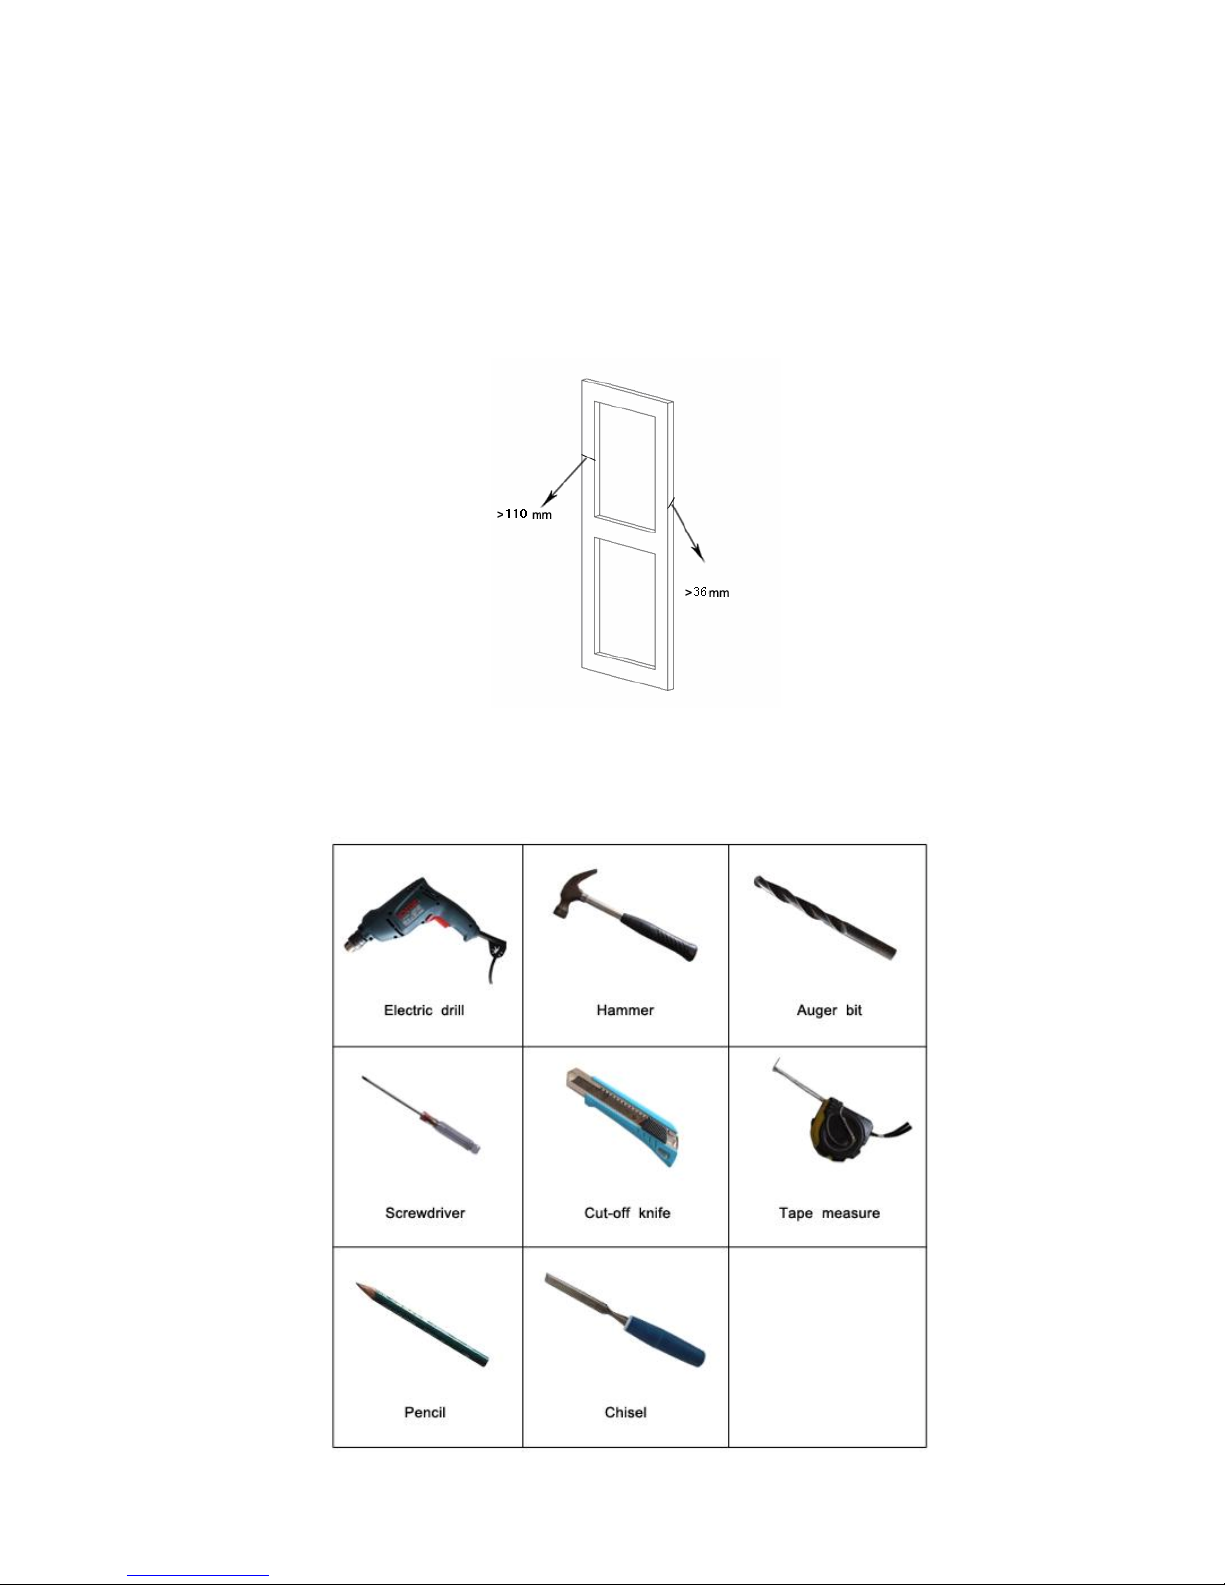
2, About the requirement for door
1. It can be installed on the wooden door, or metal door.
2. The dimension of door’s thickness should be more then 36mm.
3. The width of the lock area should be more then 110mm.
3, About tools
Page 4
4, Installation
There are seven steps in all the installation
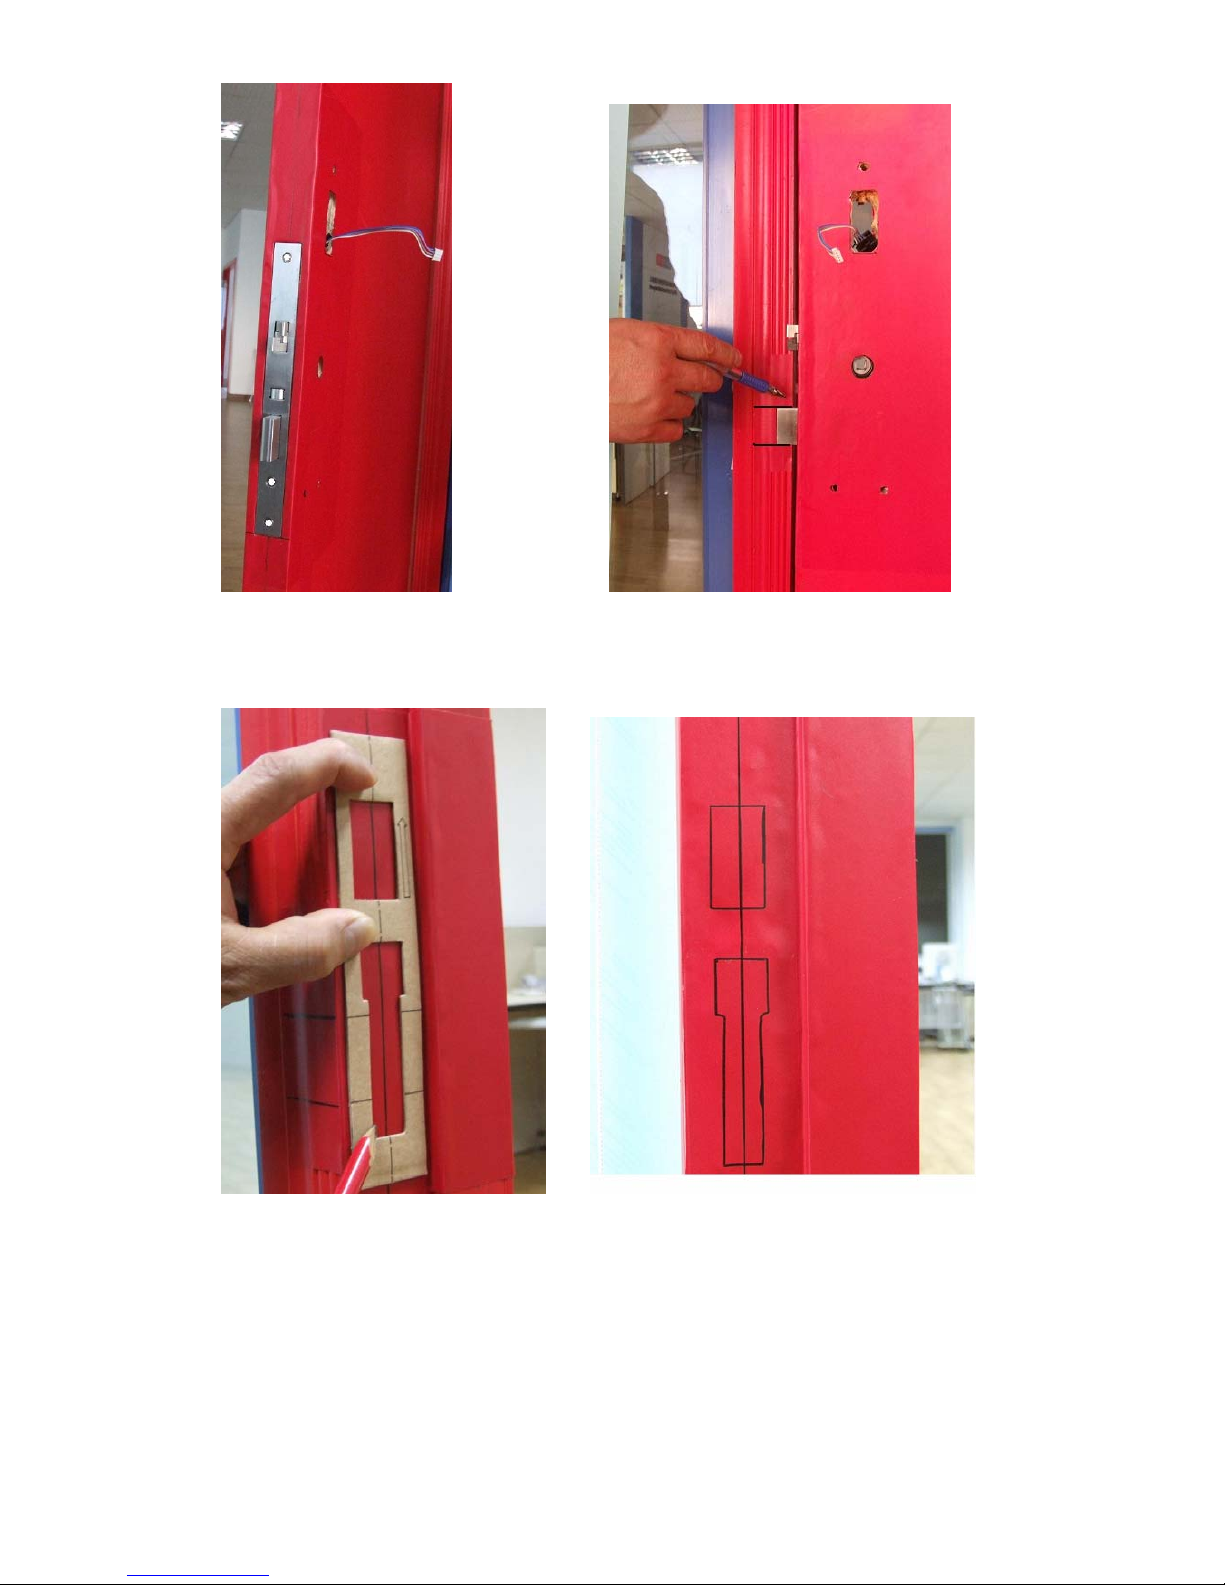
Step 1, To make the hole in the door side for lock body
Step 2, To install the lock body, and then check the position without fixing by screw
Step 3, To set the correct position for the lock handles.
Step 4, To make the hole in the door to install the lock handles, and then check the
position without fixing
Step 5, To confirm all the positions suitability with case handles and lock body
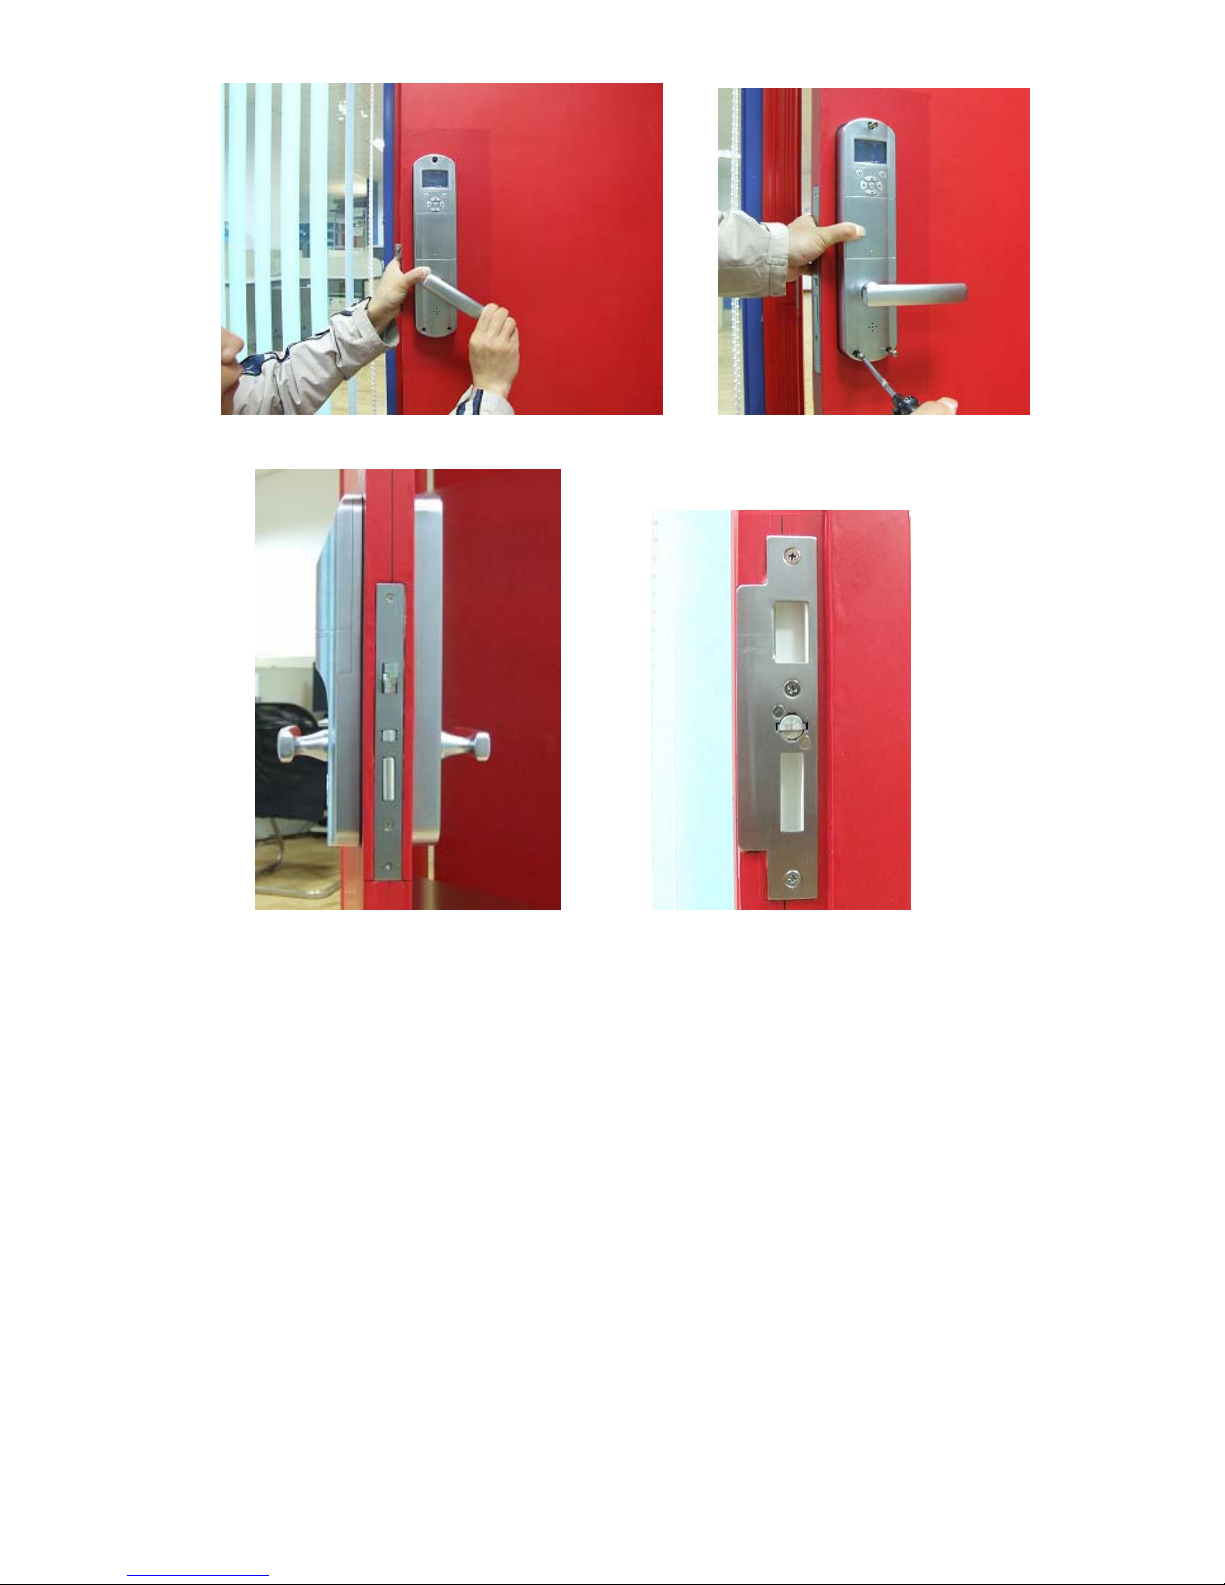
Step 6, To install the other part on the doorframe
Step 7, To test and fix, then finish the whole installation
Step 1, To make the hole in the door side for lock body
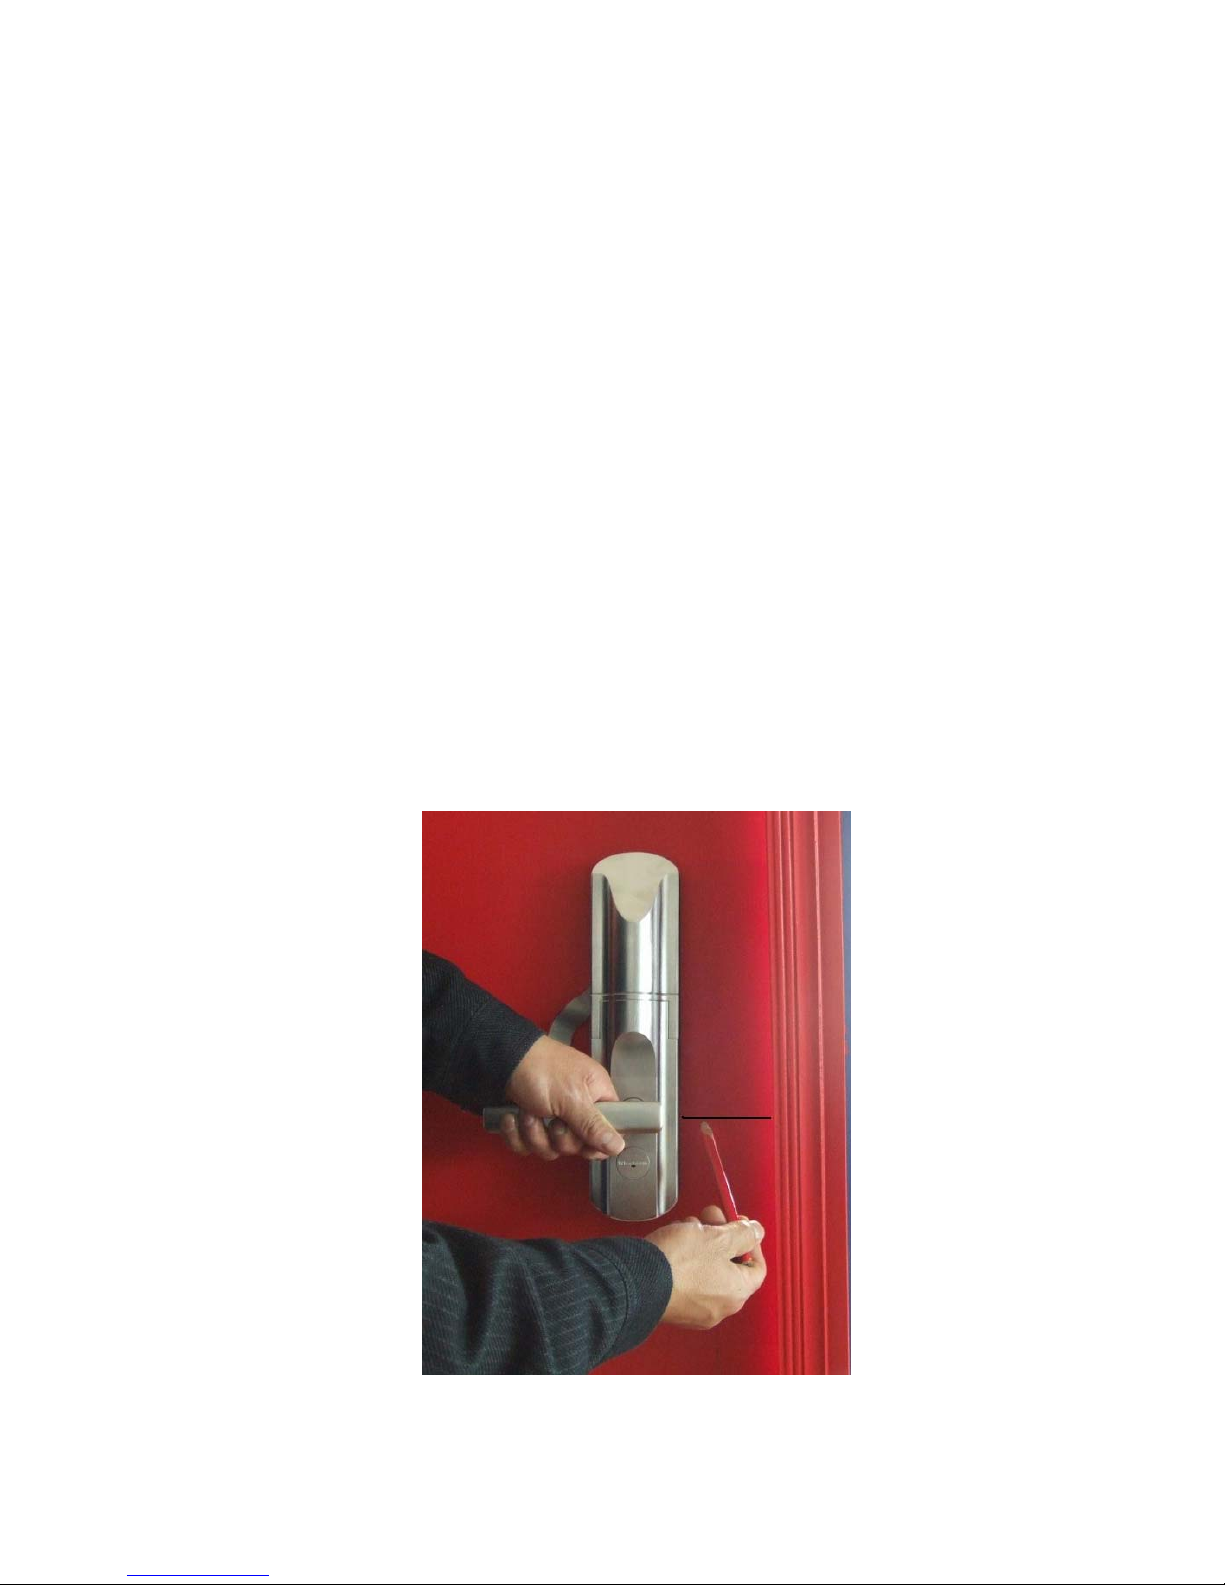
1. To confirm the correct high and position on the door. To set one line where the
handle will be there
2. To confirm the correct position for the lock body, to set the line in the middle of
Page 5
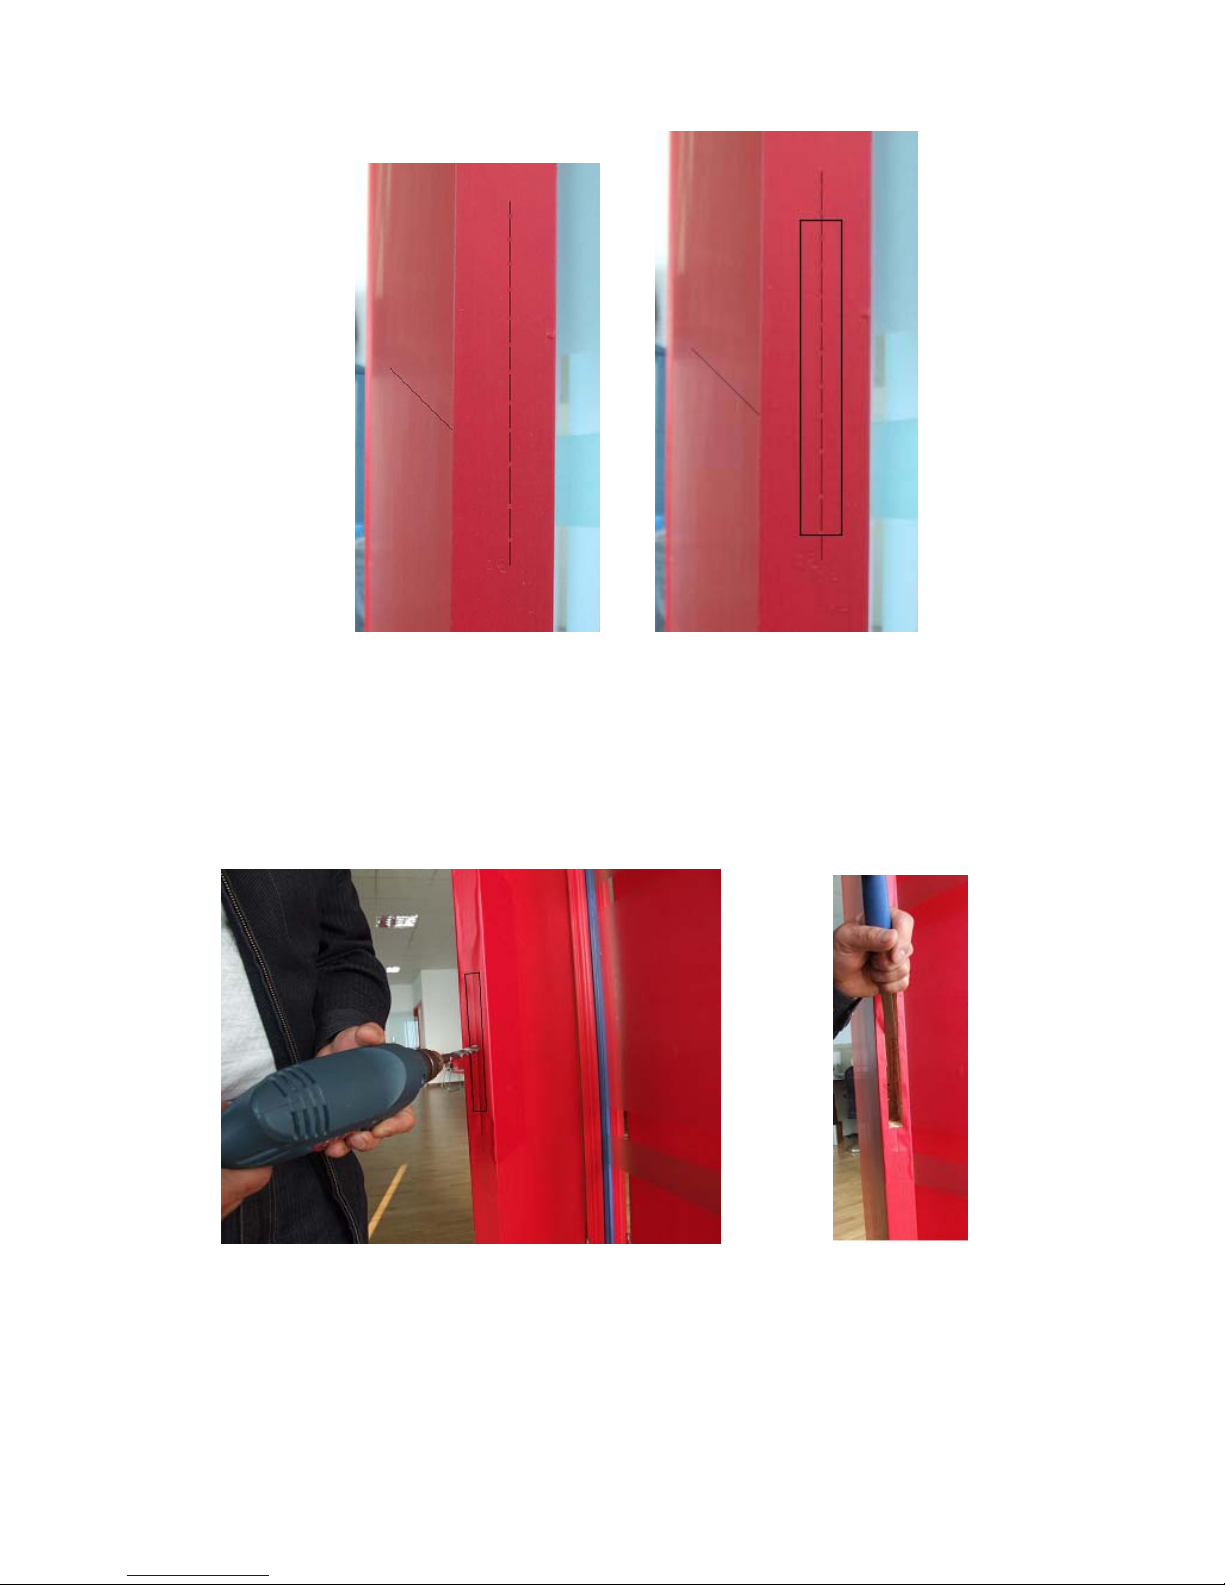
the door side
3. To make the hole in the door side.
By the drill, the installation should be more careful. And then to make it suitable
with the chisel,
Page 6
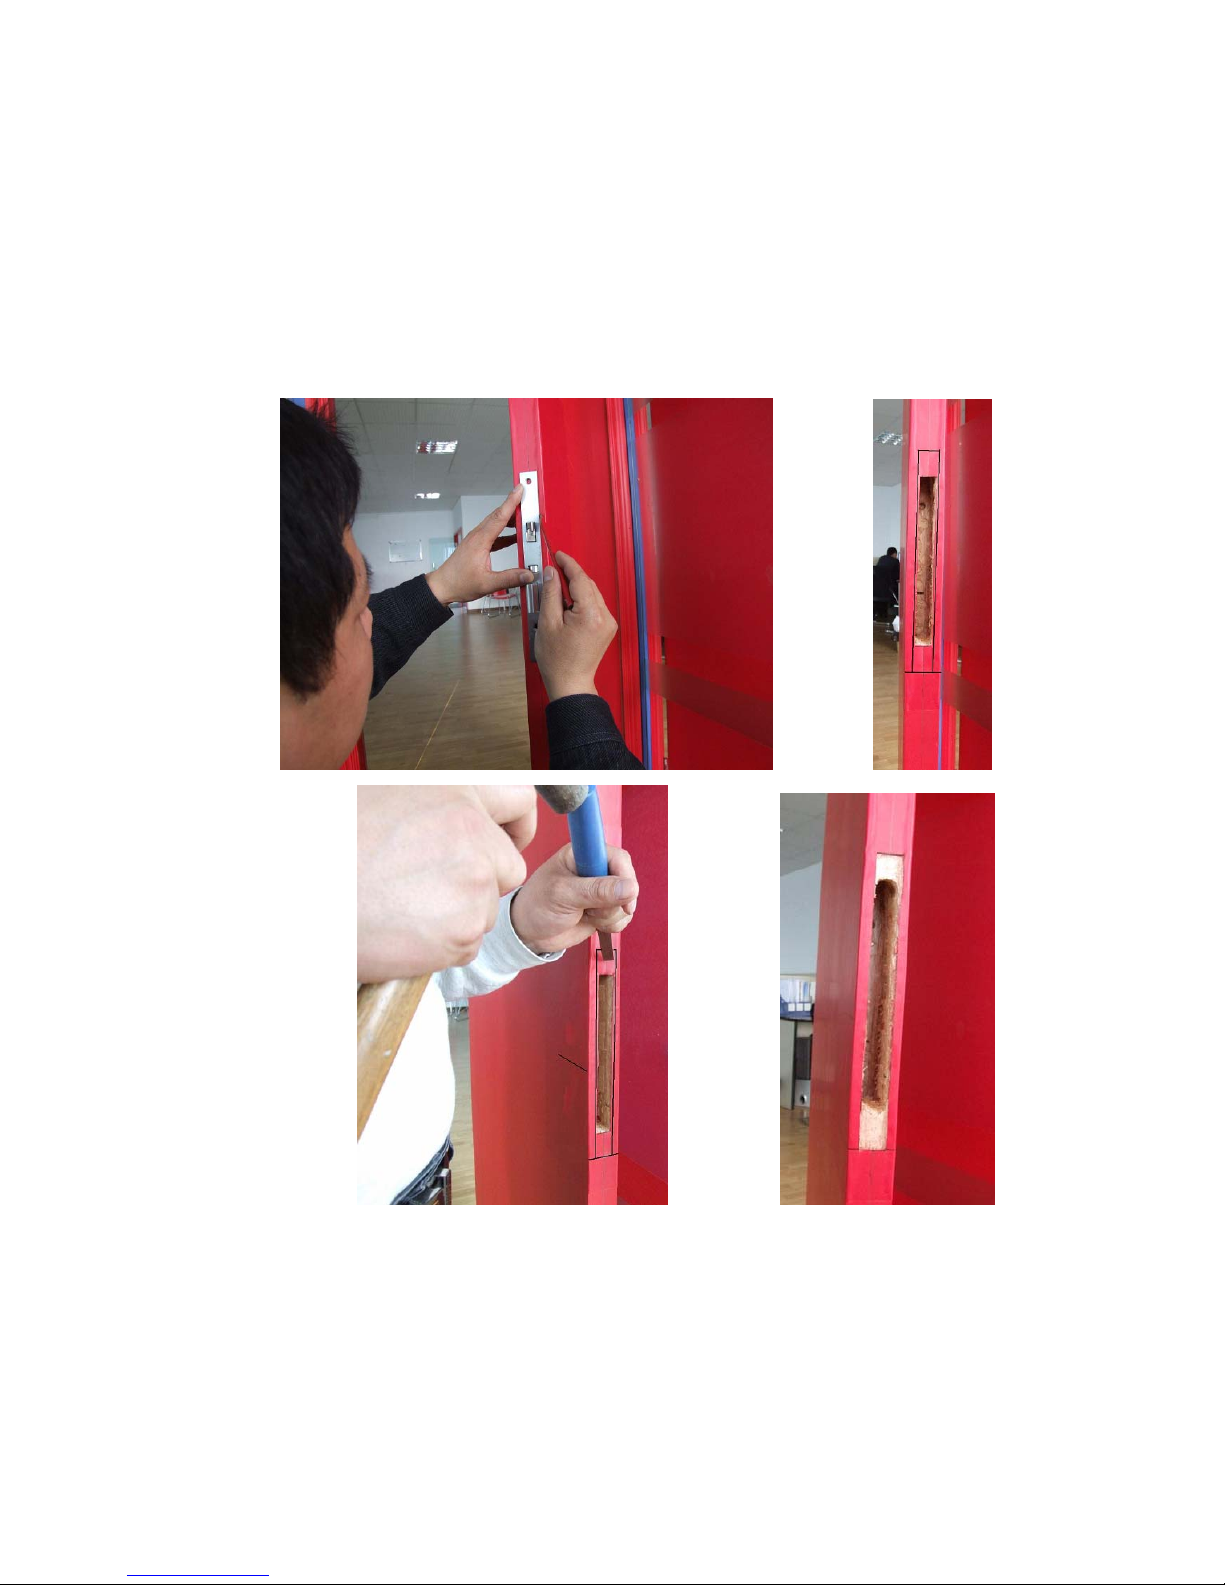
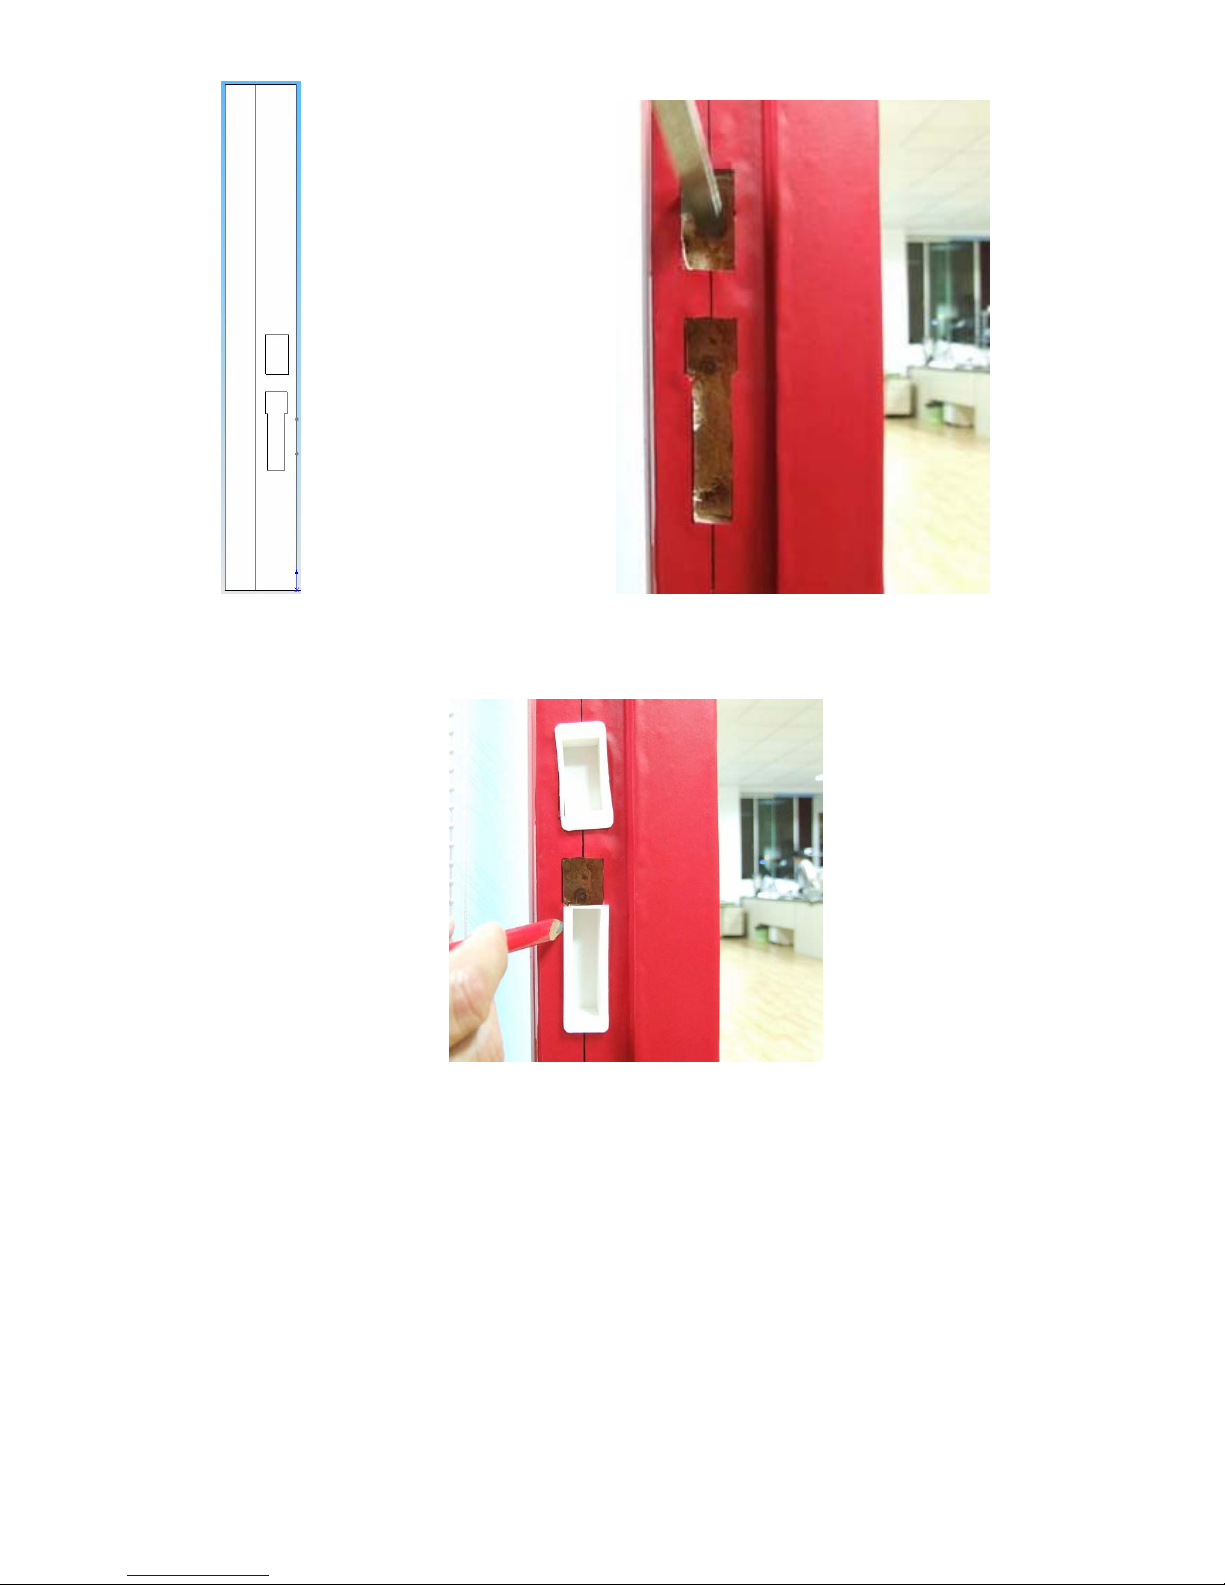
Step 2, To install the lock body, and then check the position without fixing by screw
To make the hole in the door side. And then try to install the lock body inside the
hole, to confirm the position again.
Page 7
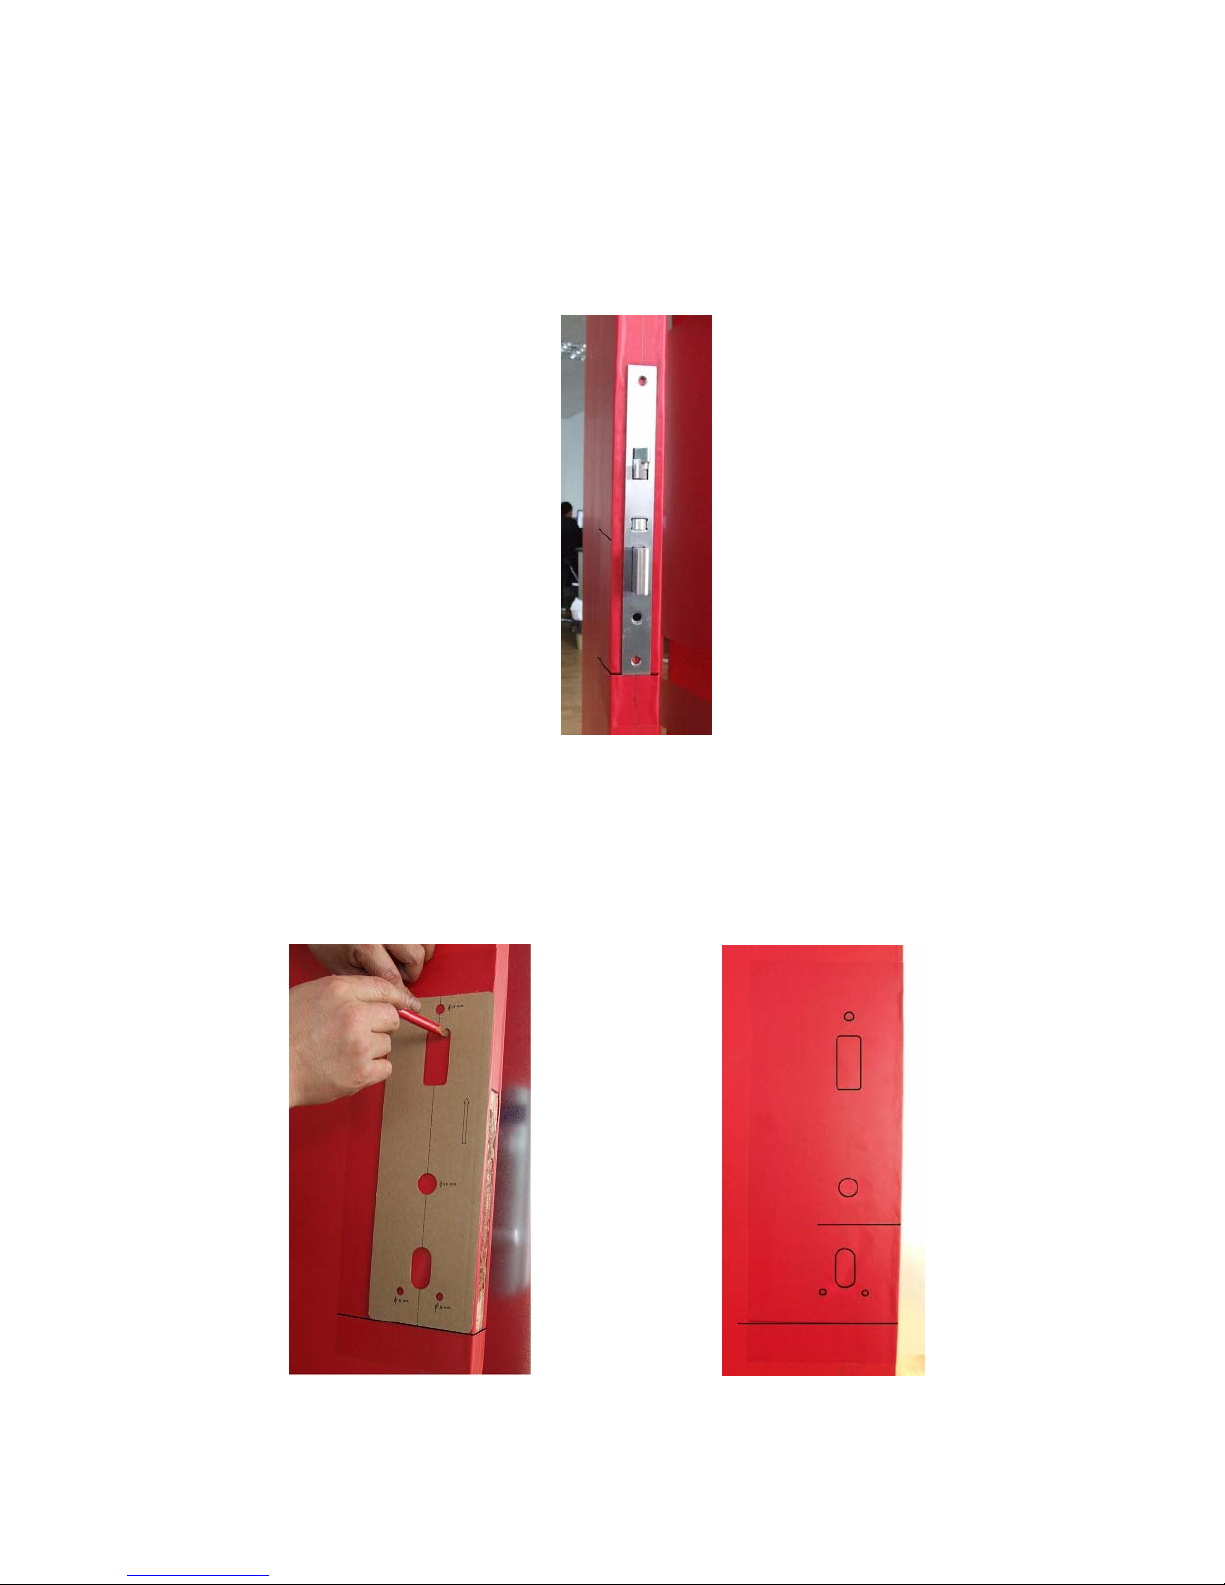
Step 3, To set the correct position for the lock handles.
After installation the lock body, then no need to fix with the screw firstly so that
the lock body can be changed if need in next step.
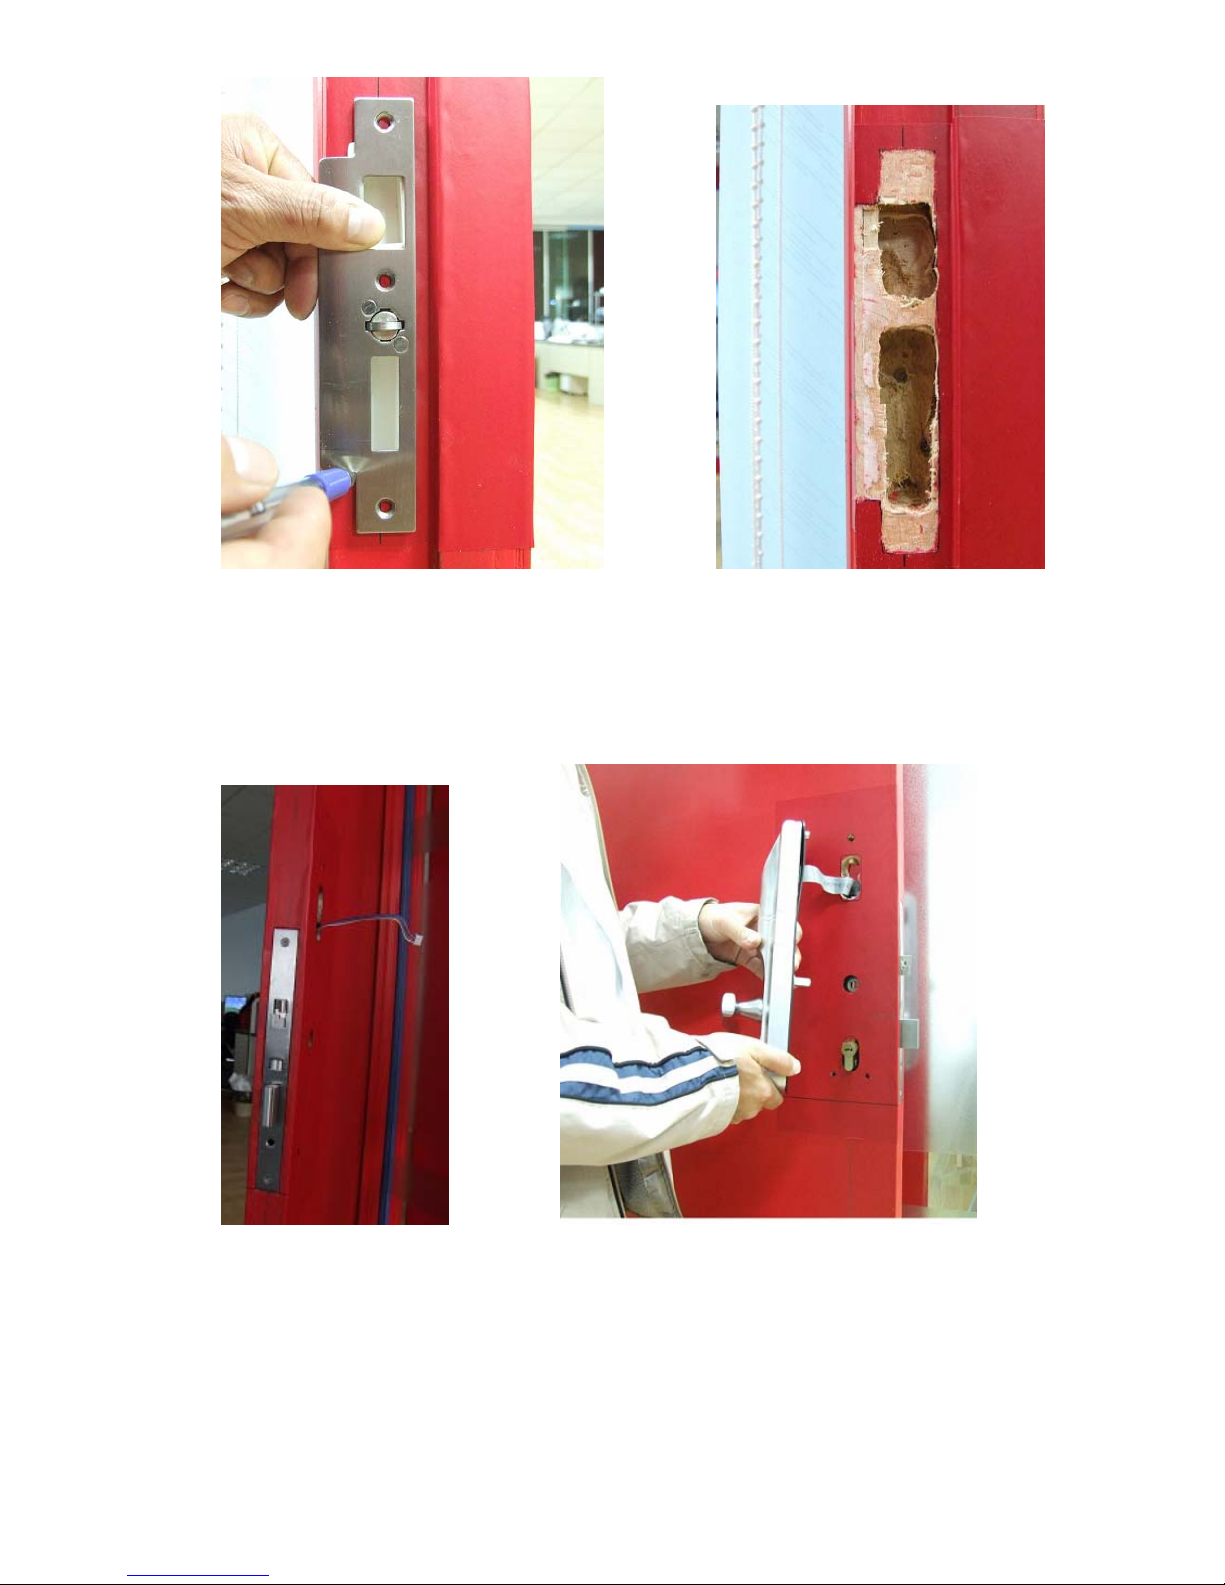
Step 4, To make the hole in the door to install the lock handles, and then check the
position without fixing
Page 8
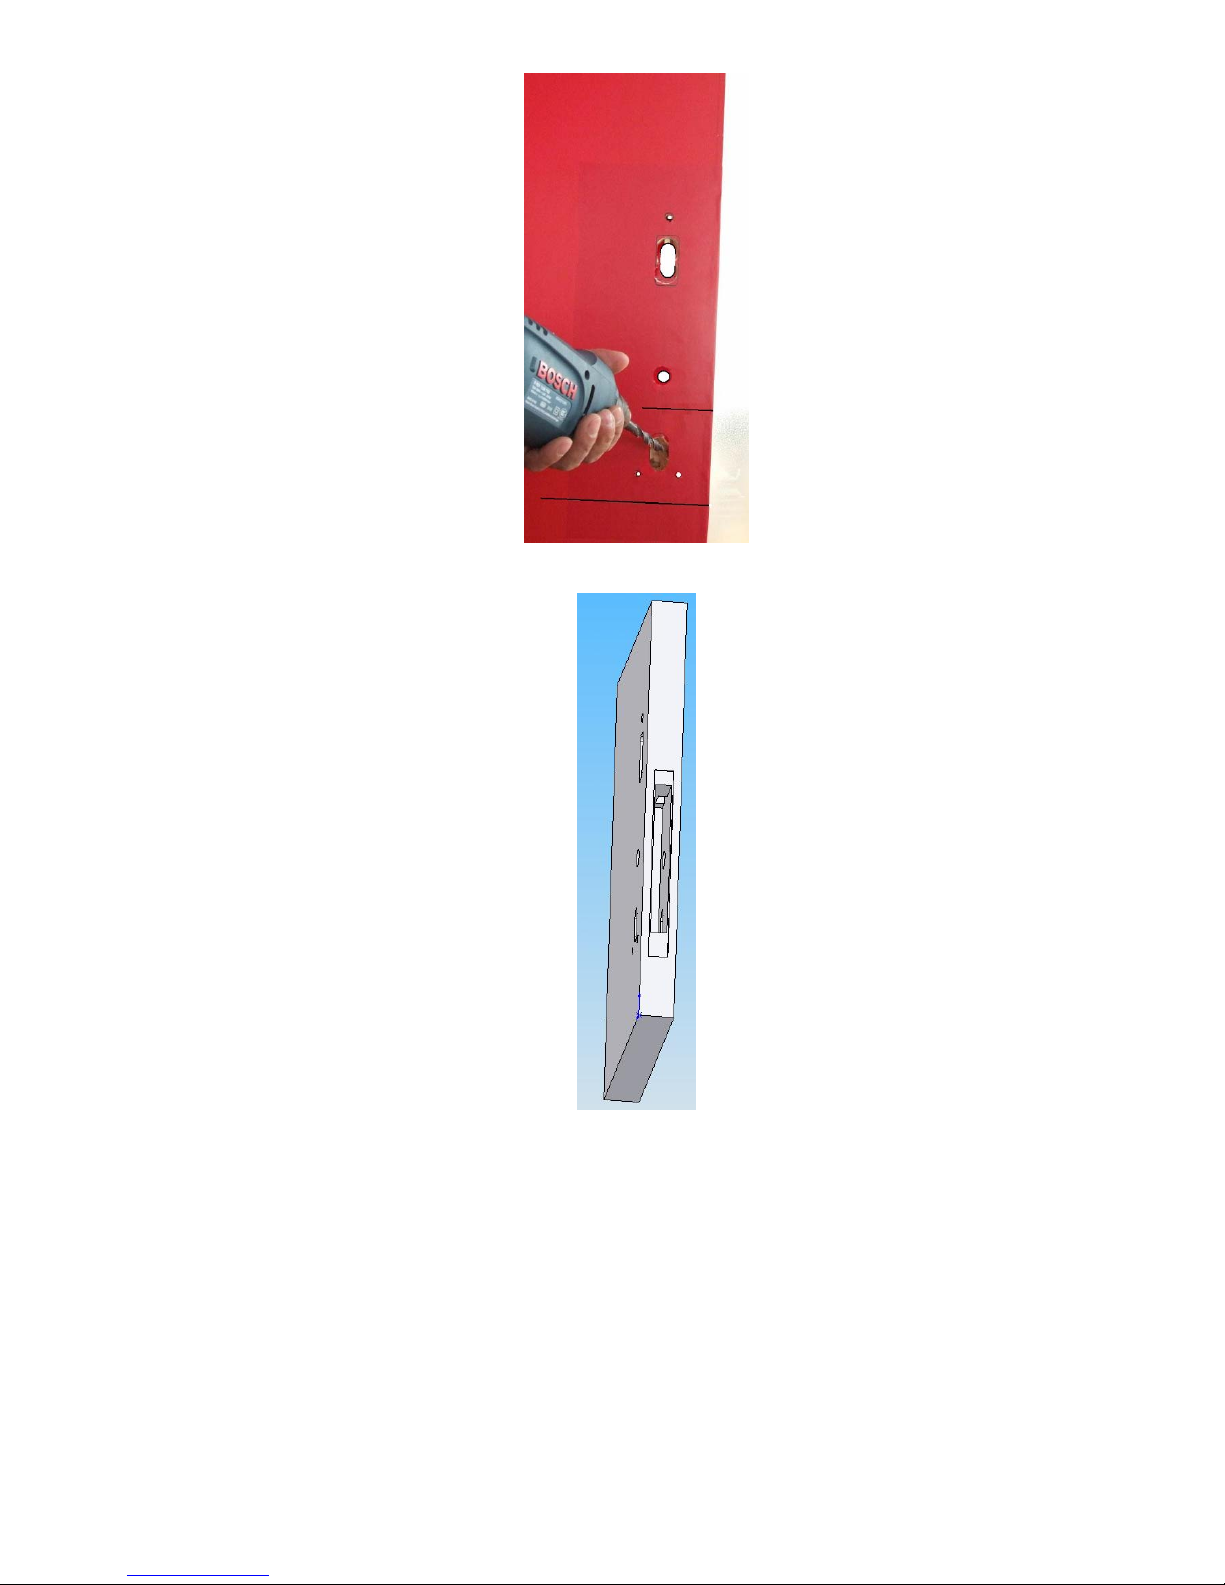
Step 5, To confirm all the positions suitability with case handles and lock body
Before fixing with the screw, to confirm with all the position on the case handle and
the lock body together.
Page 9
Step 6, To install the other part on the doorframe
Page 10
Page 11
Step 7, To test and fix, then finish the whole installation
Page 12
 Loading...