

Page 1
3
Page 2

Battery replacement
The battery compartment is located on the back of the
device.
Ø
In order to open it, press lightly on its cover and
push it in the direction of the arrow.
Ø
Remove the used batteries, if necessary.
Ø
Insert two unused batteries (1.5 V, size AAA, not
enclosed) according to the layout plan shown in
the battery compartment. When doing so, you
have to comply exactly with the correct polarity,
otherwise the clock will not function and may get
damaged.
Ø
To ensure a longer and more useful economic life,
you should use Alkaline batteries.
Ø
Close the battery compartment.
Ø
Batteries must not be disposed of in domestic
waste. Please hand in used batteries at the
proper collection point or at the place where
you have bought the new ones. Never throw
batteries into fire.
2
Page 3

Setting the time and date
Ø
Press the SET key. When the seconds flash you can
reset them by pressing the UP key.
Ø
If you press the MODE key, the hours start
flashing. Press the UP key repeatedly or keep it
pressed until the desired number of hours is
displayed.
Ø
If you press the MODE key once again, the minutes
start flashing. Press the UP key until the required
minutes are shown. Initially, the clock indicates
time in the English 12-hour AM/PM format.
Ø
If you press the MODE key once again, the year
starts flashing. Press the UP key until the required
year is shown.
Ø
If you press the MODE key once again, the months
start flashing. Press the UP key until the desired
month is shown.
Ø
If you press the MODE key once again, the days
start flashing. Press the UP key until the desired
day is shown.
Ø
In order to complete the setting, press the SET
key. Now, the time and date are shown in the
display.
Ø
If you want to change the time display format to 24
hours, you can now press the UP key.
3
Page 4
Setting the alarm
Ø
Press the MODE key once. 0:00 is shown as the
alarm time for just 10 seconds.
Ø
If you press the SET key during that time, the
hours of the alarm time flash and you can set them
to the required time by pressing the UP key. The
time format corresponds to the format you have
chosen when setting the time.
Ø
If you press the MODE key, the alarm time minutes
will flash. Press the UP key until the required alarm
time minutes are shown.
Ø
Then press the SET key in order to save the alarm
time. In order to activate the alarm, press the UP
key. The alarm symbol appears in the display.
At the selected time, you will hear a beep.
Ø
Press the MODE key in order to stop the alarm. The
alarm will function at the same time the next day.
Ø
In order to show the alarm time during normal
time display, press the MODE key. Press the key
again in order to return to the time / date display.
Ø
In order to deactivate the alarm function, press
the MODE key and then the UP key. The alarm
symbol disappears from the display.
“Countdown” function
The device can count down a certain period of time
and then emit an acoustic signal.
4
Page 5

Ø
In order to activate this function, press the MODE
key twice; 0-00 00 appears in the display.
Ø
If you press the SET key, the hours will flash. Press
the UP key until the required hour is shown.
Ø
If you press the MODE key again, the minutes will
flash. Press the UP key until the required minutes
are shown.
Ø
Then press the SET key. If you now press the
TIMER key, the device starts counting down the
entered time to 0. During that time, “TIME” is
flashing in the display.
Ø
In order to stop this countdown, press the TIMER
key; press again to continue.
Ø
If the device has reached the end of entered time,
you will hear a beep.
Ø
Press the UP key in order to re-activate the
countdown time previously entered.
5
Page 6

Stop watch
You can also use this device as a stop watch with a
1/100 second precision.
Ø
Press the MODE key three times - 0:00 appears.
Ø
Press the TIMER key in order to start the time
measurement. If you press the TIMER key again,
the measurement is stopped. Press again in order
to continue.
Ø
If you press the UP key during measurement, the
time you have reached will be shown. The time
measurement is, however, continuing in the
background. Using this function, you can
comfortably determine intermediate times.
Ø
Press the UP key once again in order to return to
the current time measurement.
Ø
You can also press the MODE key in order to return
to normal time display and the measurement
continues.
Ø
In order to reset the stop watch to 0:00, stop it with
the TIMER key and then press the UP key.
Backlight
Ø
The display is illuminated by holding down the
LIGHT key.
6
Page 7
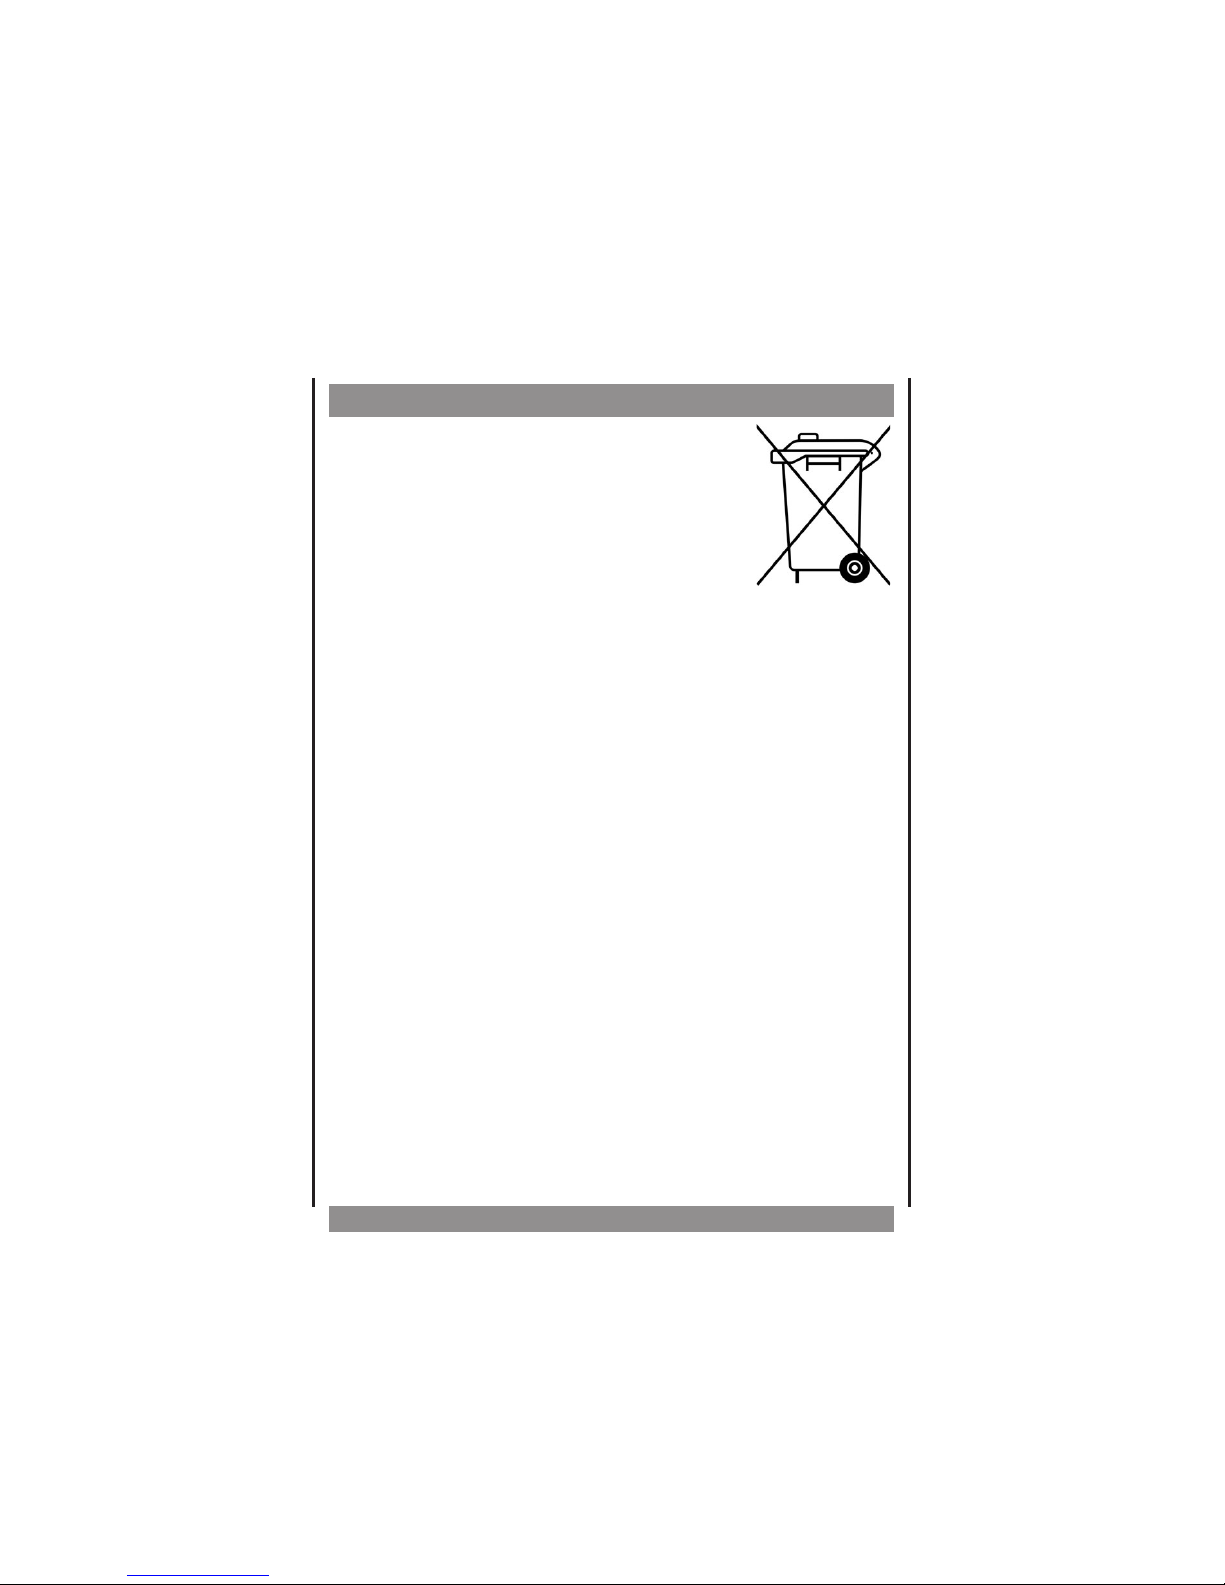
Waste disposal
Ø
When the operating life of this
device has ended it must not be
disposed as domestic waste, but in
accordance with national
environmental guidelines.
7
Page 8

© 2005 Copyright
We reserve the right to correct errors and make
technical alterations.
This manual is copyrighted. All rights reserved. Neither the
manual as a whole nor excerpts may be reproduced without
our prior written permission.
DK digital AG
40878 Ratingen
Germany
www.dk-digital.com
 Loading...