

Page 1
24 Watt LED
24 Watt LED
24 Watt LED24 Watt LED
Lighting System
Lighting System
Lighting SystemLighting System
USER MANUAL
USER MANUAL
USER MANUALUSER MANUAL
July 2017 – Rev A
Page 2

www.diverite.com
This is the user manual for the Dive Rite HP50 Lighting System.
This user manual is proprietary and copyright Lamartek, Inc. 2017. It may not
be reproduced, changed, or distributed without authorization from
Lamartek, Inc.
All information contained in this manual has been carefully reviewed and is
believed to be accurate, however it is subject to change. Diving technology is
constantly and rapidly evolving. Please check www.diverite.com to ensure
that you have the latest version of this manual.
Companies and/or product names cited in the manual are trademarks
belonging to their respective companies.
The HP50 Lighting System is manufactured in the USA by:
Lamartek, inc. dba Dive Rite
175 NW Washington Street
Lake City, FL, 32055 USA
Phone (386) 752-1087
www.diverite.com
July 2017 © Lamartek, Inc. dba Dive Rite 2
Page 3

www.diverite.com
Table of Contents
Product Description ........................................................................................ 4
Tech Specs ....................................................................................................... 5
Important Warnings ....................................................................................... 8
Charging & Maintaining the Batteries ............................................................ 9
Installing the Batteries ................................................................................. 11
Mounting the Canister .................................................................................. 13
Adjusting the Hand Mount ........................................................................... 14
Hand Mount Attachment ............................................................................. 15
Light Operation ............................................................................................. 16
Care, Maintenance, & Storage ..................................................................... 17
Dealing with a Flooded Light ........................................................................ 18
Warranty Information .................................................................................. 19
July 2017 © Lamartek, Inc. dba Dive Rite 3
Page 4
www.diverite.com
Product Description
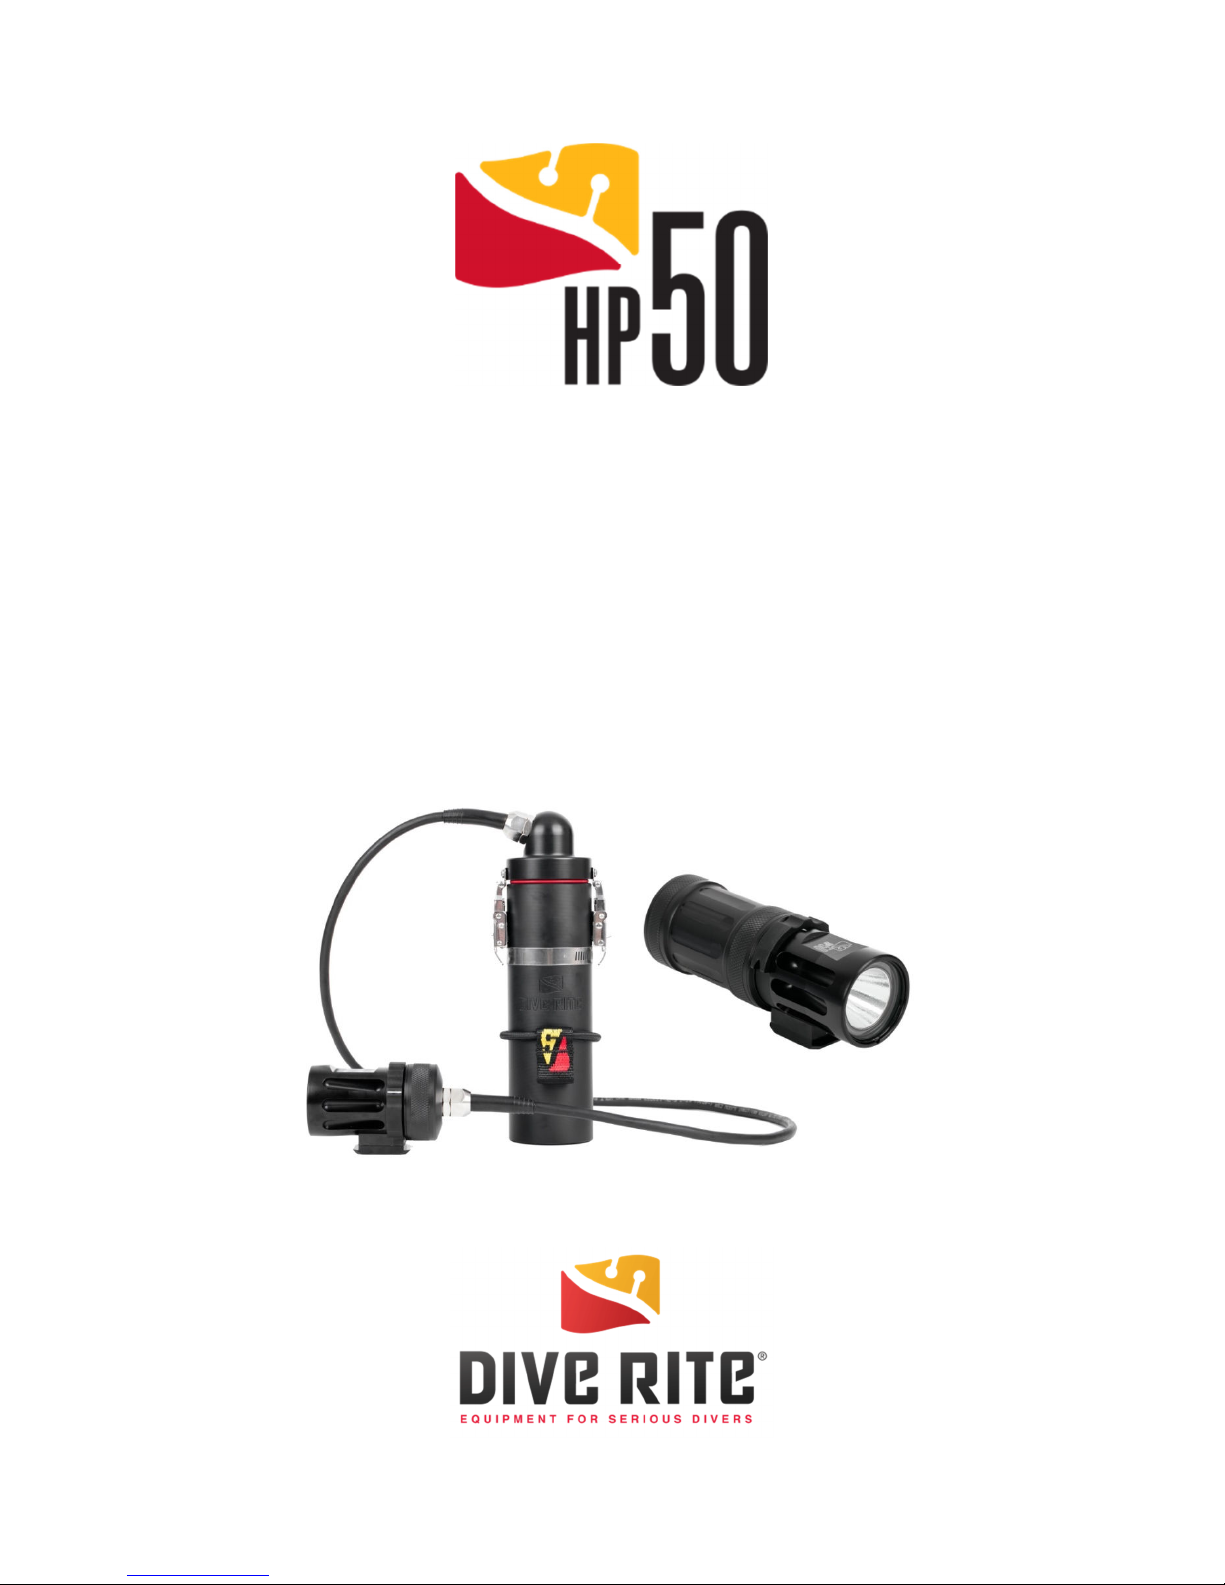
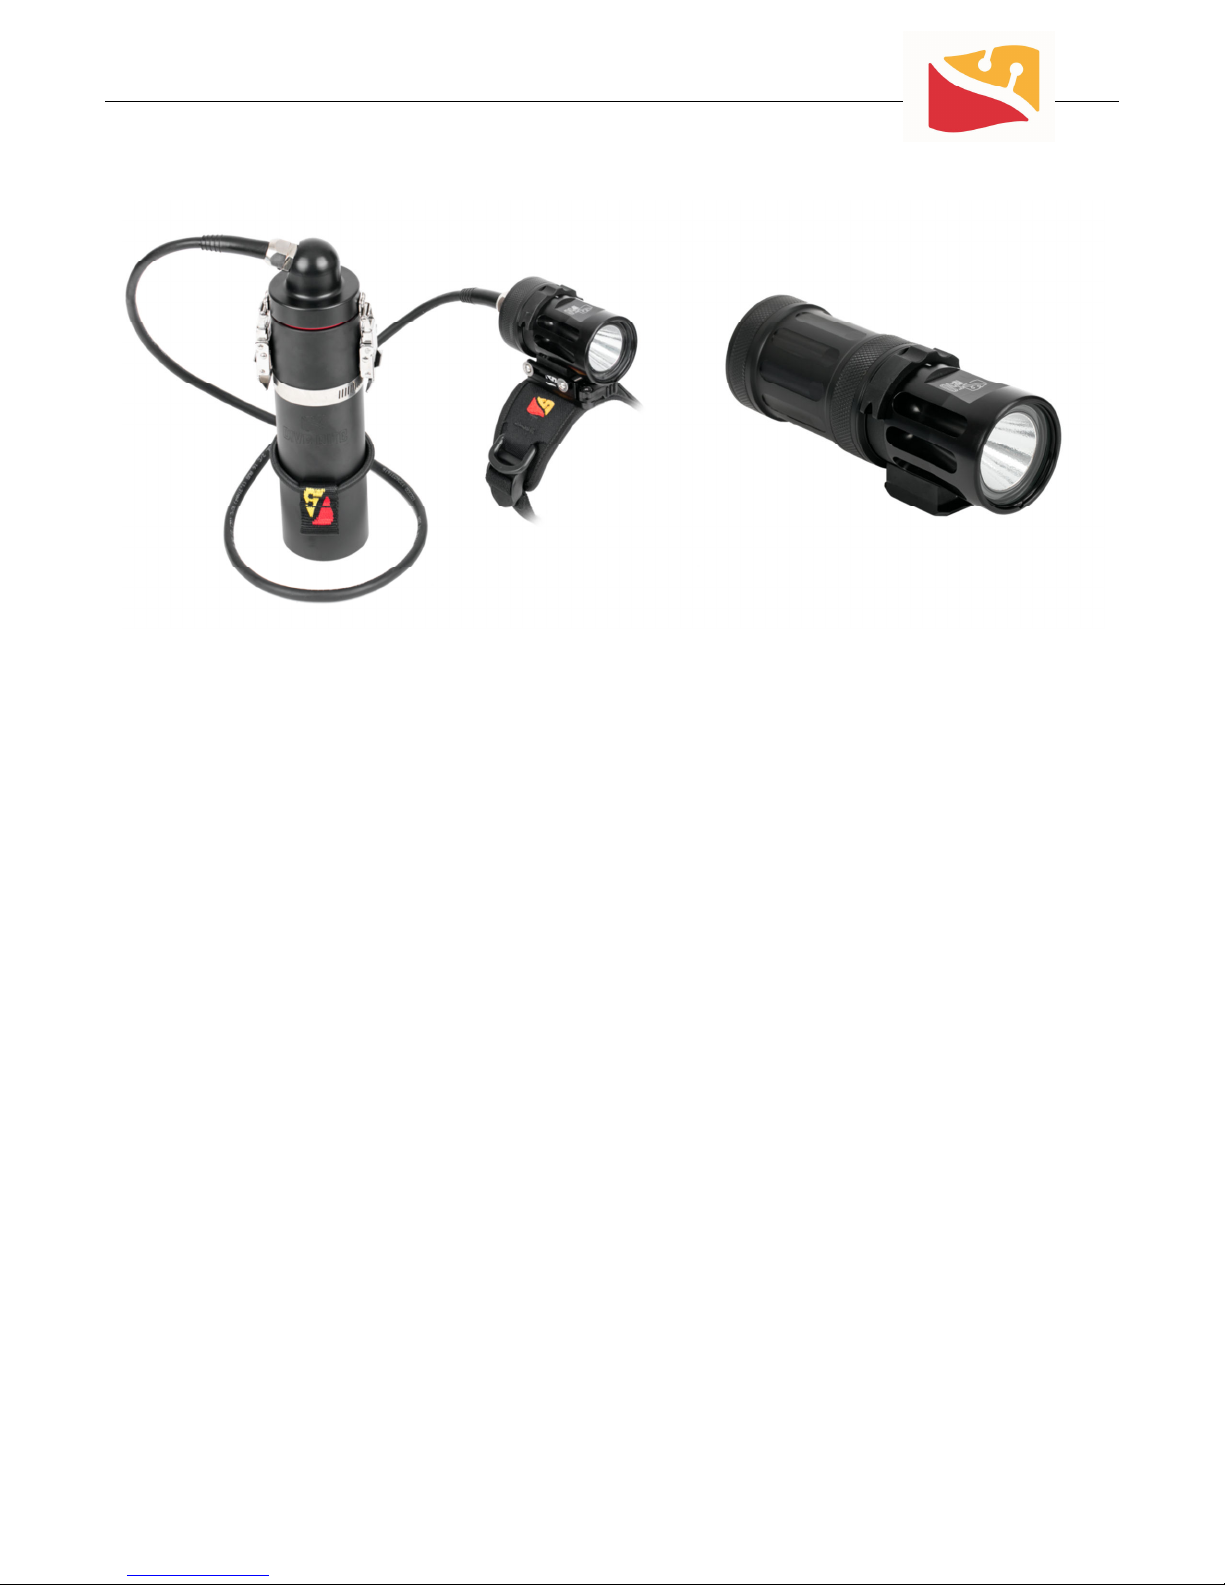
Brighter. Smarter. Modular. The HP50 Lighting System is completely
adaptable to any dive mission. By removing the handheld battery pack and
attaching the corded canister battery conversion, the HP50 easily transforms
from a compact, lightweight travel companion to a rugged workhorse
capable of boundary pushing, multi-hour technical dives.
A next generation, multi-die Cree XLamp XHP50 LED provides unparalleled
output, efficiency, and reliability.
The HP50 is proudly designed, manufactured, and assembled in the USA.
July 2017 © Lamartek, Inc. dba Dive Rite 4
Page 5

www.diverite.com
Tech Specs
• Modular battery design can be easily converted from a handheld light
to a corded canister style light
• Cree XLamp XHP50.2 LED driven @ 24W produces over 3500 lumens @
6500 Kelvin
• Beam Angle: 10-degree spot
• Magnetic rotary switch activated
• Integrated microprocessor control unit monitors temperature and
battery voltage
• Blinks 3 times to indicate low battery and automatically steps output
down to increase usable burn time
• Four output modes: high power, medium power, low power, and strobe
• Durable CNC machined Delrin and hard-coat anodized aluminum body
construction
• Handheld version uses 4 independent 18650 user replaceable batteries
• Canister battery options include a 100 watt-hour Slimline Li-Ion and a
150 watt-hour Expedition Li-Ion. Both battery canister options are UN
38.3 test compliant and safe for air transport. The 100 watt-hour
canister consists of two individual 50 watt-hour packs and the 150
watt-hour canister consists of three individual 50 watt-hour packs. The
individual battery packs are internal and are not connected together
until the canister lid is installed in the activated position. When the lid is
installed in the travel position (rotated 180 degrees) the packs remain
disconnected from each other.
• Improved heat sinking and cross drilled light head allows water flow
through and provides a direct thermal path from the back side of the
LED chip to the water for maximum output and efficiency
July 2017 © Lamartek, Inc. dba Dive Rite 5
Page 6

www.diverite.com
• Includes Soft Handmount with Locking QRM mounting system
• Handheld version includes padded travel case and 4 cell charger
• Canister versions include Quick Belt Mount
• Burn Times:
o Handheld
1.5 hours on High Power
3 hours on Medium Power
30 hours on Low Power
15 hours on Strobe Mode
o Slimline Canister
3 hours on High Power
6 hours on Medium Power
60 hours on Low Power
30 hours on Strobe Mode
o Expedition Canister
4.5 hours on High Power
9 hours on Medium Power
90 hours on Low Power
45 hours on Strobe Mode
• 4+ hour burn time after light output step down from full power
• Charging time: up to 8 hours from complete discharge
• Strobe Cycle Time: 100ms on then 900ms off
July 2017 © Lamartek, Inc. dba Dive Rite 6
Page 7

www.diverite.com
• Size:
o Handheld Light:6.4 in (16.3 cm) length, 2.15 in (5.46 cm) diameter
o Light Head: 3.5 in (8.9 cm) length, 2.0 in (5.0 cm) diameter
o Slimline Canister: 9 in (22.88 cm) height, 2.6 in (6.6 cm) diameter
o Expedition Canister: 11 in (27.94 cm) height, 2.6 in (6.6 cm)
• Weight:
o Handheld: 1.4 lbs (0.64 kg)
o Slimline Canister: 3.6 lbs (1.63 kg)
o Expedition Canister: 4.3 lbs (1.95 kg)
• Buoyancy: 1.25 lbs (0.56 kg) in freshwater
• Depth Rating: 500 feet (152 m)
• Li-Ion Smart Charger included
• Designed, manufactured, and assembled in the USA
July 2017 © Lamartek, Inc. dba Dive Rite 7
Page 8

www.diverite.com
Important Warnings
• Read this manual carefully before diving with the HP50 Lighting System.
You should fully understand how this dive light works and that you are
proficient in its use prior to diving.
• The HP50 Lighting System is an electronic device and electronic devices
can fail. NEVER dive this light without at least two back up lights.
• The canister batteries are O-ring sealed in the canister with sealed
connectors. Do not try to remove the batteries. The light is stored with
the batteries in the canister.
• Do not keep the canister lid plugged into the battery in the activated
position when not in use. The lid can be turned 180 degrees and
reinstalled for transport and storage. The battery is not connected to
the light in this position to prevent accidental activation. With the lid
installed in this position the internal battery packs also remain
disconnected from each other.
• Before using your HP50 Lighting System it is extremely important that
you read and understand each warning, as well as warnings and
cautions that appear throughout the manual. Failure to do so could
result in damage to or loss of equipment, serious personal injury, or
death.
• Before diving, you should have the proper training from a qualified
instructor and obtain certification from a recognized training agency.
• DO NOT USE THE HP50 LIGHT OUT OF WATER. Brief operation to check
functionality is OK, however the light head can get extremely hot and
cause burns if used out of the water for extended periods.
July 2017 © Lamartek, Inc. dba Dive Rite 8
Page 9

www.diverite.com
Charging & Maintaining the Battery
The best way to keep your batteries in good shape so that they perform well
on every dive is to follow the battery maintenance procedures below. Before
using your light, make sure that the batteries are fully charged.
Charging the Canister Battery
1. Open the latches on the sides of the canister and remove the canister
lid.
2. Plug the three (3) red connectors on the Smart Charger into the three
(3) red (+) battery receptacles on the battery pack. It does not matter
which plug connects to which socket.
3. Plug the black connector on the Smart Charger into the center black (-)
battery receptacle on the battery back.
4. Plug the Smart Charger into a wall outlet.
5. Charging will not begin if the Smart Charger detects a missing battery or
reversed connections.
6. Allow the battery to fully charge.
It can take up to eight hours for the battery to charge. The red LED on
the charger indicates that the battery is charging. A green LED indicates
when the battery is fully charged.
7. Disconnect the battery once it is fully charged and unplug the Smart
Charger from the wall outlet.
July 2017 © Lamartek, Inc. dba Dive Rite 9
Page 10

www.diverite.com
Charging the Handheld Batteries
1. Unscrew and remove the battery tube from the light head.
2. Remove the battery carrier from the battery tube.
3. Remove the individual 18650 batteries from the battery carrier.
4. Insert the batteries into the charger. (See included charger manual for
specific details relating to the charger.)
5. Plug the charger into a wall outlet.
6. Allow the batteries to fully charge.
It can take up to 12 hours for the batteries to charge from a full
discharge. The LEDs on the charger will blink to indicate that the
battery is charging. The battery is fully charged when all of the LEDs are
lit solidly.
Maintaining the Batteries
• Store the batteries at room temperature and away from moisture.
• Ideally, store batteries in a 30-50% charge condition to maximize life.
• The canister battery is O-ring sealed in the canister to prevent any
moisture from contacting the cells and should not be removed. The
battery does not have to be removed when storing the light.
• Before every use, charge the battery completely.
• Do not plug the light head into the battery when not in use. The
canister lid can be turned 180 degrees and reinstalled for transport and
storage. The battery is not connected to the light in this position to
prevent accidental activation.
July 2017 © Lamartek, Inc. dba Dive Rite 10
Page 11

www.diverite.com
Installing the Batteries
The HP50 Lighting System can be powered by either four 18650 batteries in
the handheld battery tube, or using the canister battery adapter.
Installing the Handheld Batteries
1. Install the four individual 18650 batteries into the battery carrier lining
up the plus (+) and minus(-) indications on the batteries and the
carrier.
2. Slide the battery carrier into the battery body tube with the contact
rings facing out.
July 2017 © Lamartek, Inc. dba Dive Rite 11
Page 12

www.diverite.com
3. Inspect the two O-rings on the light head. Make sure they are clean
and undamaged.
4. Screw the battery body tube onto the light head.
Installing the Canister Battery
1. Inspect the two O-rings on the light head. Make sure they are clean and
undamaged.
2. Screw the canister adapter onto the light head.
3. Check that the red O-ring is installed on the canister lid and that the O-
ring is clean and not damaged.
There is no need to lubricate this O-ring. Lubrication can attract dirt
which prevents proper sealing.
4. Install the battery lid onto the battery canister so that the four banana
plug pins align with the black and red plug sockets on the battery.
July 2017 © Lamartek, Inc. dba Dive Rite 12
Page 13

www.diverite.com
Close both latches on the side of the battery canister simultaneously to
evenly seal the O-ring and lock the lid in place. Pull on each latch to
make sure it is locked.
Mounting the Canister
With the on/off activation of the light being on the light head, you can mount
the canister to any location you desire on your diving system configuration.
You don’t need to be able to reach a switch on the canister.
The HP50 canister comes with the Quick Belt Mount for mounting it to the
waist belt of your harness or backplate.
Mounting the Canister
1. Remove the Quick Mount elastic band from the canister by pulling the
band over the bottom of the canister.
2. Slip the elastic band around your waist belt or other strap on your rig.
3. Stretch the elastic band back over the bottom of the canister.
The light is now securely placed on your waist belt or other location.
July 2017 © Lamartek, Inc. dba Dive Rite 13
Page 14

www.diverite.com
Adjusting the Hand Mount
The hand mount can be mounted on your left or right hand. It attaches to the
hand using the adjustable elastic strap. The open end of the hand mount is
for the thumb and helps to keep the light secure and in place on your hand
while diving.
Adjusting the Hand Mount
1. Slide your hand into the hand mount placing your thumb through the
open end on the side of the hand mount.
July 2017 © Lamartek, Inc. dba Dive Rite 14
Page 15

www.diverite.com
2. Position the hand mount so that it is secure and comfortable on your
hand.
3. Pull the end of the elastic strap until the hand mount is snug on your
hand.
4. Tuck the excess elastic strap into the retainers.
Hand Mount Attachment
The HP50 light head can be attached to the hand mount with it on or off of
your hand. The light mount is spring-loaded to hold the light in place, and
makes it easy to attach and remove the light.
Right Hand Attachment
1. Line up the clip on the base of the light head with the receiver on the
hand mount.
2. Slip the front of the striker plate on the light head under the front bar
of the receiver on the hand mount.
July 2017 © Lamartek, Inc. dba Dive Rite 15
Page 16

www.diverite.com
3. Push the light head forward and then push down until it snaps into
place in the receiver.
Left Hand Attachment
1. Unscrew the two mounting screws to remove the receiver from the
hand mount.
2. Turn the receiver 180 degrees and reattach it to the hand mount.
3. Follow the instructions above for attaching the HP50 to the hand
mount.
Light Operation
The HP50 has a rotary magnetic on/off switch that can easily be operated
underwater even with thick gloves.
Turning the Light On or Off
July 2017 © Lamartek, Inc. dba Dive Rite 16
Page 17

www.diverite.com
1. Rotate the magnetic switch to the right to turn the light on.
2. Rotate the magnetic switch to the left to turn the light off.
Switching Between Modes
1. With the light on, turn the light off and back on within three seconds to
switch to the next mode.
2. Repeat step 1 until the desired mode is reached. The mode pattern is:
High—Medium—Low—Strobe and then back to High.
3. Rotate the magnetic switch off to turn the light off.
4. If the light is turned off for more than three seconds it will start back in
High mode when turned on again.
Care, Maintenance, and Storage
With proper care and service, your HP50 Lighting System can provide you
with years of safe, enjoyable use. Without proper care, your HP50 can
become damaged and be either unserviceable or dangerous to use.
• Prior to taking the light underwater, ensure that all O-rings and latches
are secure. Thoroughly inspecting your light prior to the dive minimizes
the risk of flooding the light. Most floods are caused by missing or
damaged O-rings or unlocked latches. The cord should also be
inspected for any cuts or damage. Cuts in the cord can allow water to
flood the light.
• Inspect the light head and canister for any water leakage or other
damage.
July 2017 © Lamartek, Inc. dba Dive Rite 17
Page 18

www.diverite.com
• Always rinse the light and hand mount thoroughly in fresh water after
use in saltwater.
• The canister lid can be removed, rotated 180 degrees and reinstalled
with the power plugs oriented into the blank holes in the battery lid for
storage and transportation. This prevents accidental activation of the
light. Always switch the lid to the travel position after every dive to
prevent accidental turn on. The light head will get extremely hot if
turned on out of the water and can cause damage to other equipment
and injury to the user.
• Store the light in a cool and dry environment.
• Always charge the batteries following the instructions provided.
• The two head O-rings should be kept clean and lubricated with a light
coating of silicone grease and replaced annually. See your Authorized
Dive Rite dealer for replacement O-rings. (Dive Rite P/N RP9992-RED)
• The battery canister lid O-ring should NOT be greased. It should be kept
clean and wiped down between dives. This O-ring should also be
replaced annually. (Dive Rite P/N LT6015-RED)
Dealing With a Flooded Light
If your light floods, there are a few things you need to do:
• Do not continue to use the light.
• Turn the light off and disconnect the light head from the battery pack
as soon as possible. If there is any water in the battery canister, drain
the water and allow it to dry. DO NOT REINSTALL THE CANISTER LID.
Storing a damaged or flooded battery inside of a sealed canister can
lead to an explosion.
July 2017 © Lamartek, Inc. dba Dive Rite 18
Page 19

www.diverite.com
• DO NOT TAKE THE LIGHT APART.
• Arrange with your dealer to return the light to Dive Rite for repair.
Flooding damage cannot be fixed or corrected in the field. Attempting
to repair the light in the field voids your warranty.
Warranty
Dive Rite offers the original purchaser a one-year warranty against
manufacturer defects on all of our products. To take advantage of this
warranty the original purchaser must retain their original purchase receipt
from an authorized dealer. Unauthorized modifications or repairs will VOID
the manufacturer's warranty. Negligence, accidental damage,
commercial/rental use, or abuse are not covered under warranty.
Lights carry the Dive Rite's general one-year warranty. Floods, broken bulbs,
broken lenses, or punctured cords are not covered under warranty unless
they are the result of a direct manufacturer defect.
Battery packs and individual battery cells are covered by a 90-day warranty
from time of purchase.
MAKING A WARRANTY CLAIM
Warranty claims must be made directly with Dive Rite headquarters in Lake
City, FL. It is the responsibility of the original purchaser to send in the
suspected warranty item along with a completed Return Authorization Form
and the original purchase receipt. Once the product is received Dive Rite will
evaluate it to determine if a warranty claim is valid.
July 2017 © Lamartek, Inc. dba Dive Rite 19
 Loading...