

Page 1
Chapter 1
Introduction
Welcome to DISH Network
Congratulations on choosing DISH Network. You are about to experience
the excitement and convenience of Digital Broadcast Satellite (DBS) service,
which delivers the very best in picture and sound quality. DISH Network
consistently provides state-of-the-art products and satellite-delivered
services — with high performance, ease of operation, and a wide variety
of entertainment options.
About this Receiver
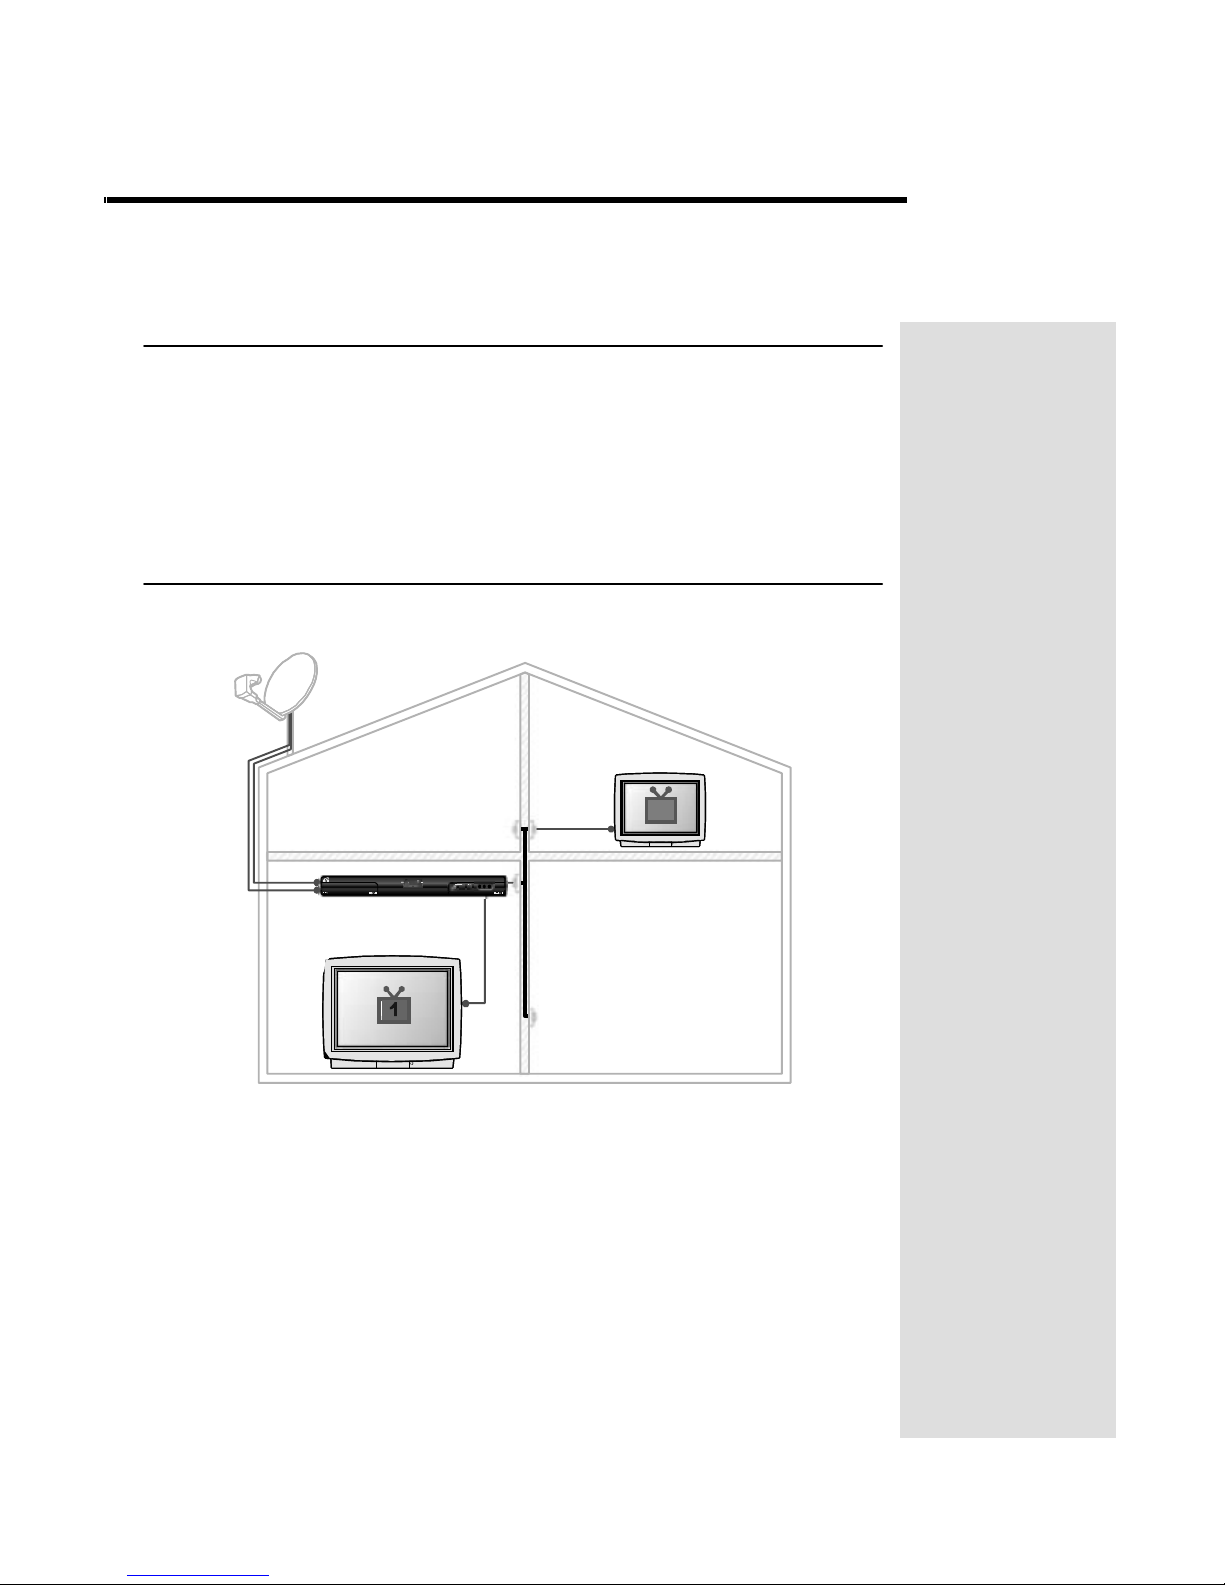
To gain a better understanding of your DISH Network satellite receiver, look at
the picture above. This receiver is a two-tuner satellite receiver that allows you
to watch different programs in two locations:
•
Nearby TV - Programming from the receiver is delivered to the nearby TV
using short audio/video cables.
•
Remote TV - Programming from the receiver is delivered to the remote TV
using existing in-home coaxial cable.
Remote Control
IR
UHF Pro
Remote Control
2
Page 1
Page 2
Chapter 1
Introduction
Page 2
Two remote controls come with your receiver:
•
An Infrared (IR) remote to control programming for the TV near the
receiver. This remote is labeled with a green number 1, which
matches similar markings on the receiver output connections and the
menus for the nearby TV.
•
An Ultra-High Frequency Pro (UHF Pro) remote to control
programming to a second TV located in another room away
from the receiver. This remote is labeled with blue number 2,
which matches the similar markings on the receiver output
Overview
Before
you use your satellite receiver
connections and the menus for the remote TV.
, you need to install the system or
have it installed by a professional technician. For a professional installation,
please call the Customer Service Center at 1-800-333-DISH (3474). If you
install the system yourself, use the instructions in Chapter 2.
A vital part of the installation is to set up the receiver to get the
latest software from the satellite signal. If you are installing a
new system and follow the instructions in Chapter 2
receiver will automatically get this software.
For information on the receiver and its installation, read Chapter 2, Receiver
Description and Installation beginning on page 13.
For information on any specific feature or function, read Chapter 3, Using
The System
beginning on page 31.
, your
For information on assembling and installing a dish antenna, read Chapter 4,
Dish Antenna Installation
beginning on page 77.
If you have a problem operating the system or receive an error message, use
the Troubleshooting Tables beginning on page 93.
Tips
In the margins of pages throughout this guide are tips and other information
to make using your satellite receiver easier.
Conventions
To make it easy for you to use this guide, we use the following conventions.
•
The names of remote control buttons are all uppercase.
Example: Press the SAT
•
Menus and options that appear on the TV screen are in bold type.
Example: Open the
•
Select
means to move the highlight to an on-screen option or choice
in a list and press the SELECT
Example: Select the
•
Connections on the back of the receiver are in small capital letters.
Example: SAT I
N
button.
Program Guide.
button on the remote control.
Locks
option.
Page 3
•
Where this guide mentions nearby TV
, it refers to the TV near the
receiver. The nearby TV receives TV1 menus and programming
from the receiver’s TV1 outputs and is connected using short audio/
video cables.
•
Where this guide mentions remote TV,
it refers to the cable-ready
TV(s) located in rooms away from the receiver. The remote TV
receives TV2 menus and programming from the receiver’s TV2
outputs through your in-home cable system.
•
Where this guide mentions remote control
, it refers to either Remote
Control 1 when viewing a nearby TV or Remote Control 2 when
viewing the remote TV(s). If a specific remote control must be used,
this guide will refer directly to Remote Control 1 or Remote Control
2.
Getting Started
After your system has been installed, order and watch your programming
using the following steps:
Step 1: Ordering Your Programming
1. Using a remote control, press SAT
blank POWER
2. Press GUIDE.
You will see that some channels in the
in white. These channels can be viewed immediately. However, many
channels will be in red. You cannot view these channels until you order
programming.
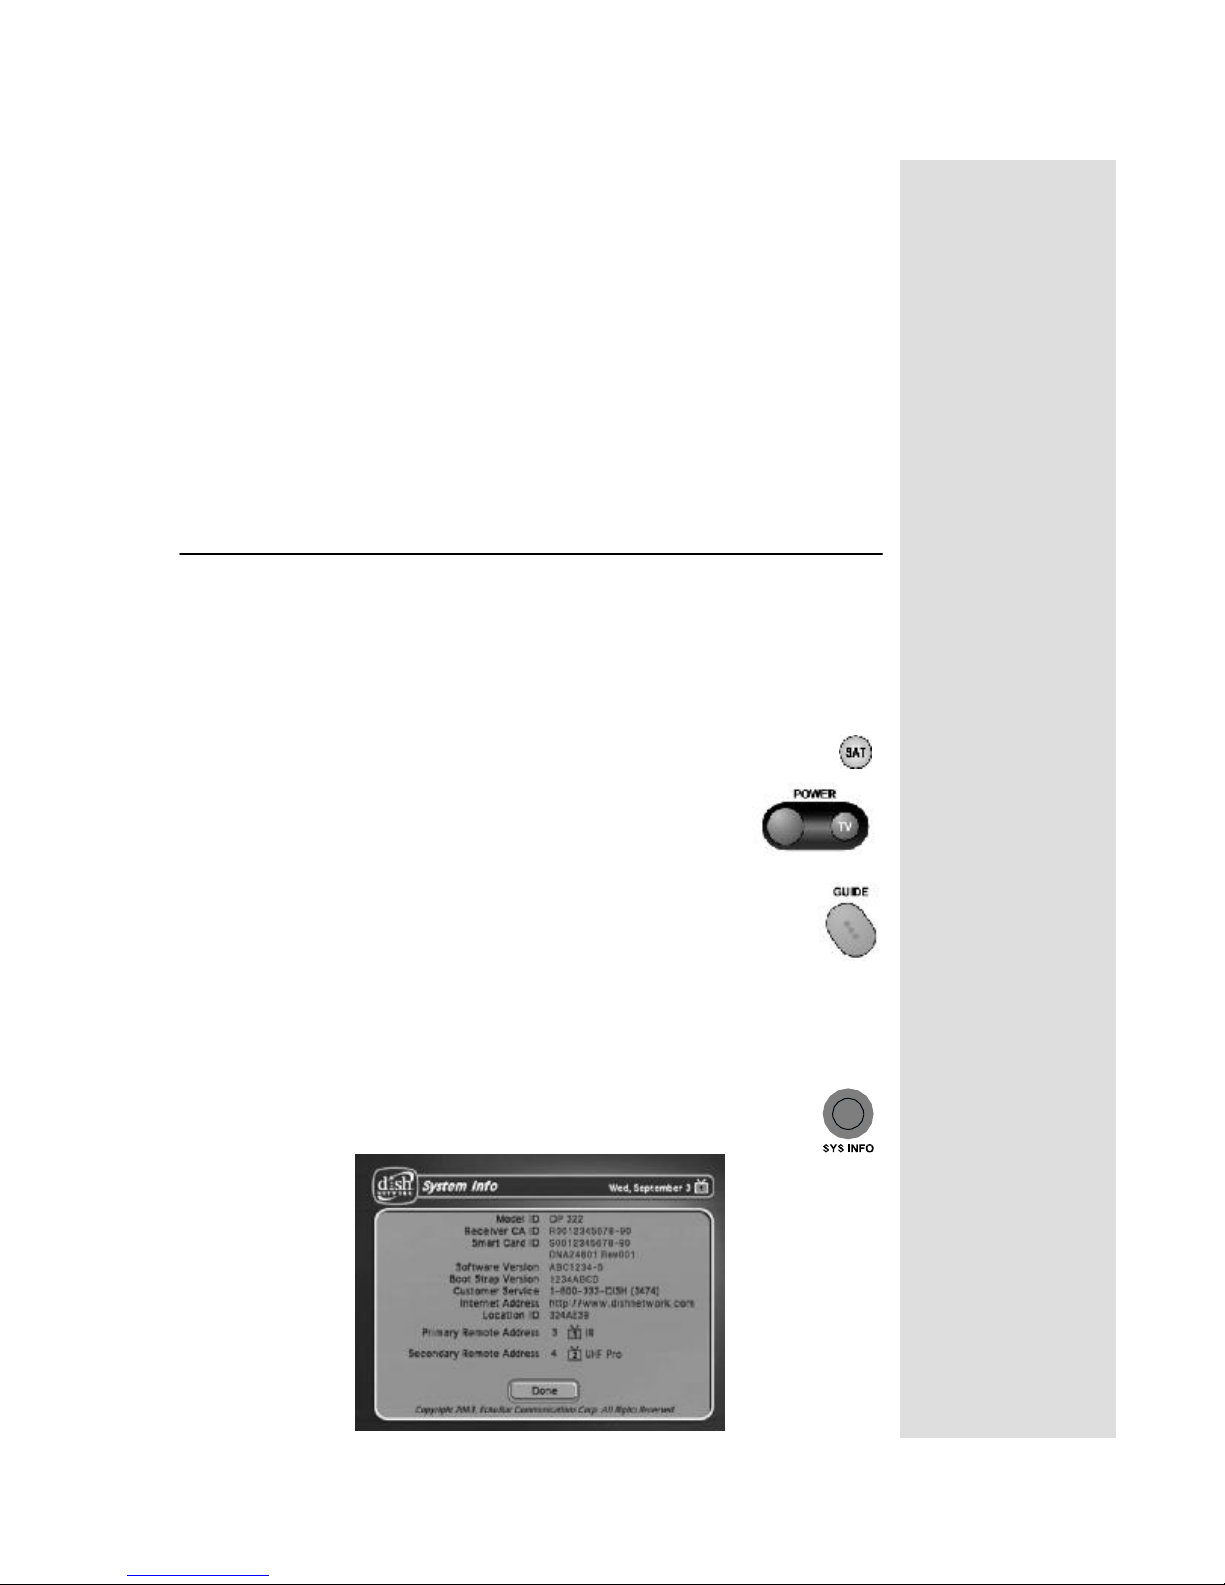
3. Press the SYS INFO
the
Important System Information
button. Make sure the TV is also on.
button on the remote control to display
and then press the
Program Guide
screen.
appear
Getting Started
Tip: Remote
Control 1 is used to
control TV1 menus
on the nearby TV.
Remote Control 2
is used to control
TV2 menus on the
remote TV(s).
Page 3
Page 4
Chapter 1
Introduction
Tip: The Program
Guide provides a
complete listing of
all programs
available on all
channels, including
those that are not in
your subscription
(these channels
have red
backgrounds).
4. Call the Customer Service Center at 1-800-333-DISH (3474). A
customer service representative will help you start DISH Network
programming on your system and will discuss the various programming
packages available.
5. Choose a package and the representative will authorize your
programming.
6. Press SELECT
to close the
Important System Information
screen.
7. Wait a few minutes and the channels you purchased will turn from red to
white, and can now be viewed.
Step 2: Finding Programs To Watch
1. Press the GUIDE
2. When the
ARROW
Program Guide
to view information on other channels. The
channels for the programming you ordered should be
shown in white and are available for viewing. After you
have highlighted a current program in the
Guide
, press SELECT
Quick Tour of Basic Features
This tour guides you quickly through a number of basic satellite receiver
features accessible directly from the remote control without using menus.
For more detailed information about each feature, see Chapter 3,
System.
1. Make sure the TV is on.
2. Press the UP
button.
opens, use the UP
or DOWN
Program
to watch it.
or DOWN ARROW button to change
Using the
3. Press the RECALL
4. Press the THEMES (LEFT ARROW
Page 4
channels.
button to go back to the last channel you
watched.
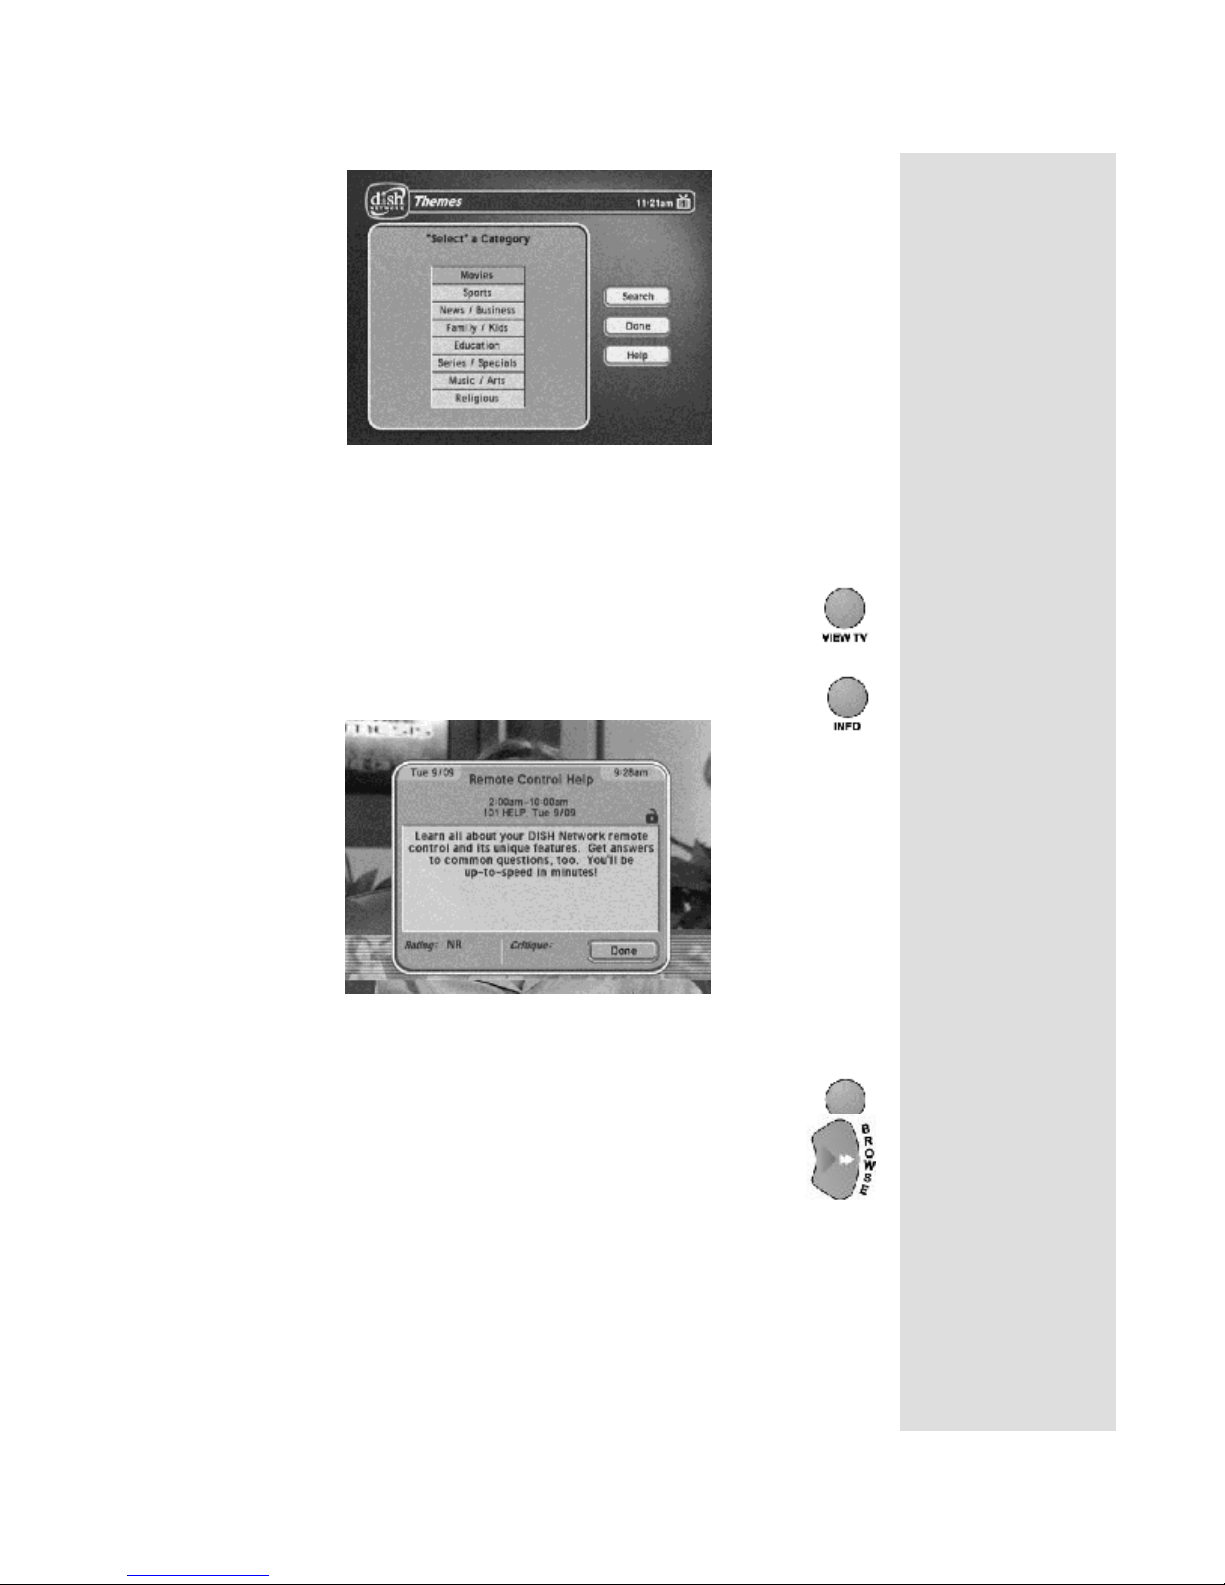
) button to open the
Themes and Search
menu. This menu allows you to
search for programming by themes (movies, sports, and
more) or by key words used in the programming
information.
Page 5
Quick Tour of Basic Features
5. Select
Sports.
6. Press the VIEW TV button to go back to watch a program.
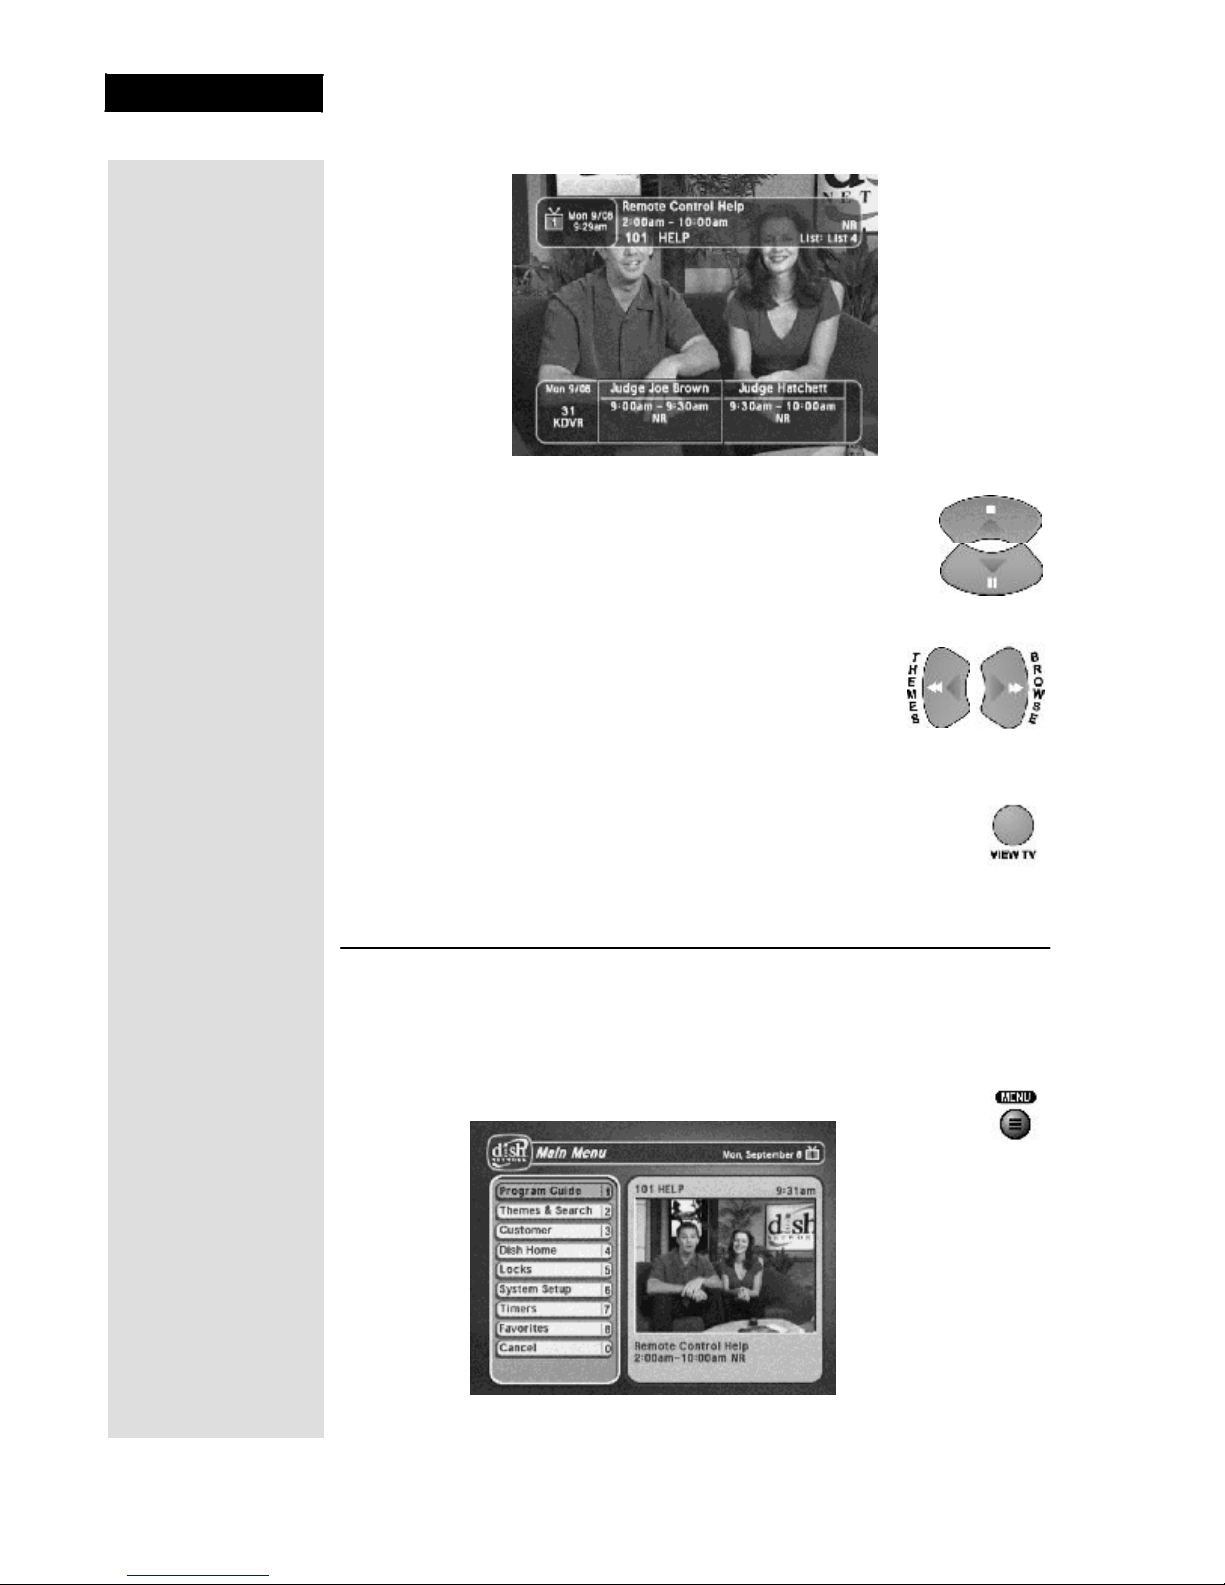
7. Press the INFO
button to see information about the program.
8. Press the CANCEL
9. Press the BROWSE (RIGHT ARROW
Browse Banner
. The
on a program we’re watching at the top, and information on
two other programs at the bottom.
button to go back to watch the program.
) button to open the
Browse Banner
shows information
Page 5
Page 6
Chapter 1
Introduction
Tip: Remote Control
1 is used to control
TV1 menus on the
nearby TV. Remote
Control 2 is used to
control TV2 menus
on the remote TV(s).
Page 6
10. Press the UP
the channel information you see at the bottom of the
TV screen.
11. Press the RIGHT ARROW
program coming on next at the bottom. Press the
LEFT ARROW
on now.
12. Press the VIEW TV button to clear the
Banner
program.
Quick Tour of the Menus
This tour guides you quickly through the basic features available through the
Main Menu
these and other features.
1. Press the remote control MENU button to open the
Menu
or DOWN ARROW button to change
button to highlight the
button to go back to the program
Browse
from the TV screen and to go back to watching a
. See Chapter 3,
.
Using the System
for more information about
Main
Page 7
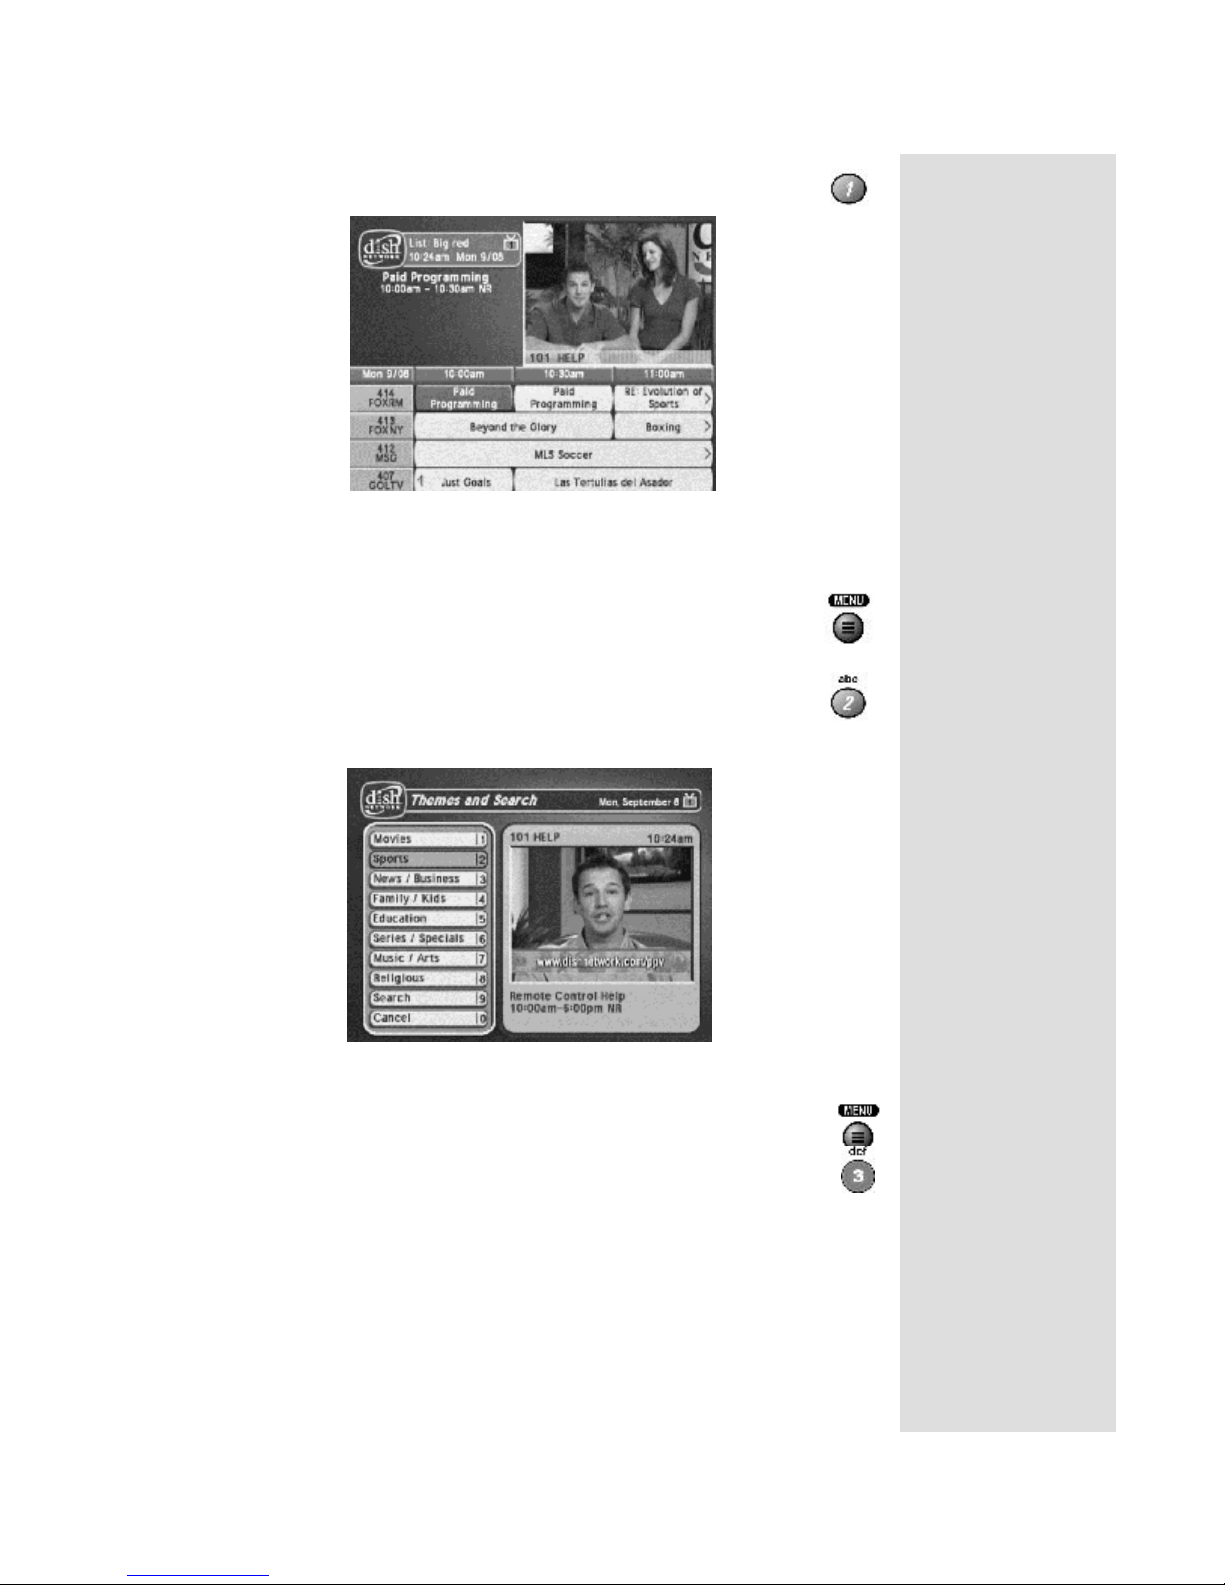
2. Press the 1 button to select the
Main Menu
. This opens the
Program Guide
Program Guide
option on the
on the TV screen.
Quick Tour of the Menus
You can use the
For now, though, go on with this tour.
3. Press the MENU
4. Press the 2
the
Main Menu
programming by themes (movies, sports, etc.) or by key words
used in the program information.
Program Guide
to find and select a program to watch.
button to go back to the
button to select the
Themes and Search
. This menu allows you to search for
Main Menu.
option on
5. Press the MENU
button to go back to the
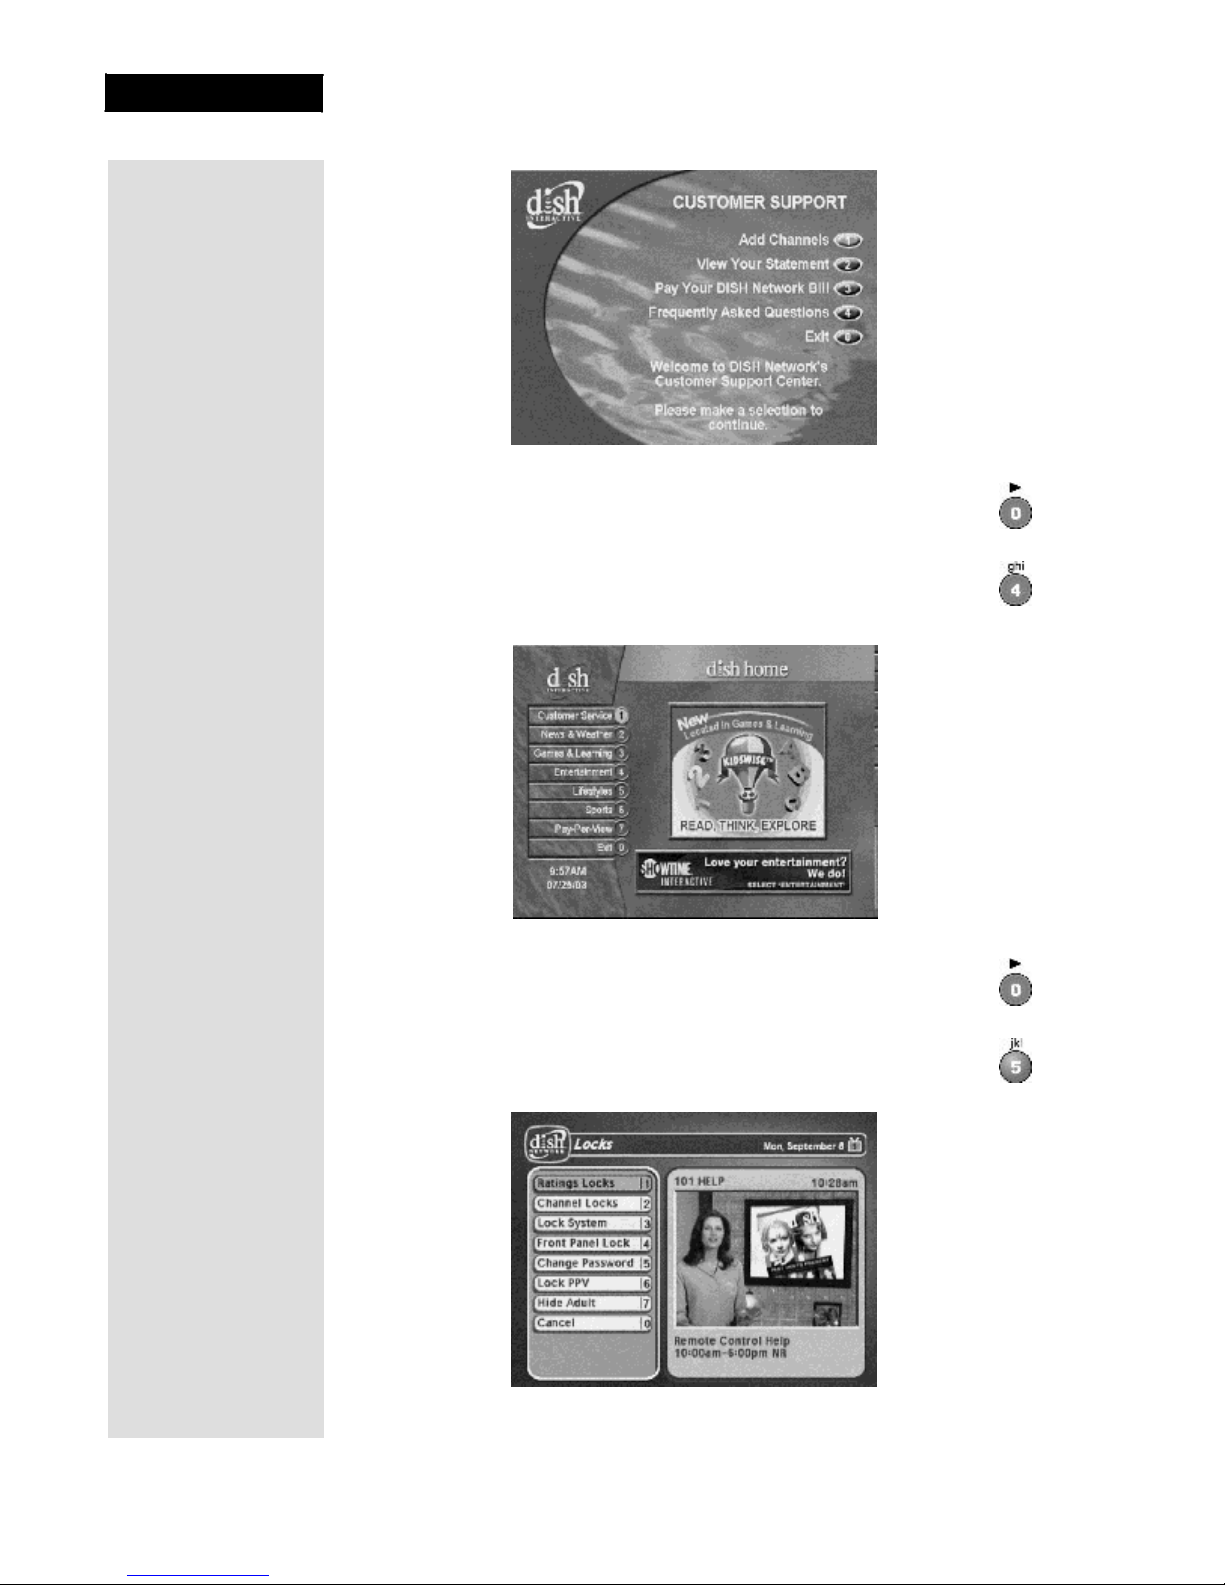
6. Press the 3 button to select the
provides convenient access to your DISH Network account to
review your statement, pay your bill, upgrade programming, and
more.
Customer
Main Menu.
option. This menu
Page 7
Page 8
Chapter 1
Introduction
7. Press the 0 button to go back to the
8. Press the 4 button to select the
order channels, check the news and weather, and even play
games.
9. Press the 0 button to go back to the
10. Press the 5 button to select the
Menu
. This menu allows you to apply password-protected
locks on programming based on rating, or even on a channelby-channel basis.
Main Menu.
Dish Home
Main Menu.
Locks
option on the
option. You can
Main
Page 8
Page 9
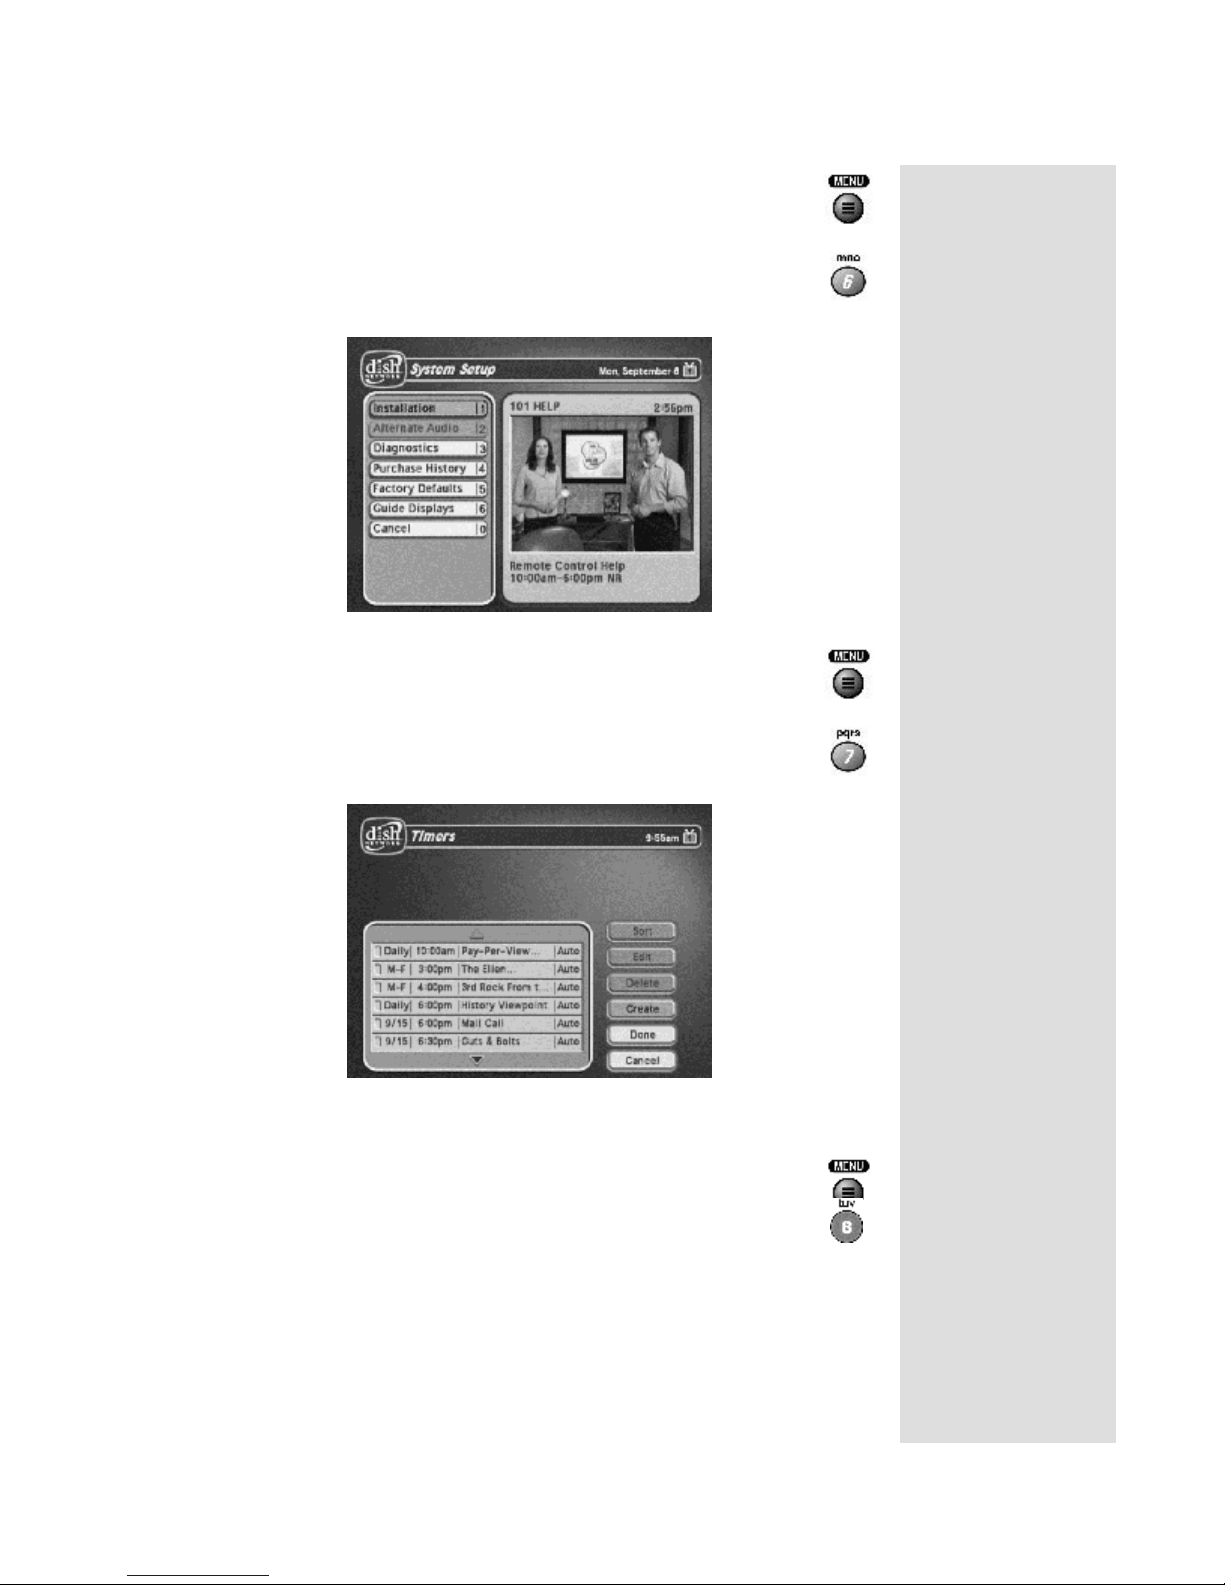
11. Press MENU
12. Press the 6 button to select the
Main Menu
want.
to go back to the
. Use this menu to set up the system the way you
Main Menu.
System Setup
Quick Tour of the Menus
option on the
13. Press MENU
to go back to the
14. Press the 7 button to select the
Menu
. This menu is used for creating and changing timers
used to trigger automatic channel changes, reminders, or VCR
recordings.
15. Press MENU
to go back to the
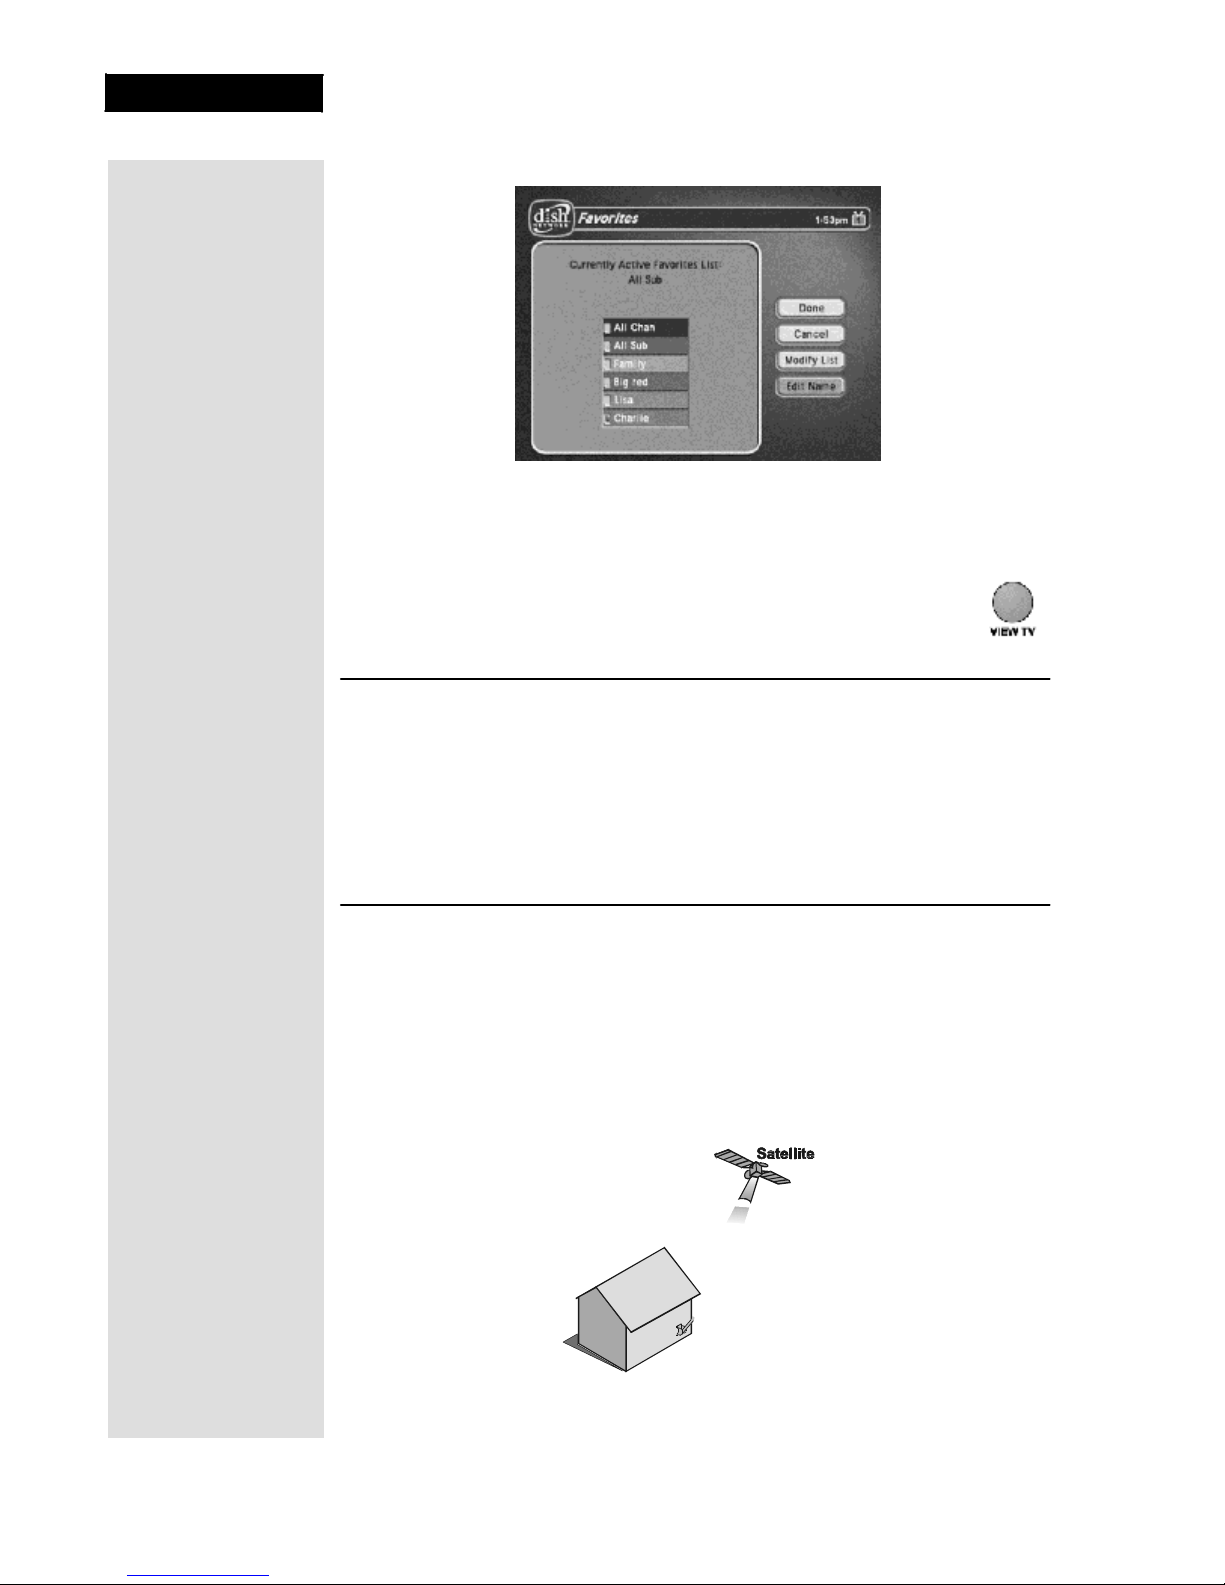
16. Press the 8 button to open the
allows you to set up lists of your favorite channels to make
finding what you want to watch more convenient.
Main Menu.
Timers
option on the
Main
Main Menu.
Favorites
menu. This menu
Page 9
Page 10
Chapter 1
Introduction
Tip: If you lose your
picture, it’s most
likely due to heavy
rain, snow or snow
build-up on your
dish.
Page 10
17. Press MENU
18. Press the VIEW TV button to go back to watching a program.
A
BOUT SATELLITE TELEVISION
to go back to the
Main Menu.
Satellite television uses a satellite in a stationary orbit over the Earth to
deliver television and audio programming. This type of orbit enables the
satellite to stay aligned over one place on the surface of the Earth.
Once the satellite dish is aimed at the satellite, the dish does not have to
move to follow it.
S
ATELLITE SIGNAL QUALITY
R
AIN AND SNOW FADE
Heavy rain, snow, or cloud cover can block the satellite signal, which can
interrupt your programming service. By aiming the satellite dish to get the
strongest signal during installation, you can help prevent rain and snow from
interrupting the signal. Your service will return after the weather condition
has passed.
Page 11
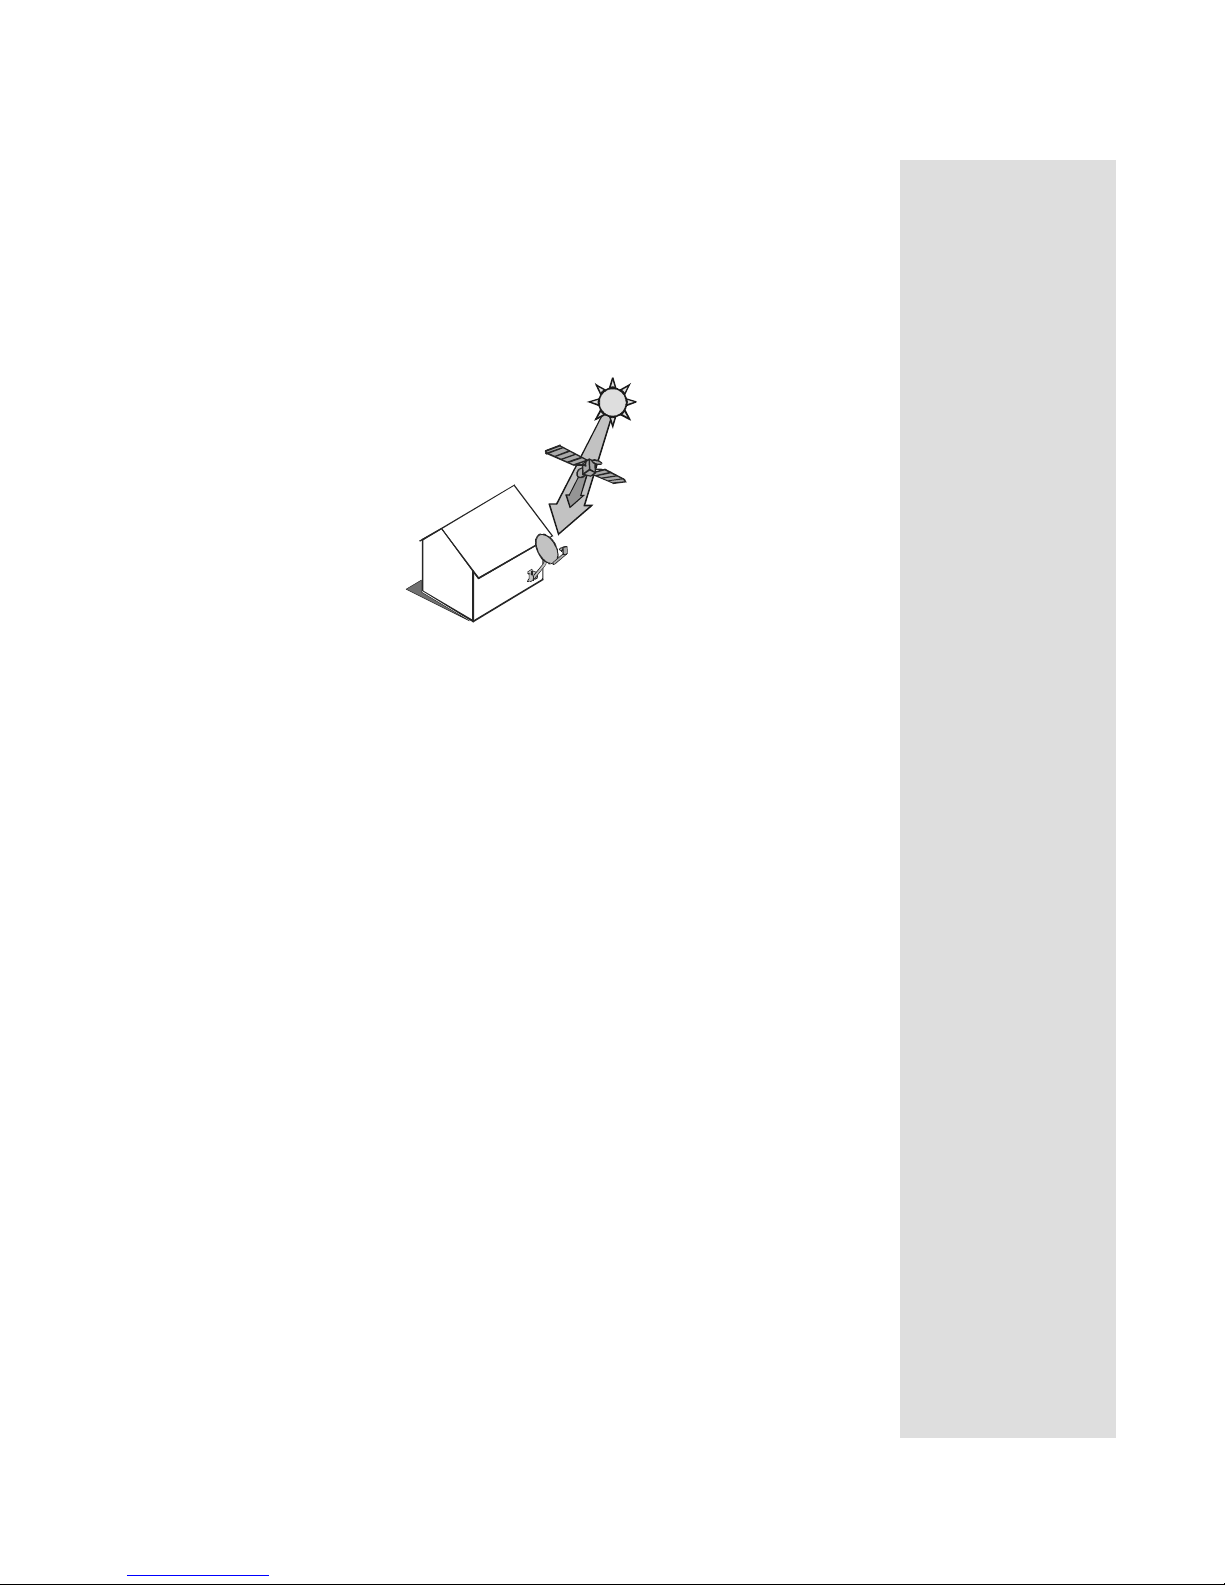
S
OLAR INTERFERENCE
Twice a year, the sun moves to a position behind the DISH Network satellite
as it orbits the Earth. The exact time of the year that this occurs varies,
depending on the location, but it is near the beginning of spring and again
near the beginning of autumn. The period of solar interference lasts for a few
minutes at about the same time everyday for a few days during the spring
and autumn, so do not be alarmed when it happens.
This is an unavoidable natural event for all television involving the use of
satellites and has an adverse effect on many program providers. During this
period, you will not be able to see programs on DISH Network. Once the
sun has moved from behind the satellite, the programs will reappear.
Satellite Signal Quality
Page 11
Page 12

Chapter 1
Introduction
Page 12
Notes
 Loading...