

Page 1
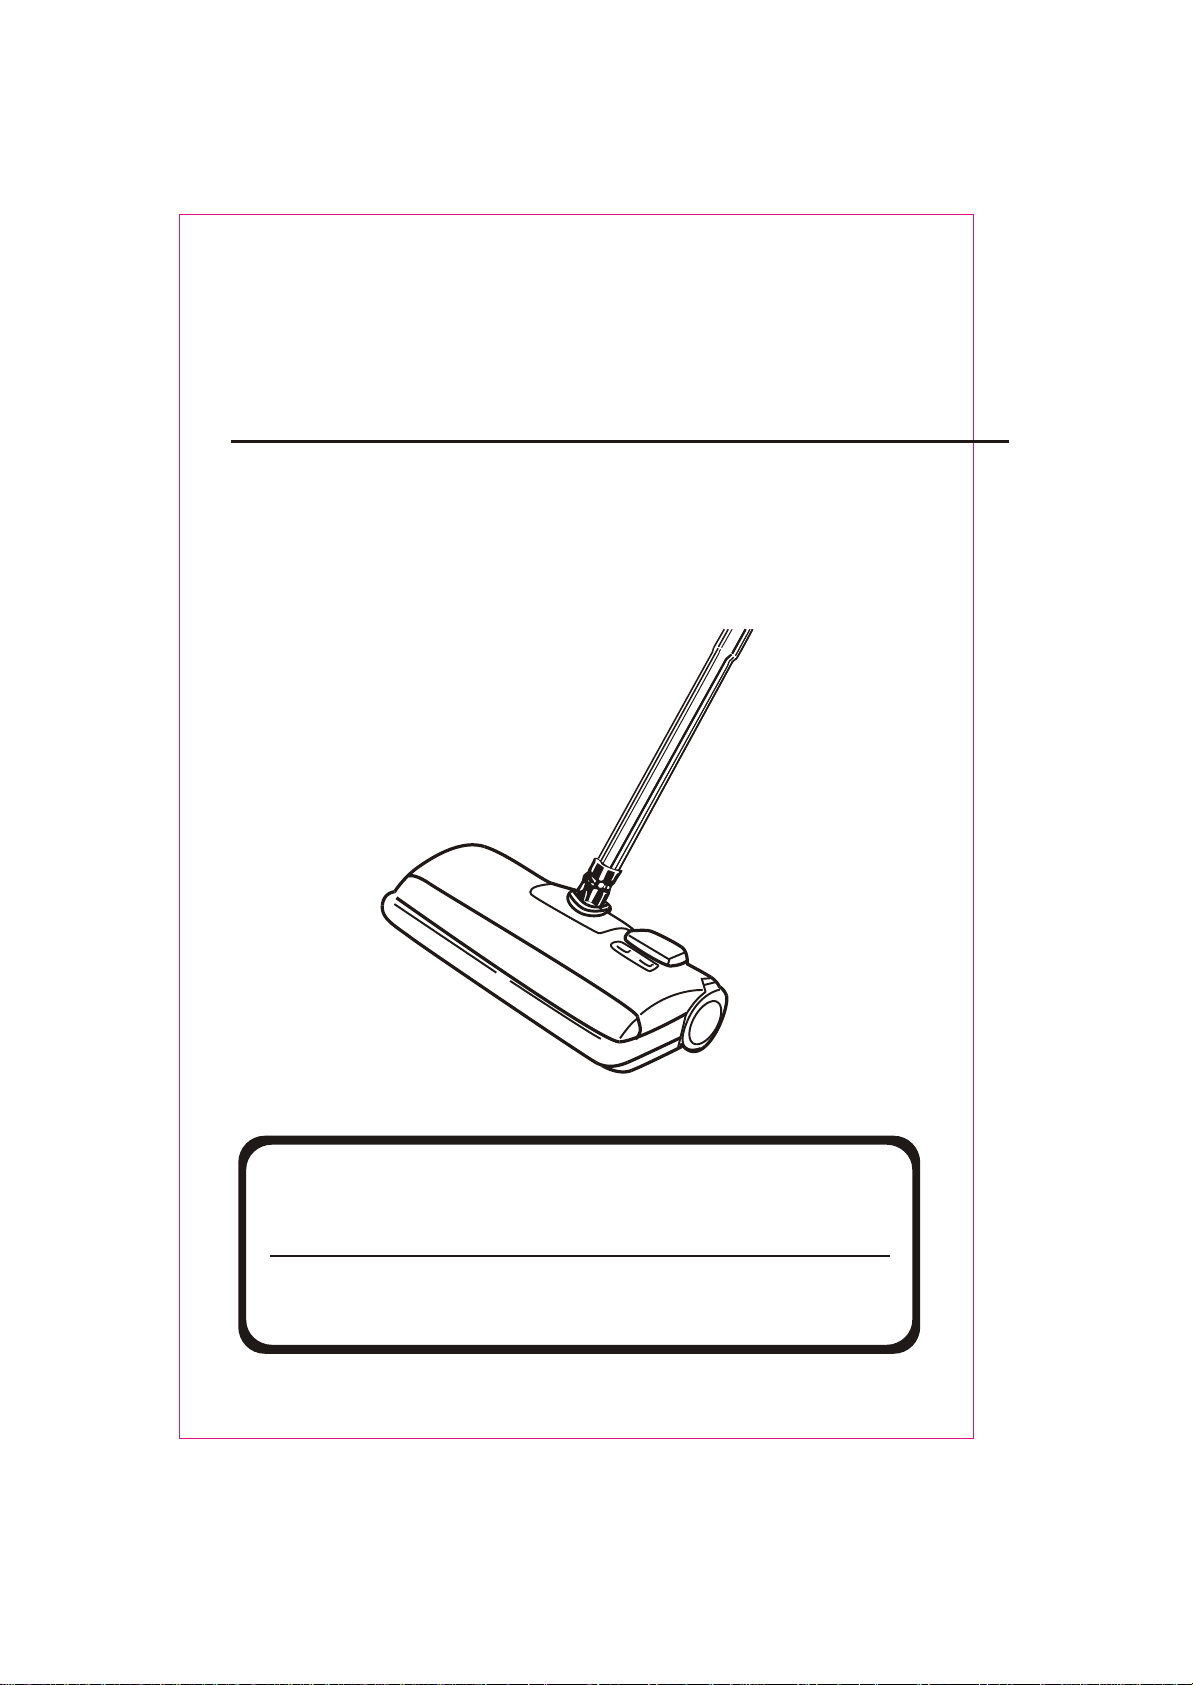
ASSEMBLY AND
OPERATING INSTRUCTIONS
For model PH722
PowerSweep®
Electric Powerhead
Write the model and serial numbers of your vacuum in the space
provided. Refer to the rating plate on cleaner.
Model #
Retain this owner s guide for future reference.
,
Serial #
Page 2

IMPORTANT SAFEGUARDS
When using an electric appliance, basic precautions should always be followed, including
the following:
Read all instructions before using this vacuum cleaner.
WARNING
To reduce the risk of fire, electric shock, or injury:
Do not use outdoors or on wet surfaces.
Do not leave vacuum cleaner when plugged in. Remove hose from inlet valve and
unplug the electrical cord when not in use and before servicing.
Do not allow to be used as a toy. Close attention is necessary when used by or near
children.
Use only as described in this manual. Use only manufacturer's recommended
attachments.
Some hoses contain electrical wires. Do not use if damaged, cut, or punctured. Avoid
picking up sharp objects.
Always turn off this appliance before connecting or disconnecting either hose or
motorized nozzle.
Do not use with damaged cord or plug. If vacuum cleaner is not working as it should,
has been dropped, damaged, left outdoors, or dropped into water, return it to a service
center.
Do not pull or carry by cord, use cord as a handle, close a door on cord, or pull cord
around sharp edges or corners. Do not run vacuum cleaner over cord. Keep cord
away from heated surfaces.
Do not use extension cords or outlets with inadequate current carrying capacity.
Turn off all controls before unplugging.
Do not unplug by pulling on cord. To unplug, grasp the plug, not the cord.
Do not handle plug or vacuum cleaner with wet hands.
Do not put any object into openings. Do not use with any opening blocked; keep free
of dust, lint, hair, and anything that may reduce air flow.
This vacuum creates suction and some contain a revolving brush roll. Keep hair, loose
clothing, fingers, and all parts of body away from openings and moving parts.
Do not place cleaner on furniture as brush roll may damage the furniture. Place cleaner
on floor with the handle in storage position while using attachments.
Do not pick up anything that is burning or smoking, such as cigarettes, matches, or
hot ashes.
Do not use without dust bag or filter (s) in place.
Belt pulleys can become hot during normal use. To prevent burns, avoid touching the
belt pulley when servicing the drive belt.
Use extra care when cleaning on stairs.
Do not pick up flammable or combustible liquids such as gasoline, or use in areas
where they may be present.
Store your cleaner indoors in a cool, dry area.
Keep your work area well lighted.
Unplug electrical appliances before vacuuming them.
SAVE THESE INSTRUCTIONS
2
Page 3
GENERAL INFORMA TION
The powerhead is designed to pick up dirt and dust particles. Avoid picking up hard or
sharp objects with the powerhead to prevent bag tears, hose clogs, and fan blade
breakage with subsequent motor damage.
BEFORE YOU PLUG IN YOUR POWERHEAD, check the voltage rating plate located
underneath the Powerhead to check if it agrees within 10% of the voltage available.
(See Rating Plate).
DO NOT OIL. The motor in your new Powerhead is permanently lubricated
and sealed. Do not oil the motor at any time.
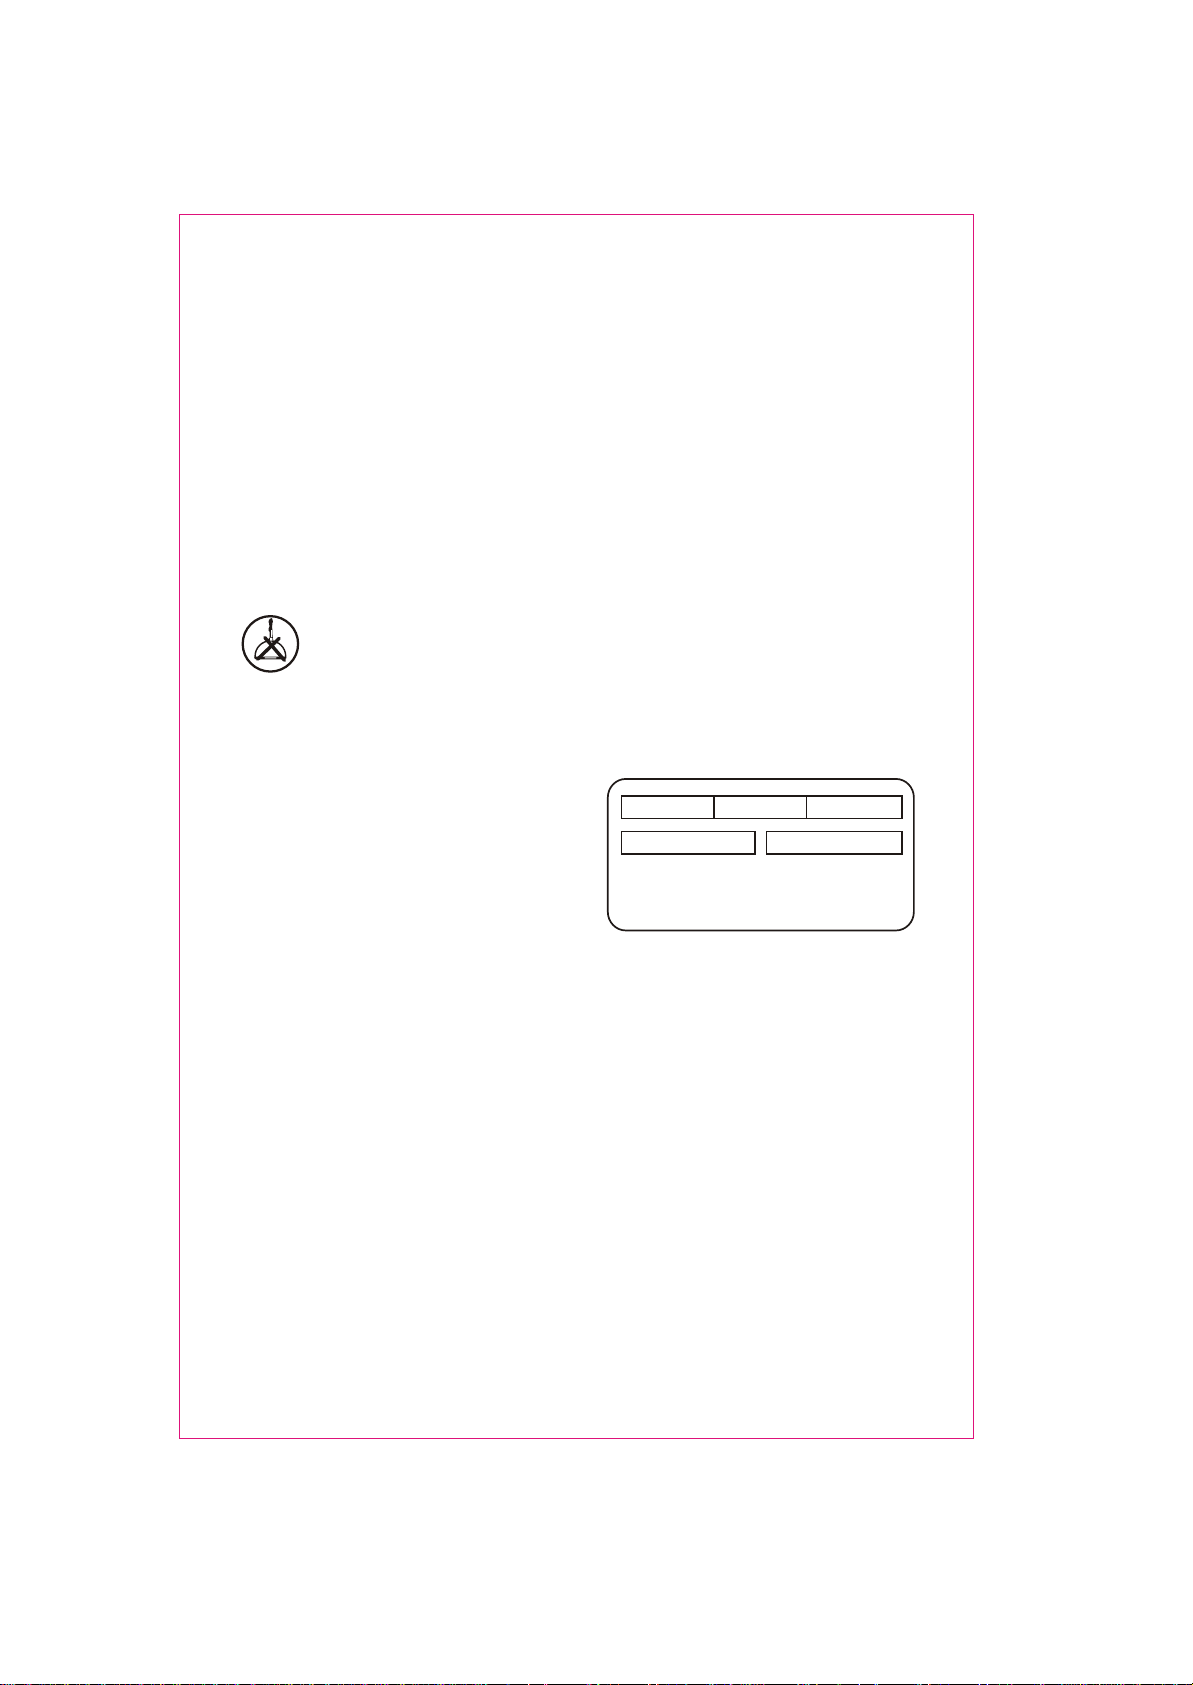
RATING PLATE
The model, type, and serial numbers are
indicated on the rating plate. For prompt and
complete service information, always refer
to these numbers when inquiring about
service.
AMPS HERTZ
TYPE & SERIAL
VOLTS
MODEL
3
Page 4

HOW TO ASSEMBLE THE POWERHEAD
1. Snap together the two interlocking wands.
2. Push assembled wands into powerhead socket.
3. Place cord between cord guides on handle socket, as shown, and turn to position.
4. Press cord into channels on wands.
4
Page 5

Attaching Unit
to Wands
1 Snap wands together.
2 Put wands into socket.
3 Push plug into retainer; secure
cord in slot and cord channel.
4 Place hose handle into wands
until plug connects and button
locks.
5 Step on motorized nozzle; pull
back on handle.
6 Select bare floor or carpet
cleaning.
Cord
Holder
5
Page 6

POWERHEAD BRUSH ROLL BELT
Your motor driven powerhead uses a belt to transfer power from the electric motor to the
revolving brush roll. One of the safety features in your powerhead is a design to let the
belt slip if something becomes caught in the brush roll.
One result of this slip feature is belts that require occasional replacement. The length of
time between replacements will vary based on your specific usage. Should you notice a
reduction in cleaning, replace the belt.
Powerhead belts are not replaced under warranty, since they are designed to slip rather
than permit damage to the motor.
Edge Cleaner
EDGE CLEANER feature provides for improved cleaning of carpets near walls and
stationary furniture. Slots on the sides of the nozzle increase air flow to the edges of the
powerhead and add to the cleaning efficiency of the powerhead. To operate, simply run
powerhead along edge board. Edge Cleaner operates instantly and automatically.
Carpet Cleaning Adjustment
The motorized nozzle automatically adjusts to
any carpet level for maximum cleaning. The
amount of suction can be changed to fit your
specific cleaning needs by adjusting the suction
control ring on the hose handle.
6
Page 7

REPLACING THE HEADLIGHT
If the headlight burns out, replace it as follows:
1. Unplug the vacuum cleaner and loosen
the two screws on the lower housing of
the powerhead.
Screws
3. Lift up the headlight assembly. 4. Press the burnt-out headlight bulb firmly
Headlight assembly
2. Remove the upper housing of the
powerhead.
Upper housing
and turn it counterclockwise to release it.
Headlight bulb
5. Press firmly on the new headlight bulb.
Then turn the headlight bulb clockwise
until it is secure.
6. Replace the headlight assembly.
Then replace the upper housing by
hooking the projection on the front side
of the upper housing to the lower housing
and securing it with the two screws.
7
Page 8

REPLACING THE BELT
If the belt drive in the powerhead breaks or becomes worn, replace it as follows:
1. Unplug the vacuum cleaner and loosen
the two screws on the lower housing of
the powerhead.
Screws
2. Remove the upper housing of the
powerhead.
Upper housing
3. Lift up the headlight assembly and
remove the brush cover.
Headlight assembly
5. Remove the broken or worn belt and
replace it with a new belt. Replace the
brush cover, aligning the two U-shaped
slots in the brush cover with the center
screw housings.
U-shaped slots
4. Detach and remove the beater brush.
Hole
6. Replace the headlight assembly.
Then replace the upper housing by
hooking the projection on the front side
of the upper housing to the lower
housing and securing it with the two
screws.
Screws
8
Page 9

LIMITED WARRANTY
H-P PRODUCTS, INC. warrants that the PowerSweep® Electric
Powerhead, when used for household purposes, pursuant to
Seller’s instructions, will be free from defects in materials and
workmanship for a period of one year from the date of the initial
consumer purchase.
H-P PRODUCTS, INC. warrants that the PowerSweep® Electric
Powerhead, when used in a commercial application, pursuant to
Seller’s instructions, will be free from defects in materials and
workmanship for a period of ninety (90) days from the date of the
initial sale by H-P PRODUCTS, INC. This warranty is limited to the
replacement of defective parts and any costs of shipping shall be
incurred by the purchaser.
THIS WARRANTY IS EXCLUSIVE AND IS IN LIEU OF ALL
OTHER WARRANTIES, EXPRESS, IMPLIED, OR STATUTORY,
AND H-P PRODUCTS, INC. SPECIFICALLY DISCLAIMS
RESPONSIBILITY FOR CONSEQUENTIAL AND INCIDENTAL
DAMAGES, AND LIMITS THE IMPLIED WARRANTY OF
MERCHANTABILITY TO THE PERIOD OF EFFECTIVENESS OF
THIS EXPRESS WARRANTY.
H-P Products, Inc.
512 West Gorgas St.
Louisville, OH 44641
1-800-822-8356
9BF-D-P111-00690 0301- 0
E/FRA
 Loading...