

Page 1
*
3
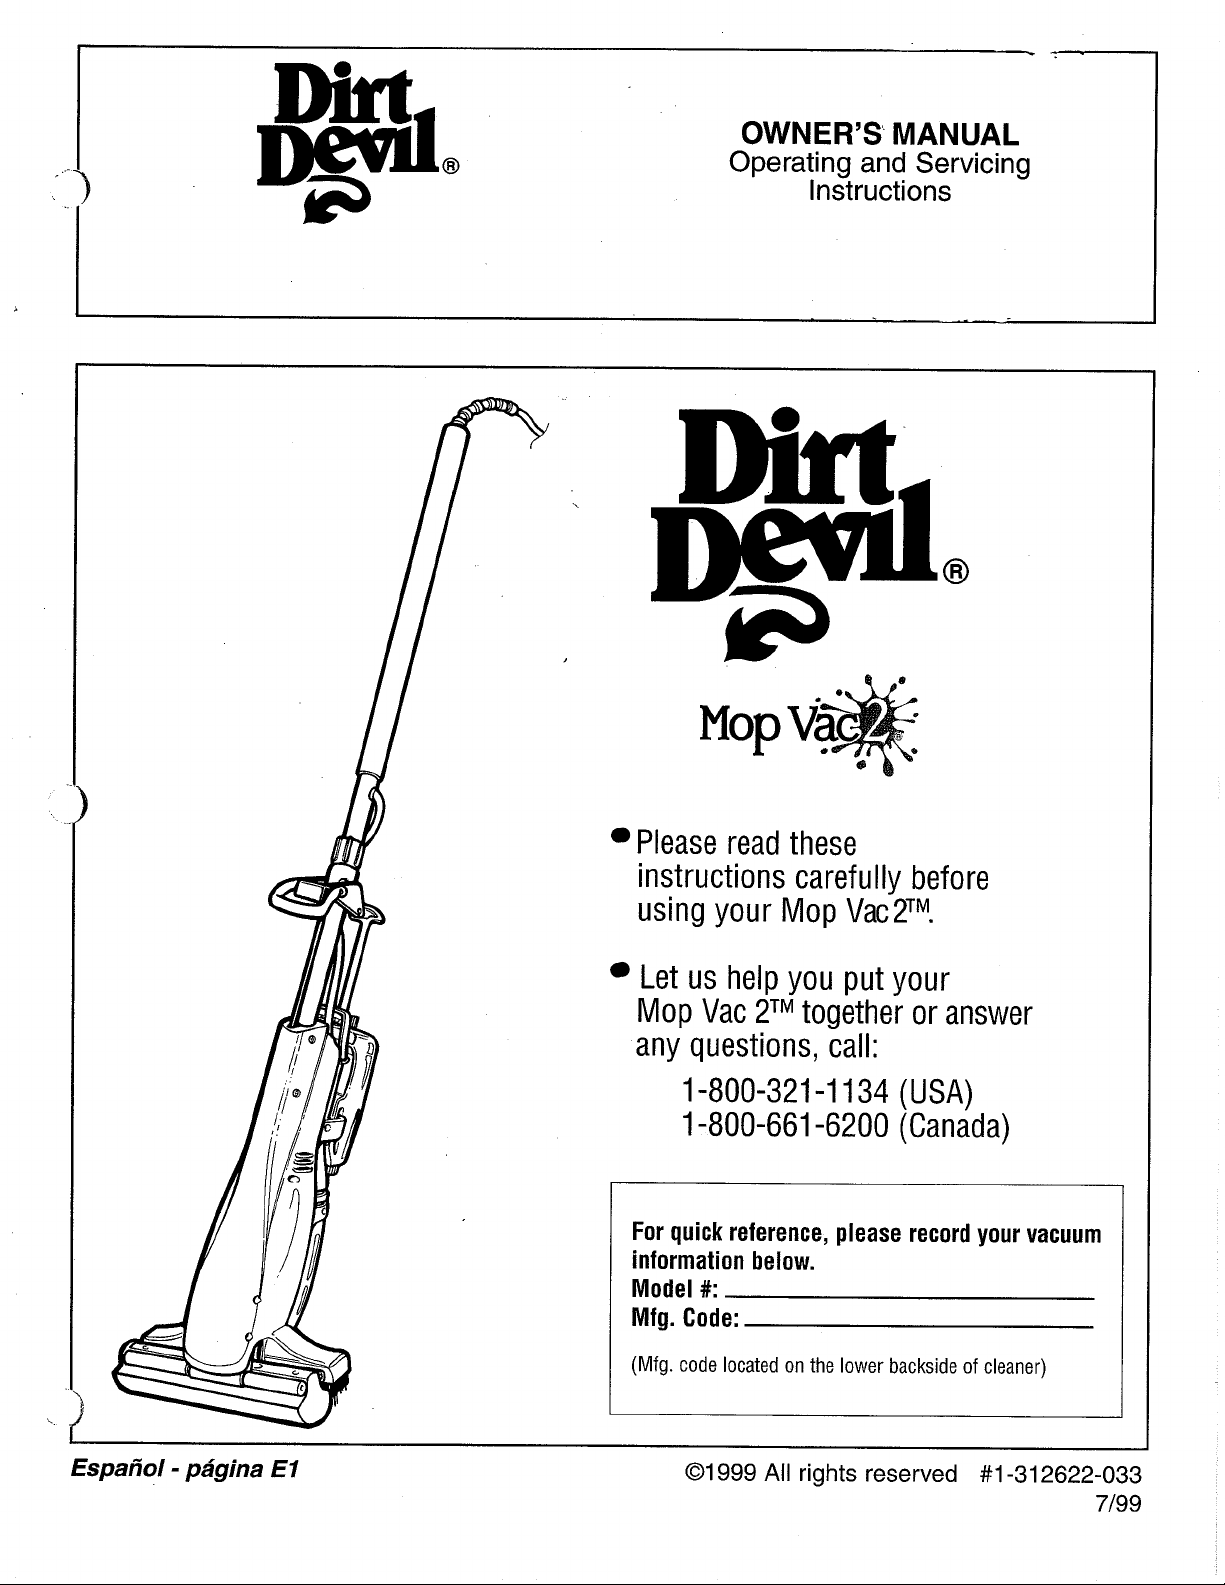
OWNER'S MANUAL
Operating and Servicing
Instructions
Please read these
instructions carefully before
using your Mop
Va~2~~.
Let us help you put your
Mop Vac 2TM together or answer
any questions, call:
1-800-321 -1 134
(USA)
1-800-661 -6200 (Canada)
For quick reference, please record your vacuum
information below.
Model
Mfg. Code:
(Mfg.
#:
code located on the lower backside of cleaner)
Espaiiol
-
pagina
El
01
999
All
rights reserved
#I
-31
2622-033
7/99
Page 2
THIS CLEANER IS INTENDED FOR HOUSEHOLD USE ONLY
IMPORTANT SAFETY INSTRUCTIONS
When
you
use
an
appliance,
READ ALL INSTRUCTIONS BEFORE USING THE APPLIANCE.
ALWAYS FOLLOW THESE SAFETY INSTRUCTIONS.
DO NOT LEAVE MOP VAC UNATTENDED WHEN PLUGGED IN.
REGULARLY CHECK THE SPONGE AND SQUEEGEE FOR CLEANING OR REPLACEMENT.
WARNING:
DO NOT USE SHARP OBJECTS TO CLEAN OUT
basic
precautions
should
be
followed,
THE
MOP VAC SINCE THEY COULD CAUSE DAMAGE.
including
the
following:
READ ALL INSTRUCTIONS BEFORE USING THE APPLIANCE.
WARNING: TO REDUCE THE RISK
ELECTRIC
Do not leave appliance when plugged in. Unplug from outlet when not in use and before servicing.
Do not use outdoors. Electrical shock could occur.
Do not immerse. To reduce the risk of electric shock
Do not allow to be used as a toy. Close attention is necessary when used by or near children.
Use only as described in this manual.
Do not use with damaged cord or plug. If appliance is not working as
it
or dropped into water, return
Do not pull or carry by cord, use cord as handle, close a door on cord, or pull cord around sharp edges or corners. Do
not run appliance over cord. Keep cord away from heated surfaces.
Do not unplug by pulling on cord. To unplug, grasp the plug, not the cord.
Do not handle plug or appliance with wet hands.
Do not put any objects into openings. Do not use with any opening blocked; keep free of dust, lint, hair, and anything that
may reduce air flow.
Keep hair, loose clothing, fingers, and all parts of body away from openings and moving parts.
Do not pick up anything that is burning or smoking, such as cigarettes, matches, or hot ashes.
Use the Mop Vac only to clean floors. Do not use to clean ceilings, walls, or other vertical surfaces.
Do not use without dirty water reservoir in place.
To prevent dirty water from running into motor, do not hold the Mop Vac upside-down or lay flat. Use Mop Vac
normal mopping position. When removing recovery tank for cleaning, lean appliance upright against wall or countertop.
Do not lay appliance face down on floor or scrub with front of unit held toward floor.
off
Turn
Do not use without sponge head, recovery tank, recovery tank lid, squeegee blades and filter in place.
Use extra care when cleaning on stairs.
Do not use to pick up flammable or combustible liquids, such as gasoline, or use in areas where they may be present.
Do not use an extension cord with this Mop Vac.
Store the Mop Vac indoors. Put the Mop Vac away after use to prevent tripping accidents.
Using improper voltage may result in damage to the motor and possible injury to the user. Proper voltage is listed on the
cleaner plate.
Connect to a properly grounded outlet only. See Grounding Instructions.
Use only Dirt Devil Floor Cleaners.
all controls before unplugging.
to a service center for inspection. Call 1-800-321-1 134 for the nearest service center.
SHOCK
-
use indoors only, and use only on surface moistened by cleaning process.
'
OR INJURY:
it
should, has been dropped, damaged, left outdoors,
OF
FIRE.
f-
1
,I
,
i
SAVE THESE INSTRUCTIONS
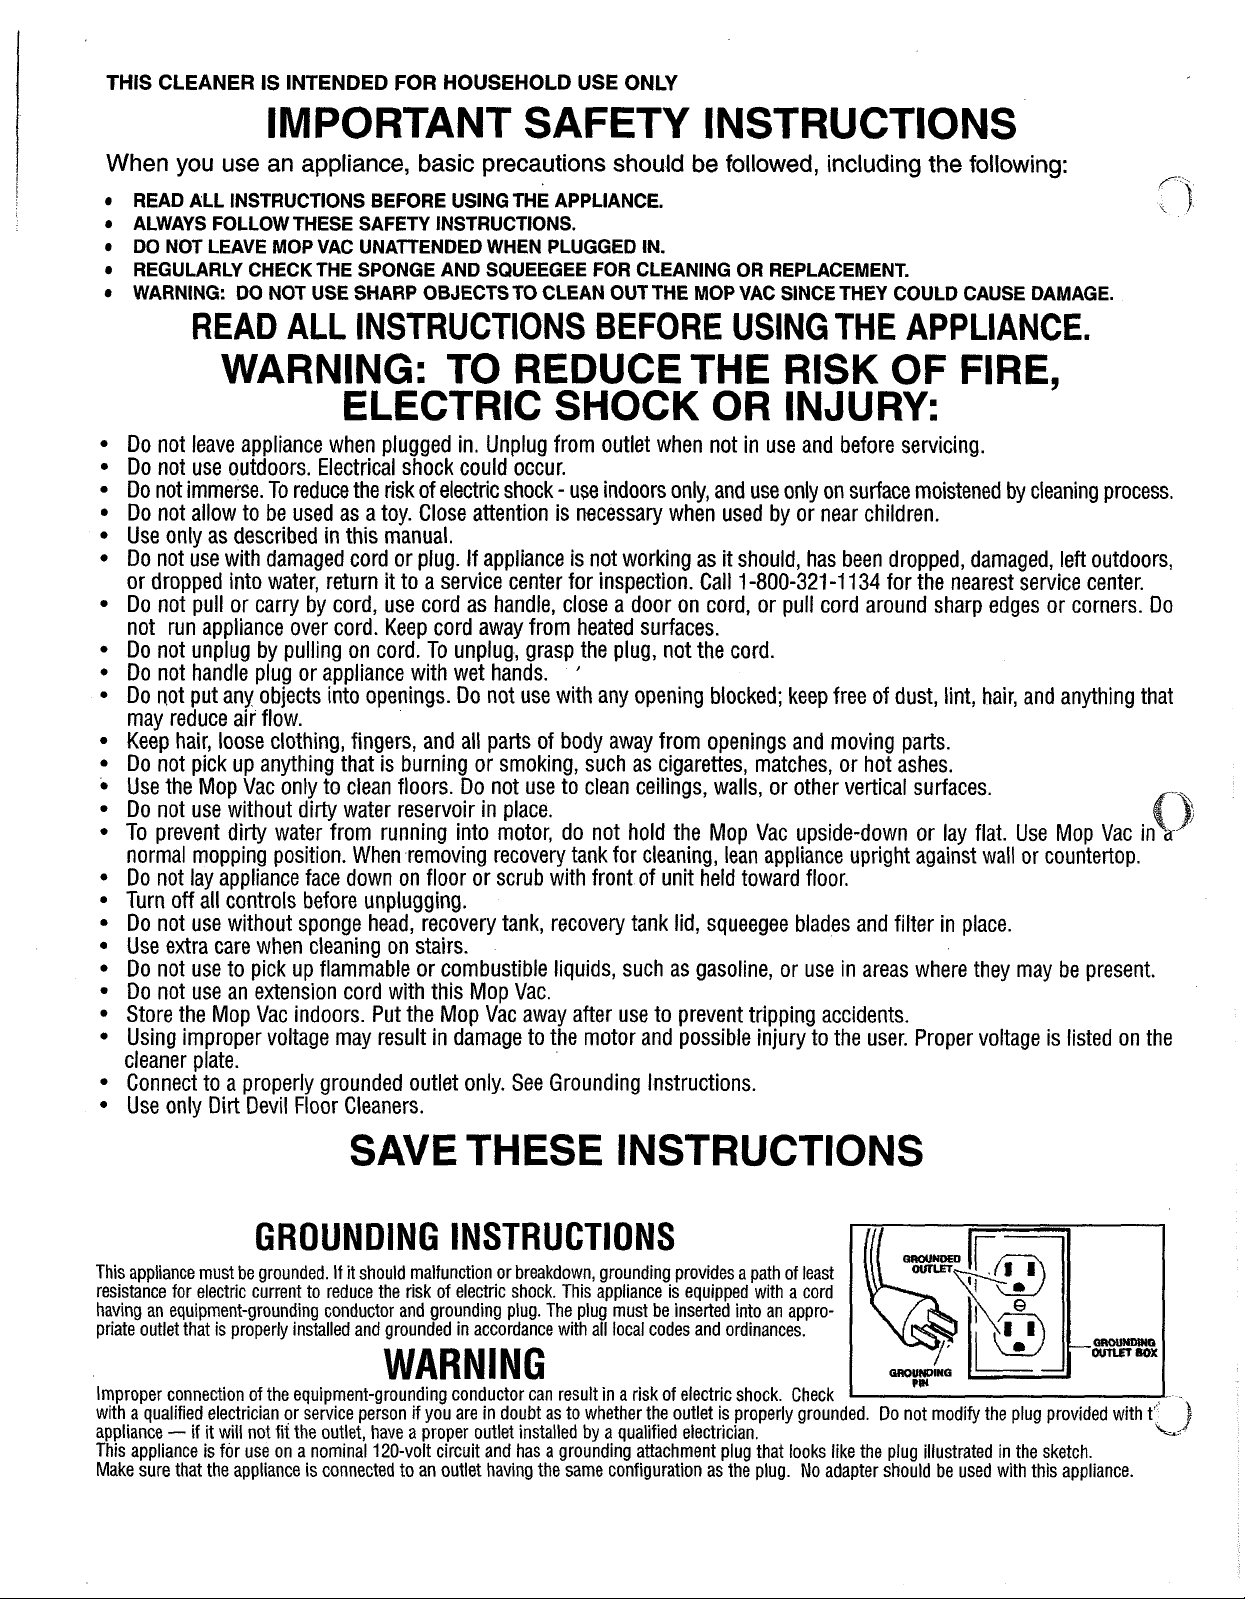
GROUNDING INSTRUCTIONS
This appliance must be grounded. If it should malfunction or breakdown, grounding provides a path of least
resistance for electric current to reduce the risk of electric shock. This appliance is equipped with a cord
having an equipment-grounding conductor and grounding plug. The plug must be inserted into an appropriate outlet that is properly installed and grounded in accordance with all local codes and ordinances.
WARNING
Improper connection of the equipment-grounding conductor can result in a risk of electric shock. Check
with a qualified electrician or service person if you are in doubt as to whether the outlet is properly grounded. Do not modify the plug provided with t"
appliance - if
This appliance is for use on a nominal 120-volt circuit and has a grounding attachment plug that looks like the plug illustrated in the sketch.
Make sure that the appliance is connected to an outlet having the same configuration as the plug. No adapter should be used with this appliance.
it
will not fit the outlet, have a proper outlet installed by a qualified electrician.
)
Page 3
CONGRATULATIONS
You are now the proud owner of the Dirt Devil@ Mop Vac
way to mop floors. We trust your new purchase
will
bring you many years of
2',"
a revolutionary new
satisfaction.
Our company designed and developed this product with you in mind. It has a
convenient dispenser for cleaning solution, a replaceable sponge head, and a suction
system that leaves your floor clean and dry. You no longer need to worry about
wringing a mop into a messy bucket. The Mop Vac's squeegee blades clean and dry
your floor just
your windshield is cleaned by the squeegee at the
gas
station.
as
We are very proud of our products and hope that you are equally satisfied with their
quality and performance.
Thank
you for your support of Dirt Devil products.
Visit our website at www.dirtdevil.com.
6)
L
-
Product Features
How To Assemble
How To Operate
Fill Cleaning Solution Bottle
Floor Cleaning
Vacuum up Dirty Water
Clean
Empty recovery tank
SpongeISqueegee Removal and Replacement
Troubleshooting Guide
To the consumer, Royal Appliance Mfg. Co. warrants this vacuum cleaner to be free of defects in material or workmanship commencing upon the date of the
original purchase. Refer to your vacuum cleaner carton for the length of warranty and save your original sales receipt to validate start of warranty period.
If the vacuum cleaner should become defective within the warranty period, we will repair or replace any defective parts free of charge. The complete machine must
be delivered to any ROYAL Authorized Sales
ori inal sales recei t and your name, address and telephone number. If you are not near a Warranty Statlon, call the factory for assstance at USA: 1-800-321-1134
/
C~ADA:
I
The warranty does not include unusual wear, damage resulting from accident or unreasonable use of the vacuum cleaner. This warranty does not cover belts,
brushes, bags, bulbs or fan damage. This warranty does not cover unauthorized repairs. This warranty gives you specific legal rights and you may also have other
rights. (Other rights may vary from state to state
1-800-161-6200. Use only genulne Royal replacement parts.
TABLE OF CONTENTS
........................................................
.........................................................
............................................................
...............................
....................................................
......................................
Up
............................................................
....................................
...........
.................................................
LIMITED
&
Warranty Service Station. Please include complete description of the problem, day of purchase, copy of
In the USA).
WARRANTY
Page
Page
Page
Page
Page
Page
Page
Page
Page
Page
3
3
4
4
4
4
5
5
5
6
Page 4

Fia.
1
1. Upper Handle with non-slip gripTM
2.
Sponae release lever
.
3.
4. Lower Handle
5.
6.
7.
8.
-
Wringer Lever
Wringer Rod
Sponge Head
Wringer Rollers
Cleaning Solution Plunger
(serves as suction onloff switch)
ALCl
(See
Page
FEATURES
6)
Fia.
2
Fia.
2
9.
Cleaning Solution Bottle Latch
10. Cleaning Solution Bottle
11. Vents
12. Recovery Tank Latch
13. Recovery Tank
14. Wheels
15. Squeegee
HOW
TO
ASSEMBLE:
1.
I
UPPER AND LOWER HANDLES: Slip upper handle of Mop Vac onto lower handle, making sure groove in lower handle aligns with tab in upper
handle. Tighten handle retainer nut clockwise (Diagram
2.
Tear plastic baa from sponge head.
3.
~old'cleaning solution bottk with plunger upright and slide into place on back of Mop Vac (Diagram
bottle in place (Diagram
TOOL REQUIRED: PHILLIPS SCREWDRIVER
1).
3).
2).
Close cleaning solution bottle latch to hold
Page 5

2
HOT
Tap Water
Note:
Always sweep floor first. For best results, use Mop Vac on smooth floors. Mop Vac is designed for light-duty floor washing only, not for large spill pick-up.
WARNING:
1.
FILL CLEANING SOLUTION BOlTLE (160~):
black fill cap. Fill bottle with hot tap water to bottom of cap opening. Pour one capful (112 02.) of Dirt DevilaDlow-sudsing cleaning solution into
bottle (Diagram 2). Replace cap and slide bottle into place on back of Mop Vac (Diagram 3). Close cleaning solution bottle latch to hold bottle in
place.
Note:
For best performance use Dirt DevilaDbrand cleaning solution. If using solution from another manufacturer, check recommended dilution.
2.
FLOOR CLEANING:
puddle on floor (Diagram 4).
Press sponge head in solution until moistened. Then dispense a
puddle of cleaning solution outward to clean area.
WARNING:
mntnr
Use Mop Vac on floors only, not walls or overhead surfaces.
Open cleaning soluiion bottle latch and remove bottle (Diagram 1). Place on flat surface and remove
When bottle is filled as directed, fluid does not reach top of bottle. Some air remains in bottle to allow mixing of solution and water.
Make sure that recovery tank is in place and latched (See page
6"-10"
FOR BEST RESULTS:
Do not reverse Mop Vac to scrub with outer edge of sponge head. Keep front of Mop Vac upwards or water may run out of recovery tank and into
circle of solution. Use two hands on mop. With a normal mopping action, work
As you mop, do not extend beyond a 3' reach to ensure sponge/floor contact.
5,
Diagram 2). Gently pull up plunger to dispense a small
3.
VACUUM UP DIRTY WATER:
retracts and locks, and suction motor switches on (Diagram 1). Place mop at far edge of area to be dried. Raise handle to ensure contact between
squeegees and floor. You should feel squeegees suck down onto floor. Then pull Mop Vac slowly towards you (Diagram 2). Squeegee blades wipe
the floor and dirty water is drawn into recovery tank, leaving floor clean and dry. Lower handle to raise squeegees off floor and roll on wheels. Then
push Mop Vac forward (Diagram 3). As you mop andlor vac, keep both hands on mop handle and use short strokes.
4. Pull sponge release lever toward upper handle and push wringer lever down to stop motor and extend sponge head to normal cleaning position.
5.
Repeat mopping and vacuuming process until dirty water reaches fill line on recovery tank. Stop mopping and empty tank (see Clean-Up section of manual).
FOR BEST RESULTS:
may need to apply more downward pressure while vacuuming to ensure maximum squeegeelfloor contact.
Note:
Motor is switched on only when wringer lever is locked up toward upper handle, to activate the vacuuming function, not during dispensing
or scrubbing.
Caution:
of manual) and continue cleaning.
If
water begins to spray out of vents, recovery tank is over-full. This will not damage Mop Vac. Empty recovery tank (See Clean-Up section
Do not extend beyond a 3' reach to ensure proper spongelfloor contact.
Hold upper handle with one hand and grasp wringer lever with the other hand. Pull back on wringer lever. Sponge
On rough surfaces (ie. tile with grout channels), you
d-.b
Page 6

3
Position
I
EMPTY RECOVERY TANK:
1. Turn off suction by lowering wringer lever to mop floor position (Diagram 1). Keeping appliance upright, slide down recovery tank latch (Diagram
2.
Remove recovery tank to empty and rinse out recovery tank (Diagram 3).
3. Inspect recovery tank gasket for a good seal (Diagram 3a).
4.
Replace recovery tank by slipping front notch of tank into slot on Mop Vac (Diagram 3). Close recovery tank latch to keep in place.
5.
Drain and rinse out cleaning solution bottle (Diagram
6.
Rinse sponge head in clean water. Sponge may be removed for cleaning or replacement (see Sponge Head Removal and Replacement section of manual).
Caution: Do not tilt ~op Vac to rinse sponge head until recovery tank has been emptied.
WARNING: To reduce the risk of electric shock,
Lever
Vacuum on
Mop Floor
Remove
Sponge
I
4).
do
not immerse Mop Vac in water. Rinse sponge head only; keep water from motor and cordset.
2).
Sponge head is easy to remove for rinsing or replacement.
NOTE: Remove or empty recovery tank before
1. To release sponge head, pull sponge release lever towards upper handle and push wringer lever toward floor (Diagram
metal holder. Rinse and replace (Diagram
2.
Pull wringer lever up to normal operating position to lock sponge head in place (Diagram 3).
SQUEEGEE REMOVAL AND REPLACEMENT
The squeegee assembly has two ribbed rubber blades that are easily removed for cleaning or replacement. The ribs guide dirty water into Mop
during suction.
To remove squeegee blade, unsnap from bottom of unit. To replace,,snap blade back into holder with ribbed side outward. NOTE: The two blades are
positioned with their smooth sides facing each other: The squeegee holders are positioned with the wide gripper inward and the narrow gripper outward (Diagram
Caution: Use only Dirt Devil@replacement squeegee blades.
4).
removing/replacing sponge heads.
2).
Part #3-300030-000 for Dirt Devil@replacement sponge.
1).
Slide sponge head off
Vac
Page 7

I
Problem
up dirty water
Cleaning solution bottle will
not dispense
Dirty water pushes forward
in front of Mop Vac during
suction
r-----
I
Water sprays out of vents
Wet streaks remain on floor
after suction.
Too much foam
L--.-
Possible Reasons
1.
Unit not plugged in.
2.
ALCI needs to be reset.
3.
Needs service.
1.
Recovery tank full/automatic shut-off engaged.
2.
Lint on filter.
3.
Recovery tank gasket not secured properly.
1.
Solution tank empty.
2.
Nozzle at bottom of bottle may be blocked
1.
Mop Vac is being pushed rapidly away from user
during suction.
1.
Recovery tank is over-full.
1.
Squeegee blades may be worn or installed
backwards.
1.
Highly concentrated cleaning solution may have
been used in bottle.
Possible Solutions
1.
Plug in Mop Vac
2.
Push reset button on plug.
3.
Take to service center or call
1.
Empty recovery tank.
2.
Clean filter.
3.
Inspect recovery tank gasket to insure sealed contact
Pg
5.
1.
Refill tank.
2.
Remove cleaning solution bottle and rinse thoroughly
to clear nozzle.
1.
Place bottom of Mop Vac at outer edge of wet area
during suction. Tilt Mop Vac back, toward you and pull
slowl toward you during suction. See "Vacuum up
~lrtybater" Pg
1.
Turn off suction. Remove and empty recovery tank.
Replace in Mop Vac and continue cleaning.
1.
Turn off suction. Remove battery pack, cleaning
solution bottle and recovery tank. Replace squeegee
blades. See "Squeegee Removal and Replacement"
Pg
5.
1.
Use one capful of low-sudsing cleaning solution at
normal concentration, diluted with water according
to instructions.
2.
1-800-321-1134.
4.
m~isturbances in electrical current can tri
Pressing the reset button until it clicks will allow the
er the ALCI,
&
Vac 2 to resume operation. If the ALCI repeated, nee%; to be
which is located in the cordset near the plu
reset, elther the Mop Vac 2 needs service or the product is being used improperly. For any questions call Loyal
Appliance Mfg. Co. customer service at 1-800-321 -1 134.
ANY OTHER SERVICING SHOULD BE DONE
BY
AN AUTHORIZED SERVICE REPRESENTATIVE
CUSTOMER SERVICE (1 -800-321-1134)
in the event that further assistance
are to
be
paid
by the owner. The service
identify your cleaner by the
(behind
the
cleaning solution bottle).
r"--"-----------""-"'------,--------------------------------------------------------------------------------------------
PLEASE PRINT CLEARLY
Name
Address
City
State Zip Code
Daytime Phone No.
USA Residents only: Make check or money order payable to:
Royal Appliance Mfg. Co.
650 Alpha Drive
Cleveland,
Attn. Quick Parts
METHOD OF PAYMENT
OH
441 43-21 72
is
required,
model
number when requesting information or ordering replacement
parts
see
your
used
in this unit are
Yellow
Pages
easily
for
an
authorized
replaced and readily
PART
1-300246-000
1
1-300245-000
1-300030-000
Royal
NUMBER
Dealer. Costs of any transportation
available
from an authorized
parts.
The model number appears on the back of the cleaner
Royal
DESCRIPTION
16
oz.
Hardwood Floor Cleaner
11
6
oz.
Floor Cleaner
I
I
Replacement Sponge
-AL,
AZ,
CA, CO,
KS, MA, MD, MI, MN, MO, NE, NV, NJ,
NY, NC, OH, OK, PA, TN,
Residents Add Local Sales
Shipping & Handling Add
(^*AK and HI residents Add
CT,
to
and from any
Dealer or retailer. Always
COSTEACH
QTY.
I
1
I
I
GA,
TX,
Subtotal
ID,
$3.00**
TOTAL
FL,
3.50
2.50
6.00
IL,
IN,
WA, WI
Tax
$5.00)
place
TOTAL
1
I
of
repair
I
-
Check
Card
or Money Order
No.
Expiration Date (required):
-
Mastercard
-
VISA
DQLlClClDClQCltl4QClClClDDDD
I
I
Call
:
I
1-800-321-1134
with
any questions
about
ordering
-
Discover
Telephone Number
parts.
Daytime
I
Evening
 Loading...