

Page 1
i
© 2010 Directed Electronics. All rights reserved.
Congratulations
Congratulations on the purchase of your state-of-the-art keyless entry
and remote start system. Reading this Owner’s Guide prior to using
your system will help maximize the use of your system and its many
features. For more information please visit us online at:
www.automatecarsecurity.com.
For any additional questions please contact your authorized Directed
dealer or Directed at 1-800-753-0600. Additional support is also
available at:
http://support.directed.com
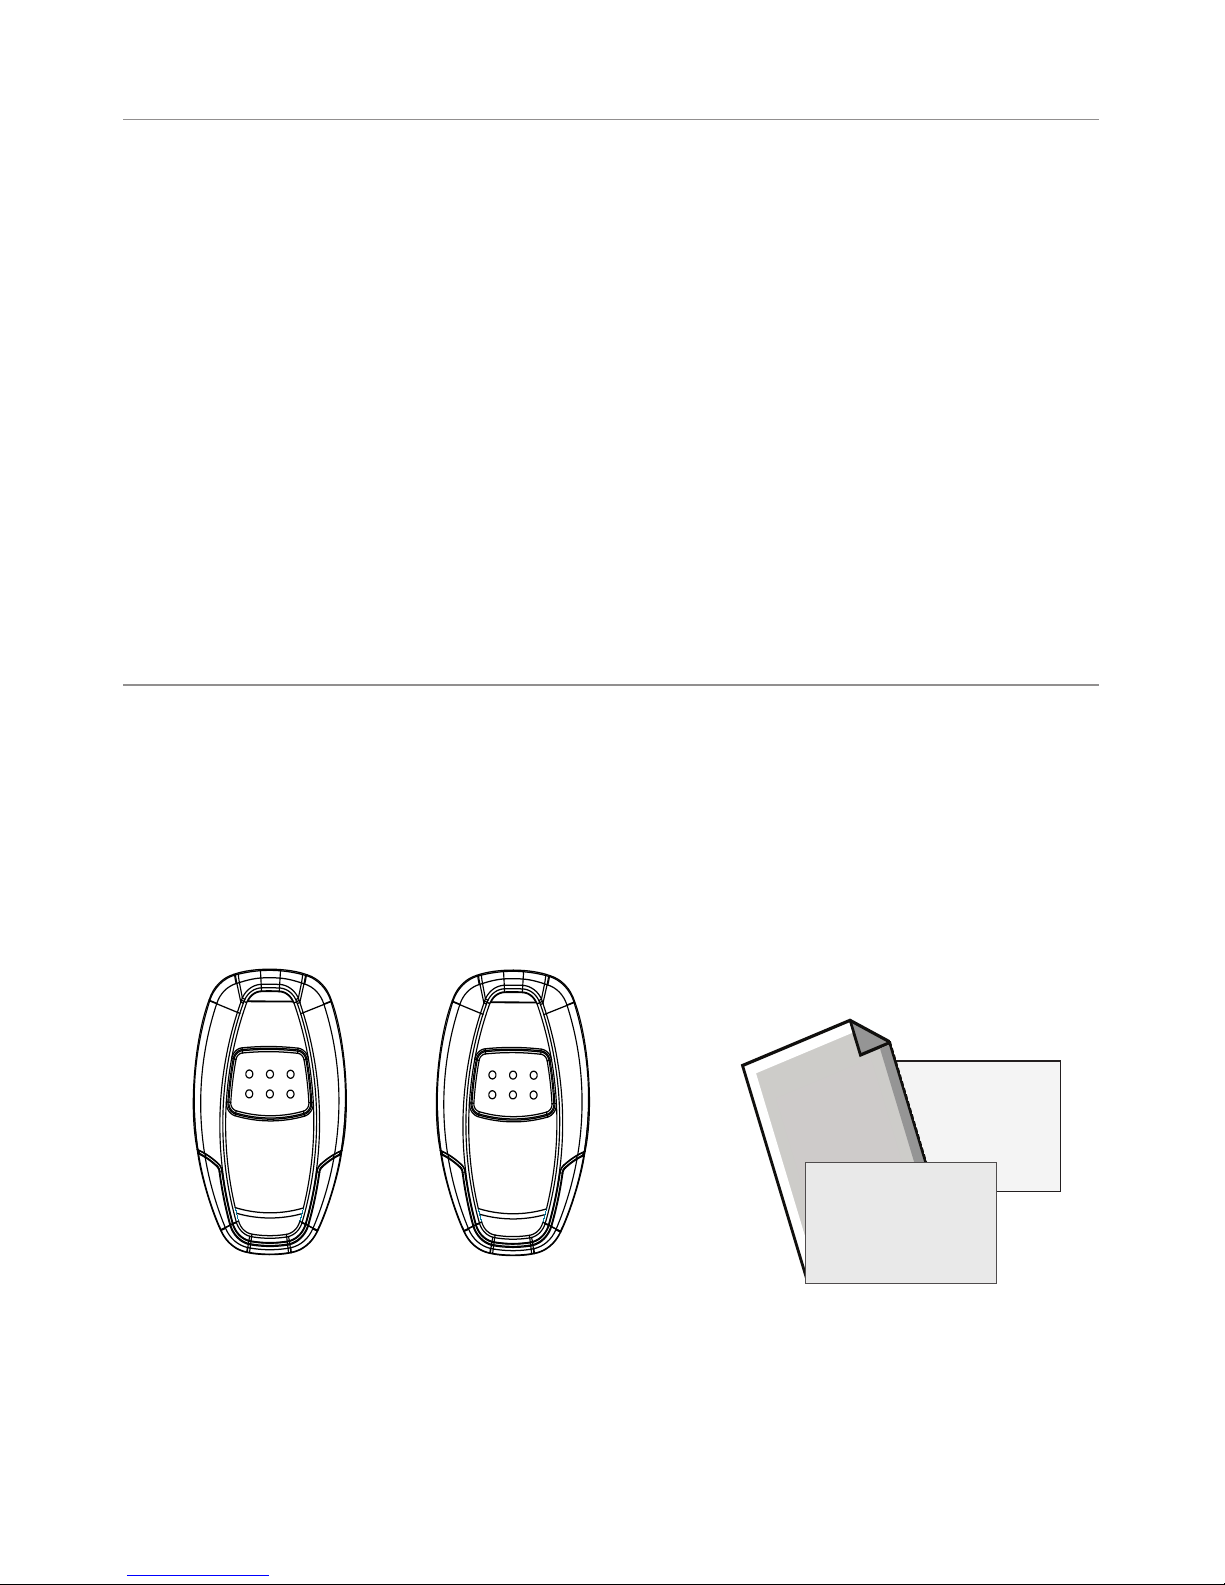
What's included
• Two 1-button remote controls (P/N 7111A)
• Your warranty registration card
• Quick reference card
• This owner's guide
Warranty
Card
Owner’s
Guide
Quick
Reference Card
Page 2
ii
© 2010 Directed Electronics. All rights reserved.
Important information
Government Regulations and Safety information
Read the Government Regulations and Warning! Safety
First sections of this manual prior to operating this system.
Warning!
Failure to heed this information can result in
death, personal injury or property damage and may also
result in the illegal use of the system beyond its intended
purpose.
Your warranty
Your system comes with a warranty. Please make sure you receive
the warranty registration card and proof of purchase from your dealer
indicating the product was installed by an authorized Directed dealer.
Your product warranty must be validated within 10 days of purchase.
You can validate online at:
www.prodregister.com/automate
or com-
plete and return the warranty registration card.
Replacement Remote controls
If additional remote controls are desired, please see your authorized
dealer or visit us at
www.directedstore.com
to order. Your 1-way re-
placement part number is 7111A.
Page 3

1
© 2010 Directed Electronics. All rights reserved.
Contents
Congratulations .................................................................................................i
What's included .............................................................................................i
Important information ........................................................................................ii
Your warranty........................................................................................... ii
Replacement Remote controls .....................................................................ii
Getting Started .................................................................................................2
System maintenance ..................................................................................2
Battery replacement ..................................................................................2
Using the system .............................................................................................3
Unlocking ................................................................................................3
Car finder ................................................................................................3
Remote Start .............................................................................................4
Valet Take-Over ........................................................................................6
Government Regulations ....................................................................................7
Warning! Safety first .........................................................................................8
Caution ...................................................................................................9
Español .........................................................................................................12
Page 4

2
© 2010 Directed Electronics. All rights reserved.
Getting Started
System maintenance
The system requires no specific maintenance beyond battery replacement for the remote controls. Your remote is powered by a coin cell
battery (3V CR2032) that lasts approximately one year under normal
use. When the battery begins to weaken operating range is reduced
and the LED on the remote dims.
Battery replacement
Locate the small slot on the side of the remote control. Insert a small
slotted screwdriver or equivalent tool into slot and pry the case apart.
Replace battery while verifying the correct polarity and then snap case
together.
Page 5

3
© 2010 Directed Electronics. All rights reserved.
Using the system
Unlocking
Only after the vehicle is remotely started via the transmitter, press and
release the transmitter button for 1 second to unlock the vehicle’s doors.
The parking lights flash and the horn honks twice to confirm unlock.
Important: Horn honk is an optional feature.
Car finder
Car finder allows you to locate your vehicle, by having the system flash
the parking lights.
Before the vehicle is remotely started via the transmitter, press and
hold the transmitter button for 3 seconds to activate the car finder
function. The parking lights flash 5 times slowly.
Page 6

4
© 2010 Directed Electronics. All rights reserved.
Remote Start
This feature allows you to remotely start and run your vehicle for a
pro gram ma ble period of time. This makes it possible to warm up the
engine, and adjust the interior tem per a ture of the ve hi cle with the climate control system. If interior heating or cooling is desired, the climate
controls must be preset, and the fan blower must be set to the desired
level prior to remote starting the vehicle.
Sirius-Ready, SAT Radio Ready or select OEM headunits with optional Honda Bus Compatible Translator
Warning!
(1) Never remote start your vehicle when
the keys are in the ignition, except when performing
Valet Take-Over, and (2) Never start the vehicle if it
is not in PARK or NEUTRAL
To remote start the vehicle:
• Press the button on the remote control for 1 second.
• The parking lights flash to confirm that the vehicle is attempting to
start. In gasoline vehicles, the engine will start 4 seconds after the
parking lights flash. In diesel vehicles, the engine will start when
the WAIT-TO-START timer has expired.
• Once the vehicle has started, it will run for the pre- pro gram med
period of time (12, 24, or 60 minutes) or until a shutdown input
is trig gered.
Sirius-Ready, SAT Radio Ready or select OEM headunits with optional Honda Bus Compatible Translator
Warning!
It is unsafe to operate a vehicle’s motor in a
garage or other closed off area. Breathing the ex haust
from the vehicle is hazardous to your health. Never
activate the remote start in an enclosed space.
Page 7

5
© 2010 Directed Electronics. All rights reserved.
When you are ready to drive the vehicle:
1. Insert the ignition key and turn it to the ON (not the START)
po sition.
2. Press the brake pedal. The remote start system shuts down and the
engine continues to run because the ignition has been turned on.
Note:
If the brake pedal is pressed before the key is in the ON position,
the engine will shut down.
While the vehicle is running during remote start operation, the system
monitors the ve hi cle and automatically shuts down the engine if it receives
any of the following shut-down inputs:
• The brake pedal is pressed.
• The hood is opened.
• The shutdown toggle switch is put into the OFF position.
• The pre-programmed run time has elapsed.
• Remote control button is pressed and held for 3 seconds.
Page 8

6
© 2010 Directed Electronics. All rights reserved.
Valet Take-Over
The Valet Take-Over feature allows the vehicle to remain running after
the key has been removed from the ignition. This feature is useful for
occasions when you wish to exit and lock the vehicle for short periods
of time, but would like to leave the engine running and the climate
controls on.
To perform Valet Take-Over:
1. Before turning off the engine, press and release the single button
on the remote.
2. Turn the ignition key to the OFF position. The engine will stay running until the pre- pro gram med time has elapsed or a shutdown
input is received. (See the previous Remote Start section for a
complete list of shut-down inputs.)
This feature will not work if the brake pedal is being pressed.
Page 9

7
© 2010 Directed Electronics. All rights reserved.
Government Regulations
This device complies with Part 15 of FCC rules. Operation is subject to the following two conditions: (1) This device may not cause harmful interference, and
(2) This device must accept any interference received, including interference that
may cause undesirable operation.
This equipment has been tested and found to comply with the limits for a class B
digital device, pursuant to Part 15 of the FCC Rules. These limits are designed to
provide reasonable protection against harmful interference in a residential installation. This equipment generates and can radiate radio frequency energy and,
if not installed and used in accordance with the instruction manual, may cause
harmful interference to radio communications. However, there is no guarantee
that interference will not occur in a particular installation. If this equipment does
cause harmful interference to radio or television, which can be determined by
turning the equipment OFF and ON, the user is encouraged to try to correct the
interference by one or more of the following measures:
• Reorient or relocate the receiving antenna.
• Increase the separation between the equipment and receiver.
• Connect the equipment into an outlet on a circuit different from that to which
the receiver is connected.
• Consult the dealer or an experienced radio / TV technician for help.
This device complies with the Industry Canada Radio Standards Specification
RSS 210. Its use is authorized only on a no-interference, no-protection basis; in
other words, this device must not be used if it is determined that it causes harmful interference to services authorized by IC. In addition, the user of this device
must accept any radio interference that may be received, even if this interference
could affect the operation of the device.
Warning:
Changes or modifications not expressly approved by the party responsible for
compliance could void the user’s authority to operate this device.
Page 10

8
© 2010 Directed Electronics. All rights reserved.
Warning! Safety first
The following safety warnings must be observed at all times:
Due to the complexity of this system, installation of this product must only be
performed by an authorized Directed dealer.
When properly installed, this system can start the vehicle via a command signal
from the remote control. Therefore, never operate the system in an enclosed area
or partially enclosed area without ventilation (such as a garage). When parking
in an enclosed or partially enclosed area or when having the vehicle serviced,
the remote start system must be disabled using the installed toggle switch. It is
the user’s sole responsibility to properly handle and keep out of reach from children all remote control devices to assure that the system does not unintentionally
remote start the vehicle. THE USER MUST INSTALL A CARBON MONOXIDE
DETECTOR IN OR ABOUT THE LIVING AREA ADJACENT TO THE VEHICLE.
ALL DOORS LEADING FROM ADJACENT LIVING AREAS TO THE ENCLOSED
OR PARTIALLY ENCLOSED VEHICLE STORAGE AREA MUST AT ALL TIMES
REMAIN CLOSED. These precautions are the sole responsibility of the user.
Use of this product in a manner contrary to its intended mode of operation may
result in property damage, personal injury, or death. (1) Never remotely start the
vehicle with the vehicle in gear, and (2) Never remotely start the vehicle with
the keys in the ignition. The user must also have the neutral safety feature of the
vehicle periodically checked, wherein the vehicle must not remotely start while
the car is in gear. This testing should be performed by an authorized Directed
dealer in accordance with the Safety Check outlined in the product installation
guide. If the vehicle starts in gear, cease remote start operation immediately and
consult with the authorized Directed dealer to fix the problem.
After the remote start module has been installed, contact your authorized dealer
to have him or her test the remote start module by performing the Safety Check
outlined in the product installation guide. If the vehicle starts when performing
Page 11

9
© 2010 Directed Electronics. All rights reserved.
the Neutral Safety Shutdown Circuit test, the remote start unit has not been
properly installed. The remote start module must be removed or the installer must
properly reinstall the remote start system so that the vehicle does not start in gear.
All installations must be performed by an authorized Directed dealer.
OPERATION OF THE REMOTE START MODULE IF THE VEHICLE STARTS IN
GEAR IS CONTRARY TO ITS INTENDED MODE OF OPERATION. OPERATING THE REMOTE START SYSTEM UNDER THESE CONDITIONS MAY RESULT
IN PROPERTY DAMAGE OR PERSONAL INJURY. YOU MUST IMMEDIATELY
CEASE THE USE OF THE UNIT AND SEEK THE ASSISTANCE OF AN AUTHORIZED Directed DEALER TO REPAIR OR DISCONNECT THE INSTALLED
REMOTE START MODULE. DIRECTED WILL NOT BE HELD RESPONSIBLE OR
PAY FOR INSTALLATION OR REINSTALLATION COSTS.
Caution
This product is designed for fuel injected, automatic transmission vehicles only. Use of this product in a standard transmission vehicle is
dangerous and contrary to the product's intended use.
Page 12

10
© 2010 Directed Electronics. All rights reserved.
Patent Information
This product is covered by one or more of the following U.S. patents:
303,223 345,711 4,383,242 5,103,221 5,534,845 5,907,195
333,633 347,190 4,438,426 5,117,217 5,572,185 5,914,667
333,634 348,622 4,553,127 5,132,660 5,646,591 5,945,936
333,635 352,685 4,584,569 5,193,141 5,656,997 5,952,933
333,636 383,689 4,794,368 5,245,694 5,712,638 5,990,786
333,795 383,690 4,887,064 5,285,186 5,783,989
340,000 390,830 4,897,630 5,315,285 5,798,711
344,905 392,944 4,922,224 5,357,560 5,872,519
345,317 4,327,444 4,987,402 5,532,670 5,900,806
International Patents:
Australia: 694,925
Canada: 1,315,859 and 2,067,099
Taiwan: 91817
Other patents pending
Page 13

Page 14

Español
Guía del propietario
 Loading...