

Directed Electronics 204 Owner's Manual
®
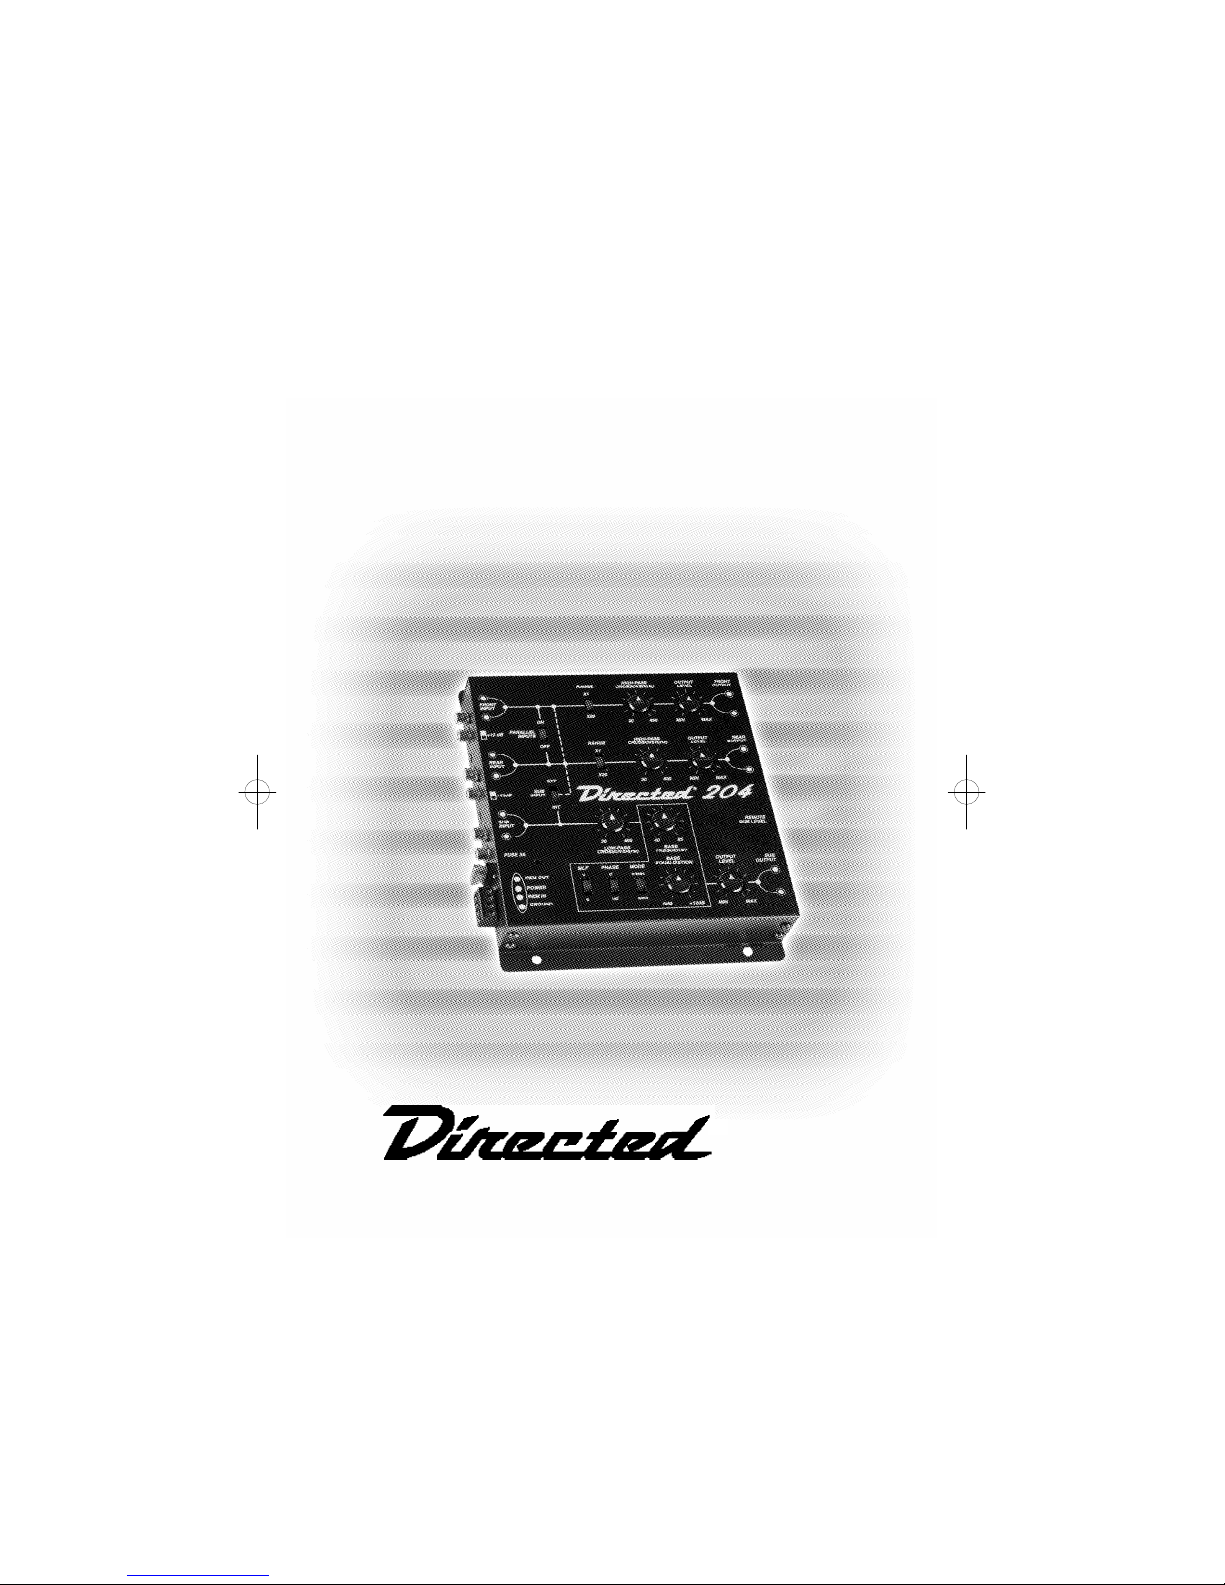
Two-Way 6 Channel Active Crossover
OWNER’S MANUAL
Model 204

© 2000 Directed Electronics, Inc.
1
© 2000 Directed Electronics, Inc.
1. Please read the owner's manual carefully before you install the crossover.
2. Disconnect the battery ground
terminal prior to making any electrical
connections.
3. Pick a mounting location that will
provide adequate access and ventilation and protect the crossover from
heat, moisture, and dirt. When
mounting the unit to the floor pan or a
fire wall, check both sides for any
hazards or obstructions such as gas
tanks, fuel or brake lines, and wiring
harnesses.
4. Avoid sharp metal areas when routing
cables to the signal processor, and run
RCA cables away from power cables
and other potentially noisy car
harnesses.
5. Power - connect this terminal to a
constant +12V source. The battery
+12V terminal of the amplifier or the
constant +12V supply to the head unit
are good locations for this connection.
6. Ground - connect this terminal to the
car chassis. Make sure your chassis
connection is secure by removing any
paint at the ground point, and using a
crimped, soldered terminal at the end
of the wire. Do not connect this
terminal to the ground terminal of an
amplifier in the system.
7. Remote in - connect this terminal to
the amplifier remote output from your
head unit or signal source, if it
provides one. The remote terminal of
an amplifier is a good source for this
connection. This input requires a
switched +12V signal to activate the
crossover.
8. Remote out - Connect to remote input
of the amplifier(s).
9. RCA inputs - connect to RCA output
from radio or signal source. Always use
shielded RCA signal cables for this
input.
10. High-pass RCA outputs - connect to
amplifiers driving mid or high
frequency speakers using a shielded
RCA cable.
11. Low-pass RCA outputs - connect to
amplifiers driving subwoofers or lower
frequency speakers using a shielded
RCA cable.
CROSSOVER MOUNTING AND CONNECTIONS
CONGRATULATIONS
Thank you for choosing a Directed signal
processor. Directed has been the leader in
high-quality and innovative security products in the U.S. since 1990. Now we introduce to the car audio industry the same
winning formula - products that meet the
stringent standards of today's mobile electronics enthusiast yet priced for anyone's
budget. Featuring variable crossover
settings and 30 volt-driven balanced circuits
for more headroom with 8 volt outputs, this
Directed signal processor will satisfy every
music lover's needs for years to come.
Your Directed signal processor comes
with a two year limited warranty if it is
installed by an authorized DEI dealer.
Please save your sales receipt and refer to
the warranty section of this manual for
complete details.
TABLE OF CONTENTS
Crossover Mounting and Connections . . . . . . . . . . . . . . . . . .Page 1
Crossover Adjustments . . . . . . . . . . . . . . . . . . . . . . . . . . . .Page 2-3
Specifications . . . . . . . . . . . . . . . . . . . . . . . . . . . . . . . . .Page 4
Limited Two Year Consumer Warranty . . . . . . . . . . . . . . . . .Page 5
High-powered car audio
systems may produce sound
pressure levels that exceed the threshold at
which hearing loss may result.
They may also impair a driver’s ability to
hear traffic sounds or emergency vehicles.
Use common sense and practice safe
listening habits when listening to your
audio system.
WARNING
 Loading...