

Directed SmartStart 5000 Series Owner's Manual

5000-series
Security and Remote Start System
Owner's Guide
Congratulations
Congratulations on the purchase of your state-of-the-art security and
remote start system. Reading this Owner’s Guide prior to using your
system will help maximize the use of your system and its many features.
For more information please visit us online at:
www.directed.com/SmartStart
For any additional questions please contact your authorized Directed
dealer or contact Directed at
also available at:
1-800-753-0600.
Additional support is
http://support.directed.com
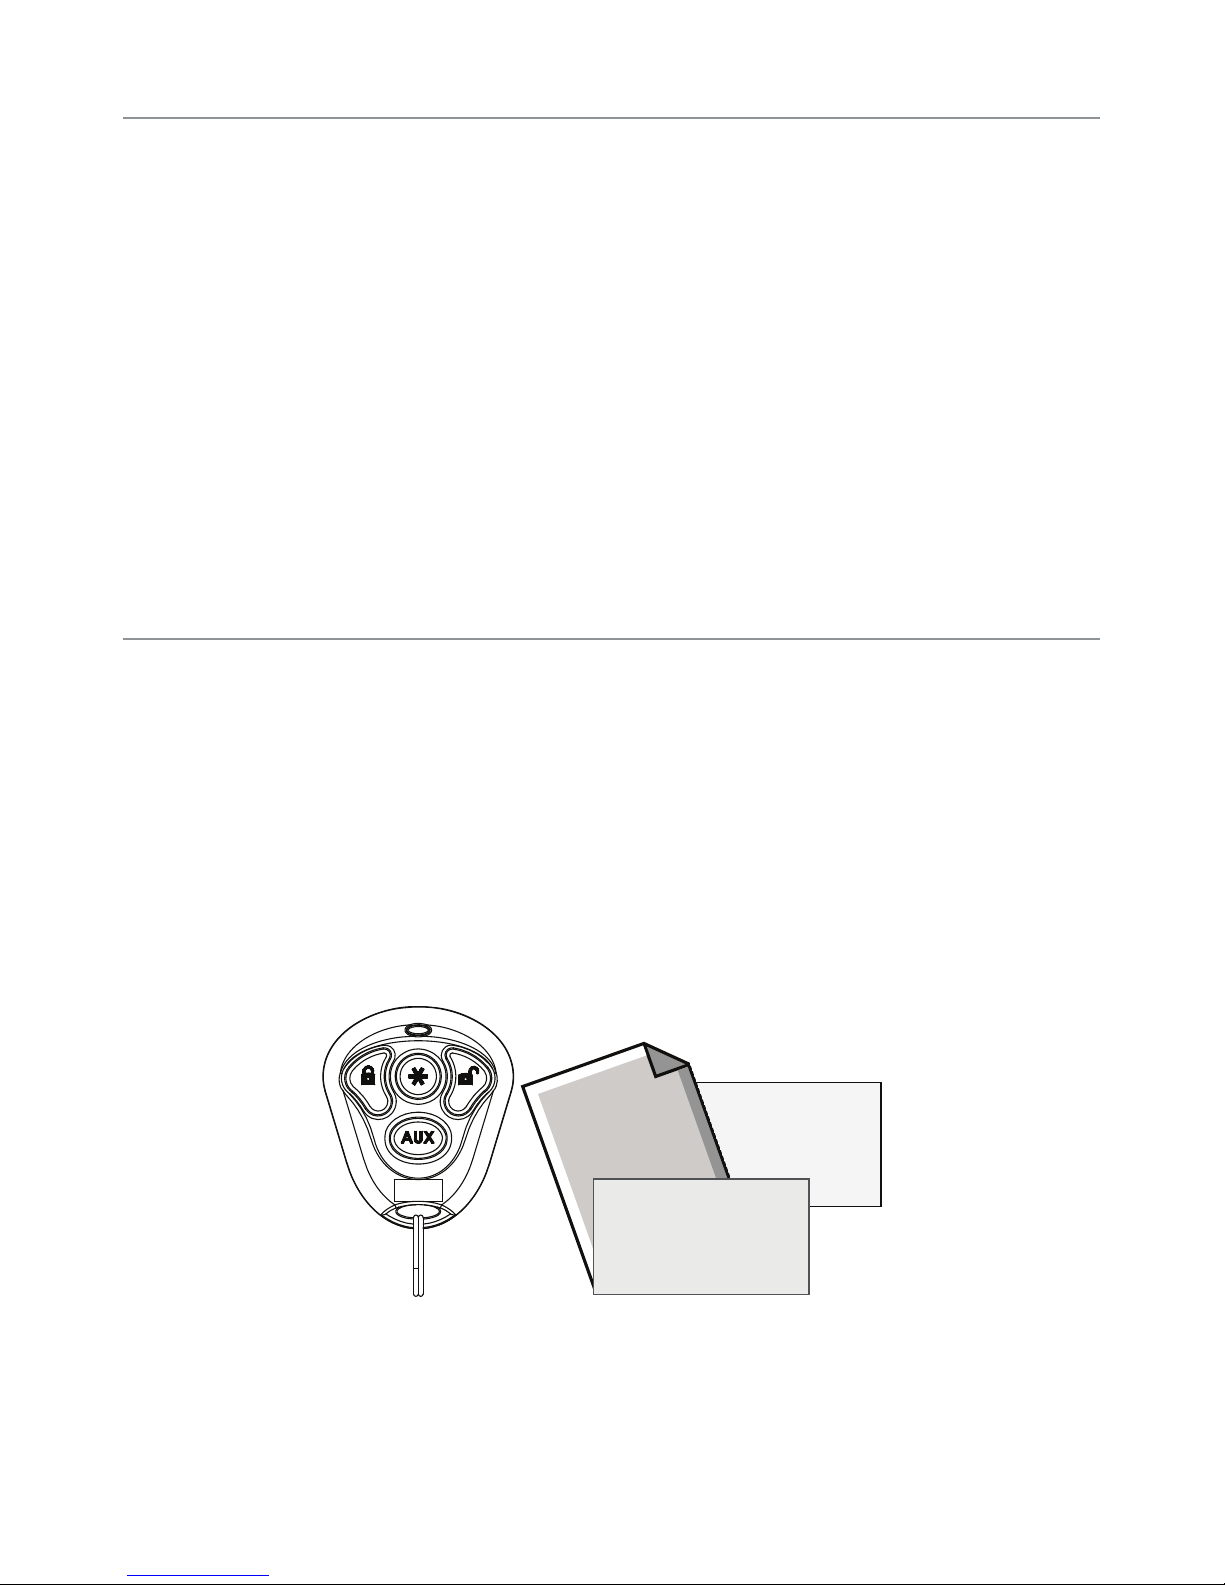
What’s included
• One 4-button 1-way remote control
• Your warranty registration
• Quick reference card
• This owner's guide
© 2010 Directed Electronics. All rights reserved.
Owner’s
Guide
Reference Card
Warranty
Quick
Card
iii

Important information
Government Regulations and Safety information
Read the Government Regulations and Warning! Safety
First sections of this manual prior to operating this system.
Warning!
death, personal injury or property damage and may also
result in the illegal use of the system beyond its intended
purpose.
Failure to heed this information can result in
Your Warranty
Your system comes with a warranty. Please make sure you receive
the warranty registration card and proof of purchase from your dealer
indicating the product was installed by an authorized Directed dealer.
Your product warranty must be validated within 10 days of purchase.
You can validate online at: www.prodregister.com/directed or complete and return the warranty registration card.
Replacement Remote Controls
If additional remote controls are desired, please see your authorized
dealer or visit us at www.directedstore.com to order. The supplied remote control is part number 474T.
iv
© 2010 Directed Electronics. All rights reserved.

Contents
Congratulations ............................................................................................... iii
What’s included ............................................................................................... iii
Important information ....................................................................................... iv
Your Warranty ......................................................................................... iv
Replacement Remote Controls .................................................................... iv
Getting Started .................................................................................................3
System Maintenance .................................................................................3
Battery Replacement ..................................................................................3
1-way Remote Control .......................................................................................3
Basic Commands ..............................................................................................4
Arm/Lock ................................................................................................4
Disarm/Unlock .........................................................................................4
AUX ........................................................................................................4
Remote Start .............................................................................................5
Advanced Commands .......................................................................................6
Additional Auxiliary functions. ....................................................................6
Timer mode ..............................................................................................6
Short-run turbo mode .................................................................................6
Optional rear window defogger .................................................................6
Temperature Start Mode ............................................................................7
Remote and System operations ...........................................................................8
Passive arming/locking .............................................................................8
Warn away
Triggered response ...................................................................................8
Multi-level security arming ..........................................................................9
Arming while driving ...............................................................................10
High security disarm ...............................................................................10
System Override .....................................................................................11
Valet mode ............................................................................................12
Panic Mode ...........................................................................................12
Remote start ...........................................................................................12
Optional rear window defogger ...............................................................14
Timer Mode ..........................................................................................14
Short Run/Turbo Mode ............................................................................15
Temperature Start Mode ..........................................................................15
Valet Take-Over ......................................................................................16
Safety features ................................................................................................17
Starter-anti-grind circuitry .........................................................................17
Disabling the remote start system ..............................................................17
Shut down inputs ....................................................................................17
Diagnostics ....................................................................................................18
®
response ...............................................................................8

Arming diagnostics .................................................................................18
Disarming diagnostics .............................................................................18
Nuisance Prevention® Circuitry ................................................................18
Programming options .......................................................................................21
Government Regulations ..................................................................................24
Warning! Safety First .......................................................................................25
Caution .................................................................................................26
Patent Information ...........................................................................................27
Limited lifetime consumer warranty ....................................................................28

Getting Started
System Maintenance
The system requires no specific maintenance beyond battery replacement for the remote controls. Your 1-way remote control is powered by
a coin cell battery (CR-2032) that can be purchased at most retailers.
The operating range diminishes as the battery weakens.
Battery Replacement
Locate the small slot on the side of the remote control. Insert a small
slotted screwdriver or equivalent tool into slot and pry the case apart.
Replace battery while verifying the correct polarity and then snap case
together.
1-way Remote Control
Feature Description
Transmit LED On (flashes) during remote control activity
Command buttons (4) Used to perform arming/locking, disarming/unlocking, auxil-
iary channel and remote start commands
© 2010 Directed Electronics. All rights reserved.
3

Basic Commands
Arm/Lock
Press
The alarm arms, doors lock (if connected), and the siren/horn sounds
and parking lights flash once. If Valet mode* is On, the doors lock. Exit
Valet mode to arm/lock the alarm normally.
and release
To Arm/lock and Panic
Press
The alarm Arms (or Locks in Valet) and, after 2 seconds, sounds the
siren/horn and flashes the parking lights.
and
hold
Disarm/Unlock
Press
The alarm disarms, doors unlock (if connected), and the siren/horn
sounds and parking lights flash twice. Turns panic off if on. If Valet
and release
mode* is On, the doors unlock.
AUX
Press
Perform before the Arm/lock or Disarm/unlock command to use the
remote control in Silent Mode™.
Note:
system is armed using silent mode. this ensures that no chirps are emitted by the siren in an area you want chirp -free but the system is fully
capable of triggering.
and release
The Warn away response to lighter impacts is bypassed if the
4
© 2010 Directed Electronics. All rights reserved.

For optional function (trunk release)
Press
and
hold
Activates the Aux output, such as trunk release or an expansion
function that you have added to your system. The auxiliary output
controls:
.
Remote Start
Press
Activates (or if On, deactivates) the remote starter. The engine and
parking lights turn On.
and release
* See Remote and System Operations for details.
© 2010 Directed Electronics. All rights reserved.
5
Advanced Commands
Additional Auxiliary functions.
Press
Activates an optional auxiliary convenience or expansion function that
you have added to your system.
The auxiliary output controls
Press
Activates an optional auxiliary convenience or expansion function that
you have added to your system.
The auxiliary output controls
Press
Activates an optional auxiliary convenience or expansion function that
you have added to your system.
and buttons simultaneously
and buttons simultaneously
and buttons simultaneously
The auxiliary output controls
Timer mode
Press
Activates timer mode.
and
buttons simultaneously
Short-run turbo mode
Press
Activates short-run timer mode.
and buttons simultaneously
Optional rear window defogger
Press
Activates the optional Rear window defogger. The parking lights flash
and and buttons simultaneously
two times and the rear defogger is no longer active when the vehicle
6
© 2010 Directed Electronics. All rights reserved.
is remote started. When the same procedure is repeated, the defogger
activates and the parking lights flash three times. If the vehicle interior
temperature is greater than 55°F when the remote start is activated, the
rear defogger does not turn on.
Temperature Start Mode
Press
and and buttons simultaneously
Activates the Temperature Start mode. The parking lights flash fast four
times to confirm activation. The engine does not start once activated, it
starts when the vehicle interior temperature drops below 0°F.
Warning!
Car should be parked in a well ventilated area
when using this feature.
Deactivate Temperature Start mode by pressing the same buttons again
or turning the vehicle ignition on. The parking lights flash slowly four
times to confirm deactivation.
© 2010 Directed Electronics. All rights reserved.
7

Remote and System operations
Passive arming/locking
The system can be programmed to arm/lock itself au to mat i cal ly (called
pas sive arming/locking). If the system is programmed for passive arming/
locking, it will automatically arm/lock 30 seconds after the ignition is
turned off and the system detects that you have left the vehicle by opening
and closing a door. Whenever the system is in its 30-sec ond passive arming/locking count down, the status LED will flash twice as fast as it does
when the system is armed/locked. At the 20-second point of the countdown, the siren/horn will sound to indicate that the system is about to
arm/lock. At the 30-second point, the parking lights will flash to indicate
that the system is armed/locked.
Note: If any protected entry point (such as a door or a switch-protected
trunk or hood) is open, the system will not passively arm/lock (unless
forced passive arming/locking is programmed on). See Programming
Options section in the expanded version of this manual online at www.
automatecarsecurity.com..
Warn away® response
A Warn Away Response consists of an alarm page along with the
responses described below.
• Shock Sensor - Light impacts to the vehicle will flash the vehicle
lights and sound the siren/horn for a few seconds.
Triggered response
A Triggered Response can be activated by any of the triggers listed
below. The default Triggered Response duration is 30 seconds but can
be programmed from 1-180 seconds by your installer.
8
© 2010 Directed Electronics. All rights reserved.

• Shock Sensor Trigger - Heavy impacts to the vehicle will instantly
sound the siren/horn and flash the lights for the programmed duration and report Zone 2.
• Door Trigger - If a door is opened the siren/horn will sound and
lights flash for three seconds, then the siren/horn will sound continuously and the lights will flash for the programmed duration and
report Zone 3. The three seconds allow the user time to disarm/
unlock the system with a minimum of noise should a door be
opened inadvertently while the system is armed/locked.
• Hood Trigger - Opening the hood will sound the siren/horn, flash
the lights for the programmed duration, and report Zone 1.
• Trunk Trigger - Opening the trunk (if connected) will instantly sound
the siren/horn and flash the lights for the programmed duration
and report Zone 4.
• Ignition Trigger - Turning on the ignition key will trip the same progressive re sponse as the door trigger and report Zone 5.
Multi-level security arming
Multi-Level Security Arming allows you to select which of the system’s
inputs or sensors will be active and which will be bypassed when the
system is armed.
Pressing
the Multi-level security feature. Each time
security level is selected.
again within five seconds of arming the system activates
is pressed, a different
To select the security levels:
Press
zones active.
Press
© 2010 Directed Electronics. All rights reserved.
once: The siren chirps once. The system is armed with all
a second time within five seconds. The siren chirps twice fol-
9

lowed by a long chirp. Zone 2 is now bypassed.
Press
followed by a long chirp. Zone 4 is now bypassed.
Press
followed by a long chirp. Zones 2 and 4 are now bypassed.
Press
followed by a long chirp. All input zones, except the ignition are now
bypassed.
Note:
Once the system is disarmed and then re-armed, all the zones will be
active again.
a third time within five seconds. The siren chirps three times
a fourth time within five seconds. The siren chirps four times
a fifth time within five seconds. The siren chirps five times
Multi-level security arming only applies to a single arming cycle.
Arming while driving
Your security system can be armed while driving the vehicle.
Press
running. The siren/horn will sound once to indicate that the security
system is armed, and then once more to indicate that the ig ni tion is on.
The system will not respond to any input except the door triggers, and
the starter kill relay (if installed) will not be activated. Once you have
arrived at your des ti na tion, the system will disarm when the ignition is
turned off. The siren/horn will sound twice and the LED will then stop
flashing. The system can also be disarmed at any time by pressing
on the remote control for two seconds while the vehicle is
High security disarm
This security system offers High Security Disarm. High Security Disarm
is a feature that makes it possible to silence and reset the system while
it is triggering, without disarming the system.
10
© 2010 Directed Electronics. All rights reserved.

If the system is triggered and the siren has been sounding for longer
than six seconds, pressing
on the remote silences the siren while
keeping the system in the armed state. The system does not disarm,
but resets. Pressing
again after silencing the system will disarm the
system.
If the system is triggered and the siren has been sounding for less than
six seconds, pressing
disarms the system. The six second timer is
provided for your convenience, in case the system is accidentally triggered.
System Override
If your remote control is lost or damaged, you can manually disarm your
vehicle security system or disable an optional starter kill. To disarm or
disable the system without a remote control, you must have the vehicle’s
ignition key.
To disarm/disable the system:
1. Turn the ignition to the ON position.
2. Press the control center button the preset number of times (one to
five times) within 15 seconds. The factory default setting is 1 press.
After five seconds, the sys tem will disarm/disable. If the system
does not disarm/disable, you may have waited too long. Start
over by turning the ignition off and on.
Number of Presses_____________________________________
Important:
The control center button can be programmed to
respond to 1-5 presses for the disarm/disable function. You
must check with the installer to verify the programming for your
individual unit.
© 2010 Directed Electronics. All rights reserved.
11
 Loading...