

Directed 5105V, 5105X, 5105P, 5105A, 5105L Owner's Manual
...
Models
5105V, 5105P
5105X, 5105A
5105L
Owner's Guide


iii
© 2015 Directed. All rights reserved.
Congratulations
Congratulations on the purchase of your state-of-the-art security/keyless
entry and remote start system. Reading this Owner’s Guide prior to using your system will help maximize the use of your system and its many
features. For more information please visit us online (see back cover
for URL). For any additional questions please contact your authorized
Directed dealer or Directed at 1-800-753-0600. Additional support is
also available at: http://support.directed.com
Note: The system you have purchased is either a security or keyless
entry system. This guide covers both, however, some features are applicable to security systems only. These features are indicated by "security
only" next to the section and subsection headings.
What’s included
• Two 4-button 1-way remote controls
• This owner's guide

iv
© 2015 Directed. All rights reserved.
Important information
Government Regulations and Safety information
Read the Government Regulations and Warning! Safety
First sections of this manual prior to operating this system.
Warning! Failure to heed this information can result in
death, personal injury or property damage and may also
result in the illegal use of the system beyond its intended
purpose.
This product is designed for fuel-injected, automatic transmission vehicles only. Installing it in a standard transmission vehicle is dangerous and is contrary to its intended
use. If your vehicle is equipped with a manual transmission cease use of this product and immediately return the
vehicle to an authorized Directed dealer.
Your warranty
Your system comes with a warranty. The warranty terms are detailed at
the end of this guide. Make sure that you receive the proof of purchase
from your dealer, indicating the product was installed by an authorized
Directed dealer.
Replacement Remote controls
Please see your authorized dealer or visit us at www.directedstore.com
to order additional remote controls. Remote control part numbers are
found on the back of the device.

Contents
Congratulations .................................................................................................i
What’s included .................................................................................................i
Important information ........................................................................................ii
Your warranty...........................................................................................ii
Replacement Remote controls ..................................................................... ii
1-way Remote Control .......................................................................................3
Control Center ..........................................................................................3
Basic Commands ..............................................................................................4
Arm/Lock ................................................................................................4
Panic .......................................................................................................4
Disarm/Unlock .........................................................................................4
Silent Mode .............................................................................................4
For optional function (trunk release) .............................................................4
Remote Start .............................................................................................5
Advanced Commands .......................................................................................6
Additional Auxiliary Functions. ...................................................................6
Timer Mode .............................................................................................6
Short-run Turbo Mode ................................................................................8
Optional Rear Window Defogger ...............................................................8
Remote and System operations ...........................................................................9
Passive Arming/Locking ............................................................................9
Warn Away Response (security only) ...........................................................9
Triggered Response (security only) .............................................................9
Multi-level Security Arming (security only) ...................................................10
Arming While Driving (security only) .........................................................11
High Security Disarm (security only) ..........................................................11
System (Emergency) Override ...................................................................12
Valet Mode ............................................................................................12
Remote Start ...........................................................................................13
Pit Stop Mode ........................................................................................15
Nuisance Prevention Circuitry ..................................................................16
Power Saver Mode .........................................................................................17
Diagnostics (security only) ................................................................................18
Arming Diagnostics .................................................................................18
Disarming Diagnostics .............................................................................18
Owner Recognition .........................................................................................20
Rapid Resume Logic ........................................................................................20
Programming Options ......................................................................................21
Security & Convenience Expansions ..................................................................24

System Maintenance........................................................................................25
Battery replacement ................................................................................25
Battery Disposal .....................................................................................25
Glossary of Terms............................................................................................26
Patent Information ...........................................................................................27
Government Regulations ..................................................................................28
Warning! Safety First .......................................................................................29
Limited lifetime consumer warranty ....................................................................32
3
© 2015 Directed. All rights reserved.
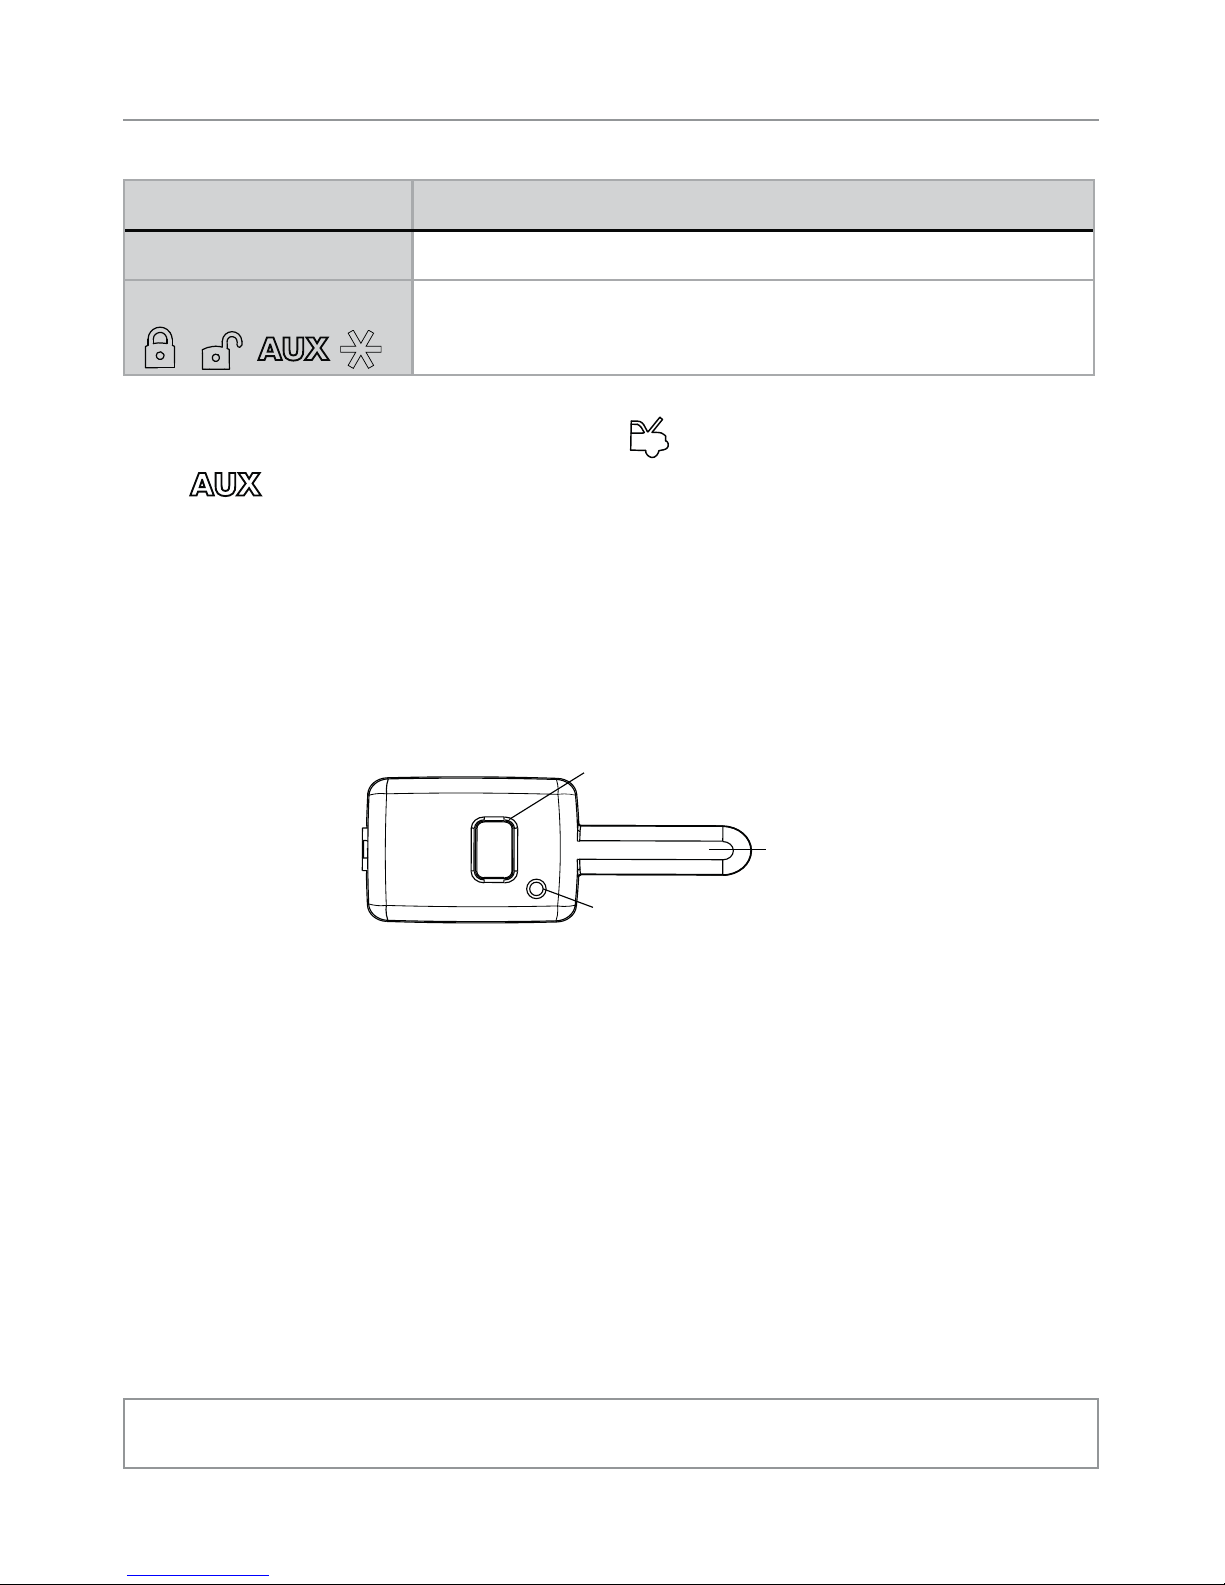
1-way Remote Control
Feature Description
Internal Antenna Used for transmitting information.
Command buttons (4)
Used to perform arming/locking, disarming/unlocking, auxiliary * channel and remote start commands.
* On some remote controls, the icon may exist instead of the
icon. Functionality is the same regardless of which one of
these icons is used with your system.
Control Center
Button
LED
Antenna
The Control Center, typically located on the upper part of the front
windshield receives commands from your system. It consists of:
• The antenna.
• The control center LED: a visual indicator of the system’s status.
• The control center button: for placing the system into Valet Mode*
and to perform the Emergency Override* operation.
* See "Remote and System operations" on page 9 for details.
4
© 2015 Directed. All rights reserved.
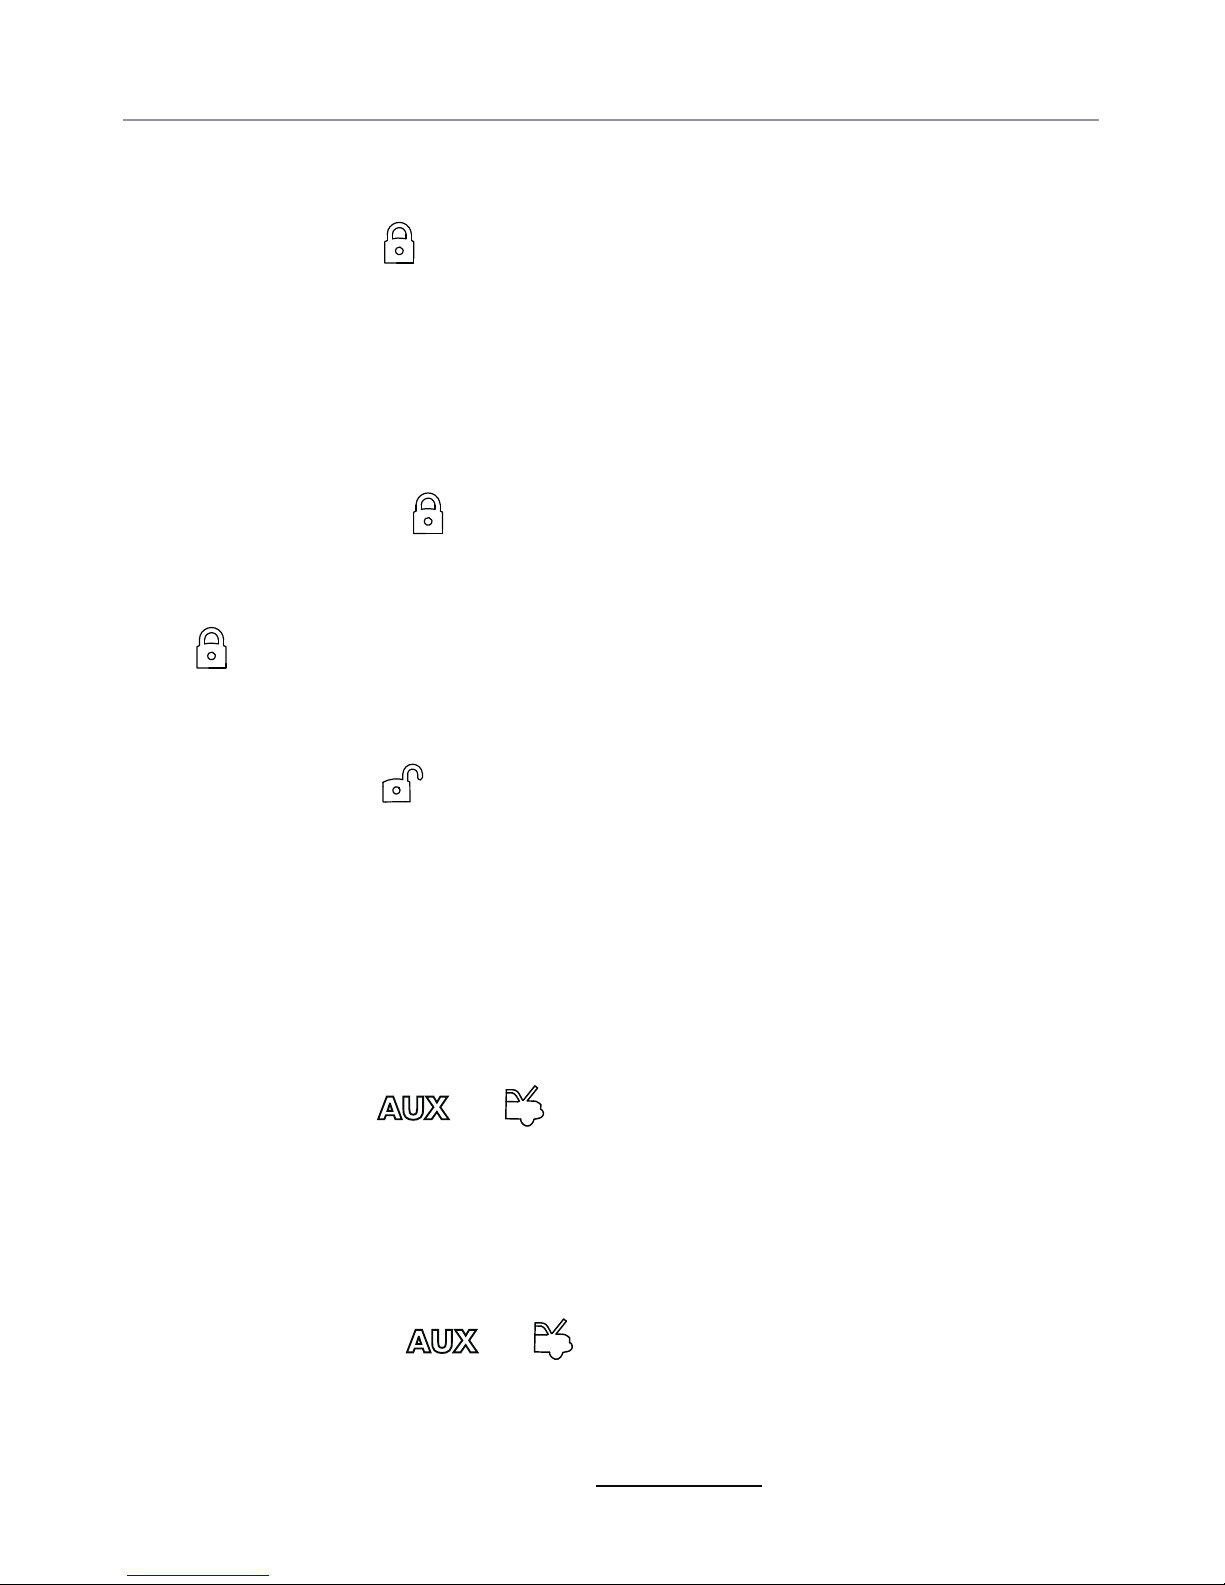
Basic Commands
Arm/Lock
Press and release
The alarm arms, doors lock (if connected), and the siren/horn sounds
and parking lights flash once. If Valet mode* is On, the doors lock with
no chirp confirmations. Exit Valet mode to arm/lock the alarm normally.
Panic
Press and hold
The alarm Arms (or Locks in Valet) and, after two seconds, sounds
the siren/horn and flashes the parking lights. Press and release
again to stop panic.
Disarm/Unlock
Press and release
The alarm disarms, doors unlock (if connected), and the siren/horn
sounds and parking lights flash twice. Also turns panic off if on. If Valet
mode* is On, the doors unlock with no chirp confirmations. Exit Valet
mode to disarm/unlock the alarm normally.
Silent Mode™
Press and release or
Perform before the Arm/lock or Disarm/unlock command to use the
remote control in Silent Mode™.
For optional function (trunk release)
Press and hold or
Activates the auxiliary output, such as trunk release or an expan-
sion function that you have added to your system.
The auxiliary output controls:

5
© 2015 Directed. All rights reserved.
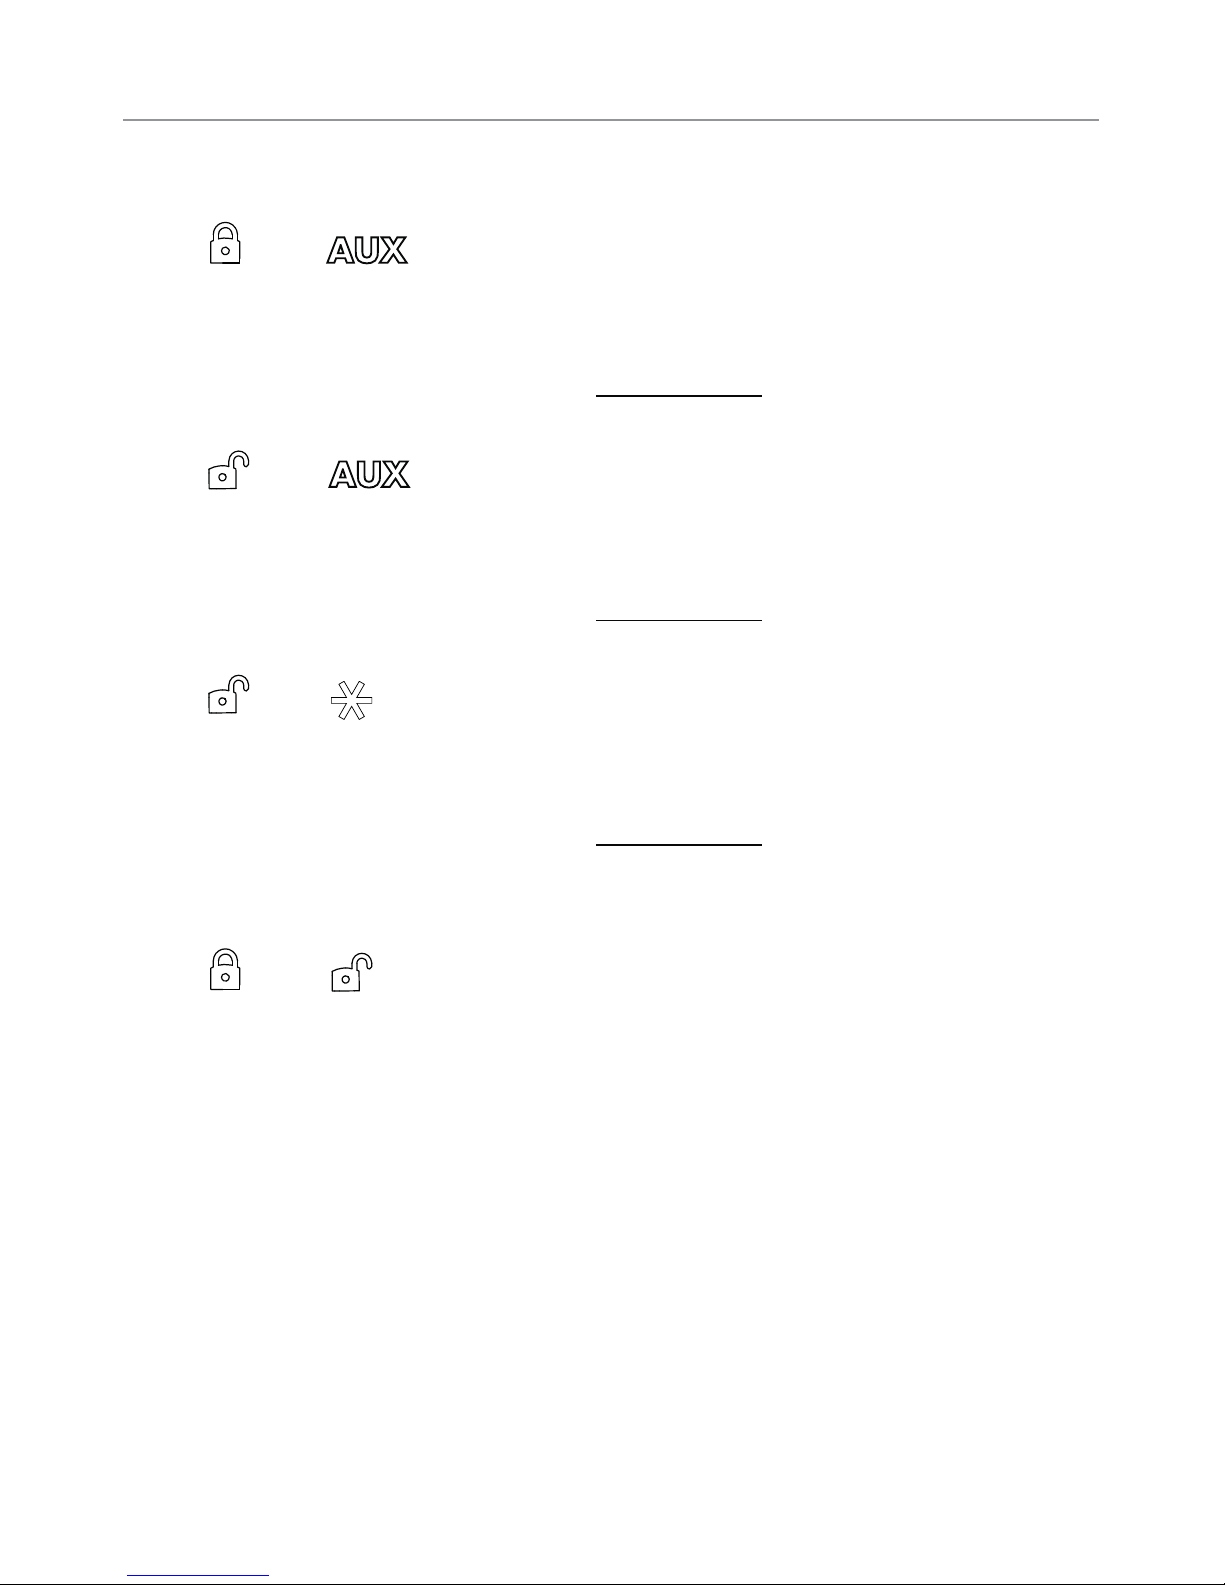
Remote Start
Press and release
Activates (or if On, deactivates) the remote starter. The engine and
parking lights turn On.
Note: The factory setting is one press, but this can also be programmed
for two presses (See your authorized Directed installer for the amount
of presses programmed).
Record the mount of presses to activate remote start here:
* See "Remote and System operations" on page 9 for details.
6
© 2015 Directed. All rights reserved.
Advanced Commands
Additional Auxiliary Functions.
Press and buttons simultaneously
Activates the optional auxiliary 4 convenience or expansion function
that you have added to your system.
The auxiliary output controls:
Press and buttons simultaneously
Activates the optional auxiliary 5 convenience or expansion function
that you have added to your system.
The auxiliary output controls:
Press and buttons simultaneously
Activates the optional auxiliary 6 convenience or expansion function
that you have added to your system.
The auxiliary output controls:
Timer Mode
Press and buttons simultaneously
There are two types of timer modes and the system can be programmed to perform either one or the other, the factory setting is
timed mode. In timed mode, the system allows you to keep the engine
warm by automatically activating the remote start every three hours for
a maximum of six starting cycles.
The temperature mode checks every three hours to see if the temperature threshold of 0°F has been met or exceeded. If met or exceeded,
the vehicle then remote starts and runs for the programmed time, and
will check again three hours after shutting off. However, if the threshold isn't met or exceeded, then the remote start does not activate, but

7
© 2015 Directed. All rights reserved.
will check again later after another three hours have elapsed.
Note: The timer mode features are activated and deactivated the
same way, with the temperature mode automatically exiting after 18
hours.
To activate:
1. Park the vehicle and set the parking brake.
2. Press the
and buttons simultaneously.
3. The parking lights flash slowly four times.
4. The remote start activates and runs for the set duration. The sys-
tem remains remote started unless shut down by pressing the
button on the remote.
5. Once the remote start shuts down, the vehicle will start every
three hours for a maximum of six cycles or until timer mode is
canceled by turning on the ignition or activating any of the shut-
downs (the parking lights flash slowly four times to confirm Timer
Mode is exited).
To deactivate timer mode, turn on the ignition or activate any of the
remote start shutdowns (arming and disarming the system or pressing
the
and buttons on the remote will not exit the timer mode).
The parking lights flash four times confirming timer mode is exiting.
Note: The feature exits (if active) when the vehicle is driven, so if timer
mode is desired, it needs to be activated again.

8
© 2015 Directed. All rights reserved.
Short-run Turbo Mode
Press and buttons simultaneously
Short-run turbo mode keeps the engine running for a programmable
period of time after arriving at your destination (check with your authorized Directed dealer for available run times). This allows the system's
timer to conveniently cool down the turbo after you have left the vehicle.
To activate:
1. Park the vehicle and set the parking brake.
2. Remove your foot from the brake pedal and leave the engine
running.
3. Press the
and buttons simultaneously
4. The parking lights flash to indicate the remote start has entered the
short-run turbo mode.
5. Turn the key to the off position and the engine will continue to run.
6. Exit and secure the vehicle.
7. The engine will shut off after the programmed runtime expires.
Optional Rear Window Defogger
When the feature is programmed on, the rear defogger automatically
activates during the remote start sequence if the temperature at the control module is below 55°F. If the temperature is greater than 55°F at
the control module when the remote start is activated, the rear defogger
does not turn on.
 Loading...