

DiniTech NRGKick Connect Instruction Manual
Bedienungsanleitung
Instruction Manual
NRGkick Connect
EN
DE

Ver.: 1810-01 1
Instruction Manual
NRGkick Connect

2 Ver.: 1810-01
EN
1. General
Read the instruction manual carefully before operating the unit.
The instruction manual will help you to
• use the product correctly
• detect damage early, and prevent or repair damage
• avoid failure and repair costs
• extend the product service life and increase reliability
• avoid environmental hazards
The instruction manual forms an essential part of the product and
must be retained for later use.
DiniTech GmbH will not be liable for damages resulting from not
following the instructions in this manual.
2. Copyright
© Copyright DiniTech GmbH. No part of this document, either
extracts or in full, may be distributed to any other party without the
written consent of DiniTech GmbH. Breach of the foregoing will
render those concerned liable to prosecution.
Subject to change without notice.
Ver.: 1810-01
Ver.: 1810-01 3
EN
3. Safety Instructions
Warning!
Not following the safety instructions could result in a risk to life or of
injury, as well as damage to the unit. DiniTech GmbH disclaims all
liability for claims resulting from not following the safety instructions.
Electrical Hazard! Fire Hazard!
Never use worn, damaged or dirty charge connectors or grid
connectors!
The electrical system to which the NRGkick connector is connected
and on which it runs must be inspected by a qualified electrician. Only
use properly installed, undamaged sockets and an electrical system
that is in perfect working order. The two contact pins of NRGkick
Connect serve as disconnection points. The socket must be easily
accessible!
The owner (end customer) must make sure the NRGkick connector is
always in immaculate condition when in operation!
NRGkick Connect must be regularly inspected for damage to the
housing and other damages (visual check)!
If NRGkick Connect is damaged, it must be disconnected from the grid
immediately. The damaged unit must not be connected to the power
grid again and must be replaced!
Repairs may not be carried out on the charging unit. Repairs may only
be carried out by the manufacturer (replacement of the charging
unit)!
Do not make any unauthorized modifications to the unit!
Contacts must not be oiled, greased or treated with contact spray!
Do not remove labels such as the rating plate, warning notices,
current limit marks or display symbols!
Never unplug NRGkick connect from the power supply during an
existing active data connection.
NRGkick Connect must only be used for the connection of NRGkick,
WiFi networks or the NRGkick App. The unit may only be operated in
accordance with its intended use!
Never disconnect NRGkick Connect while the device is in pairing
mode!
The NRGkick Connect may only be operated in accordance with its
intended use!
Protect the unit from mechanical damage (running over, pinching or
kinking) and the electrical contact area from heat sources, dirt and
water!
4 Ver.: 1810-01
EN
NRGkick Connect has a Bluetooth and WLAN radio system
integrated, which for safety reasons may not be brought into direct
body contact with heart pacemakers out of safety reasons.
4. Intended Use
NRGkick Connect may only be used to connect with NRGkick, Home
networks, Cloud and the NRGkick App. Section 5 describes operation
of the unit.
Any other use will be considered improper use. DiniTech GmbH does
not assume liability for any damage that results from such improper
use!
Intended use includes following the instructions in this manual as well
as observance of all labeling such as type plates, warning notices,
current limit marks, display symbols and ambient conditions.
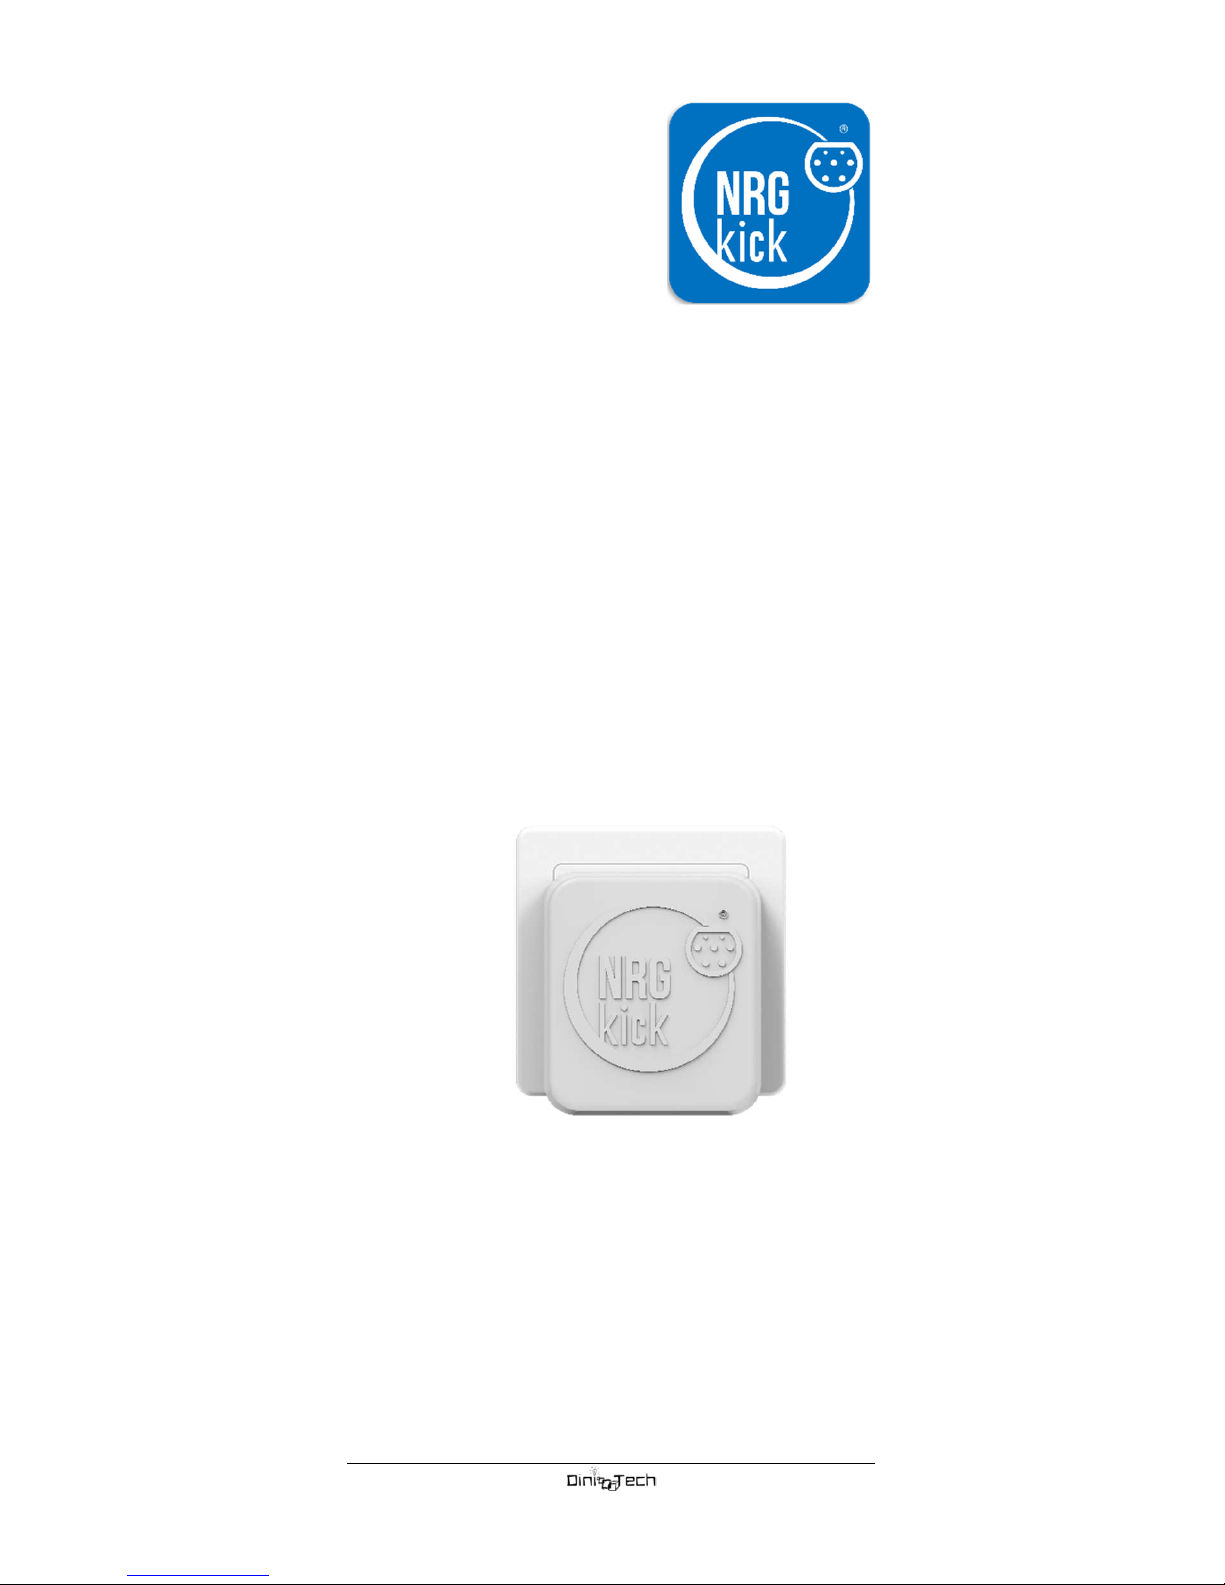
5. Product Description
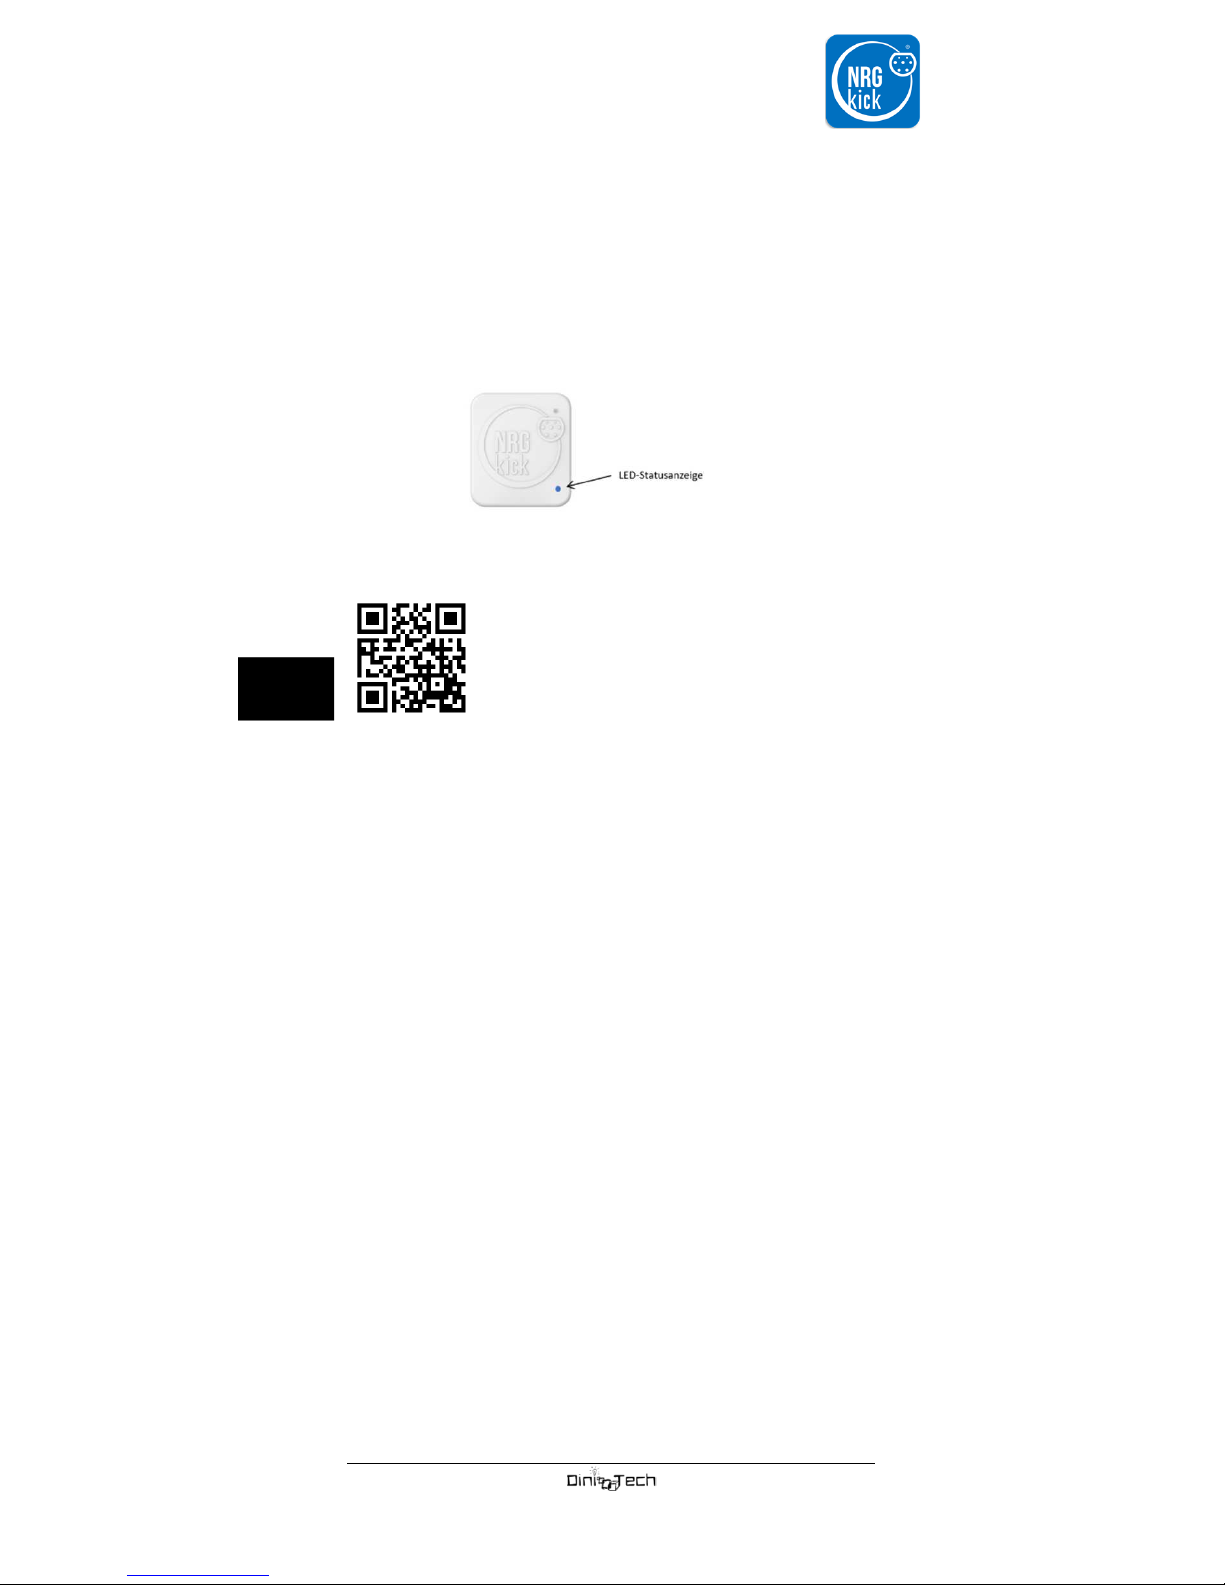
NRGkick Connect consists of a housing with a plug-in connection for
Schuko-Sockets. The plastic housing covers the internal electronics
with an integrated radio module.
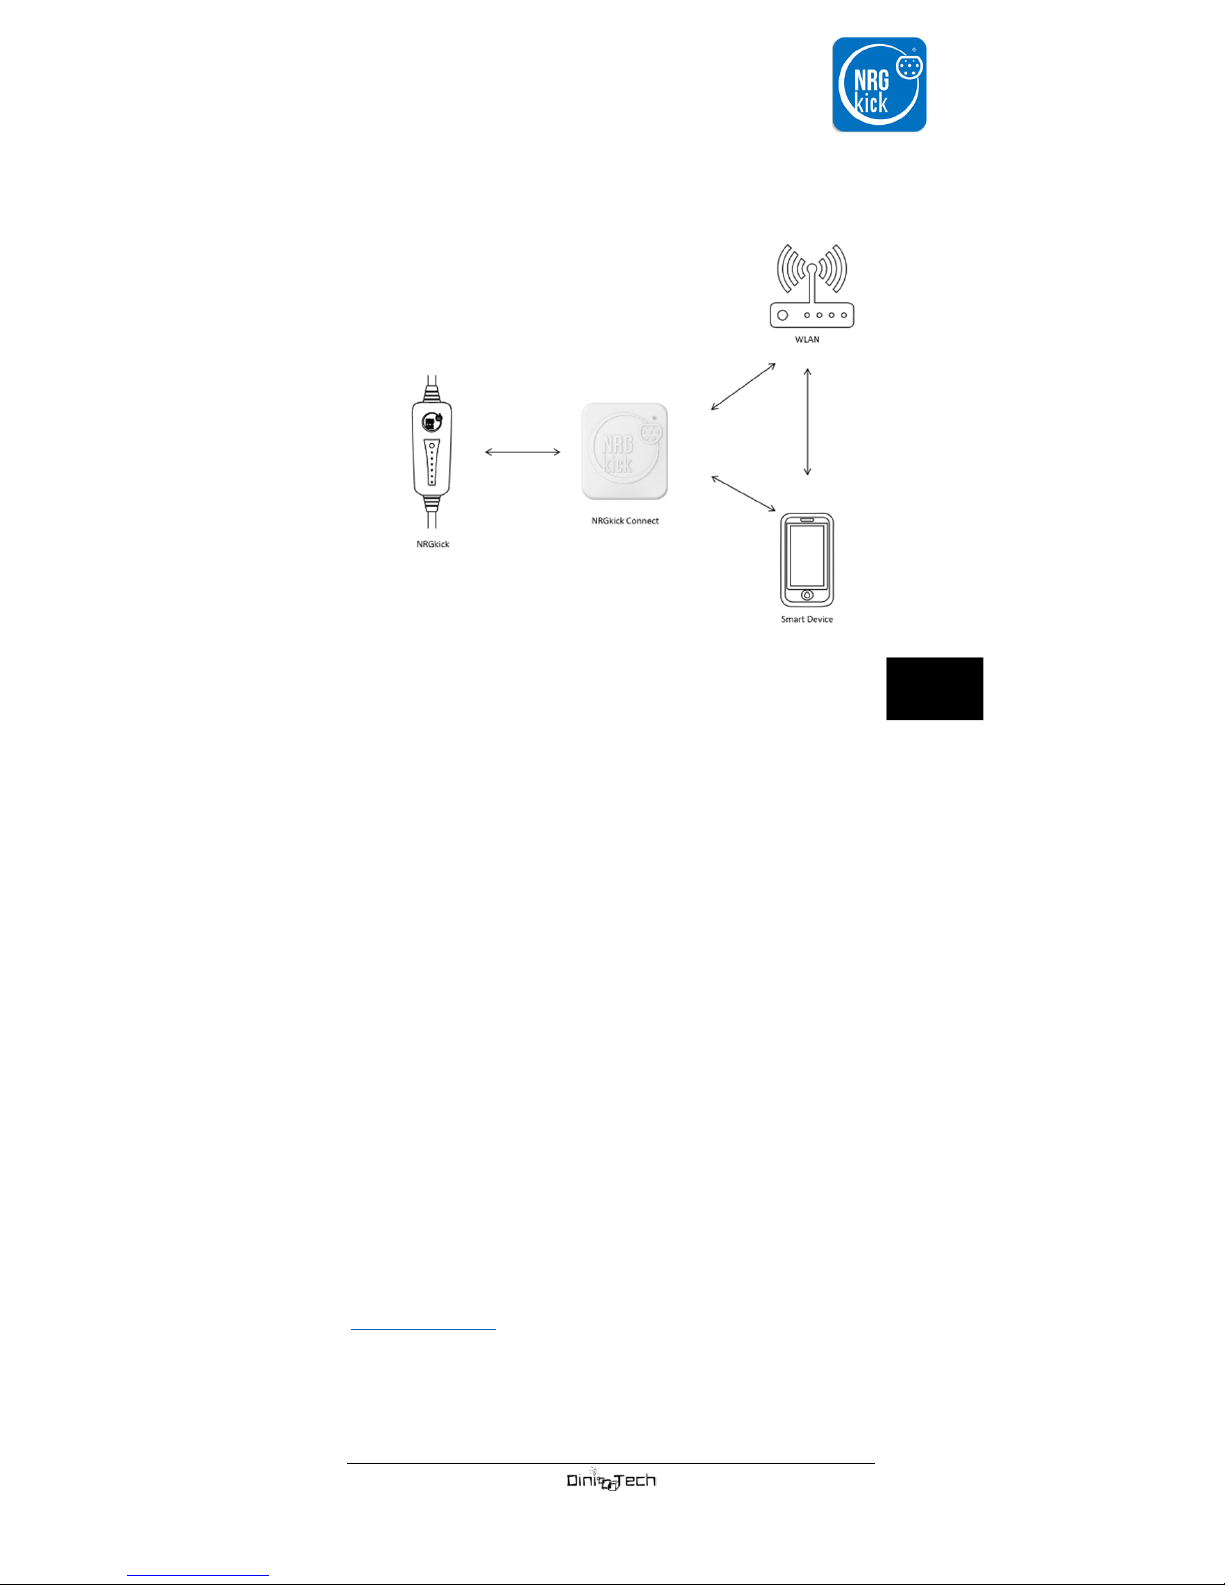
With NRGkick Connect you can integrate the NRGkick charging unit
into the WiFi, for unlimited flexibility and endless range. Control
your NRGkick conveniently via your smart devices. Start or stop the
charging process, limit the amount of energy to charge or display
information about the charging process like charged energy, energy
costs, CO2 savings and so on. Also included are advanced features
such as charging statistics analysis or photovoltaic-powered
charging, as well as access to the NRGkick cloud.
NRGkick Connect can only be used with NRGkick devices in the
version including Bluetooth.
5.1 NRGkick Connect set up
Inserting NRGkick Connect into the power supply starts the device.
The reboot is signaled slow flashes of the LED (2 seconds on, 2
seconds off).
After rebooting, the setup mode is started and indicated by a fast
flashing LED (0.3 second on, 0.3 second off).
During the setup mode NRGkick Connect communicates to the
NRGkick app via Bluetooth. The smartphone must be within a range
of about 10 meters of NRGkick Connect to make the set up.
To establish a working connection with NRGkick Connect, the
following five steps need to be implemented:
Ver.: 1810-01 5
EN
1. Plug NRGkick Connect into the Schuko Socket, that is
within range of the WLAN signal and the NRGkick
charging unit.
2. Wait for NRGkick Connect to enter in setup mode which
is signaled by fast flashing of the LED.
3. Open the NRGkick App and follow the instructions.
5.2 Requirements for using NRGkick Connect
To use NRGkick Connect the following devices are required:
• WLAN-Router
The WLAN router must be within range of NRGkick Connect.
Optionally, WLAN repeaters can be used.
• NRGkick charging unit
Only NRGkick Version with Bluetooth is supported.
The charging unit must be within range of NRGkick Connect
(around 10 meters) *.
• NRGkick App
To use and set up NRGkick Connect, a smartphone with iOS
or Android (at least iOS 8.0/Android 4.3) and the installed
NRGkick App is required. The NRGkick App can be
downloaded for free from the App Store or Play Store.
*walls, doors and windows can weaken the Bluetooth signal
5.3 NRGkick API
An API is available, more information can be found at
www.NRGkick.com.
6 Ver.: 1810-01
EN
5.4 LED display
• LED light up without flashing.
Normal operation, no faults detected.
• LED flashes fast with (0.3 seconds on, 0.3 seconds off)
Set up mode is active (see set up mode)
• LED flashes 4 times quickly.
Loading setting has been transferred to NRGkick.
6. Smartphone App
The “NRGkick” App can be downloaded from
Google Play and the Apple App Store. This provides
enhanced options for controlling the charging unit
and monitoring the charging process.
The App is fairly self-explanatory. When establishing a Bluetooth
connection between your smartphone and NRGkick take account of
the following:
6.1 Instructions for use with NRGkick charging unit
If a parameter is sent from the smartphone or NRGkick Connect to
the NRGkick charging unit, this is generally confirmed by a short
running light. A flashing of all LEDs briefly at the same time, indicates
that the access codes of the smartphone and the charging unit do not
match.
In cases of limited functions of the NRGkick charging unit set by the
user via smartphone (for example energy limit or stop-function), it is
indicated via flashing of the green status LED.
Note: Resetting the access code in the NRGkick Charging unit is
only possible when the vehicle plug is unlocked and disconnected.
This prevents manipulation by strangers.
7. Maintenance
The charging unit is maintenance-free. Regularly check the housing of
the charging unit, the charging cables and the connectors by a visual
check for external damage. If damage is found, the charging unit may
under no circumstances be used.
 Loading...