

Page 1
INSTRUCTION MANUAL
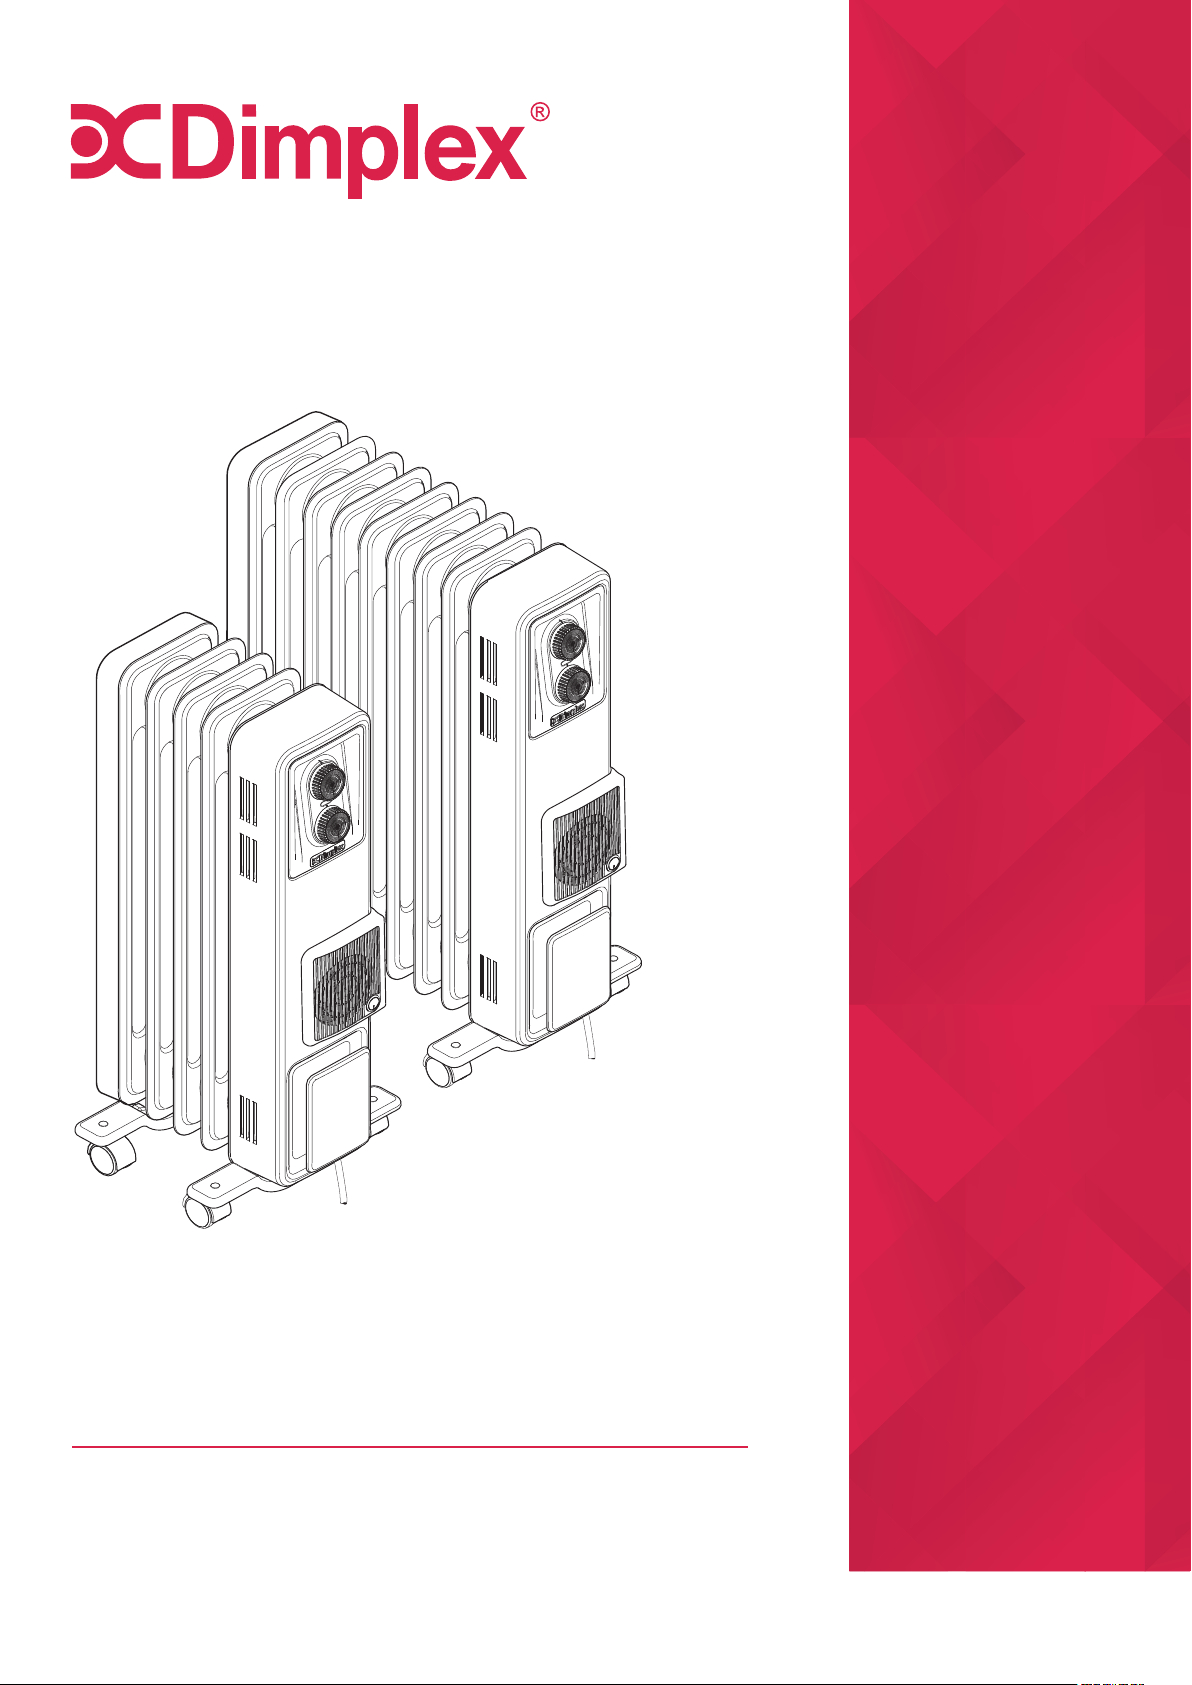
Oil Filled Column Heaters
Models: OCR15FA, OCR24FA
For domestic household use only.
08/54538/0 ISSUE: 1
Page 2

IMPORTANT
THESE INSTRUCTIONS SHOULD BE READ CAREFULLY AND RETAINED FOR
FUTURE REFERENCE. Note also the information presented on the appliance
CAUTION: FAILURE TO FOLLOW THESE INSTRUCTIONS MAY CAUSE INJURY AND/
OR DAMAGE AND MAY INVALIDATE YOUR WARRANTY
Please read the operating instructions carefully before using your product for the rst
time and keep them in a safe place.
• When using electrical appliances, basic precautions should always be followed to
reduce the risk of re, electrical shock and injury to persons, including the following:
• If the appliance is damaged, check with the supplier before installation and operation.
- Do not use outdoors.
- Do not use in the immediate surroundings of a bath, shower or a
swimming pool.
- Do not use this heater if it has been dropped.
- Do not use if there are visible signs of damage to the heater.
- Use this heater on a horizontal and stable surface, or x it to the wall, as
applicable.
• Do not locate the appliance immediately below a xed socket outlet or connection
box.
• This appliance is not intended for use by persons (including children) with reduced
physical, sensory or mental capabilities, or lack of experience and knowledge, unless
they have been given supervision or instruction concerning use of the appliance by
a person responsible for their safety.
• Children should be supervised to ensure that they do not play with the appliance.
• Do not use this appliance in series with a thermal control, a program controller, a
timer or any other device that switches on the heat automatically, since a re risk
exists when the appliance is accidentally covered or dis-placed.
• In the event of a fault, unplug the appliance.
• Unplug the appliance when not required for long periods.
• This product is only intended for INDOOR RESIDENTIAL applications only.
• DO NOT cover cord with carpeting, throw rugs, runners, or similar coverings.
• DO NOT route cord under furniture or appliances. Take care to position the cord
away from trac areas and where it will not be a tripping hazard.
• This appliance must not be used in a bathroom.
• Although this appliance complies with safety standards, we do not recommend its
use on deep pile carpets or on long hair type of rugs
• The appliance must be positioned so that the plug is accessible.
• If the supply cord is damaged it must be replaced by the manufacturer or service
agent or a similarly qualied person in order to avoid a hazard.
• Keep the supply cord away from the front of the appliance.
• Do not use this heater in small rooms when they are occupied by persons not
capable of leaving the room on their own, unless constant supervision is provided.
2
Page 3

IMPORTANT
THESE INSTRUCTIONS SHOULD BE READ CAREFULLY AND RETAINED FOR
FUTURE REFERENCE. Note also the information presented on the appliance
• To reduce the risk of re, keep textiles, curtains and or ammable material a minimum
distance of 1m from the air outlet.
• In order to avoid overheating, DO NOT COVER the appliance. Do not place material
or garments on the appliance, or obstruct the air circulation around the appliance,
for instance by curtains or furniture, as this could cause overheating and a re risk.
• In order to avoid a hazard due to inadvertent resetting of the thermal cut-out, this
appliance must not be supplied through an external switching device, such as a
timer, or connected to a circuit that is regularly switched on and o by the utility.
• Some parts of this product can become very hot and cause burns. Particular attention
has to be given where children and vulnerable people are present.
3
Page 4

Exposed to the
weather outdoors
Near water If the power cable
wires are frayed or cut
Where small children
may be left unattended
On a slope or
uneven surface
If an extension
lead may become
overloaded
Where there is risk
of re or close to
a naked ame
Where the power
cable may be
damaged
Where it may be
damaged by
chemicals
Where there is a risk
of interference by
This product is not
made for DIY repair
foreign objects
4
If there is a risk
of water falling on
the unit
Page 5

Specications
Model no.
Power supply
Rated power
Heat settings
Thermostat Y
Timer N
Turbo Fan Y
Weight (net)
Dimensions (w x d x h)
OCR15FA OCR24FA
220-240V~, 50Hz
1500W
3
8.2 kg 12.6 kg
310 x 280 x 635 mm 470 x 280 x 635 mm
For greater precision, please always refer to the rating label placed on the product.
WARNING THIS APPLIANCE MUST BE EARTHED
2400W
5
Page 6

Fitting The Castors
B
A
C
D
WARNING The radiator must only be operated with the wheels and castors tted and
in an upright position. The castors must be tted to the control panel and between the
last and second last n on the opposite end, as shown in Fig.1.
1. To t the castors, turn the radiator upside down on a carpet or other soft surface
to avoid damage. Warning: The radiator is heavy – ensure that it is supported to
prevent it from toppling. Ask a second person to help with this if necessary.
2. Locate the wire clamp (A) and remove the winged nut (C). Insert the non threaded
end of the wire clamp into one of the holes in the castor plate (B) as shown. Feed
the threaded end of the wire clamp between the last and second last column ns
ensuring the wire clamp wraps around the column body (sump). Some manipulation
of the plate and clamp will be required. The threaded end should then be passed
through the castor plate and secured using the wing nut.
3. To t the castor to the control end, position the castor plate in position and secure
using the wing bolts (D). There are guides to ensure the correct positioning and
orientation of the caster plate.
4. Return the radiator to the correct orientation so it rests on the castors. The product
is now ready for use.
Fig. 1
6
Page 7

Positioning
Select the position for the heater ensuring there is clearance from any furniture and
ttings of at least 300mm above the heater and 150mm each side and 300mm from
the control and end panel. We recommend maximising the clearance where possible.
NOTE: The radiator is designed for operation on an AC electricity supply, and is only
suitable for domestic use and similar indoor locations.
Tips
• The radiator is tted with castors and a handle for ease of movement.
• A rotary selector switch provides the ability to choose an available heat output
and an adjustable thermostat enables the room temperature to be controlled
accordingly.
• Once the castors have been correctly tted, no other assembly is required, just
plug and play!
Safety Features
This appliance incorporates a number of safety devices. In addition to the ‘Important
Safety Advice’ section your attention is drawn to the following;
Tilt Switch
The tilt switch will prevent the heater from working if it is accidentally tipped over on
its side.
If the radiator is tipped over while it is hot, disconnect the power and allow it to cool,
then stand the radiator back upright. Reconnect the power - normal operation should
be resumed.
Overheat Protection
The heater is tted with a temperature limiter which will reduce the output of the heater
should it overheat for any reason. The product will return to normal operation after the
cause of the over heating has been rectied.
7
Page 8

Operation
IMPORTANT - OBJECTS OR CLOTHING MUST NOT BE PLACED ON THIS HEATER.
Before using the heater ensure that all warnings and instructions have been read
carefully. To activate the heater simply plug it in. Neon indicator lights located at the
control area will illuminate when the appliance is plugged into the mains. This indicates
the appliance is energised and ready to use.
Please note – The element has been coated with a protective lm which will burn o
during the rst few minutes of use, this may cause a small amount of fuming. This is
quite normal – the fumes are non-toxic and will quickly disappear.
We recommend that you open a window to ventilate the room when using the heater
for the rst time.
CONTROLS
O/Heat selection
switch
Neon Indicator
Thermostat
Turbo
Turbo
Switch
Cable Wrap
Fig. 3
Fig. 2
8
Page 9

Operation
Thermostat
The Thermostat, see Fig.2 controls the heat output according to the room temperature.
This ensures that the heater will not produce heat unnecessarily when the room is
warm.
1. To set the temperature you require, turn the thermostat knob clockwise until the
required setting is reached. Alternatively to heat a cold room quickly, turn the
thermostat knob up fully.
2. When the room has reached the desired temperature, turn the thermostat knob
anti-clockwise until the thermostat just clicks o. The heater will now automatically
operate at this temperature.
3. The thermostat also has a frost protection setting marked '*' This setting is useful
in areas such as garages, to prevent frost damage. If the thermostat is set to its
minimum setting '*' the heater will cycle on and o to maintain a temperature of
approximately 5° to help protect against frost.
Note – Should the heater fail to come on when the thermostat is at a low setting, this
may be due to the room temperature being higher than the thermostat setting.
Heat Selector Switches (see Fig.3)
Heat selection is provided via a rotary switch oering four settings. The heat output
can be altered to suit the application, conditions and for improve the economy of
operation.
Available output options are as follows:
Switch setting
Model O I II III
0CR15FA
OCR24FA
O 500W 700W 1200W 1500W 300W
O 900W 1200W 2100W 2400W 300W
With
Turbo
ON
Only
Turbo
ON
9
Page 10

Turbo fan
The turbo fan is used to boost the heat output and also the airow around the room.
This circulates the heat and results in a reduced heat up time and a more even heat
distribution. The turbo fan is controlled by the switch on the front of the product,
Fig.2.
The turbo can be turned on independently of the heat.
Cleaning
Over time, dust can accumulate on the heater which can eect performance. It is
recommended to clean the unit at least once a month.
1. Turn the unit OFF and disconnect the appliance from the power supply.
2. Remove any dust build up with a soft brush.
3. Wipe the surface of the unit with a soft damp cloth. Mild detergent can be used
for any stubborn marks.
IMPORTANT
The control panel and other parts must not come into contact with water or any
other liquids.
Storage
If not using the unit for an extended period of time. After cleaning please:
• Ensure control switch is OFF and remove plug from the power outlet.
•
Cover the unit and store it upright in a location where it will not receive direct sunlight.
NB- Prolonged exposure to direct sunlight will discolour the unit.
10
Page 11

Maintenance
If the unit fails to operate eciently, is broken or other problems arise, unplug and
do not operate. Ask for advice by calling your local after sales service agent or the
Customer Care Centre on 1300 556 816 (AU) / 0800 666 2824 (NZ).
Warranty
Please refer to the warranty card in the box for warranty information. For any
troubleshooting advice, please contact the relative Customer Care Centre below.
Glen Dimplex Australia Pty Ltd Glen Dimplex New Zealand Ltd
1340 Ferntree Gully Road, 38 Harris Road, East Tamaki,
Scoresby 3179, Victoria Auckland 2013
Australia New Zealand
Ph: 1300 556 816 Ph: 0800 666 2824
Recycling: Do not dispose of electrical appliances as unsorted
municipal waste. Use separate collection facilities. Contact your
local government for information regarding the collection systems
available. If electrical appliances are disposed of in landfills or dumps,
hazardous substances can leak into the ground water, polluting the
food chain and damaging health and well-being.
11
Page 12

Customer Care: 1300 556 816
customer.care@glendimplex.com.au
www.dimplex.com.au
Supplied by Glen Dimplex Australia
1340 Ferntree Gully Road, Scoresby, Victoria, 3179
© Glen Dimplex Australia. All rights reserved. Material contained in this publication may not be reproduced in whole or in part, without
prior permission in writing of Glen Dimplex Australia.
12
 Loading...