

Page 1
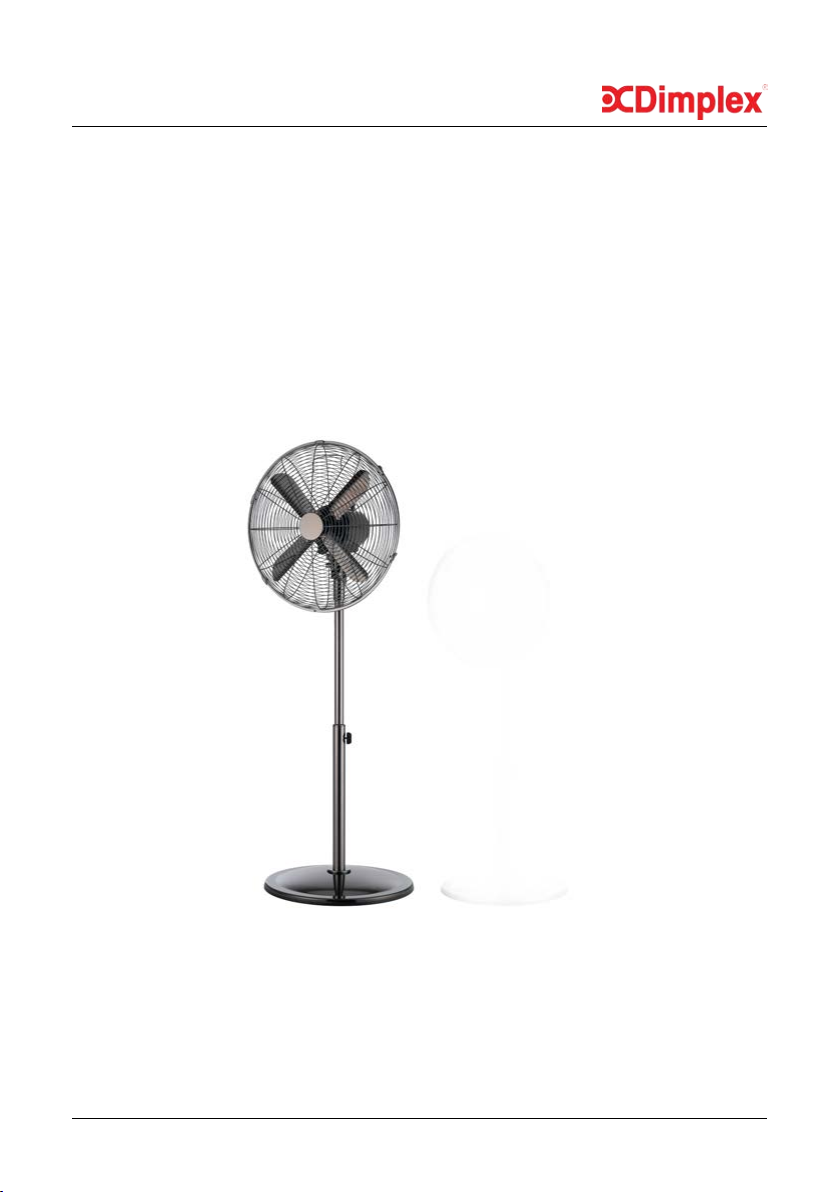
DCPF40GBLK
40cm High Velocity
Pedestal Fan
INSTRUCTION MANUAL
PLEASE READ THE INSTRUCTION MANUAL CAREFULLY BEFORE USING THE UNIT.
www.dimplex.com.au
Page 2

CONTENTS
WARNINGS AND PRECAUTIONS 1
STRUCTURE 3
OPERATION 4
CLEANING AND MAINTENANCE 6
TECHNICAL REFERENCE DATA 8
WARRANTY 8
www.dimplex.com.au
Page 3

WARNINGS & PRECAUTIONS
Warnings
• Never place the unit near gas appliances, ames or
• Flammable liquids.
• Never hit or shake the unit. Doing so may cause damage.
• Never cover or obstruct the air inlet or outlet.
• Doing so may cause overheating.
• Never spray water on or place the unit near water.
• Doing so may cause electric shock.
• Never connect other appliances to the same power outlet.
• Never connect or disconnect the power plug with wet hands.
• Doing so may cause electric shock.
• Never insert ngers or objects through the guards when the unit is
operating.
• Never use an extension cord.
• Always have a professional technician, manufacturer or service agent
replace a damaged power cord.
Precautions
• This appliance is for indoor use only.
• Do not use the unit near windows or where water collects. Rain and
water collection may lead to a risk of re or electric shock.
• Do not place the unit in a damp place or where humidity is high (such
as a bathroom).
• Do not leave the unit operating while unattended.
• Do not place the unit in direct sunlight to avoid surface discolouration.
1
Page 4

WARNINGS & PRECAUTIONS
• This appliance is not intended for use by persons (including children)
with reduced physical, sensory or mental capabilities, or lack of
experience and knowledge, unless they have been given supervision or
instruction concerning use of the appliance by a person responsible for
their safety.
• Children should be supervised to ensure they do not play with the
appliance.
• Avoid electromagnetic interference. Keep the unit at least 1 metre away
from electric appliances such as televisions and radios.
• Avoid scratching and damaging the surface. Do not use chemical
solvents (i.e. Benzene, alcohol) to clean the surface.
• Place the unit on a stable surface when operating.
• Unplug the unit before cleaning, servicing or maintenance.
• Electrical connections must be in accordance with National or
• Local Codes.
• The rear of the unit must be at least 50cm away from the wall.
• If the supply cord is damaged, it must be replaced by the manufacturer,
its service agent or similarly qualied persons in order to avoid a hazard.
2
Page 5

STRUCTURE
1. Front grille
2. Blade locking cap
3. Blade
4. Guard knob
5. Rear grille
6. Motor shaft
7. Rotary switch
8. Oscillation knob
9. Motor housing
10. Power cord & plug
11. Fixing screw A
12. Upper pillar
13. Fixing screw B
14. Main pillar
15. Base
16. Pole xing nut
17. Safety screw
3
Page 6

OPERATION
BEFORE FIRST USE
•
•
•
ASSEMBLY
1.
2.
3.
4.
5.
6.
Please read these instructions carefully before use and keep them for
future reference.
Check your local main voltage whether it is the same as stated on the
appliance.
Before using for the rst time, remove any protective lms or stickers
from the appliance and ensure the power switch is in the “0” position.
Remove the pole xing nut (16) from the main pillar (14) and insert the
main pillar (14) into the base (15) then tighten the xing nut (16).
Release xing screw B (13) and adjust height to a suitable length. Retighten the xing screw B once ready.
Release the xing screw A (11), connect the motor housing with the
upper pillar (12), fasten it with the xing screw A (11).
Remove the blade locking cap (2) and the guard knob (4) from the
motor shaft (6), secure the rear guard (5) on the motor housing (9) to
line up with the three xing pins, fasten the guard with the guard knob
(4).
Put the blade (3) on the motor shaft (6) and tighten with the blade
locking cap (2).
Attach the front guard (1) to the rear guard (5), and close the guard
xing clips, nally fastening with the safety screw (17).
4
Page 7

OPERATION
Connect the plug to a power supply and switch on the power.
On/Off
• Switch the fan on by rotating the speed control knob (7) at the rear in
clockwise direction. The switch is also used to adjust the fan speed
from LOW ”1” – MEDIUM ”2” - HIGH ”3” in sequence.
• The airow direction can be adjusted upward/downward by lifting up
or pressing down the motor housing. NOTE: Only adjust the fan head
when the unit is OFF. Be careful not to insert your ngers through the
guard.
• Push the oscillating knob (8) down to start oscillation. Pull the
oscillation knob up to stop oscillation.
• Turn the switch anti-clockwise to the “0” position to turn the fan OFF.
Speed
• Turn speed control knob (7) to adjust the fan speed from LOW ”1” –
MEDIUM ”2” - HIGH ”3” in sequence. Turn the switch anti-clockwise
to the “0” position to turn OFF.
5
Page 8

CLEANING & MAINTENANCE
CLEANING
Over time, dust can accumulate on the rear grille cover and fan blades,
which can affect the fans performance. It is recommended to clean the fan
at least once a month.
1. Turn the unit OFF and disconnect the appliance from the main power
supply.
2. Remove any dust build up with a soft brush.
3. Wipe the surface of the unit with a soft damp cloth. Mild detergent can
be used for any stubborn marks.
4. Do not allow the motor or other electrical parts to come in contact with
water.
5. Do not use abrasive sponges, scouring pads, or a stiff brush to clean
the appliance.
6. When the fan is not being used for long periods, it’s recommended to
store the fan in its original box in a low humidity environment.
IMPORTANT
The control panel and other parts must not come into contact with water or
any other liquids.
• Do not dispose of electrical appliances as unsorted municipal waste.
• Use separate collection facilities.
• Contact your local government for information regarding the collection
systems available.
6
Page 9

TECHNICAL & REFERENCE DATA
• If electrical appliances are disposed of in landlls or dumps, hazardous
substances can leak into the ground water, polluting the food chain and
damaging health and well-being.
MAINTENANCE
If the unit fails to operate efciently, is broken or other problems arise,
unplug and do not operate. Ask for advice by calling your local after sales
service agent or the Customer Care Centre on 1300 556 816 (AU) / 0800
666 2824 (NZ).
MODEL NO. DCPF40GBLK
Rated Power 60W
Voltage/Frequency 220-240V/50Hz
Net Weight 5.6kg
Dimensions Body (HxWxDmm) 1250 x 450 x 410
Dimensions Packaging (HxWxDmm) 587 x 470 x 130
RCM
5336
WARRANTY
The warranty period is 12 months from the date of purchase. For service
advice, please contact the Customer Care Centre on 1300 556 816 (AU) /
0800 666 2824 (NZ).
Glen Dimplex Australia Pty Ltd Glen Dimplex New Zealand Ltd
1340 Ferntree Gully Road, 38 Harris Road, East Tamaki,
Scoresby 3179, Victoria Auckland 2013
Australia New Zealand
Ph: 1300 556 816 Ph: 0800 666 2824
7
 Loading...