

Page 1
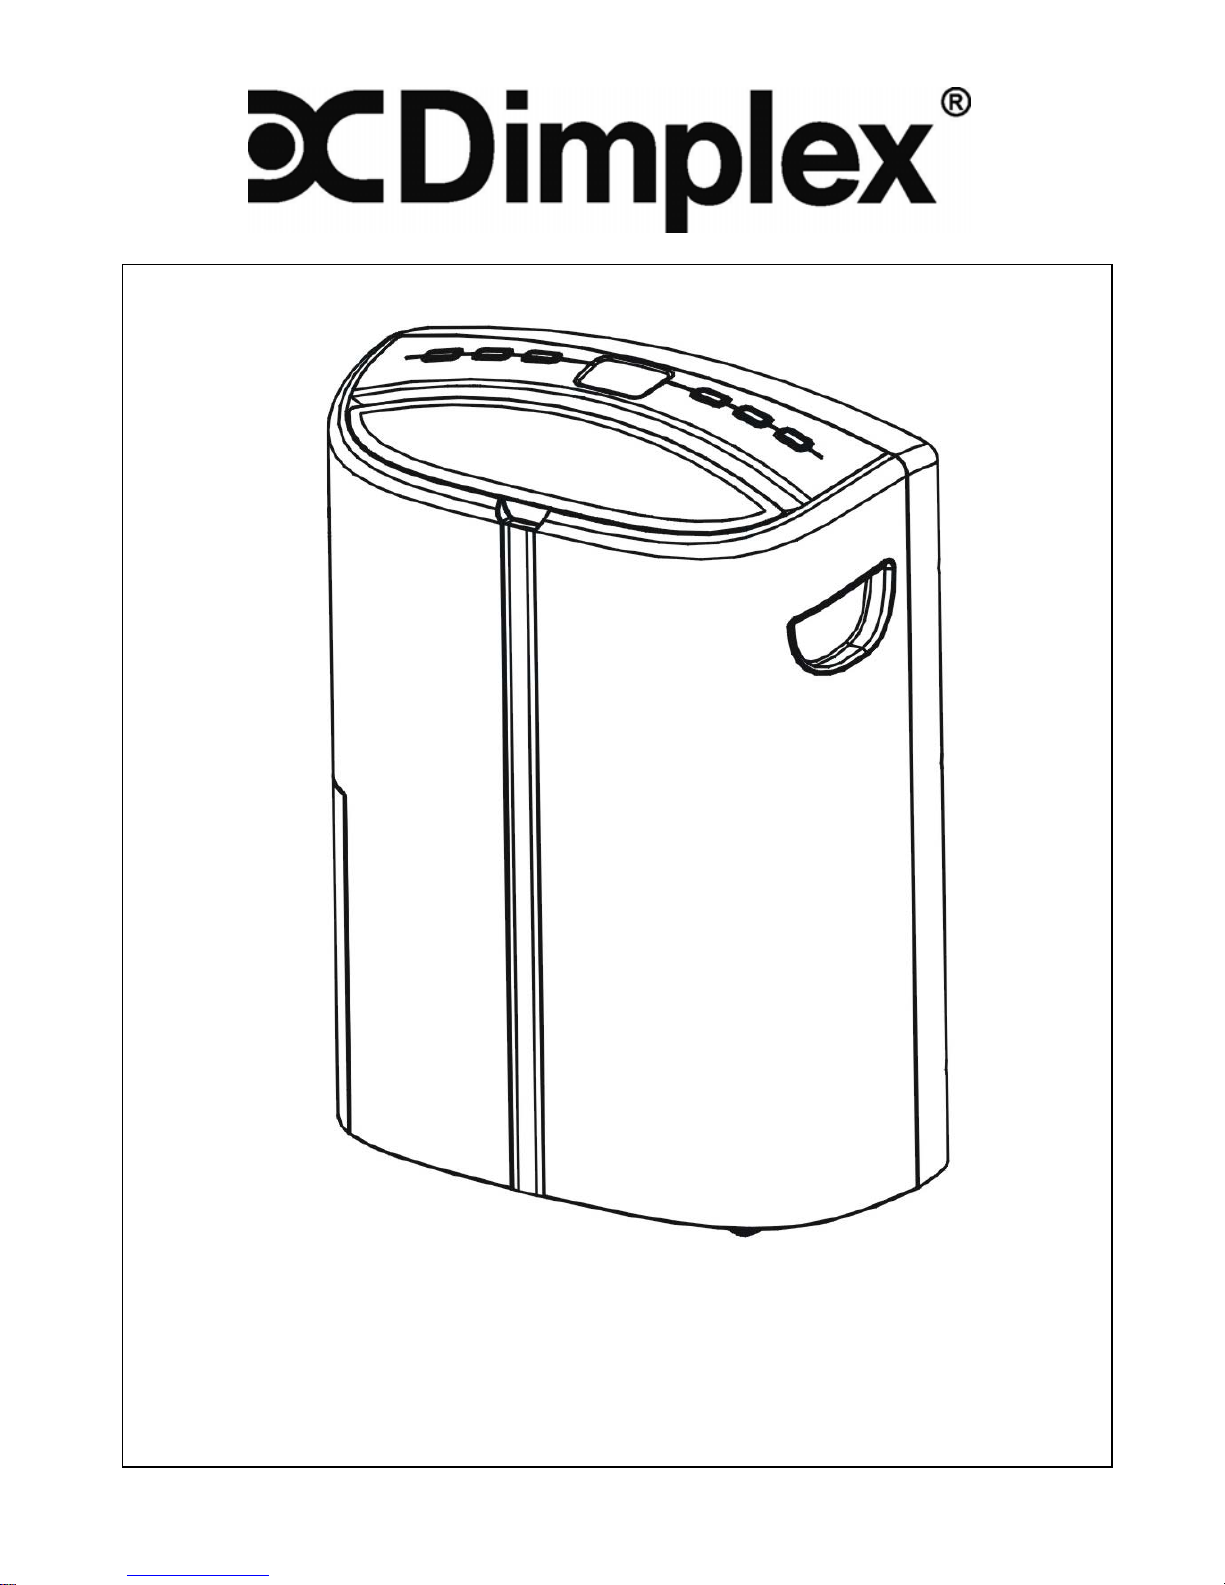
20L Dehumidifier – DACDEHU3
Please read this manual carefully before use and keep it for future reference
Page 2

IMPORTANT SAFEGUARDS
1. Read all instructions.
2. Disconnect the power plug before dismantling, assembling or before cleaning.
3. Avoid touching mobile parts of the product.
4. Make sure the product is on a dry and even surface.
5. Never insert fingers, pencils or any other objects into the product whenever
the power plug is connected, especially while running.
6. Do not use the appliance for any other purpose than its intended use.
7. When the power cord is damaged, it must be replaced by the manufacturer or
its service agent or a similarly qualified person in order to avoid a hazard.
8. Do not use your appliance with an extension cord unless it has been checked
and tested by a qualified electrician or electrical supplier.
9. Return to Hagemeyer or authorised service agent.
10. The appliance is not intended for use by young children or infirm persons
unless they have been adequately supervised by a responsible person to
ensure that they can use the appliance safely.
11. Young children or infirm persons should be supervised to ensure that they do
not play with the appliance.
12. Always keep the unit in vertical position.
13. Leave the unit to stand for one hour before connecting to the mains supply
after transport or when it has been tilted (e.g. during cleaning).
IMPORTANT!
To prevent the possibility of a heavily ice up evaporating coil do not use this unit at
ambient temperatures below 5
o
C.
Read all instructions before operating.
2
Page 3
SPECIFICATIONS
Model no. DACDEHU3
Power supply 220V-240V~, 50Hz
Moisture removal capacity 20L/day
Power /Ampere consumption * 370W/ 1.7A
Compressor Rotary
Refrigerant R134a
Working range 5 ~ 35oC
Water tank capacity 5.5 L
Size (WxDxH) 410 x 210 x 545 mm
N.W. 12.5 kgs
* Measured under RT 30 oC , RH 80%
HOW IT WORKS
This product is a dehumidifier. It controls relative humidity by passing the air
through the unit, forcing the excess moisture to condensate over the cooling
elements. Contact with this cold surface causes the moisture in the air to condense.
This condensed water then drains safely into the water tank. The dried air then
passes through the condenser where it is slightly warmed and re-enters the room
at a slightly elevated temperature.
3
Page 4

DRY WARMER AIR
CONDENSER
EVAPORATER
FAN
MOIST
SATURATED AIR
MOTOR
MICRO SWITCH
WATER TANK
COMPRESSOR
WATER TANK
WHERE TO POSITION
Excess moisture will travel throughout your home, in the same way that cooking smells
waft to every room in the house. For this reason, the dehumidifier should be positioned,
so that it can draw this moist air towards it from all over the home.
Alternatively, if you have a serious problem in one area you can begin by positioning the
dehumidifier close to this area and later moving it to a more central point.
When positioning the dehumidifier, ensure that it is placed on a level surface and that
there is a minimum of 10 cm (4") of space on either side of the unit to allow for efficient
airflow.
This dehumidifier is fitted with castors for extra mobility, if you move the unit, it should
first be switched off and the water tank emptied.
We do not recommend the use of an extension lead, so please try to ensure that the
unit is sufficiently close to a fixed mains socket. If it is necessary to use am extension
lead, please ensure the diameter of the wires of the cable is at least 1 mm
2
.
When the dehumidifier is in operation, outside doors and windows should be closed
when necessary for most efficient use.
4
Page 5

PARTS
Front
1. Control panel
2. Cover for air outlet
3. Air outlet
4. Water full indicator
5. Water tank
6.
Handle
Rear
7. Air filter / air outlet
8. Power cord
9. Handle
10. Hole for continuous drainage
11. Water tank
12. Caster
Assembly of the filters
5
Page 6

HOW TO USE
Control Panel
1. Heat button (only for the model with
heat function)
2. UV light button (only for the model
with UV function)
3. Timer
4. Display window
5. Speed (ventilation) button
6. Humidity selection button
7. ON/OFF button
Display Window
1. Displays the level of humidity permissible
before the dehumidifier will begin:
Continuous dehumidifying; 50%; 60%;
70%; and 80% humidity.
2. Indicates ambient humidity:
GOOD FAIR, BAD
• Good indicates 50% ≤ambient room humidity ≤70%
• Fair indicates 30% ≤ambient room humidity < 50% or 70% < ambient
room humidity ≤80%
• Bad indicates the ambient room humidity is higher than 80%.
6
Page 7

3. Indicates that the compressor is in progress. In case the de-frost
function is working, the water drops will flash.
Indicates that the compressor is not in progress.
Indicated that the water tank is full and requires emptying.
4. Heat indicator (only for the model with heat function):
5. UV ( ultraviolet ) indicator, only for the model with UV light.
6. Timer indicator, 1 to 24 hours.
7. Room temperature indicator, can display the room temperature in Celsius
degree (
o
C) by pressing “HUM” button at least 2 seconds.
8. Fan speed/ventilation indicator:
high speed, low speed.
Operation
ON/OFF: Press button ON/OFF to turn the unit on or off.
HUMIDITY: Press the HUMIDITY button to set the room
humidity you desire (continuous dehumidifying, 50%, 60%,
70% or 80%). The compressor will start to work when
“Continuous dehumidifying” mode is selected.
FAN SPEED: Press the speed button to choose the
ventilation speed, high or low.
LOUVRE: The direction of the air outlet can be adjusted by h
and.
7
Page 8

DRAINAGE
Whenever the water tank is full, the unit is unbalanced or the water tank is not
positioned properly, the compressor will stop and:
• The
will flash indicating water full.
• The water level window will turn into red.
• The unit will buzz. To cancel the buzz, turn the unit off by pressing the ON/OFF
button.
To remove the water tank, use the handle to pull the
tank out squarely from the unit.
After empting, replace the water tank. The tank will
need to be properly positioned in order for the 'water full'
sign to cancel and your dehumidifier will start operating.
Continuous Drainage
When the dehumidifier is operated at very high humidity levels, the water tank will
require more frequent drainage. In this situation, it may be more convenient to set
the unit up for continuous drainage with the following procedures:
1. Cut the outlet at the unit back (see below).
Caution: When the outlet is cut off,
the said portion would be left as a hole and cannot be covered by any plug as
this will prevent the drainage water from reaching the water tank.
2. Connect the drain hole with a water tube of inner diameter 12mm.
3. Ensure the water will always drain away freely and the tube will remain in
place. Note! In very cold weather conditions, precautions should be taken to
prevent the water tube from freeing.
8
Page 9

Water tube of inner
diameter 12 mm is
required. Please note, the
tube is not supplied with
the unit.
MAINTENANCE
• Always unplug the unit from the mains before carrying out any maintenance or
cleaning of the unit.
• Use soft cloth to wipe the unit clean.
• Don't ever use harsh chemicals, gasoline, detergents, chemically treated
clothes, or other cleansing solutions. These all could possibly hurt the cabinet.
• For washable filter – Use a vacuum cleaner or
tap the filter lightly for easy cleaning. If the filter is
particularly dirty, use warm water with a small
amount of medium strength.
• For active carbon filter - This filter is not washable.
Its life span is variable and depends on the
ambient conditions where the appliance is used.
The filter should be checked periodically (about
every 6 months) and replaced if necessary.
STORAGE
If not use the unit for an extended period of time, please turn the unit off, unplug
and tidy AC cord, completely empty the water tank and wipe it clean. Cover the unit
and store where it will not receive direct sunlight.
9
Page 10

TROUBLE SHOOTING
THE UNIT DOES NOT OPERATE:
• Is the unit plugged in?
• Is the house electricity on?
• Is the room temperature below 5
o
C or above 35oC? If so, then it is out of
the working range of the unit.
• Ensure the humidistat (or ON/OFF switch) is turned on.
• Check the water tank is positioned properly in the unit and it is not full.
• Make sure the air inlet and outlet are not obstructed.
THE UNIT SEEMS TO DO NOTHING:
• Is the filter dusty, contaminated ?
• Is the air intake or outlet blocked up?
• Is the room humidity already quite low?
THE UNIT SEEMS TO DO LITTLE:
• Are too many windows or doors open?
• Is there something in the room producing lots of humidity?
THE UNIT IS TOO NOISY:
• Check whether the unit is sitting on a level surface.
THE UNIT IS LEAKING:
• Make sure the unit is in good shape.
• If you are not using continuous drainage, make sure the rubber plug (at
the bottom of the unit) is in its position.
10
 Loading...