

Dimen C190S User Manual

Stereoscopic 2D/3D Switchable LCD Display
User’s Manual
C190S

Contents
CHAPTER 1
Before You Start
CHAPTER 2
Set Up
CHAPTER 3
2D Mode
CHAPTER 4
3D Mode
Contents
Important Advice............................................................................................................... 1
Product Features.............................................................................................................. 2
2D/3D Switchable Monitor................................................................................. 2
3D Formats........................................................................................................ 2
User Oriented System....................................................................................... 2
Safety................................................................................................................................ 3
Power Source.................................................................................................... 3
Installation......................................................................................................... 4
Operation........................................................................................................... 5
Included Parts.................................................................................................................... 6
Identifying Parts................................................................................................................. 7
Front................................................................................................................... 7
Rear................................................................................................................... 8
Installation......................................................................................................................... 9
Power Cord........................................................................................................ 9
Analog RBG Cable Connection......................................................................... 10
DVI Cable Connection....................................................................................... 11
Checking the Connection.................................................................................................. 12
Comparison of 2D and 3D Mode....................................................................................... 13
Adjustments in 2D Mode................................................................................................... 14
Change of Input Channel................................................................................... 14
Automatic Screen Control.................................................................................. 14
Navigating the MENU........................................................................................ 14
Brightness.......................................................................................................... 15
Contrast............................................................................................................. 15
Color.................................................................................................................. 16
Image Type Mode.............................................................................................. 16
Screen Control................................................................................................... 17
Reset to Factory Setting.................................................................................... 17
Viewing Angles in 3D Mode............................................................................................... 18
Switching to the 3D Mode.................................................................................................. 18
Frame Sequential Format.................................................................................. 19
Side-Field Format.............................................................................................. 19
Sub-Field Format............................................................................................... 19
Interlaced Stereo Format................................................................................... 19
Reverse Function.............................................................................................................. 20
Adjustments in 3D Mode.................................................................................................... 20
Selecting a 3D Format........................................................................................ 20
Brightness.......................................................................................................... 21
Contrast.............................................................................................................. 21
Subfield Adjustments.......................................................................................... 21
I

CHAPTER 5
3D Graphic Card
Settings
CHAPTER 6
Miscellaneous
Appendix
Graphic Card Installation for 3D Games............................................................................ 22
Stereo Properties............................................................................................... 23
Advanced Stereo Properties.............................................................................. 25
Stereo Setup and Test....................................................................................... 26
Troubleshooting................................................................................................................ 27
Product Specifications...................................................................................................... 29
Customer Service............................................................................................................. 30
Recycling.......................................................................................................................... 30
Explanations of 3D Image Formats................................................................................... 31
Frame Sequential Format.................................................................................. 31
Side-Field Format.............................................................................................. 31
Sub-Field Format............................................................................................... 32
Interlaced Stereo Format................................................................................... 32
Contents
II

1
CHAPTER Before You Start
Important Advice
■ To view real 3D, specific stereoscopic 3D content has to be used! Normal 2D content will not
be displayed as real 3D on our monitors!
■ Please set the resolution of your PC to 1280x1024. Only with this resolution you will be able
to view correctly in 3D mode!
■ Please be aware of the following guidelines for viewing in 3D mode:
Model C190S (glasses-free)
Ideal viewing distance: 80 +/- 12 cm
Ideal viewing angle: there are 3 sweet spots with ideal viewing results, the best one
directly centered in front of the display, and one each on the left and right side of this
position. If you move further away from the center, there will be more sweet spots, however
the 3D quality decreases. Each sweet spot has a tolerance of +/- 2°. All in all there is a
good viewing result for 55° in front of the display. A good way to find the right position is to
sit in front of the display and move your head very slowly left and right until you have a
perfect 3D result.
■ Please run the Intro-Demo-Disc first!!!
■ On the disc you will find 3D content that can show you the possiblities that our monitors can
offer you. Simply insert the DVD into your PC, the DVD will start automatically. Install the
included Codecs first, so that all included file formats can be displayed correctly.
■ General warnings:
c Epilepsy warning: Some people are susceptible to epileptic seizures or loss of
consciousness when exposed to certain flashing lights or light patterns in everyday life.
Such people may have a seizure while watching images or playing other content on our
monitors as well. If you experience symptoms such as blurred vision, disorientation, or
any involuntary movement or convulsion, immediately discontinue use and consult
your doctor.
d Prolonged viewing of 3D images might cause dizziness or nausea symptoms with some
people. After using the monitor for a specific time, please rest your eyes.
e Please make sure to read the manual carefully before using the monitor.
Before you start
1

Product Features
Our Dimen monitors are 2D/3D switchable LCDs that can display 3 dimensional images
without additional hardware or software. The 2D mode is suitable for regular uses, such as
internet surfing or word processing. The 3D mode is for 3D games, 3D movies or any other
3D content.
▒
2D/3D Switchable Monitor
■ Switch between 2D mode and 3D mode simply by the push of one button.
▒
3D Formats
■ Our displays support 4 different 3D formats.
■ The stereo image format can be changed simply by the push of a button.
■ Supported formats: Interlaced Stereo, Frame Sequential, Sub-Field, Side-Field
▒
User Oriented System
■ In order to give the user the ideal solution for his/her needs, Dimen offers both glasses type
and non-glasses type 3D stereoscopic LCDs in different sizes.
■ Dimen offers models with different input options, so that the user is able to connect to
different kinds of image generating devices, such as DVD Players or Camcorders.
Chapter 1
2

2
CHAPTER Set Up
Safety
Please read the following safety instructions carefully! They are designed to help prevent
damage to property and harm to the user.
▒
Power Source
■ The monitor should be installed near an easily accessible outlet!
■ Please use the monitor only with the indicated voltage. Disregard may cause electric shock
and damage to the monitor.
■ In case of thunder and lightning, please take out the power cord and signal cable. There is
a danger of electric shock or fire.
■ Use only the power adapter that came with your display. Using adapters with different
specifications will cause monitor damage, and might cause fire or electric shock.
■ Do not touch the power plug with wet hands. This might cause an electric shock.
■ When the monitor is not used for a long time, please take out its power cord.
■ When disconnecting the power cord, please pull the plug, not the cord. Be careful not to
bend the power cord unreasonably or damage it by heavy or sharp objects.
■ While using the monitor, do not separate the power cord. Damage of the monitor might be
caused by an electric shock.
■ Do not use voltage beyond 110~220V. This product is laid out to be used with voltage
between 110~220V.
Set up
3

▒ Installation
■ Do not install the monitor in places that are subject to extreme temperatures, for example
close to an electric heater or in direct sunlight. This might cause an electric shock, fire,
malfunction or a deformation of the monitor.
■ Do not push or scratch the monitor. Do not put heavy objects on it. This might cause a
deformation of the monitor or a panel malfunction.
■ Do not leave the power cord or any other cable in a position that might cause a person to
stumble over it. This might cause electric shock, fire, product damage and injury.
■ Keep the display away from sources of liquids and moisture. Also keep it at a location with
minimum dust. If you detect smoke emission, an unusual noise or smell, please take out the
power cord and call our service center.
■ If the monitor has been dropped or the case is otherwise damaged, please turn off the
power and take out the power cord. Call our service center for further instructions.
■ Do not put any metal or inflammable objects into the monitor. This might cause electric
shock, fire and injury. When foreign objects are inside of the product, please take out the
power cord and call our service center.
■ When installing the monitor, make sure to keep it away from the wall more than 10cm for
ventilation purposes. Do not cover the ventilation system in any other way. An increase of
the temperature inside the monitor may cause a transformation of the monitor or fire.
■ Please place the monitor on a flat and safe surface to avoid falling down of the product.
■ Do not install the display near any equipment that generates a strong magnetic field, such
as televisions or other household appliances. This might have an effect on the monitors
function.
■ When moving the monitor, please turn off the power first.
■ Before moving, all cables must be separated.
■ While moving, be careful to avoid major impacts to the monitor.
■ Please keep the box in which the product was delivered. In case of moving, please re-use
this packaging to protect the monitor from outside impacts.
■ Please always hold the monitor with two hands, with the panel facing to the front. If the
monitor has been dropped accidentally, please call our service center. Damages might
cause an electric shock and fire.
Chapter 2
4

Operation
▒
■ Never remove the housing from the display. Refer servicing and repairs to qualified
personnel. Opening the product might cause electric shock or fire.
■ Do not sprinkle water directly onto the monitor or use flammable materials, such as thinner
or benzene, when cleaning.
■ Don’t let water enter the product.
■ For cleaning the surface of the panel, please take out the power cord and wipe it with a soft
dry cloth to prevent scratching. Avoid using wet materials.
■ To protect your eyesight, we recommend taking a break frequently, at least 5 minutes for
every hour of monitor use.
■ Do not scratch the surface of the monitor with sharp objects such as nails, pencils or pens.
This might damage the product.
■ Please keep an appropriate distance from the screen. Prolonged use with insufficient
distance might adversely affect your eyesight. In 3D mode, an appropriate distance is about
60 cm.
■ To reduce fatigue, a comfortable and natural position in front of the monitor is
recommended.
■ Prolonged viewing of 3D images might cause dizziness or nausea symptoms with some
people. After using for a specific time, please turn off the monitor to rest your eyes.
Set up
5
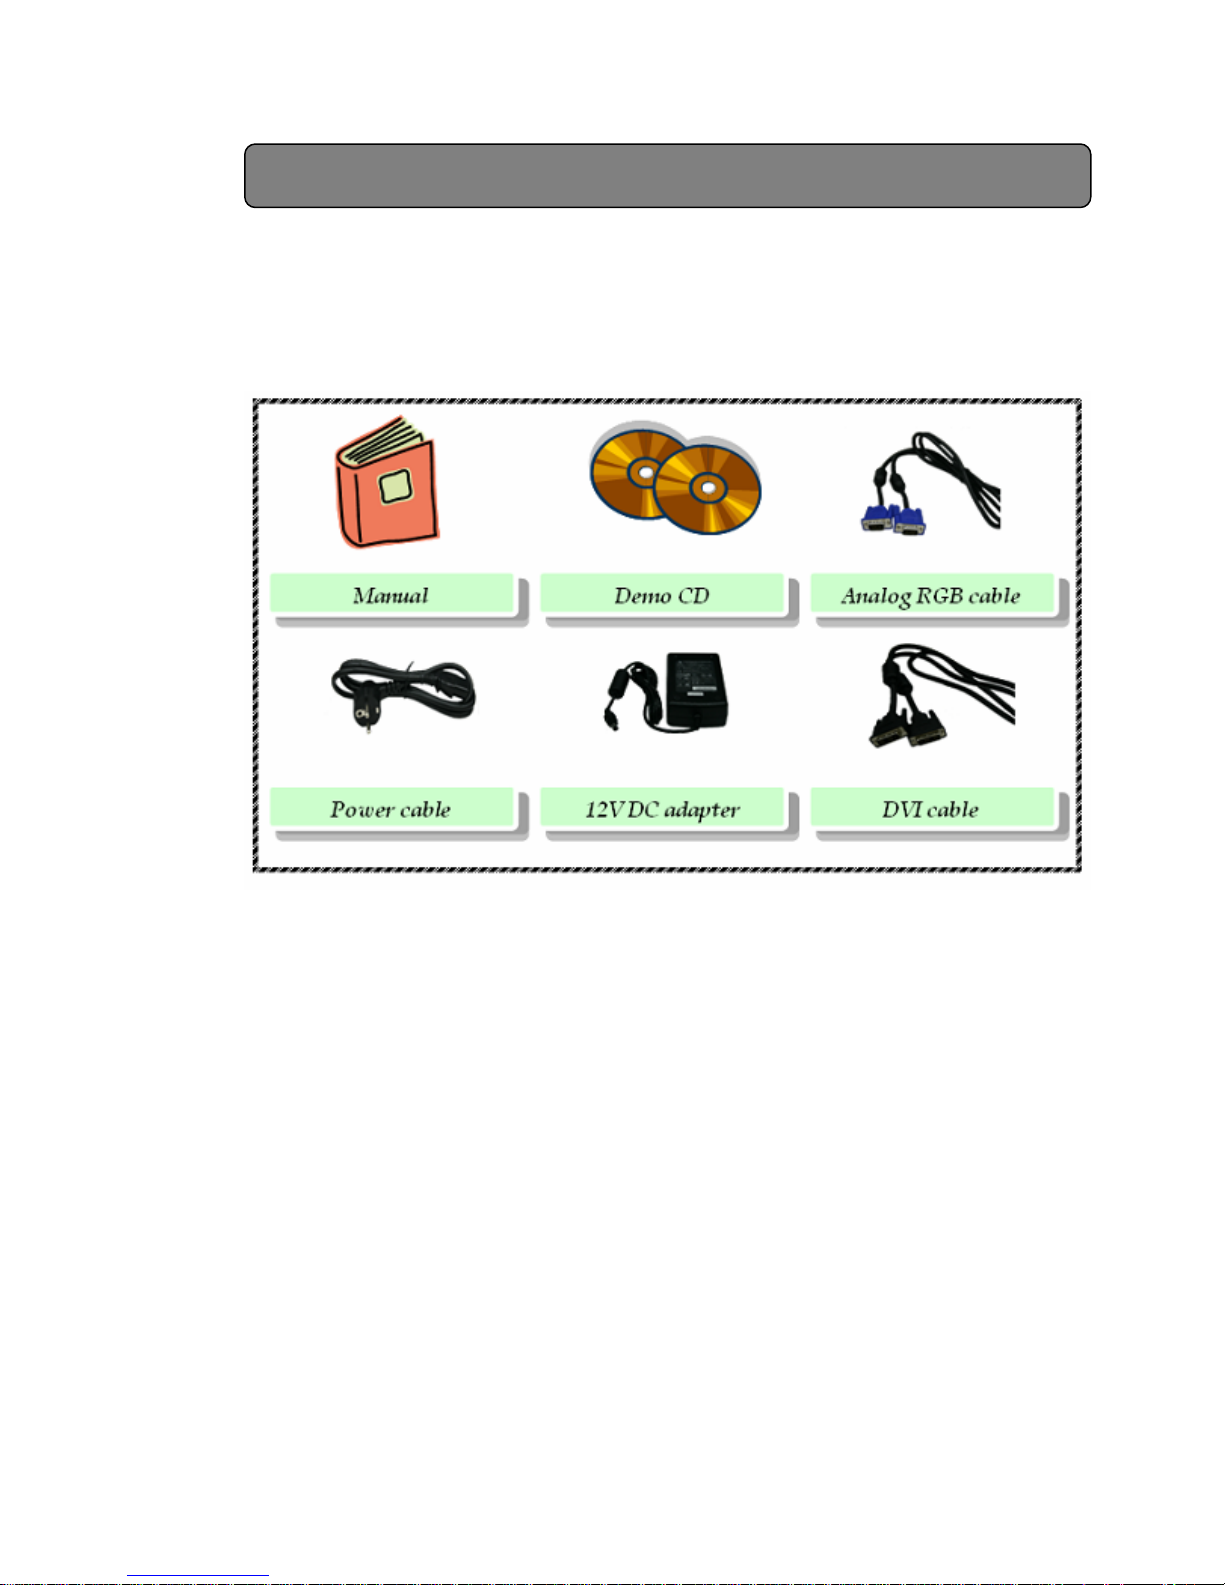
Included Parts
■ After opening the box please check whether the following items are included.
■ Each item might look different from the image shown.
Chapter 2
6
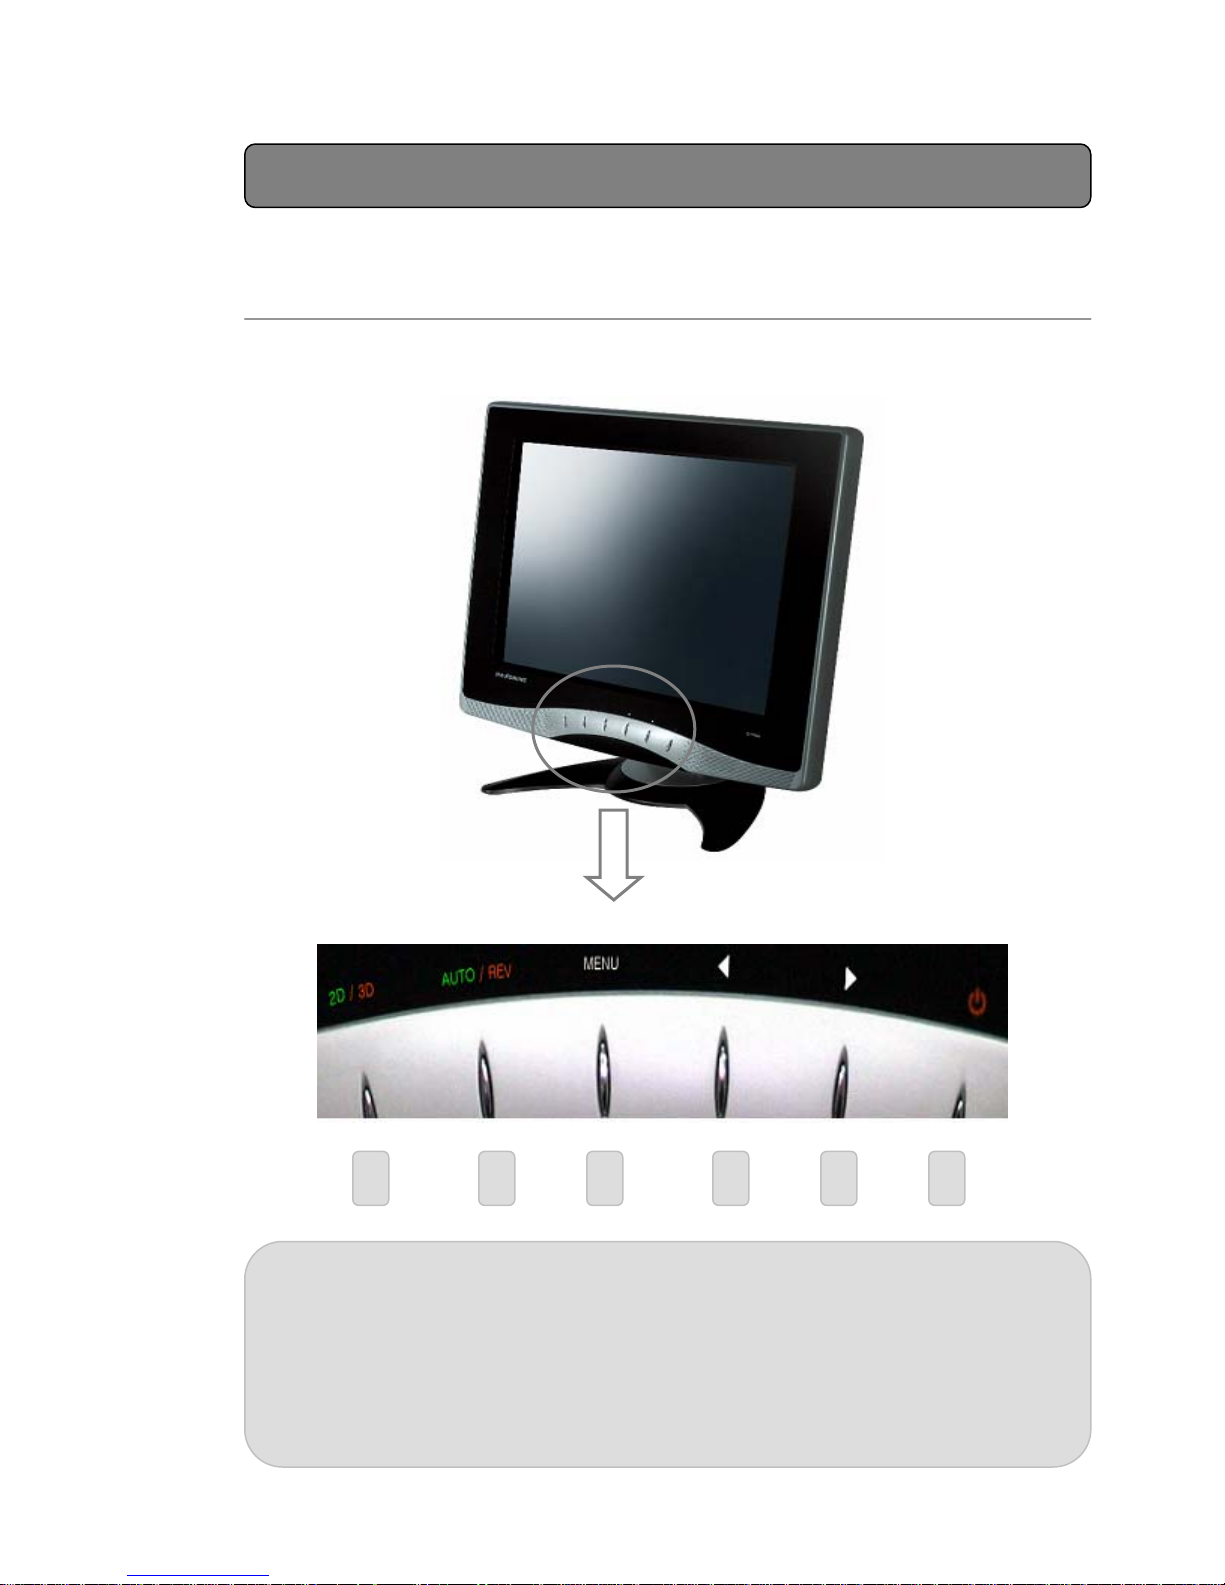
Identifying Parts
Front
▒
1 switch between 2D and 3D mode
2 2D mode: Auto function, 3D mode: Reverse function
3 enter OSD menu, move between sub-menus
4 decrease selected value in OSD menu
5 increase selected value in OSD menu
6 Power on/off
321
4 5 6
Set up
7
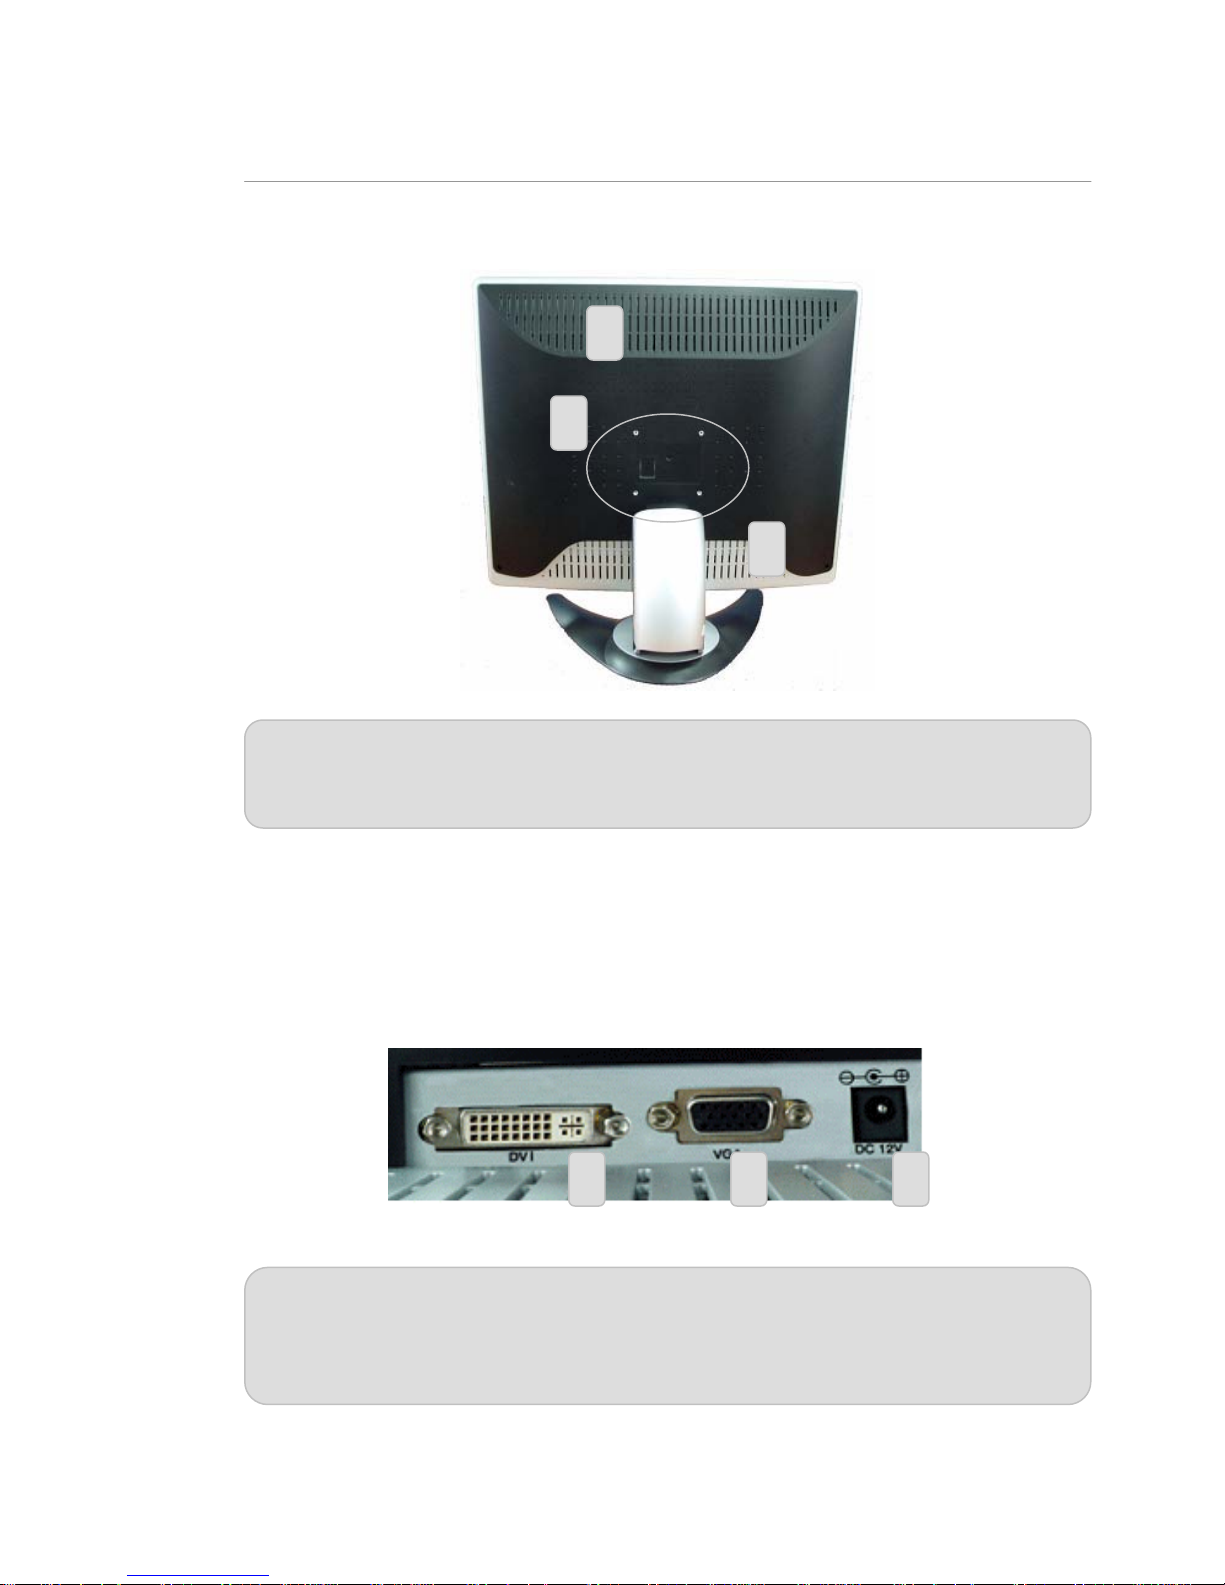
▒ Rear
2
2
2
1
1 VESA compliant hole pattern for wall mounting
2 Air vent
■ Input terminal for C190S and G170S models
2
1 DVI input terminal, DVI cable connection
2 RGB input terminal, 15 pin D-SUB cable connection
3 Power input, provided DC 12V adapter must be used
Chapter 2
8
21 3
 Loading...