

Page 1
8-PORT 10/100MBPS
PoE ETHERNET SWITCH
Manual
DN-95321
Page 2

TABLE OF CONTENTS
Chapter 1 Product Introduction
1.1 Product Overview ............................................................................................................ 2
1.2 Features ............................................................................................................................ 2
1.3 Environments .................................................................................................................... 2
Chapter 2 Installation
2.1 Installation method ........................................................................................................... 3
2.2 Rack-mountable Installation ........................................................................................... 3
2.3 Turn on the switch ............................................................................................................ 4
2.4 Indicator LED .................................................................................................................... 5
2.5 Network Connection ........................................................................................................ 5
2.6 Switch connection to the PD .......................................................................................... 6
Chapter 3 Trouble Shooting
3.1 Indicators ........................................................................................................................... 6
3.2 Power ................................................................................................................................. 6
3.3 Cable ................................................................................................................................. 6
Appendix: The standard RJ-45 Introduction
............................................................................................................... 3
............................................................................................. 2
................................................................................................... 6
...................................................................... 7
1
Page 3

Congratulations on your purchasing of the
economical, standard and high performance solution for you.
user manual before using the product and save it for future reference.
switch
. This switch
provides a simple,
Please read the entire
CHAPTER 1 PRODUCT INTRODUCTION
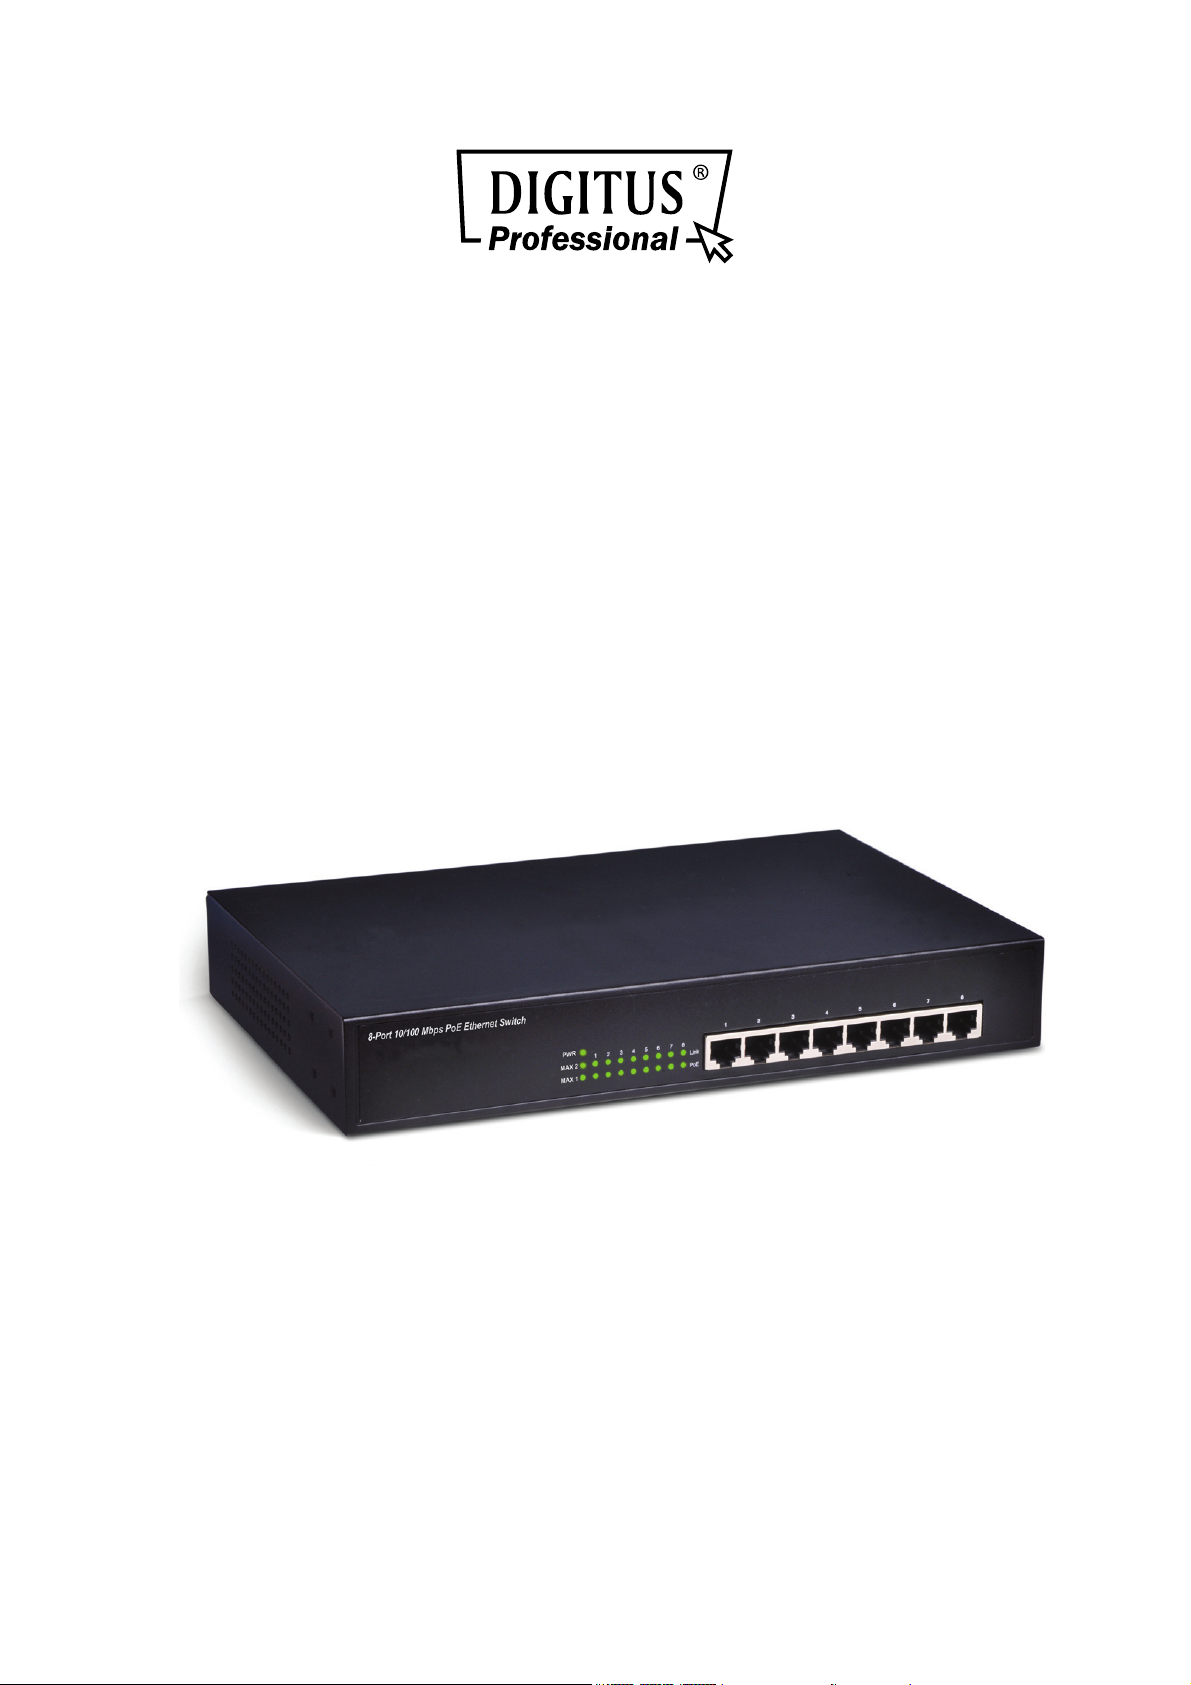
1.1 Product Overview
The product is desktop design, all-metal chassis and elegant appearance. This
product is easy to install, can rack, plug and play, no management; Dynamic LED
indicator to monitor switch status and troubleshooting work. Supporting 8 10/100Mbps
auto-negotiation ports, use store and forward technology, combined with dynamic
memory assignment, to ensure it can be distributed to each port. Flow control ensures
to prevent data packet from losing while sending and receiving. Compatible with
10Base-T, 100Base-TX, two network environment.
LED panel light displays power and network station dynamically. With all ports have
POE function, the power is up to 30 watts each port, compliant with IEEE802.3af、
IEEE802.3at standards. POE total power reaches 140W for all ports. It can make IP
phone, IP cameras, wireless LAN access point AP and other PD devices work, no
need power cords and outlet socket.
1.2 Features
8 × 10/100Mbps Auto-negotiation Fast Ethernet RJ45 ports with 8 port PoE
function (port1-port8)
Supports PoE power up to 30W for each PoE port
Supports All power up to 150W
Supports PoE IEEE802.3af and IEEE802.3at compliant Powered Device (PD)
Supports IEEE802.3x flow control for Full-duplex Mode and backpressure for
Half-duplex Mode
2K entry MAC address table of the switch with auto-learning and auto-aging
LED indicators for monitoring power, link, activity
Internal power adapter supply
1.3 Environments
Operating Temperature: 0℃~40℃
Storage Temperature: -10℃~70℃
Operating Humidity: 10%~90% non-condensing
Storage humidity: 5%~90% non-condensing
2
Page 4

CHAPTER 2 INSTALLATION
Before installing the switch, make sure that the following the "packing list" listed OK. If
any part is lost and damaged, please contact your local agent immediately. In addition,
make sure that you have the tools install switches and cables by your hands.
One Switch
One power cord
This User Guide
Mounting screws with two “L” planks
Note: This switch can be placed on a flat surface.
The site where you place the switch may greatly affects its performance. When
installing, take the following into your consideration.
2.1 Installation method
Follow the below guide to install the switch.
Please install the switch in a fairy cool and dry place. See the Technical
Specification for the acceptable temperature and humidity operation ranges.
Installing the switch on a sturdy, level surface that can support its weight
(at least 5KG).
Connect the power cord to the switch and the power outlet. The distance is less
than 150cm.
Leave at least 10cm (about 4 inches) of space at the front and rear of the switch
for ventilation.
2.2 Rack-mountable Installation
The switch is rack-mountable and can be installed on an EIA-11 inch equipment rack.
To do this, first, please install the mounting brackets on the switch’s side panels(one
on each side), secure them with the included screws, and then use the screws
provided with the equipment rack to mount the switch on the 11 inch rack.
3
Page 5

2.3 Turn on the switch
Step 1
Step 2
Please plug the power supply into the switch, the internal power system of the switch
can
auto-regulate the working power according to the actual input power. When the switch
is power on, the power indicator will be light on on the front panel of the switch shines.
Note:
Please confirm the voltage is correct before power on, otherwise the switch will be
damaged.
There is a power supply socket on the back panel of the 8 port PoE switch.
The power input is: 110V-240V.
8-port PoE Ethernet Switch back panel
4
Page 6

2.4 Indicator LED
LED Status Description
PWR
Link
PoE
MAX 1(1-4
Ports)
MAX 2(5-8
Ports)
ON
OFF
ON
Blinking
OFF
ON
OFF
ON
OFF
ON
OFF
Power is supplied
No power
A valid link is established
Data packets received
No link is established
There is a PoE PD connected to the port, which
supply power successfully.
No PD port connect to the port, or the power is not
enough to supply PoE device to work on
When the power output to PDs has reached or
exceeded the maximum power budget. No
additional PDs connected will be powered.
When the system is using less than 55W
than
When the power output to PDs has reached or
exceeded the maximum power budget. No
additional PDs connected will be powered.
When the system is using less than 55W or
than
70W
70W
Higher
Higher
2.5 Network Connection
Connect your devices (computer, router, switch, etc.) to the ports with a
CAT-5/CAT-5e/CAT-6 network cable. Since the switch supports Auto MDI/MDI-X you
can use either a straight or crossed network cable.
5
Page 7

2.6 Switch connection to the PD
All ports of switch have POE power supply function, the maximum output power up to
30W each port, it can make PD devices, such as internet phone, network camera,
wireless access point work, provide five levels of 3.84 ~ 25.5W electric power request.
You only need to connect the switch POE port directly connected to the PD port by
network cable
CHAPTER 3 TROUBLE SHOOTING
The Switch can be easily monitored through panel indicators to assist you identify
some problems. This section describes common problems you may encounter and
where you can find possible solutions.
3.1 Indicators
If Link indicator does not light up after making a connection, you may check whether
network interface (e.g., a network adapter card on the attached device), network cable,
or switch port is defective or not. Be sure the cable is plugged into both the Switch and
corresponding device. Verified the proper cable type is used and its length does not
exceed specified limits.
3.2 Power
If the power indicator does not turn on when the power cord is plugged in, you may
have a problem with power outlet, or power cord. However, if the switch powers off
after running for a while, check for loose power connection, power loses or surges at
power outlet. If you still cannot resolve the problem, contact your local dealer for
assistance.
3.3 Cable
RJ-45 Ports: Use unshielded twisted-pair (UTP) or shield twisted-pair (STP) cable for
RJ-45 connections:
1. CAT-3/CAT-5/CAT-5e UTP cable when the switch connect with a 10-Base TX
device
2. CAT-5/CAT-5e/CAT-6 UTP cable when the switch connect with a 100-Base TX
device
3. Be sure that the length of any twisted-pair connection does not exceed 100
meters (328 feet).
6
Page 8

Appendix: The standard RJ-45 Introduction
Please note that cable-making methods, because cable which does not meet
the standards of the sequence data will make the data transmission speed
slow, unstable and even be blocked, the following chart represents that the
standard RJ-45 jack and the connector and pin definition:
Standard RJ-45 jack / connector
RJ-45 connector pin definitions
Pin Number Signal
1 _TX1 +(PoE Power+)
2 _TX1 - (PoE Power+)
3 _RX1 + (PoE Power-)
4
5
6 _RX1 - (PoE Power-)
7
8
7
Page 9

The standard cable, RJ-45 pin assignment
The following shows straight cable and crossover cable connection,ordinary please
use straight cable to connect switch/Hub or other devices:
Straight cable for the switch (uplink MDI-II port) to switch/Hub or other devices
connection
Cross over cable for switch (MDI-X port) to switch/hub or other network devices
(MDI-X port) connection.
8
 Loading...