

Page 1
USB 2.0
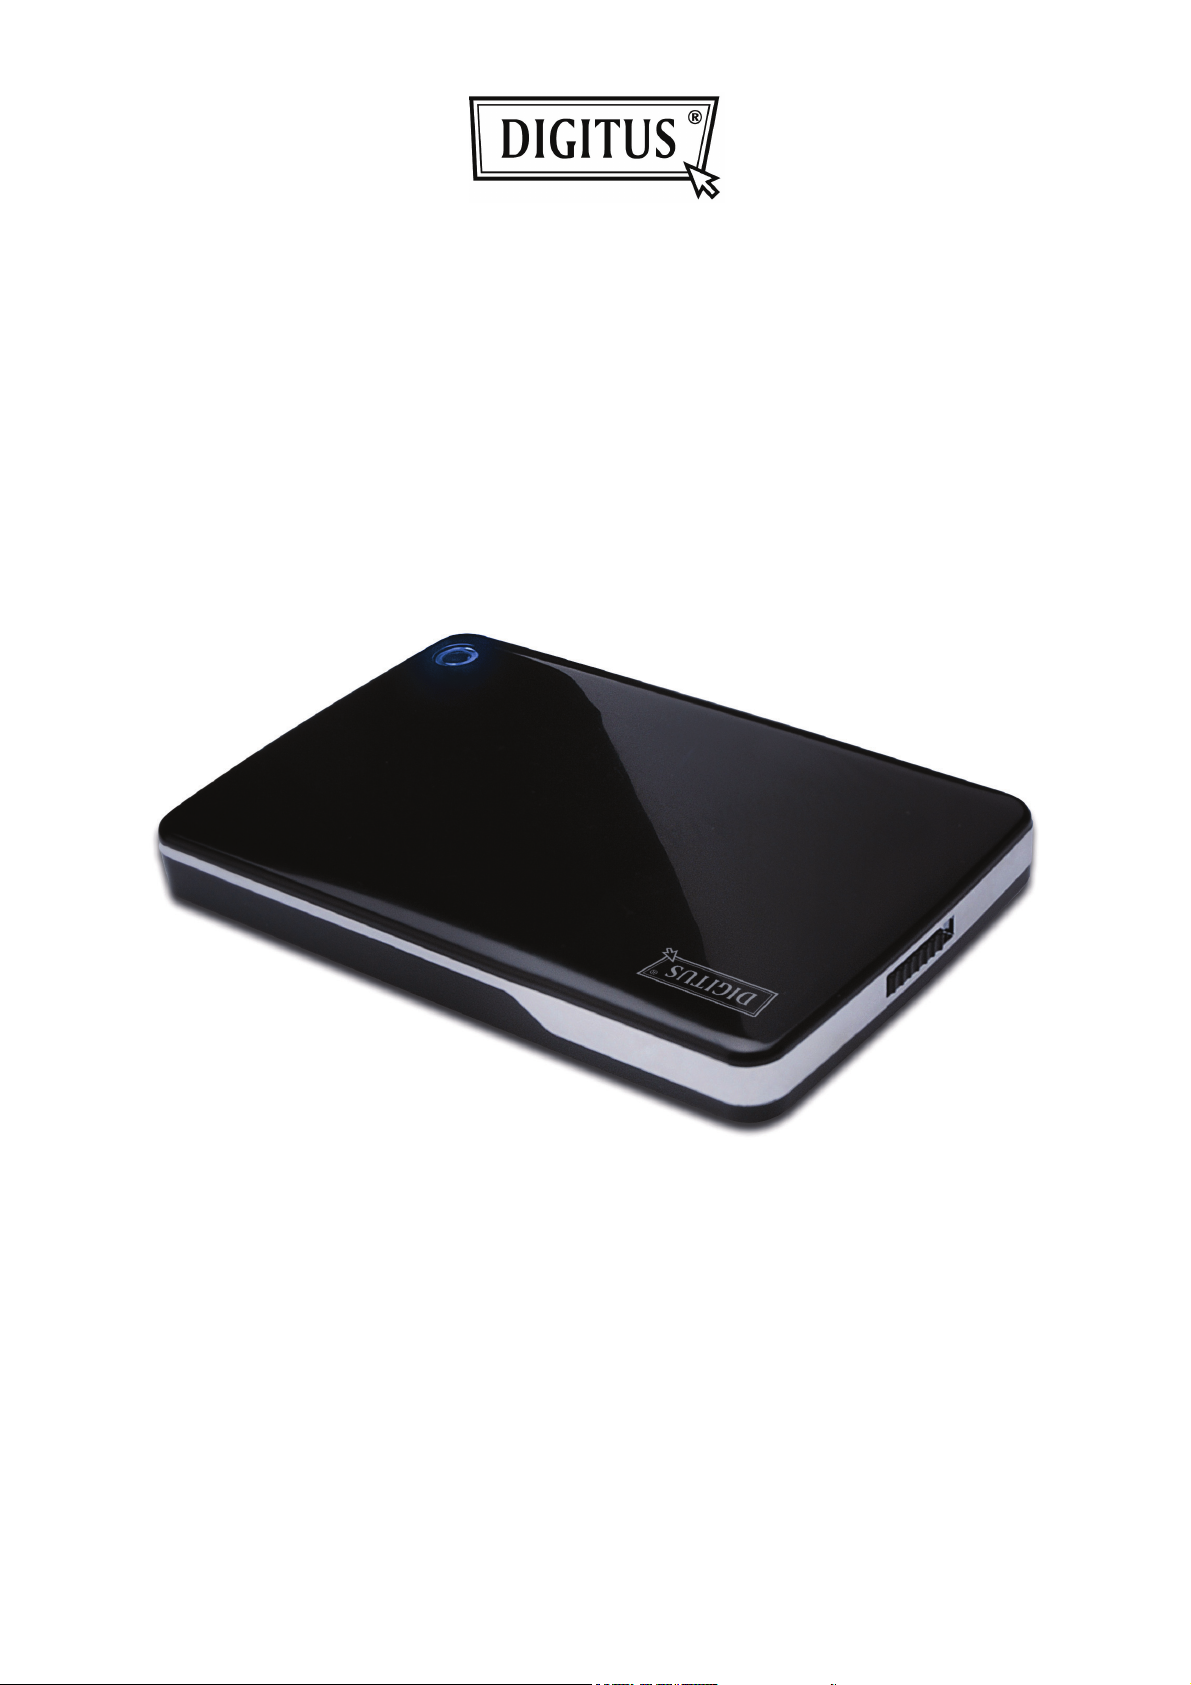
External Enclosure 2.5" (6,35cm)
User Manual
DA-71001 • DA-71002
Page 2

Foreword
Congratulations of your purchase of our product! We will show you a new storage concept with safety
and convenience. It is our pleasure to give you the best solution to expand your HDD`s capacity and
enhance your data`s reliability in PC system or Mac system. Before using the product, please read this
manual carefully for further recognizing of the product.
I. System Requirement
Hardware requirement: PC, Notebook or Mac system with free USB interface
Operation system: Windows 7/ Vista/ XP/2000, Mac OS 10.4 above.
II. Feature
• Suitable for standard 2.5" (6,35cm) IDE Hard disk (DA-71001);
or standard 2,5" (6,35cm) SATA Hard disk (DA-71002)
• Compliant USB 2.0 to IDE (DA-71001) / SATA (DA-71002) interface
• Transfer rate max up to 480Mb/s
• Support Hot-plugging, and Plug & Play compatible
• Power Supply: Bus power or self-powered
• Supports Windows 7/Vista/XP/2000, and Mac 10.x or above
III. Package content
Before using the product, please check the content in the package.
If it is not correct, please contact the local dealers immediately.
• USB 2.0 External HDD Enclosure 2,5 inches
• USB 2.0 connection Cable
• Quick Installation Guide
• Product support CD (Multi-language User’s Manual)
Page 3

IV. Hardware Install
1. Slide the switch button to [OPEN] position
2. Slide the top cover to the direction of USB socket
3. Remove the top cover
4. Connect the IDE HDD to the 44pin IDE connector (DA-71001);
or SATA HDD to SATA connector (DA-71002) correctly and firmly.
5. Put the top cover back to the main case,
and slide toward switch button
6. Slide the switch button to the [CLOSE] position
Page 4

V. Driver Installation
a. Under Windows 7/Vista/XP/2000: no need driver
Under system Windows 7/ Vista/ XP/2000, system will automatically detect the new hardware and
finish the setup! Then an
Congratulations to enjoy this product now!
b. Setup mode under Mac OS system
If your system is Mac OS 10.4 or above, the system can detect the hardware and install it directly, if
your system is Mac OS8.6, you have to download setup “USB Mass Storage Support 1.3.5” from
Software Support.
Website: http://www.apple.com/support
icon will appear on the right-bottom area of the system toolbar as below:
VI. Power Supply
Usually under USB mode bus-power can support hardware work normally, If your HDD needs more
than 500mA to function or it works unstably while using only the USB Bus-power, you should apply the
external power supply to this unit:
Connect the USB extended power jack:
1. Connect the HDD installed enclosure to your computer's USB/FW port with the USB2.0
multiple/FW cable
2. Connect the red color of USB extended power jack which been mounted on the enclosed USB2.0
multiple cable to your computer's the other USB port
To external box mini USB port
1
DATA USB Connector
2
Color: RED
3
Power USB Connector
4
Page 5

VII. Remove the external enclosure
Before removing this unit from your computer,
please finish the following procedures for a safe removal:
1). Click the
2). A [Safely Remove Hardware] message window will appear,
click the [Stop] button
3). [It is now safe to remove the USB device] message will appear,
close the [Safely Remove Hardware] window
4). Remove (Power off) the USB extended power jack if it is applied.
Now you can safely remove the enclosure!
VIII. Format a new Hard Disk Drive
If you use a new Hard Disk Drive, you must format it before you use it,
please follow the steps as bellow to format your new Hard Disk Drive:
1). Right click [My Computer], and select [Manager]
2). System will display a "Computer Manager" window,
and click [Disk Manager] in left window
3). In right window, the message of the new Hard Disk Drive
will appear under the system disk, such as [Seagate....]
4). Right click the new disk drive, and select [Delete partition]
5). Right click the new disk drive, select [New Partition]
6). Right click the new disk drive, select [New logical drive]
7). Right click the new disk drive, select [Format disk drive]
8). Now you have formatted the new disk drive, then in [My Computer],
the new Hard Disk Drive will appear and you can use it.
icon in the [Desktop] window of your computer
 Loading...