

Page 1
SATA HDD 3.5
USB 3.0 External Enclosure
User Manual
(DA-70577)
Page 2

I. System Requirement
Basic environment for setup this device:
Hardware requirement: a PC or Notebook
Operation system:Windows2000/XP/Vista/7
II. Feature
No screws design, easy install or remove disk drive
Suitable for 3.5" SATA HDD
Compliant USB3.0 to SATA interface, transfer rate max up
to5Gbps
One touch backup function
Support Plug-paly and Hot-plug.
Power Supply: Self-power, AC100~240V input, DC 12V output
III. Check fitting s
Before using the product, please check the fittings in the
package compliant with the below. If not, please contact the
local dealers timely.
◇one 3.5" External Enclosure
◇one 12V Adapter
◇one CD Driver
◇one User's Manual
◇one USB3.0 cable
IV. Hardware Install
1. Slide the button to [Unlock] position, and pull the plastic
cover out
2. Connect the 3.5" SATA HDD to the 22pin SATA connector
correctly and firmly
1
Page 3
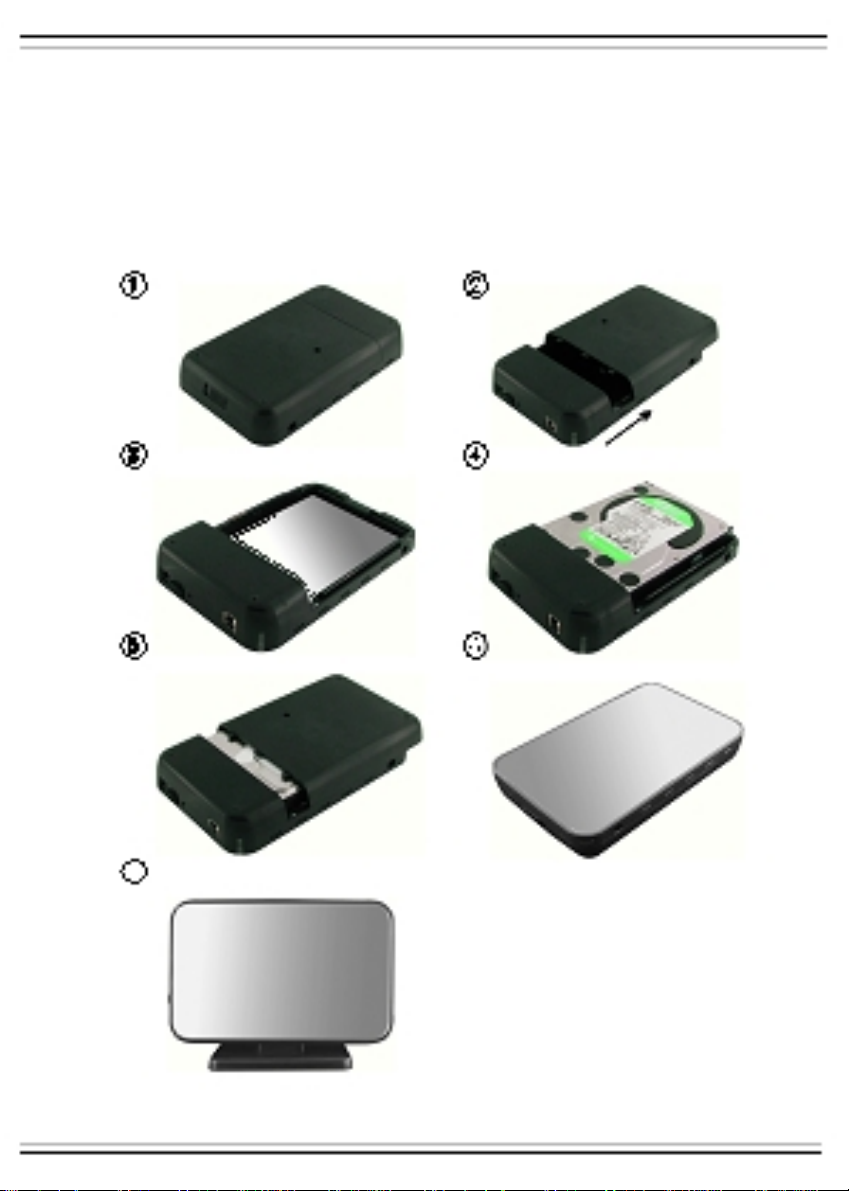
3. Slide the plastic cover to the main case
4. Slide the button to the [Lock] position
5. Insert the enclosure to the attached stand
6.Connect the USB cable to enclosure and PC
7.Connect the Adapter to the enclosure and power source
7
2
Page 4
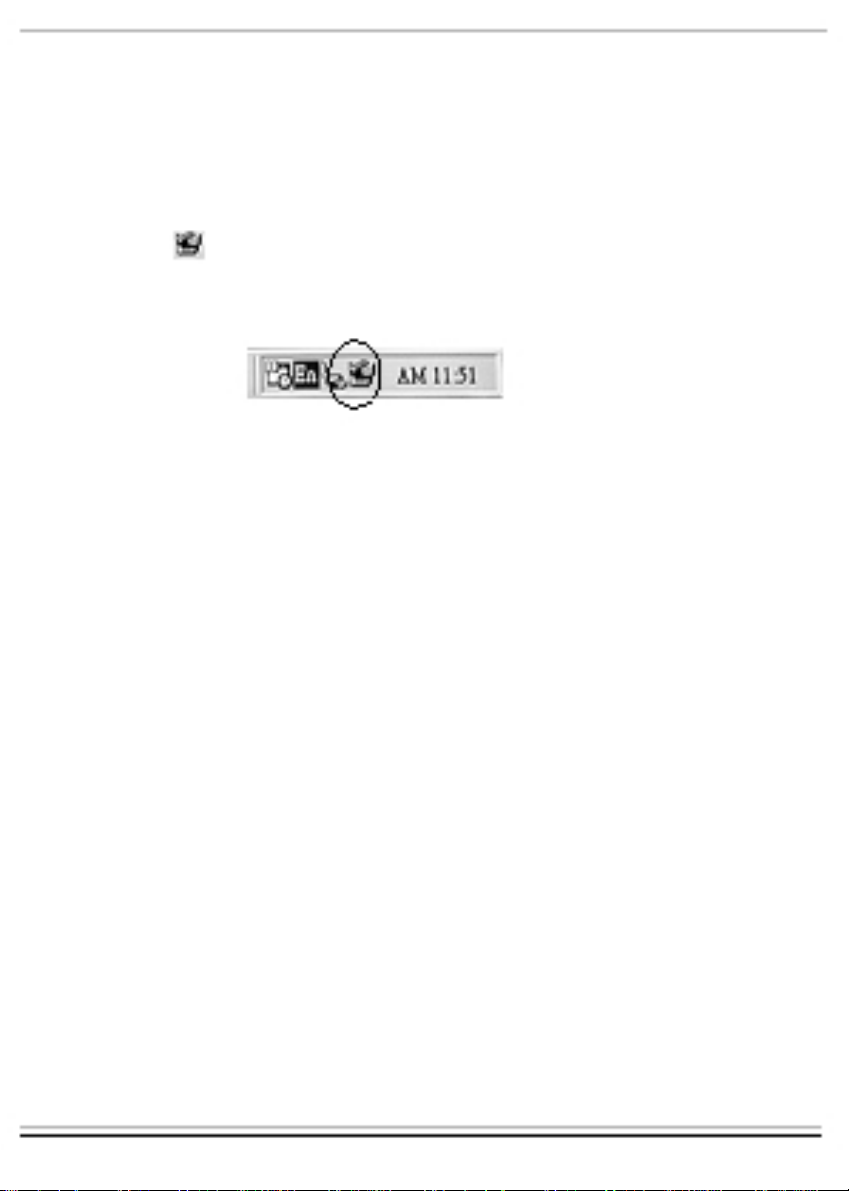
V. Driver Installation
a . Setup mode under Windows2000/XP/Vista/7
Under system win2000/XP/Vista/Win7, system will
automatically detect the new hardware and finish the setup!
Then an icon will appear on the right-bottom area of the
system toolbar as below:
Congratulation,you enyoy this product now!
VI. Power Supply: Self-Power
Power Supply Voltage input: AC 100~240V
50/60Hz
Voltage output: DC 12V
3
Page 5

VII. software installation and usage
A. software installation
1.Open the folder
[PCCLONEEX_LITE_1_82_0 1_JMICRON] and double click
[Setup],the window will apear as be l ow:
2. Click [Agree] to accrpt the license agree ment
3
Click [Install] enter next s t ep
.
Page 6

1. After finish the installation, on icon will appear on
desktop, double click [PCCloneEX]
appear as below:
, then one window will
5
Page 7

2. Press the backup button, program will appear [Please
select file(s)], click [OK]
6
Page 8

3. Please select the file(s) which you want to backup in the
left window, then press the button again
4. Follow the instruction to press the button again or click
[Start] with mouse
7
Page 9

5. System start to backup the file(s) which you have
selected, when finish, there will display [Back up finished],
click [OK]
6. Now you can check the file in right window
8
Page 10

VIII. Remove the external enclosure
Before removing this unit from your computer, please finish the
following procedures for a safe removal:
1). Click the icon in the [Desktop] window of your computer
2). A [Safely Remove Hardware] message window will appear , click
the [Stop] button
3). [It is now safe to remove the USB device] message will appear,
close the [Safely Remove Hardware] window
4). Remove the USB cable and Power off the adapter if it is applied.
IX.Format a new Hard Disk Drive
If you use a new H a rd Di sk Drive, you must format it before you
use it.please follow the steps as bellow to format your new Hard
Disk Drive:
1). Right click [My Computer], and select [Manager]
2). System will display a "Computer Manager" window, and click
[Disk Manager] in left window
3). In right window, the message of the new Hard Disk Driv e will
appear under the system disk, such as [Seagate....]
4). Right click the new disk drive, and select [Delete partition]
5).Right click the new disk drive, select [New Partition]
6).Right click the new disk drive, select [New logical drive]
7).Right click the new disk drive, select [Format disk drive]
8). Now you have formatted the new disk drive, then in [My
Computer], the new Hard Disk Drive will appear and you can use it
9
Page 11

Disclaimer
All the information in this document is
subject to change without prior notice The
manufacturer makes no representations or
any warranties regarding the Contents of this
manual. The information contained in this
manual is provided for the general use by the
customers. No part of this document may be
reproduced or transmitted in any form by any
means without the express written
permission of The manufacturer. All bran d
names and product names used in this
document are trademarks or registered
trademarks of their respective holders.
Made In China
10
 Loading...