

Page 1
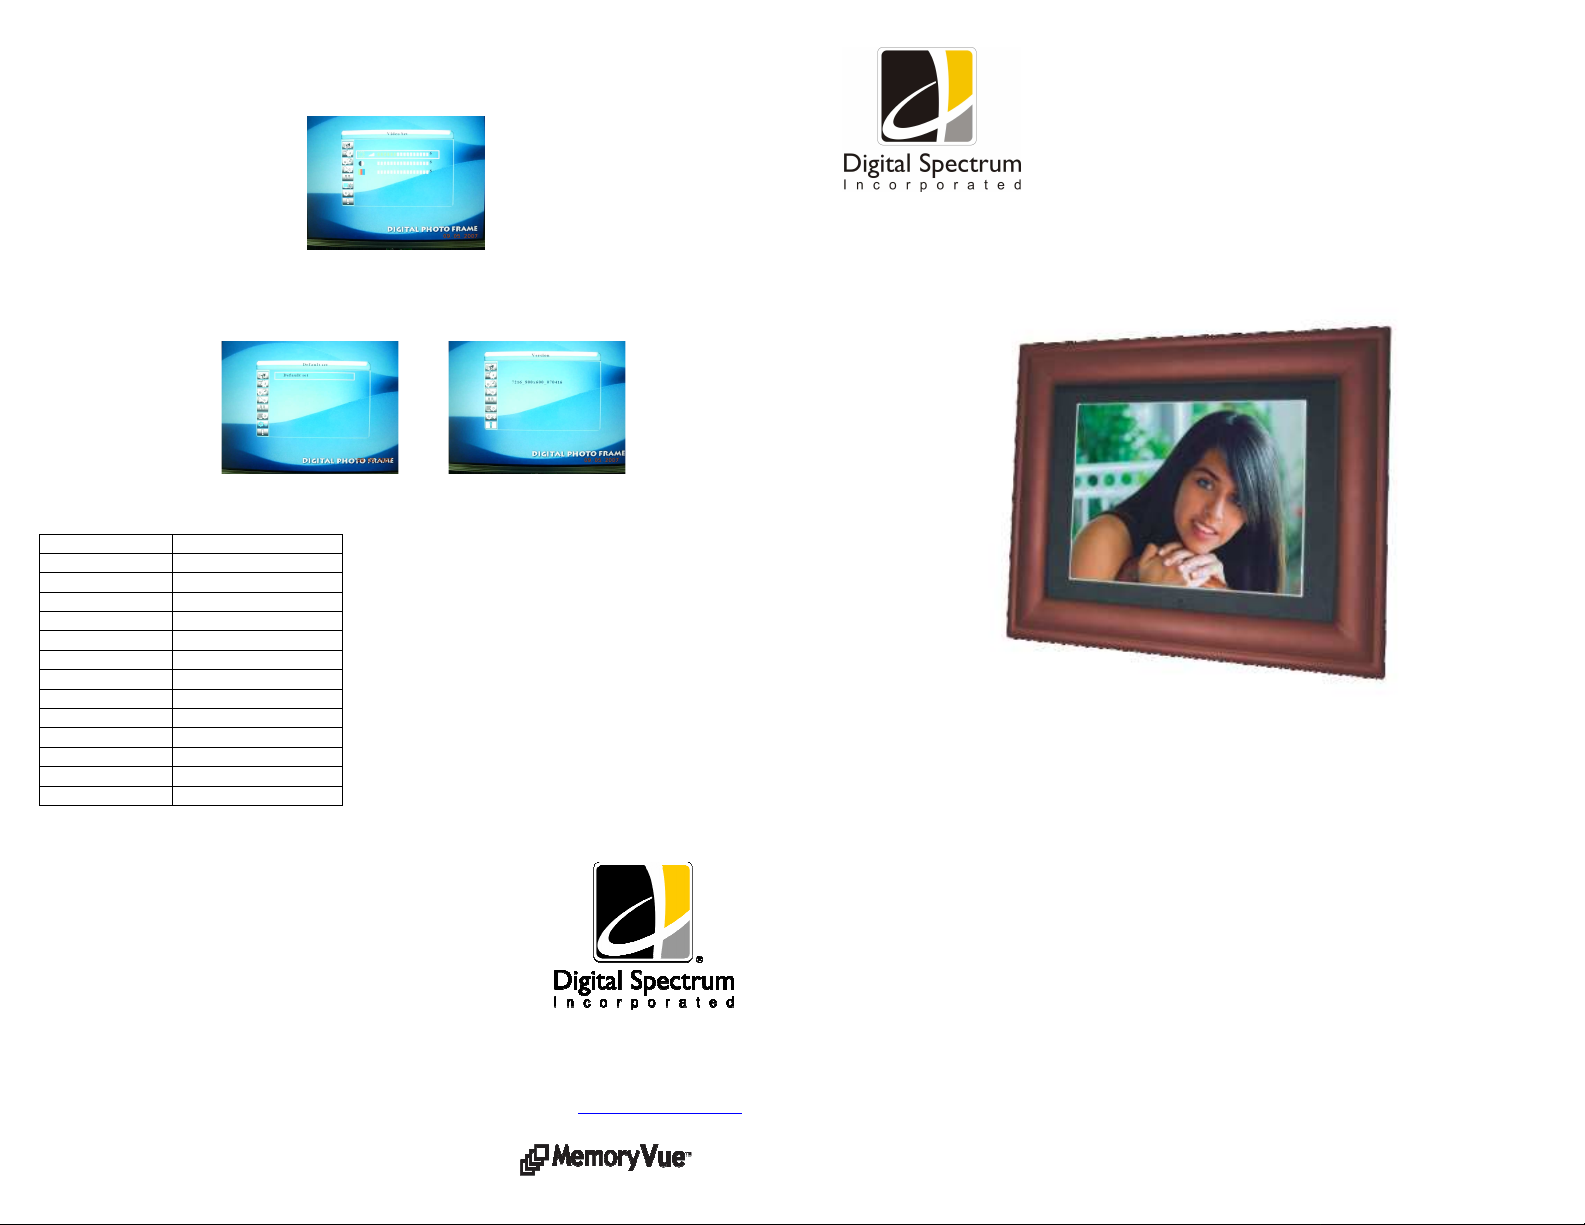
Video Set – Used to set the Brightness, Contrast, and Color Saturation of the screen
to the desired level based on your lighting conditions.
Default Set and Version – These are used to commit default changes and display the
version control of the unit.
Specifications
Function Specification
Screen Size 10.4”
Resolution 800x600
AC Input Power 100-240VAC, 50/60Hz
DC Unit Power [email protected]
Built-in Speakers Stereo
Images JPG
Audio MP3
Video MPEG
Card Reader CF/MMC/SD/XD/MS
USB to PC Yes
USB to Device Yes
Internal Memory Yes
Remote Control Yes
Digital Spectrum, Inc.
17811 Mitchell North
Irvine, Ca. 92614
www.dsicentral.com
1862-M0-P1-6
MemoryVue 1040 Plus
User Manual
8
Page 2
Congratulations! You are the proud owner of a MemoryVuetm Digital Frame. Boasting
high-quality image resolution the MemoryVuetm is the perfect product for displaying your
favorite digital photos. With its ease of use and configuration, you can now display all your
favorite pictures, even with background music, or video clips for everyone to see!
Package Contents
Before using the MemoryVuetm, be sure to check all the accessories contained in the
package. MemoryVuetm comes with the following items:
1. MemoryVuetm unit with removable desktop stand
2. A.C. Power Adapter
3. USB Cable
4. User Manual
Features
High resolution 10.4” TFT display
Plays images in slideshow format
Plays MP3 audio
Plays MPEG Video
Plays Audio Slideshow
Built-in multi format card reader CF/MMC/SD/XD
Generous 256MB internal memory
USB Port for PC connection
USB Port for device connection – thumb drive, camera, etc.
Connections
Use the guide below for power connection and media insertion.
CF
Setup
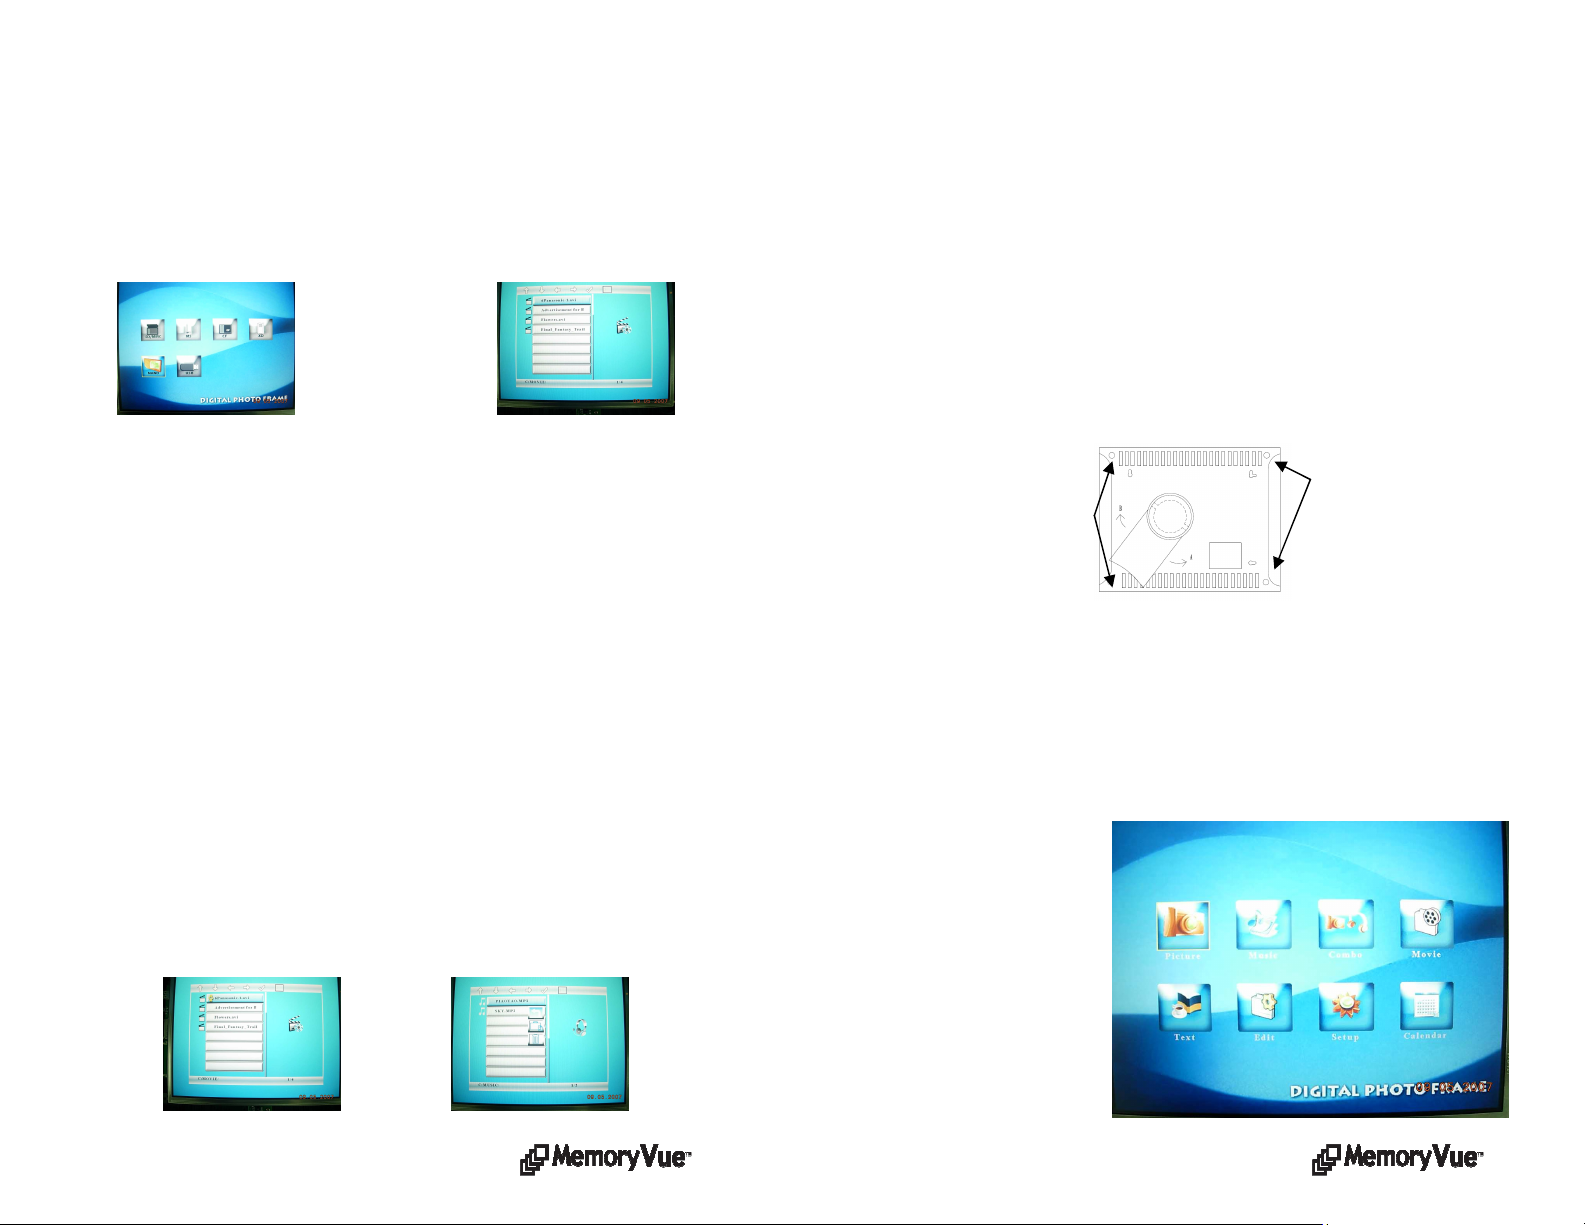
This function is used to setup operational parameters for personalization. Functions
include Language, Slideshow management, Clock settings, Alarm settings, Startup
control settings, Video Settings, Default settings. Use the Up/Down buttons to the
desired control and use the Enter button to select. A second screen is displayed with
the controls. Use the navigation buttons to the desired control. The Enter button will
select the desired parameter.
Language – Once in “Language use the navigation buttons to select the desired
language.
Picture Set – Once in “Picture Set” use the navigation buttons to select either
“Slideshow Mode” (Display Rate) or “Picture Play” Mode (Transitions).
Clock/Alarm Set – Once in either mode use the navigation buttons to change the
times as desired.
1. Plug one end of the AC Adapter into the Digital Photo Frame and plug the other
end into a standard AC electrical outlet.
2. Insert a memory card into the appropriate slot.
3. Slide the Power Switch to the ON position.
4. A slideshow will automatically play from the inserted media. If there is no media,
the unit will play from the internal memory*.
* First time users may be asked by the unit to set the date and time.
2
Start Up Set – Used to select the Startup Mode. When “Mode Select” is selected, the
Main Menu is displayed at Power On. When any other function is selected, external
media is played first. If no external media, plays from internal memory.
7
Page 3
Movie
This is the function used to play a movie clip. On the Main Menu select Movie and
Enter. On the second screen select the media (the media named
“MEMORY/NAND” is internal memory). Press the Enter button to activate the
media. The third screen shows the name of the clips on the selected media. Press the
Enter button to Play. The clip will begin to play. Press the Play/Pause button to pause
the clip. A screen will temporarily appear over the clip confirming the clip was
paused along with the pause time; same when play resumes. Press the Menu button to
end and return to the Main Menu.
Text
This is the function used to play text files (.txt). These are files which are readable in
ASCII format. On the Main Menu select Text and Enter. On the second screen select
the media (the media named “MEMORY/NAND” is internal memory). Press the
Enter button to activate the media. The third screen shows the name of each text file
on the selected media. Press the Enter button to Play. The will show the text
information on the screen Use the Up and Down buttons to navigate through lines,
and the right and left arrow buttons to navigate through pages. Press the Menu button
to end and return to the Main Menu.
Edit
This is the function used to Copy/Delete files from external memory to internal
memory as follows: Go to the Main menu.
1. Select EDIT, press ENTER.
2. Select the media which you want to copy from, and then press ENTER. Use UP or
Down arrows to navigate thru your files.
3. Select the files you want to copy by pressing the Right arrow. (Marked by a paw)
4. Press the Left arrow to return to the Media menu.
5. Highlight the device the images are to be copied to and press Enter.
6. Press the Copy/Del button, select the copy option (briefcase) and press Enter
7. You should then see a message saying “Finished!” Press Enter once you see this
message.
Changing the Frame
MemoryVuetm supports changeable frames so you can change the look of the frame as
the décor changes. Use the following instructions to change the frame:
1. Lay the digital frame on a flat surface with the screen facing down. Make
sure the surface is flat and protected to avoid scratches.
2. Using a #6 Philips head screwdriver and the illustration below, remove the 4
screws that fasten the frame to the unit. Lift the digital frame unit up, turn it
over, and lay it down in another area. The frame should be left on the
protected surface. Note the location hole in the matte.
3. Lift the removed frame form the surface. Replace this frame with the new
frame, making sure the orientation of the hole in the new frame is the same
as the other.
4. Lift the digital frame unit up, turn it back over, and place it over the frame,
aligning the mounting holes, and making sure the optical sensor on the unit
and the hole on the matte are aligned.
5. Use the four screws that were removed to fasten the new frame. The unit is
now ready for display.
Rear View
Frame Mounting Screw
Frame Mounting Screw
.
Connecting to the USB Ports
The MemoryVue 1040 Plus has both a USB Port for connection to a PC and a Port for
connection to other devices such as thumb drive, USB card reader, and camera. When
connected to the PC you can drag-n-drop content to internal memory using PC exploring
tools to locate the unit, and will appear as additional drive letters, including internal and
external memory. You can also delete content from internal memory. The other USB port
supports devices such as thumb drives, card readers, cameras, etc.
On Screen Menu
The Main Menu contains the
major functions for control.
Use the navigation buttons on
the remote control to locate the
desired function. Use the Enter
button to select. A second
screen is presented for media
control (the media named
“MEMOY/NAND” is internal
memory). A third screen may
be presented to view and select
the media content.
6
3
Page 4
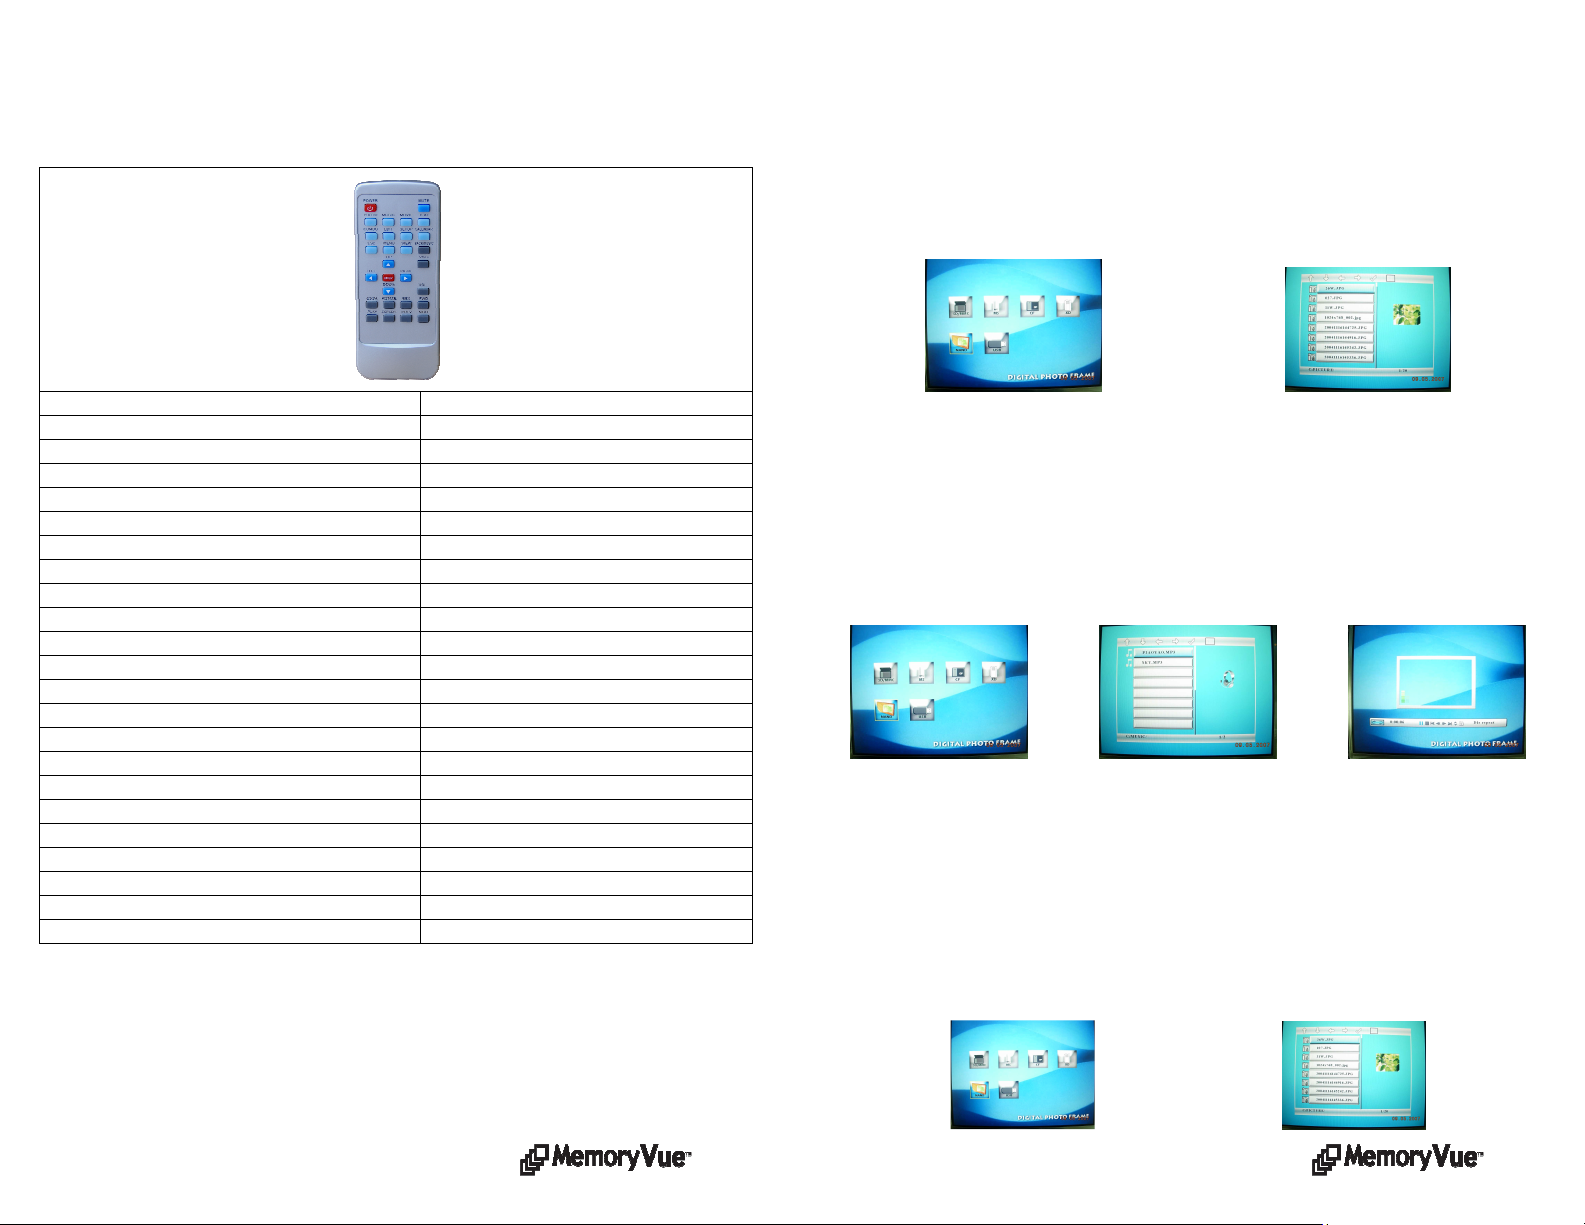
Remote Control
The remote control is used to conveniently manage the media and content to be
played. The layout is designed for maximum ease of use, and because the menu
functions all operate in a similar manner navigation is quick and easy to learn.
Photo/Picture
This is the function used to play a slideshow. On the Main Menu select Photo and
Enter. On the second screen select the media (the media named
“MEMORY/NAND” is internal memory). Press the Enter button to activate the
media. The third screen shows the name of the images on the selected media. Press
the Enter button to Play. The slideshow will begin to play beginning with the selected
image. Press the Enter button to change to Manual Mode, were each image is played
by manual control using the arrow buttons. Press the Menu button to end and return
to the Main Menu. Use the Zoom button to zoom in by 20% each press.
Button Function
Power On/Off Control
Mute Mute On/Off Audio
Photo Play Images
Music Play MP3 Track
Movie Play Video Track
Text Play Text File
Combo Play Slideshow and Audio
Edit Enter Edit Mode
Setup Setup operational parameters
Calendar Calendar Display
Esc Previous Command
Menu Main Menu
View Thumbnail View
Back Music Activate background music
Up, Down, Left Right Shift direction
Enter Select/Save
Vol +/- Volume Up/Down
Zoom Zoom by 20%
Rotate Rotate image by 900
Rev/Fwd/Play Reverse/Forward/Play Video
Copy/Del Copy/Delete
Prev/Next Previous/Next image
On Screen Navigation
Use the arrow buttons to navigate to the desired function. The selected function is
highlighted from the rest of the functions. Press Enter to select. A second screen will
appear to select the media. Use the arrow buttons to navigate to the desired media; the
selected media is highlighted. Press the Enter button to activate. A third screen will
appear with the name of each image or clip. Press the Enter button to Play.
Music
This is the function used to play a MP3 audio file. On the Main Menu select Music
and Enter. On the second screen select the media (the media named
“MEMORY/NAND” is internal memory). Press the Enter button to activate the
media. The third screen shows the name of the MP3 files on the selected media. Press
the Enter button to Play. The MP3 file will begin to play. Press the Enter button to
pause the clip. A control screen will appear identifying the file information and
controls while playing as noted below. Use the arrow buttons to navigate through the
desired controls. Press the Menu button to end and return to the Main Menu.
Combo
This is the function used to play an audio slideshow. The requirement is that there is
an MP3 file on the media with the images. In this manner MP3 audio will be played
in the background while a slideshow is playing. On the Main Menu select Combo and
Enter. On the second screen select the media (the media named
“MEMORY/NAND” is internal memory). Press the Enter button to activate the
media. The third screen shows the name of the image and MP3 files on the selected
media. Press the Enter button to Play. The slideshow will begin to play along with the
selected audio track. Press the Enter button to pause the slideshow. The audio will
continue to play. Press the Menu button to end and return to the Main Menu.
4
5
 Loading...