

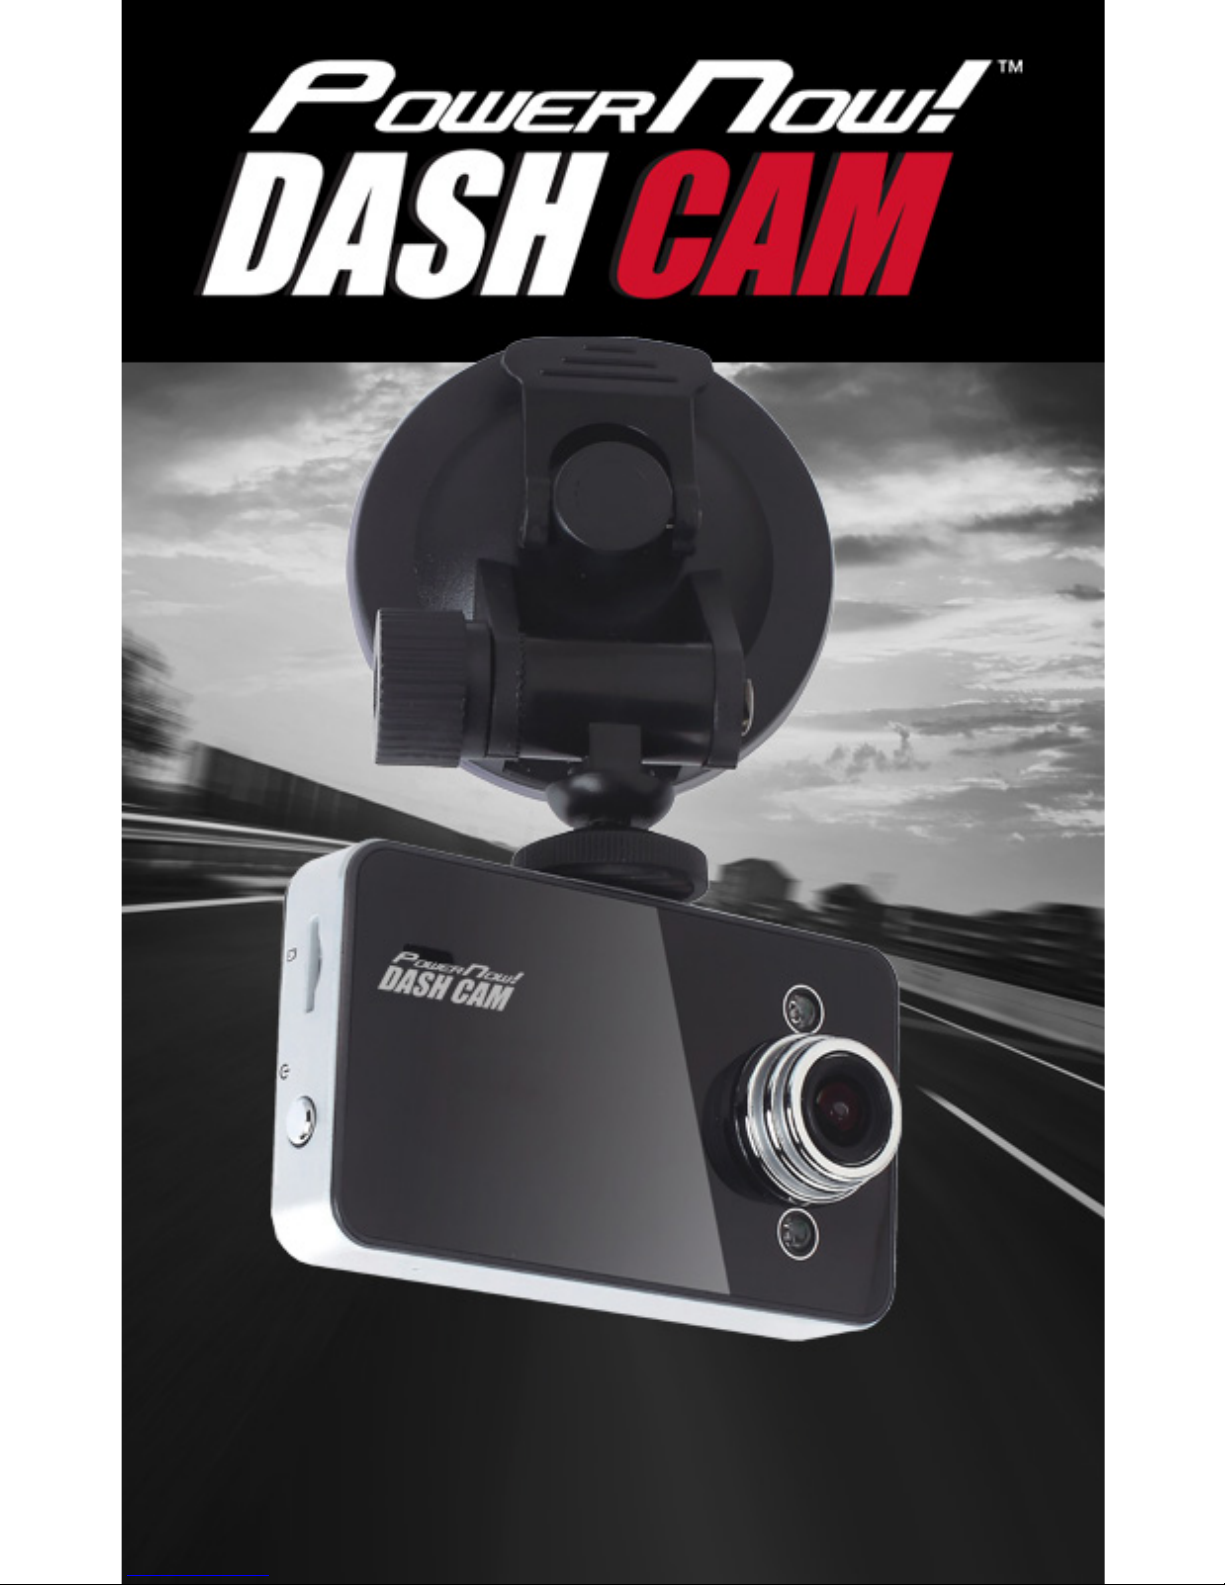
Digital reasures Power now! User Manual
USER GUIDE
2
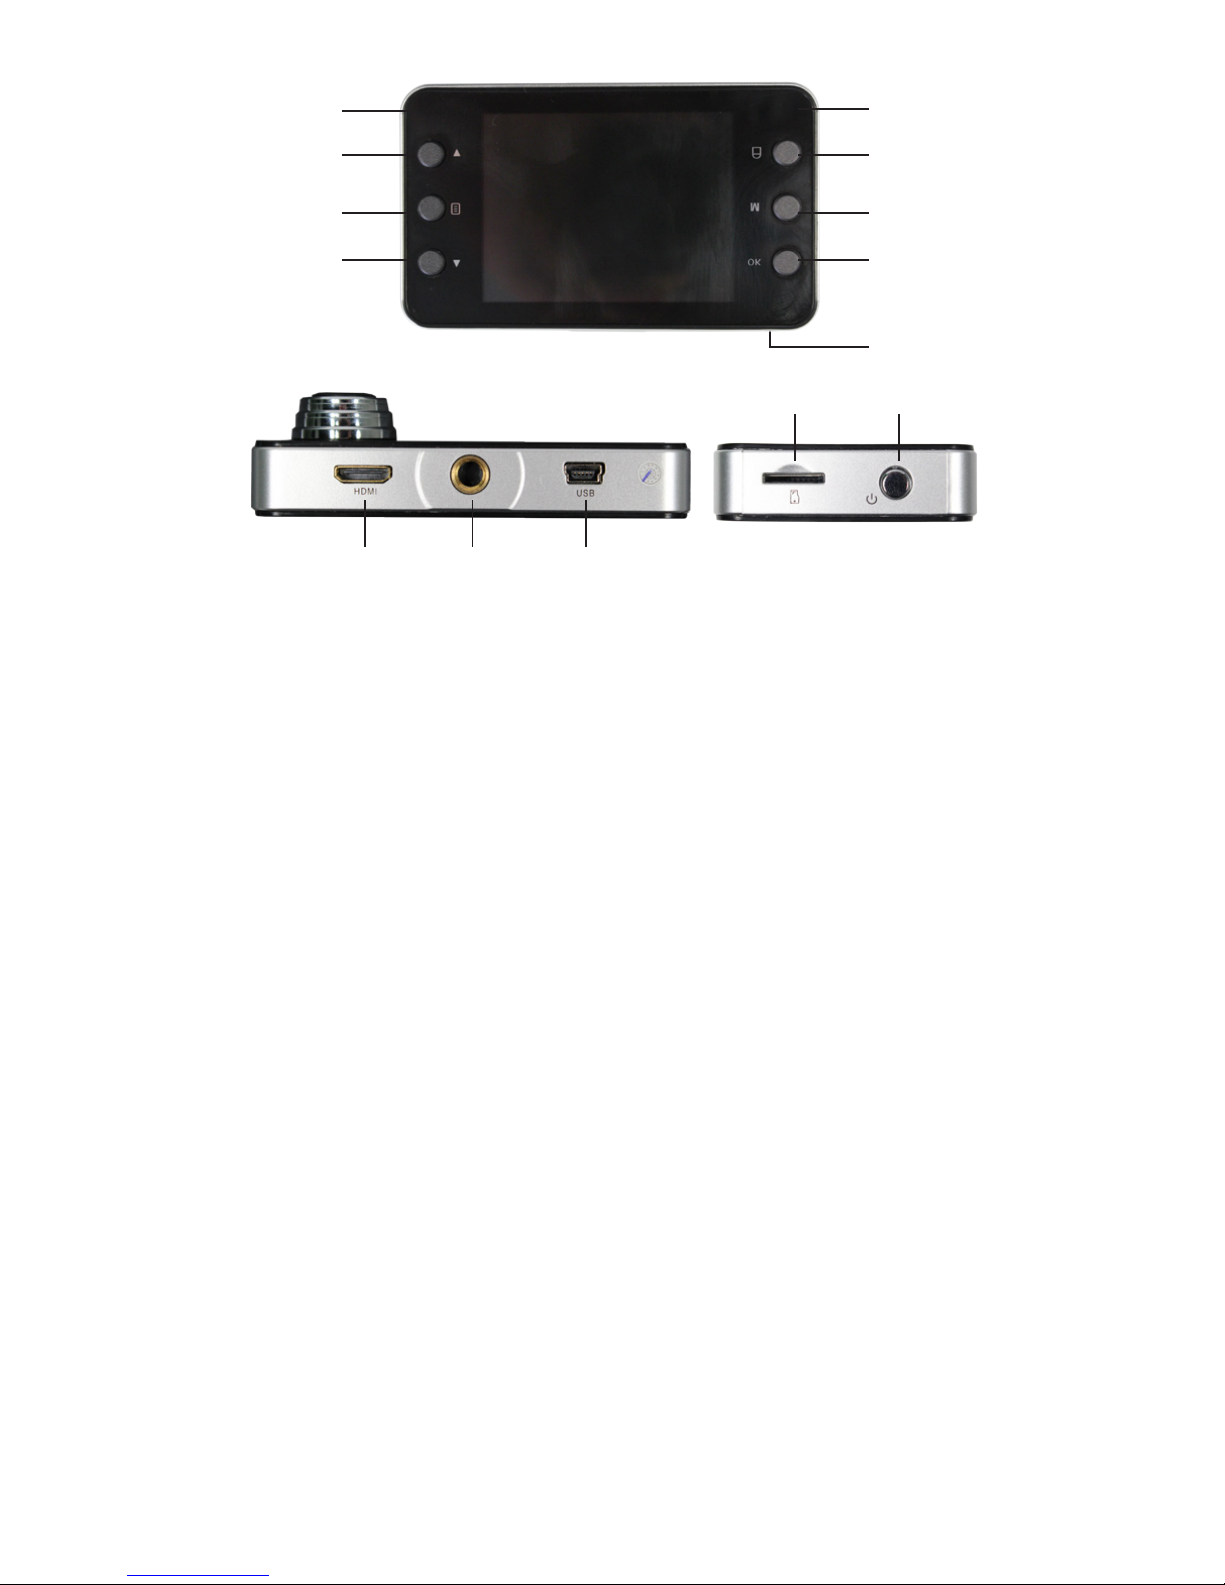
Function Keys:
1. On Light (blue light)
This light is illuminated when your Dash Cam is on.
2. Menu Option Up
Highlights menu options.
3. Menu
Press once to access camera features, press again to access settings.
4. Menu Select Down
Highlights menu options.
5. Charging Light (red light)
This light is illuminated when your Dash Cam is charging.
6. OK
Selects a highlighted option when in the Menu.
7. Mode Selection
Press to switch between video mode, picture mode, and playback.
8. Protect Button
Saves the current video le and protects it from accidental deletion.
9. Reset Button (on bottom of camera)
If your PowerNow! Dash Cam stops functioning, use a paperclip to press this
button to reset it. Your Dash Cam will turn off briey and then turn back on.
10. HDMI Output
Use with an HDMI cable (not included) to view your Dash Cam video on
high-denition devices.
11. Threaded Mounting Hole
Use to attach your Dash Cam to the included suction cup mounting bracket.
12. Mini-USB Port
Used for charging of your Dash Cam and downloading video from your Dash
Cam to your PC (using the included charging cables).
13. MicroSD Card Slot
Insert a MicroSD card (not included) to store your Dash Cam video.
14. Power Button
Press to turn your Dash Cam on and off.
2 6
5
3 7
4 8
10 11 12
1
13 14
9

3
Charging Your Dash Cam
There are two methods of charging your Dash Cam:
To Charge Using Your PC:
Plug the Mini-USB end of the included charging cable into the Mini-USB
slot on your Dash Cam and plug the other end of the charging cable into
the USB port on your PC. You can also charge using a USB wall adapter
(not included). The red charging light will appear (above the OK Button).
When this light turns off, your Dash Cam is fully charged.
To Charge Using the Included Car Charger:
Plug the Mini-USB end of the included car charger into the Mini-USB slot
on your Dash Cam, and plug the other end of the car charger into your
vehicle’s 12 Volt outlet (cigarette lighter). The red charging light will appear
(above the OK button). When this light turns off, your Dash Cam is fully
charged.
NOTE: When recording video, you should keep your PowerNow! Dash Cam plugged into
the cigarette lighter of your vehicle. Make sure to unplug it when exiting the vehicle to
prevent accidentally draining your vehicle battery.
Installing a MicroSD Card
With your PowerNow! Dash Cam turned off, insert the MicroSD Card into
MicroSD Card slot on your Dash Cam, and gently press it fully into place.
When your MicroSD Card is installed, your dash cam will show a MicroSD
Card icon on the display screen.
To remove your MicroSD Card, press down on it to release it from the slot
and pull out.
NOTE: As a point of reference, an 8GB MicroSD Card will hold approximately one hour
of 1080 HD video.
Turning On Your Dashcam:
To turn on your Dash Cam, press the Power Button. The blue On Light
indicates that it is operating. Push the Power Button again to turn the
Dash Cam off.
Mounting Your Dash Cam
Screw the mounting bracket onto the Dash Cam’s threaded mounting hole
and then follow the corresponding mounting instructions below:
1. With the suction lever pointing towards the Dash Cam, place the suction
cup against the windshield (make sure the surface is clean). To ensure
a rm hold, you can apply moisture to the suction surface. When in
place, ip the suction lever towards the suction cup.
2. To remove the mounting bracket, ip the suction lever towards the Dash
Cam and gently pull the mounting bracket free.
NOTE: To prevent damage to your Dash Cam, it should only be mounted on the interior
of your vehicle.
 Loading...