

Digital Monitoring Products 1100DI Installation Manual
INSTALLATION GUIDE
Keypad Bus
header
Wire
opening
1100DI Wireless Receiver
Description
The 1100DI Wireless Receiver provides up to 16 wireless zones for XRSuper6 and XR20 Command Processor™ panels
and up to 32 wireless zones (28 zones using one keypad) for XR40 Command Processor™ panels. The 1100DI is
compatible with all DMP wireless devices. The 1100DI provides two-way, supervised communication using 900 MHz
frequency hopping-spread-spectrum technology. The receiver can be installed anywhere on the panel keypad bus.
What is Included
The 1100DI Wireless Receiver includes the following items:
• One Model 1100DI Wireless Receiver
• One 4-wire Harness
• Hardware pack
Compatibility
The 1100DI Wireless Receiver is compatible with any XRSuper6, XR20, or XR40 Command Processor™ panels using
rmware Version 300 or higher. In addition to rmware Version 300 or higher, XR20 Command Processor™ panels
need to be hardware Level L or higher released October 2000. No specic receiver programming is required. Once
installed, a panel programmed with wireless information will automatically recognize the wireless receiver.
Installing the 1100DI Wireless Receiver
The 1100DI Wireless Receiver can be mounted anywhere along the panel keypad bus. A location should be selected
that will be centrally located between the 1100 Series transmitters used in the installation. Install the receiver
away from large metal objects. Mounting the receiver on or near metal surfaces impairs performance. Do not used
shielded wire between the panel and receiver. When selecting the proper mounting location and operation, refer to
the LED Survey Operation section of the specic installation guide for the transmitter being installed.
Installing the Receiver behind a Keypad
The following instructions cover installing the receiver inside the wall behind the keypad. If the installation requires
the receiver to be mounted, refer to Installing the Optional Mounting Bracket or Installing the Receiver without the
Mounting Bracket.
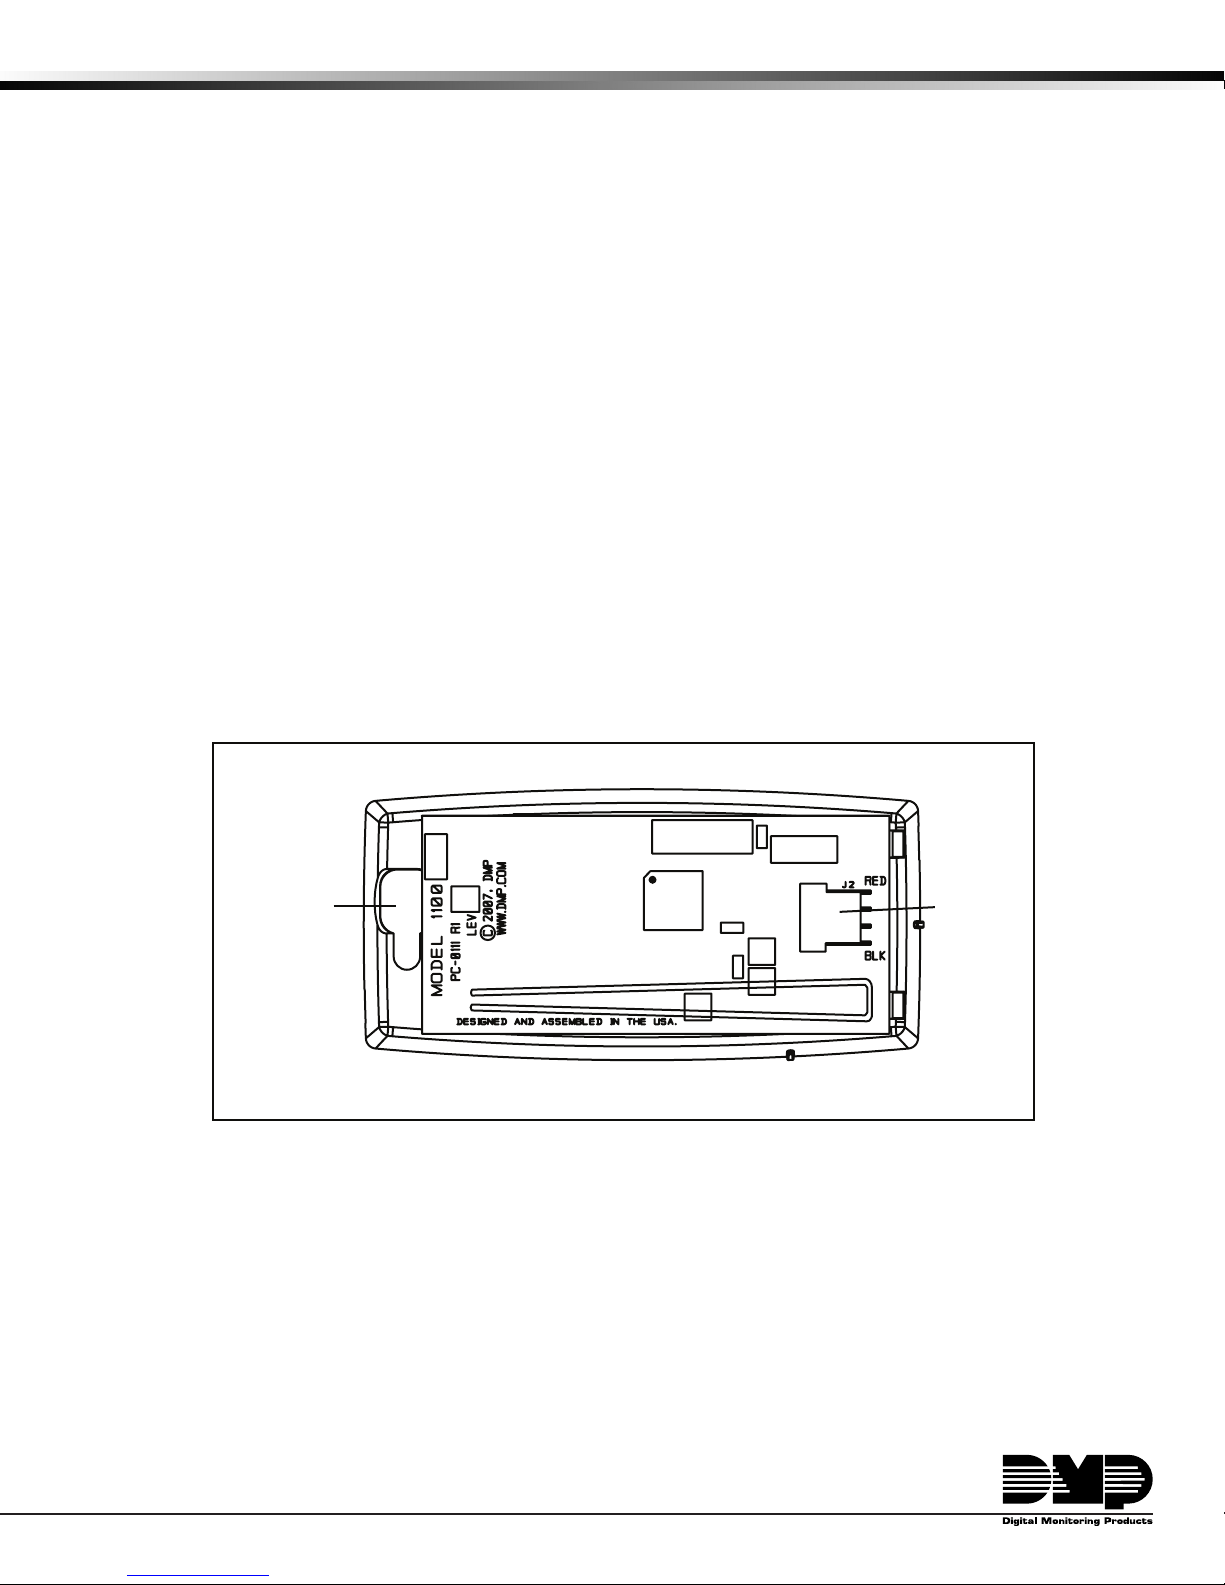
1. Remove the cover from the plastic housing by squeezing both sides toward each other.
2. Connect the receiver to the panel keypad bus using the supplied 4-wire harness. Route the wires through the
opening in the back of the housing.
3. Snap the cover back in place and suspend the receiver inside the wall behind the keypad. Do not install the
receiver inside of a gang box.
Figure 1: Receiver PCB
1100DI Wireless Receiver Installation Guide Digital Monitoring Products
3
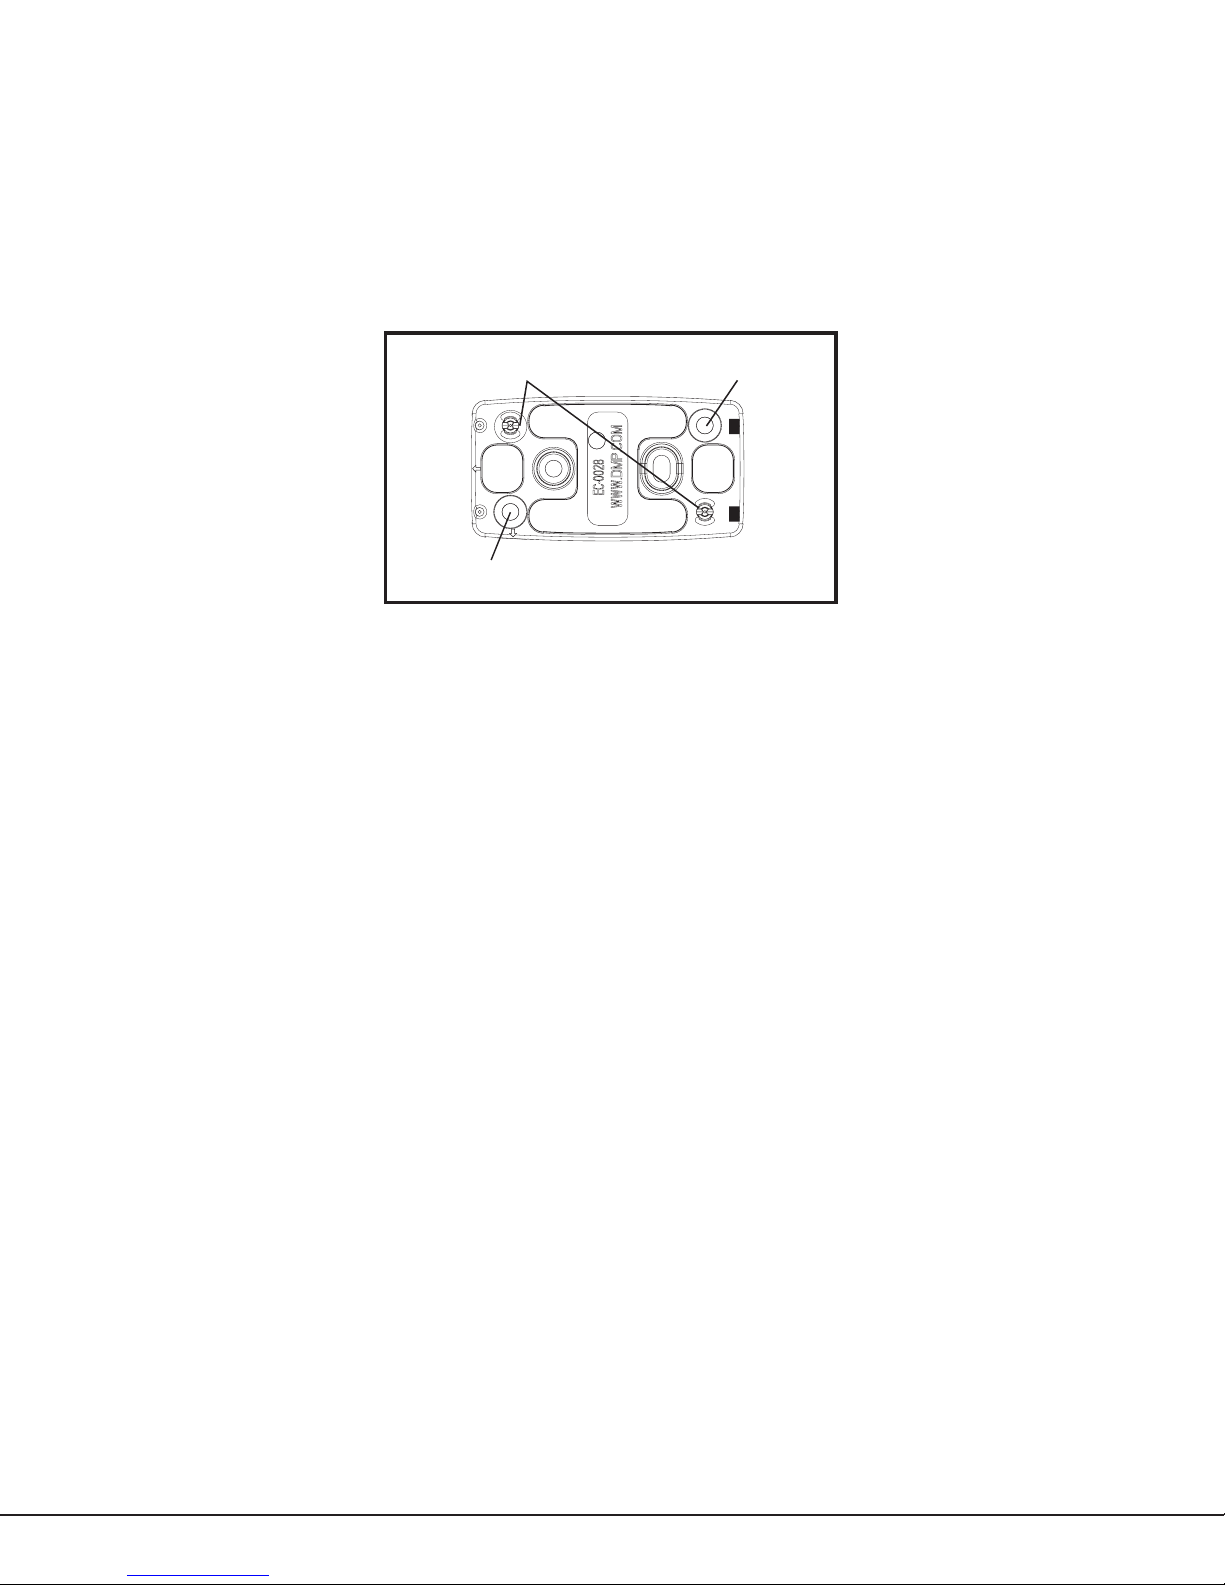
Installing the Optional Mounting Bracket
Snap Connectors
Wall Mount
Screw Hole
Wall Mount
Screw Hole
The following instructions cover installing the receiver using the included mounting bracket. If the installation
does not require the mounting bracket, refer to Installing the Receiver behind the Keypad or Installing the Receiver
without the Mounting Bracket.
1. Secure the mounting bracket using the supplied screws or double-sided tape.
2. Remove the cover from the plastic housing by squeezing both sides toward each other.
3. Connect the receiver to the panel keypad bus using the supplied 4-wire harness. Route the wires through the
opening in the back of the housing.
4. Snap the cover back in place.
5. Line up the receiver base with the mounting bracket snap connectors and press the housing into place.
Figure 2: Optional Mounting Bracket
Installing the Receiver without the Mounting Bracket
These instructions cover installing the receiver without the mounting bracket. If the installation requires the
mounting bracket, refer to Installing the Receiver behind the Keypad or Installing the Optional Mounting Bracket.
1. Remove the cover from the plastic housing by squeezing both sides toward each other.
2. Connect the receiver to the panel keypad bus using the supplied 4-wire harness. Route the wires through the
opening in the back of the housing.
3. Snap the cover back in place.
4. Secure the receiver housing to the wall in the desired location using the supplied double-sided tape.
Programming the Panel
Refer to the XRSuper6/XR20/XR40 Programming Guide (LT-0305) as needed. In System Options, program the House
Code (1-50). In Zone Information, program the wireless zones.
1100DI Receiver Operation
The 1100DI receiver automatically sends the panel house code to wireless transmitters when the unique transmitter
serial number is programmed into the panel. The house code identies the panel, receiver, and transmitters to each
other. The receiver only listens for transmissions using the specied house code and/or programmed transmitter
serial number.
Note: When setting up a wireless system, it is recommended to program zones and connect the receiver before
installing batteries in the transmitters.
Transmitters can be programmed for supervised or unsupervised operation. When programmed as supervised, the
transmitter must communicate with the receiver within the programmed number of minutes. If the transmitter fails
to communicate, the panel displays a missing condition.
Note: When a receiver is installed, powered up, or the panel is reset, the supervision time for transmitters is reset.
If the receiver has been powered down for more than one hour, wireless transmitters may take up to an additional
hour to send a supervision message unless tripped, tampered, or powered up. This operation extends battery life for
transmitters. A missing message may display on the keypad until the transmitter sends a supervision message.
When any wireless zone programming is changed in the panel, receiver zone programming is updated when exiting
panel programming. During the update, all wireless zones display as normal for approximately one minute,
regardless of the actual state of the wireless device(s).
Digital Monitoring Products 1100DI Wireless Receiver Installation Guide
2
 Loading...