

Page 1
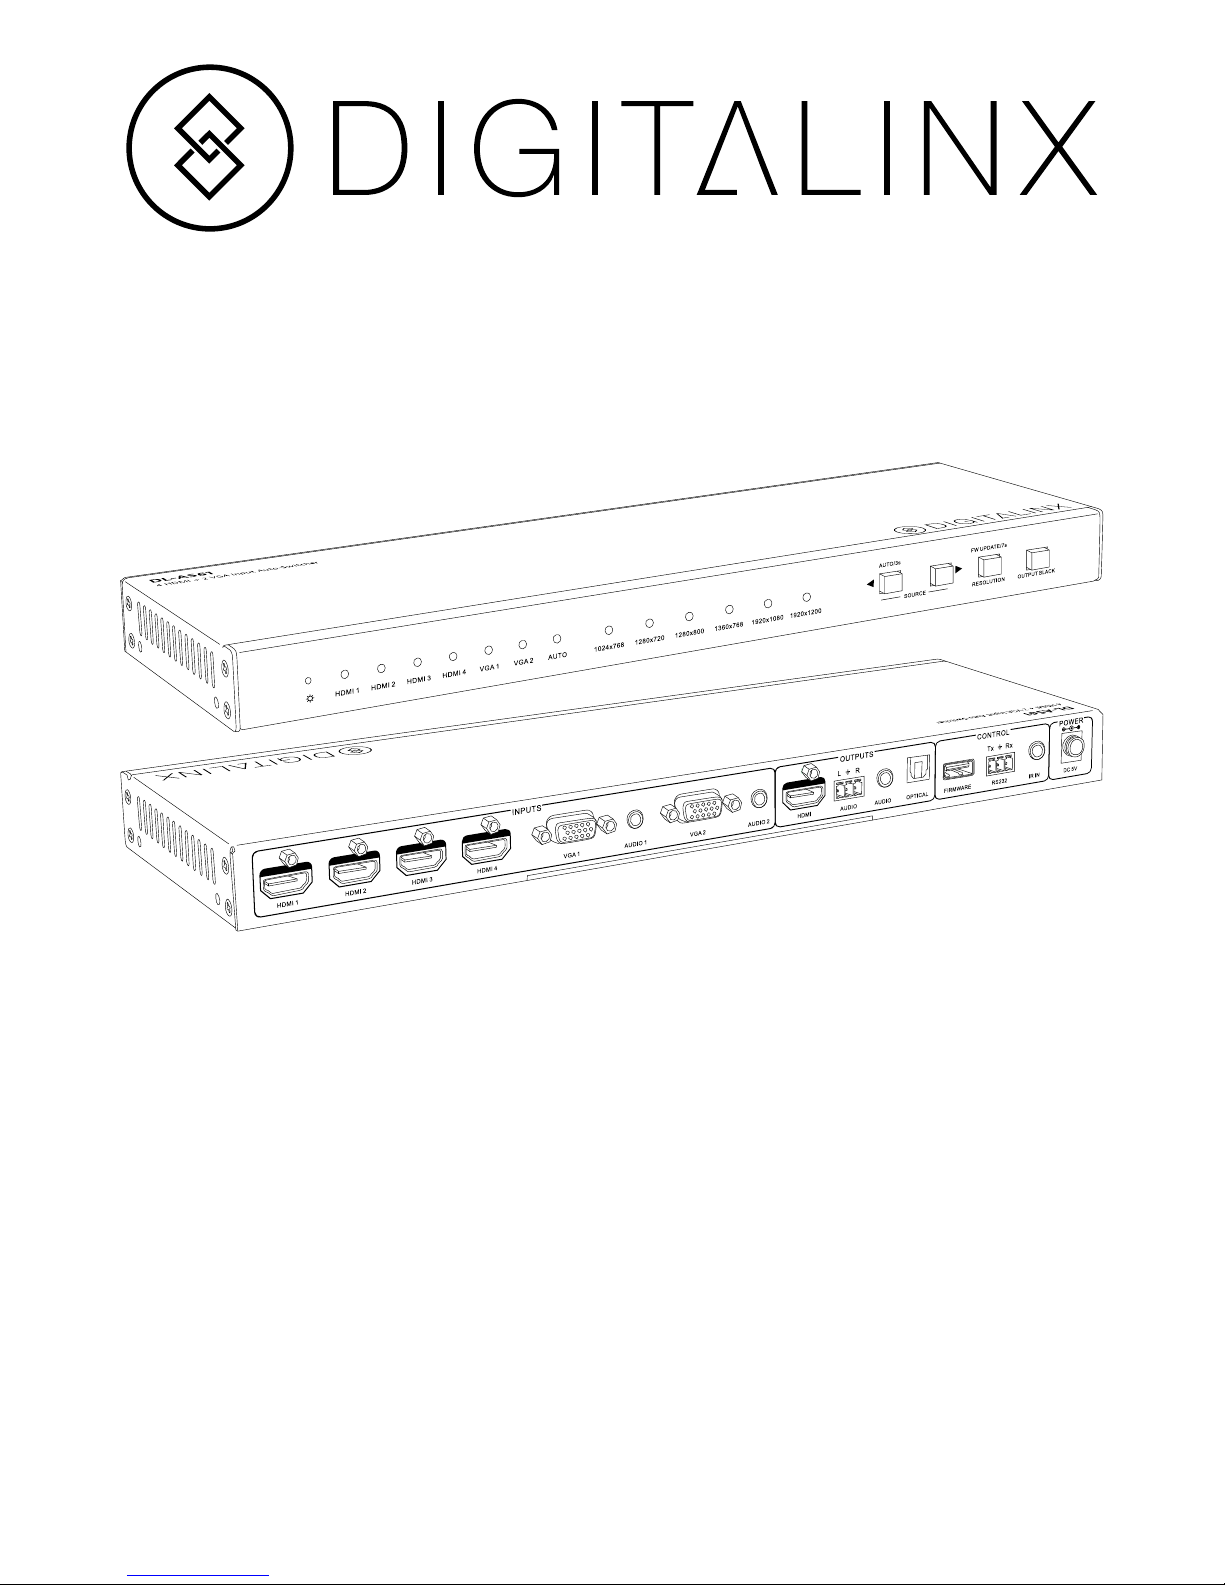
DL-AS61 Installation Guide
The DigitaLinx DL-AS61 is a compact multi-format switcher with support for video
resolutions up to UHD (3840x2160). With multiple built-in EDID settings, including
an EDID pass-through option, the highest quality digital video signal will be routed
directly to the display. When a VGA video signal is connected, the video signal will be
scaled up to 1920x1200.
The DL-AS61 supports stereo and multichannel audio on the HDMI inputs. The analog
audio paired with the VGA inputs is embedded into the digital video stream. In addition
to the audio embedded in the HDMI output stream, which may be muted, the audio is
simultaneously de-embedded to a digital optical audio output and two analog audio
outputs: 3.5mm TRS and 3-pin removable terminal block.
The DL-AS61 features multiple methods of control. When set to Auto, the switcher
will automatically switch to the newest source device added to the DL-AS61; when the
active source is removed, the DL-AS61 will switch to the lowest numbered input. The
DL-AS61 may be manually controlled by switching via the front panel, IR or RS232.
Page 2
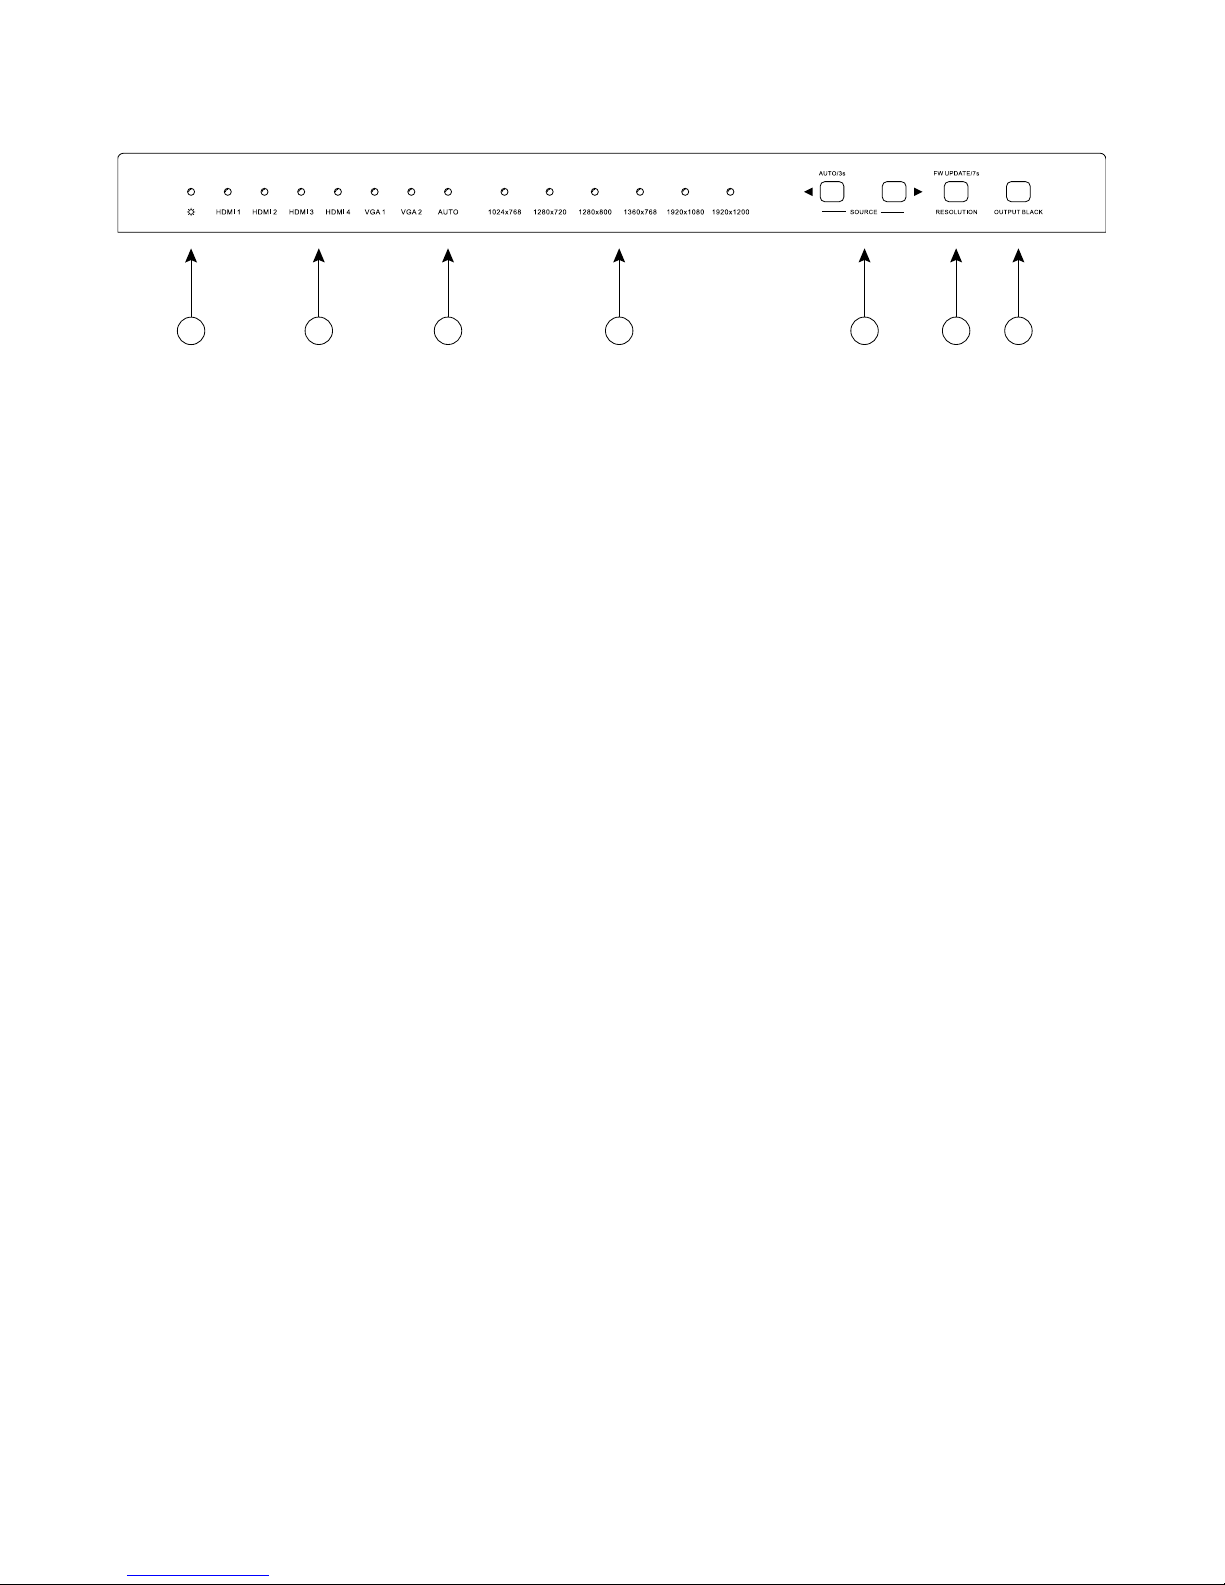
Front Panel
Included Accessories
A
B D E F GC
A. Power LED
— Off when there is no power to the device
— Green when the device is powered on
— Red when the device is in standby mode
B. Input LEDs
— Green for the selected video source
C. Auto-Switching LED
— Green when in auto-switching mode
D. VGA Output Resolution LEDs
— Green for the selected VGA output resolution
E. Source Selectors
— Manually select previous or next input
— To enter auto-switching mode, press and hold the previous input button for
three seconds
F. VGA Output Resolution Selector
— Cycle through VGA output resolutions
— Press and hold for seven seconds to enter software update mode
G. Output Black
— Press to turn on and off HDMI output. All LEDs except for power will turn off
when output black is enabled.
• Installation guide
• Power supply with AC adapters (AU, EU, UK, and US)
• RS232 cable
• IR receiver
• IR remote with batteries
• Rubber feet
• Mounting “L” brackets (2 ea)
• Mounting screws (4 ea)
Page 3
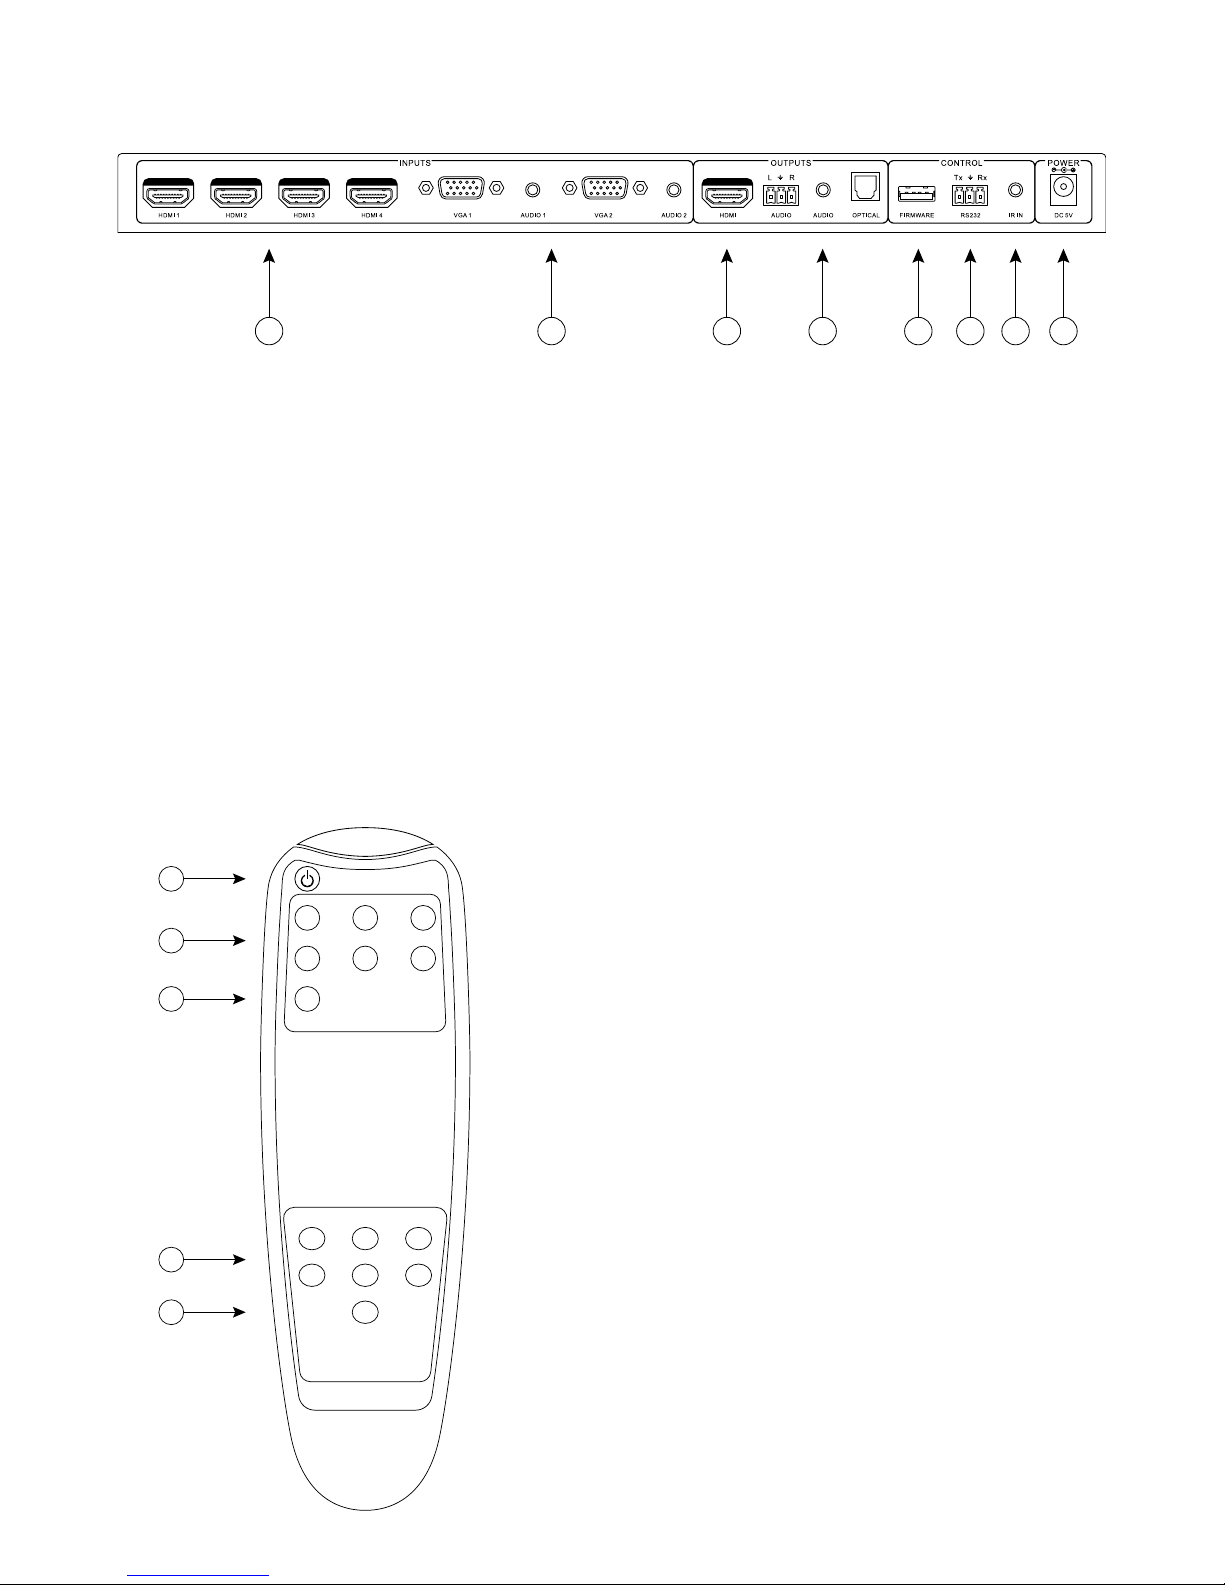
Rear Panel
IR Remote
2 31 4 5 6 7 8
RESOLUTION
1920x1080 1360x7681920x1200
HDMI 2 HDMI 3HDMI 1
VGA 1 VGA2HDMI 4
AUTO
1024x768 1280x7201280x800
OUTPUT BLACK
INPUT SOURCE
1
2
3
4
5
1. HDMI Inputs
2. VGA with Analog Audio Inputs
3. HDMI Output with Embedded Audio
4. Audio Outputs
— Audio outputs are not affected when in output black mode
5. Firmware Update Port
6. RS232 Control Port
7. IR In Port
8. 5V DC Power Input
1. Standby Button
— Enter/exit standby mode
2. Input Select Buttons
— Direct selection of input source
3. Auto-Switching Mode Button
— Enter/exit auto-switching mode
4. VGA Output Resolution Select Buttons
— Direct selection of VGA output
scaler resolutions.
5. Output Black Button
— Turns on and off HDMI output
Page 4

1. Verify all components included with the product are present before installation.
2. Turn off power and disconnect the audio/video equipment by following the
manufacturer’s instructions.
3. Connect an HDMI cable between the digital source and an available input on the
DL-AS61.
4. Connect a VGA cable between the analog source and an available input on the
DL-AS61.
5. Connect an audio cable with 3.5 mm end between the analog source and the
corresponding VGA input. Audio will not pass without a video signal present.
6. Connect an HDMI cable between the display and the HDMI output of the DL-AS61.
7. Connect the appropriate audio output cable to any of the available audio output
ports of the DL-AS61.
8. Connect the included RS232 cable between a control device and the RS232 port of
the DL-AS61.
9. Connect the included IR receiver to the IR In port of the device.
10. Connect the included power supply to the DL-AS61 and lock the power supply to
the power connector by twisting the locking collar clockwise.
11. Power on all audio/video devices.
Installation Instructions
Front Panel Control
Manual Switching:
Automatic Switching:
When the DL-AS61 is in manual switching mode, the Auto Mode LED will be dark. To
change inputs, press either the previous or next button.
To enable automatic switching, press the Previous/Auto button for three seconds. The
Auto Mode LED will light.
When in auto-switch mode, the DL-AS61 will switch according to the following rules:
New Input: Upon detecting a new input, the switcher will automatically select the new
input.
Reboot: Once power is restored to the switcher, it will automatically reconnect the
input before powered off.
Source Removed: When an active source is removed, the DL-AS61 will switch to the first
available active input starting at HDMI Input 1.
Page 5
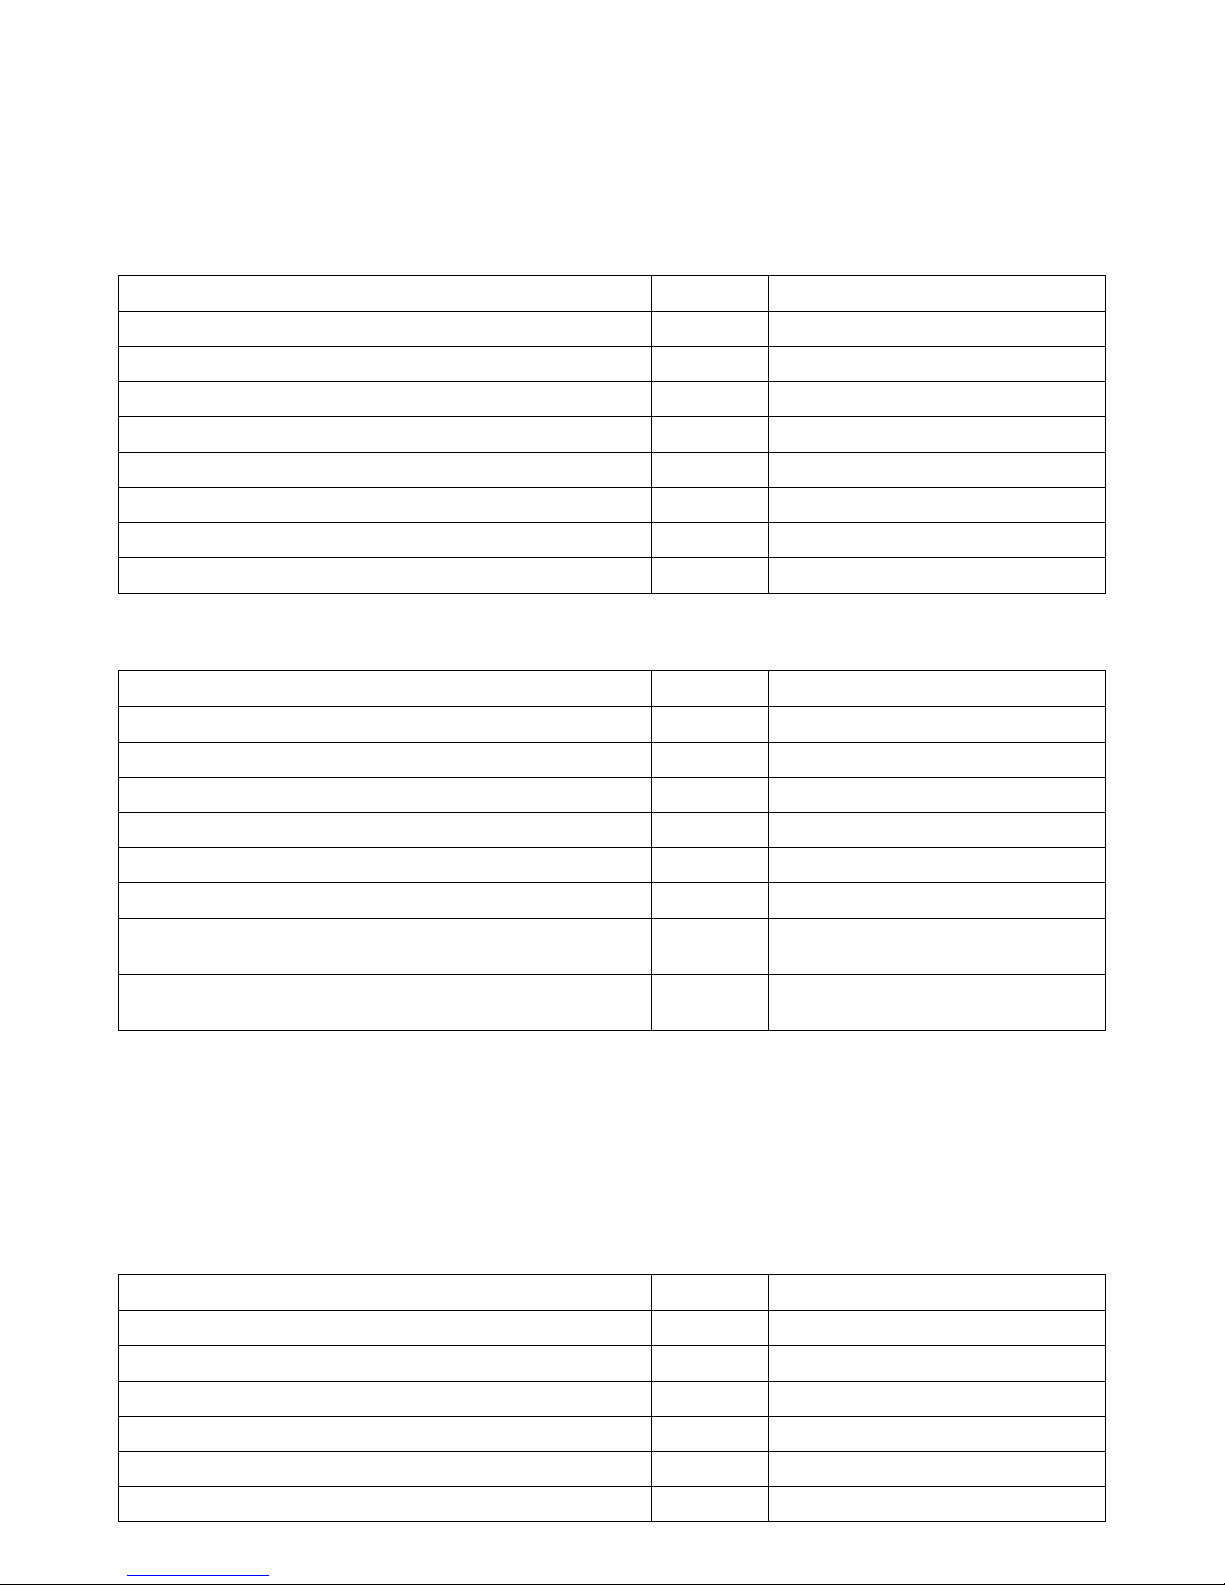
VGA EDID
The EDID for the VGA inputs is permanently set to 1360x768. Other resolutions will
transmit properly through the DL-AS61. The built-in scaler will ensure consistent image
is present between analog and digital sources.
RS232 Control
Input Switching
HDMI EDID Settings
VGA Output Scaling
RS232 Settings: 9600 baud, 8 Data bits, 1 Stop bit, Parity = None
A carriage return and line feed will follow all responses.
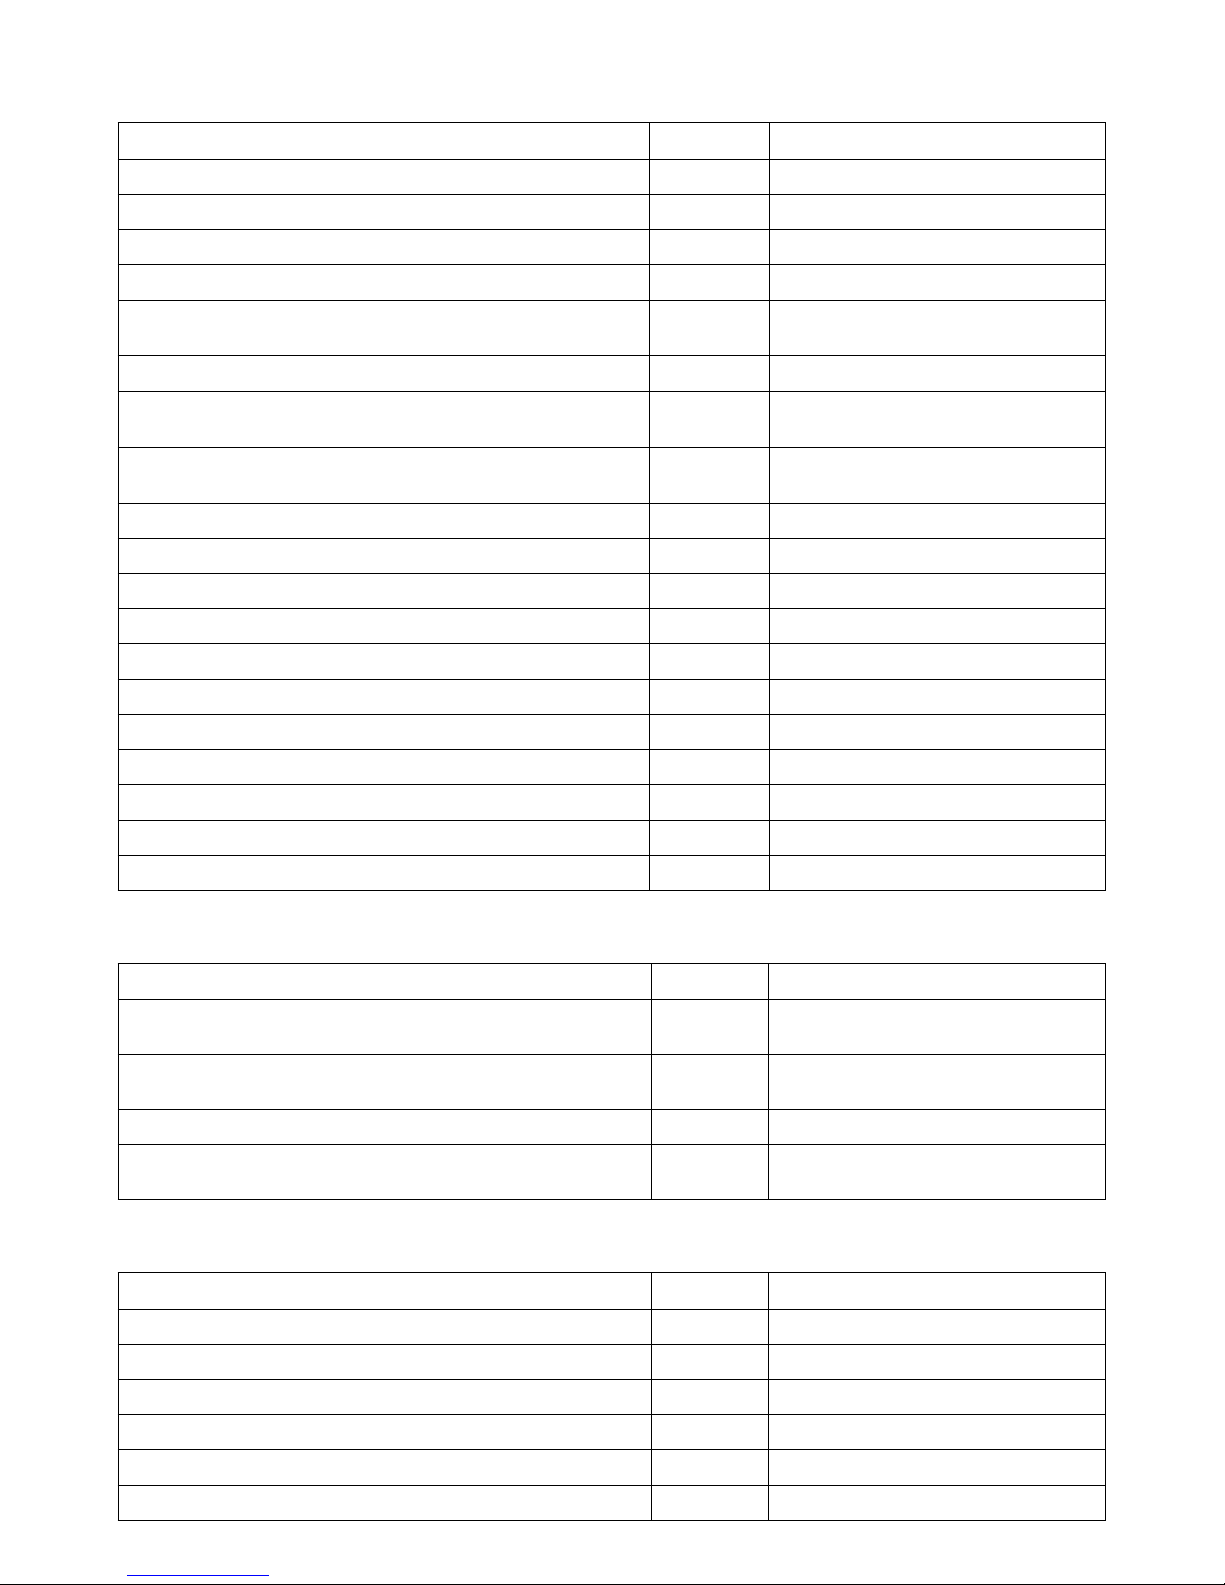
Description Command Response
Switch to HDMI 1 Input
50701% Switch to HDMI 1
Switch to HDMI 2 Input
50702% Switch to HDMI 2
Switch to HDMI 3 Input
50703% Switch to HDMI 3
Switch to HDMI 4 Input
50704% Switch to HDMI 4
Switch to VGA 1 input
50705% Switch to VGA 1
Switch to VGA 2 input
50706% Switch to VGA 2
Enable auto-switching
50785% Auto Switching
Disable auto-switching
50786% Manual Switching
Description Command Response
EDID Pass-through (Bypass mode)
50772% EDID:bypass mode
1080P PCM 2ch
50773% EDID:1080P&PCM 2ch
1080P 5.1ch
50774% EDID:1080P&5.1ch
1080P 3D 5.1ch
50775% EDID:1080P3d&5.1ch
1080i PCM 2ch
50776% EDID:1080i&PCM 2ch
4K PCM 2ch
50777% EDID:4K&PCM 2ch
Change horizontal polarity; 1 means positive polarity, 0
means negative polarity
50707% Hpolarity:0
Hpolarity:1
Change vertical polarity; 1 means positive polarity, 0 means
negative polarity
50708% Vpolarity:0
Vpolarity:1
Description Command Response
Scale Output to 1024x768
50626% Resolution: 1024x768
Scale Output to 1280x720
50627% Resolution: 1280x720
Scale Output to 1280X800
50628% Resolution: 1280x800
Scale Output to 1360x768
50619% Resolution: 1360x768
Scale Output to 1920x1080
50629% Resolution: 1920x1080
Scale Output to 1920x1200
50620% Resolution: 1920x1200
Page 6
VGA Adjustments
Description Command Response
Set the VGA input brightness to xx (xx ranges from 0 to 99)
502xx% Brightness: xx
Set the VGA input contrast to xx (xx ranges from 0 to 99)
503xx% Contrast: xx
Set the VGA input saturation to xx (xx ranges from 0 to 99)
504xx% Saturation: xx
Set the VGA input sharpness to xx (xx ranges from 0 to 99)
505xx% Sharpness: xx
Cycle the color temperature for VGA input (xx = Cool,
Medium, Warm, User)
50607% Color Temperature: xx
Cycle the aspect ratio for VGA input (xx = 16:9, 4:3, auto)
50608% Aspect Ratio: xx
Cycle the picture mode for VGA input (xx = dynamic,
standard, mild, user)
50614% Picture Mode: xx
Cycle sound mode for VGA input (xx = standard, music,
movie, sports, user)
50615% Sound Mode: xx
Auto-adjust the input parameter for VGA only
50606% VGA Input Auto
Enable image resizing
50678% Enter Output Position Adjust
Disable image resizing
50679% Exit Output Position Adjust
Move the image to left
50670% Output Position Adjust X xx
Move the image to right
50671% Output Position Adjust X xx
Move the image up
50672% Output Position Adjust Y xx
Move the image down
50673% Output Position Adjust Y xx
Increase image width
50674% Output Width Adjust xx
Decrease image width
50675% Output Width Adjust xx
Increase image height
50676% Output Height Adjust xx
Decrease image height
50677% Output height adjust xx
HDMI Output
Description Command Response
Enable HDMI embedded audio output
50648% Embedded Audio Output:
enable
Disable HDMI embedded audio output
50649% Embedded Audio Output:
disable
Switch off audio & video output
50653% Output black:enable
Switch on audio & video output
50654% Output black: disable
Switch to VGA2
Miscellaneous
Description Command Response
Exit standby mode
50697% Wake up!
Enter standby mode
50797% Go to standby!
Lock the front panel buttons
50604% Front Panel lock
Unlock the front panel buttons
50605% Front Panel Unlock
Software update
50698%
Reset to factory defaults
50617% Factory Reset
Page 7
Important notice:
• Do not attempt to disassemble or alter the housing. There are no user-serviceable parts
inside the unit. Doing so will void your warranty.
• To minimize the possibility of equipment damage from electrostatic discharge (ESD), all
source and destination equipment must be powered off during installation.
• Do not connect the device to a telecommunication outlet wired to unrelated equipment.
Doing so may damage the unit or any connected equipment. Ensure all connected twisted pair
cabling is straight-through (point-to-point).
• Allow proper ventilation to reduce the risk of thermal failure.
FCC Statement
This equipment generates, uses and can radiate radio frequency energy and, if not
installed and used in accordance with the instructions, may cause harmful interference
to radio communications. It has been tested and found to comply with the limits for a
Class B digital device, pursuant to part 15 of the FCC Rules. These limits are designed to
provide reasonable protection against harmful interference in a commercial installation.
Operation of this equipment in a residential area is likely to cause interference, in
which case the user at their own expense will be required to take whatever measures
may be necessary to correct the interference.
Any changes or modifications not expressly approved by the manufacture would void
the user’s authority to operate the equipment.
System Query Messages
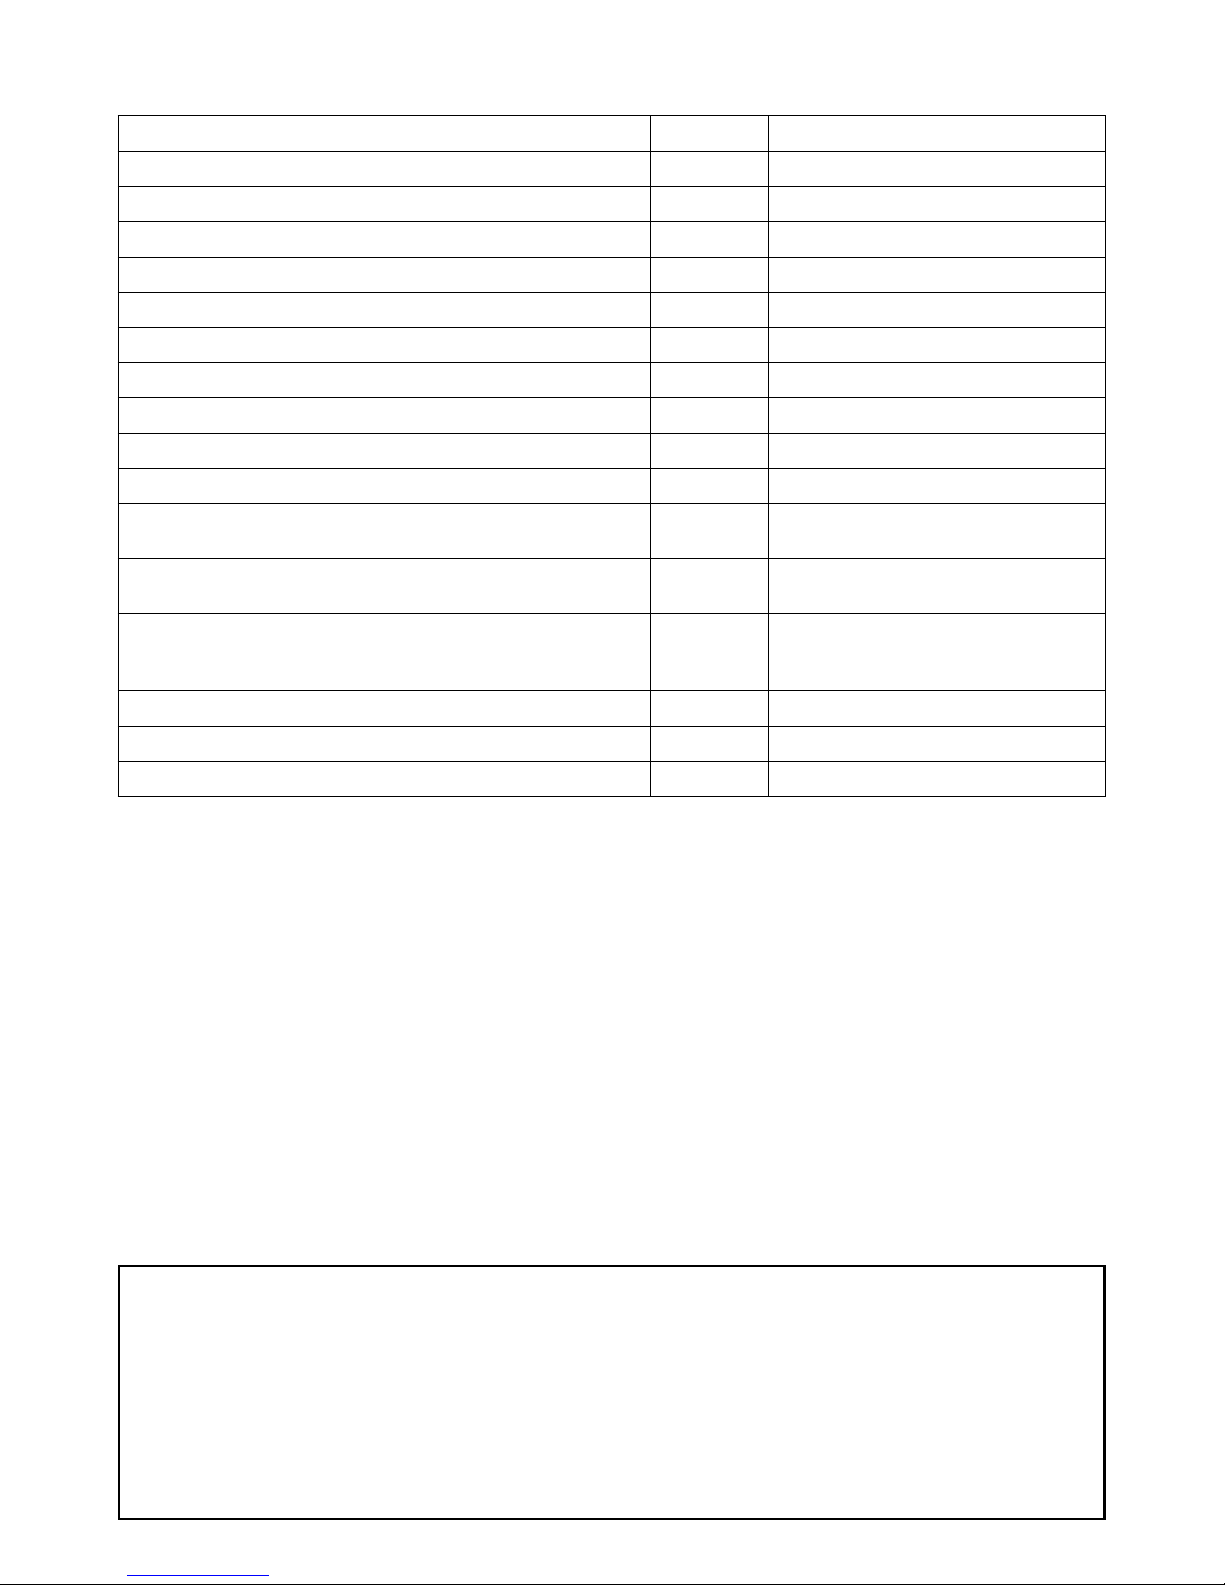
Description Command Response
Get the input source
50631% Input: xx
Get the output resolution
50632% Resolution: xx
Get the image mode
50633% Picture Mode: xx
Get the audio mode
50634% Sound Mode: xx
Get the image aspect ratio
50635% Aspect Ratio: xx
Get the brightness
50636% Brightness: xx
Get the contrast
50637% Contrast: xx
Get the saturation
50638% Saturation: xx
Get sharpness
50639% Sharpness: xx
Get the color temperature
50640% Color Temperature: xx
Get Digital audio output status
50652% Embedded Audio Output:
enable/disable
Get video & audio output status
50655% 50655%
Black screen Enable/Disable
Get the present resolution and polarity
50709% 1920x1080
Hpolarity:1
Vpolarity:0
Get the panel locked status
50754% Front Panel Lock/UnLock
Get the EDID state
50778% EDID:xx
Get the system version
50699% Version Vx.x.x
Page 8
rev 150713
Technical Specifications
11675 Ridgeline Dr.
Colorado Springs, CO 80921
Toll-Free: 800-530-8998
Fax: 719-260-0075
www.libav.com
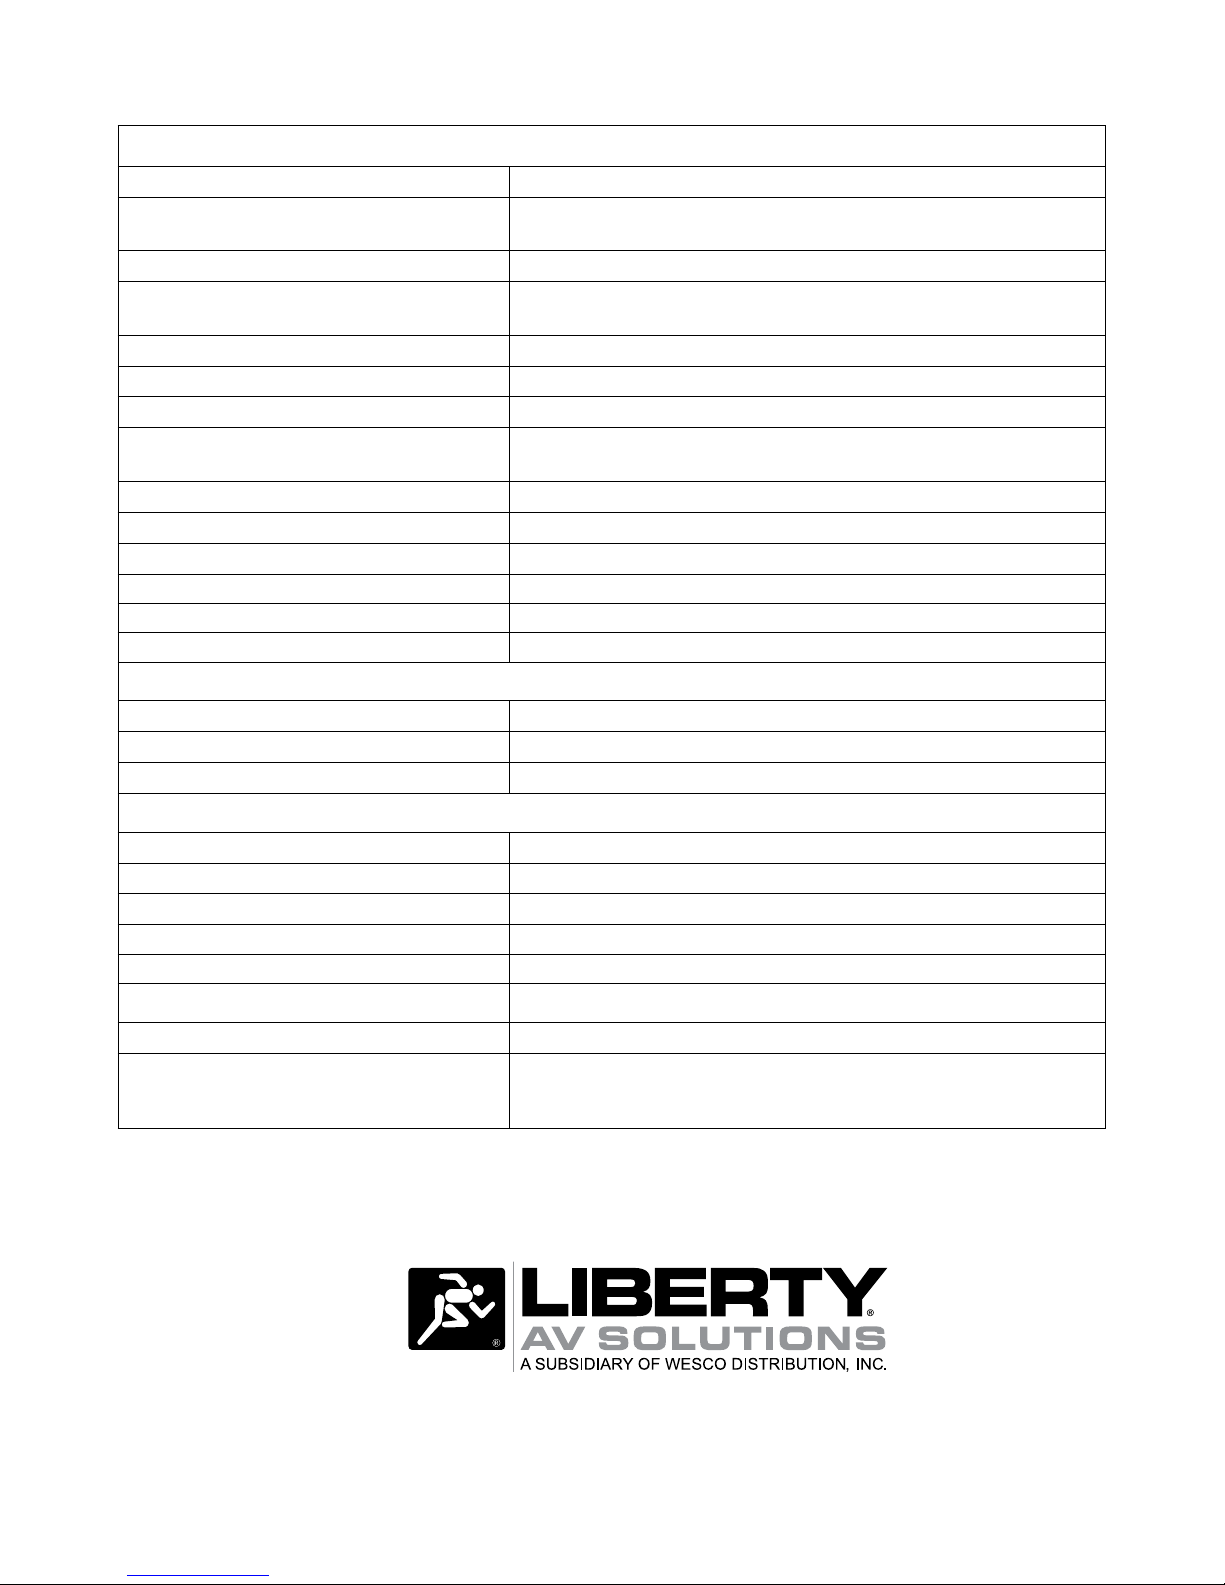
Supported Audio, Video and Control
Maximum Video Compatibility Deep Color 48/36/30/24 Bit at 1080p, 3D, and 4k x 2k (UHD)
VGA Scaling Resolutions 1024x768@60Hz, 1280x720@60Hz, 1280x800@60Hz,
1360x768@60Hz, 1920x1080@60Hz, 1920x1200@60Hz
Video Compliance HDMI, HDCP
HDMI EDID Pass-through from Display, 1080p/PCM 2ch, 1080p/PCM 6ch,
1080p3D/PCM 6ch, 1080i/PCM 2 ch, 4k@30/PCM 2ch
VGA EDID 1360x768
Embedded Audio Input/Output Up to PCM 6 channel
Digital (Optical) Audio Output PCM: 6 channel (5.1) at 16, 20, or 24 bit
Embedded Audio Up to PCM 8 channel, Dolby Digital TrueHD, and DTS-HD Master
Audio
Analog Audio Frequency Response 20Hz-20KHz
Analog Audio Input Impedance >10k ohm
Analog Audio Output Impedance 50 ohm
Maximum Passive HDMI Distance 5 m (16 ft)
IR Carrier Frequency Range 33-55kHz at 5 volts
RS232 Baud Rate 9600 baud
Chassis and Environmental
Dimensions (H x W x D) 28 mm x 350 mm x 110 mm (1.10 in x 13.78 in x 4.33 in)
Operating Temperature (Environment) 0° to +40° C (+32° to +104° F)
Operating Humidity (Environment) 20% to 90%, Non-condensing
Power
Maximum Power Consumption
3.8 watts
Power Supply Input Voltage
100-240v AC at 50/60 Hz at 0.45 A
Power Supply Output Voltage
5V DC at 3 A
Device Regulatory CE, FCC, RoHS
Power Supply Regulatory CE, RoHS, UL, SGS, FCC
Other
Standard Warranty 2 Years
Included Items Installation guide, power supply, AC adapters (AU, EU, UK, and
US), RS232 cable, IR receiver, IR remote with batteries, rubber
feet, mounting “L” brackets (2 ea), mounting screws (4 ea)
Distances and picture quality may be affected by cable grade, cable quality, source and
destination equipment, RF and electrical interference, and cable patches.
 Loading...