

Digital Equipment MicroVAX 3100 40, MicroVAX 3100 80, MicroVAX 3100 90, DEC 3000 Model 400S AXP, VAX 4000 Model 100 Upgrade Instructions
...Page 1
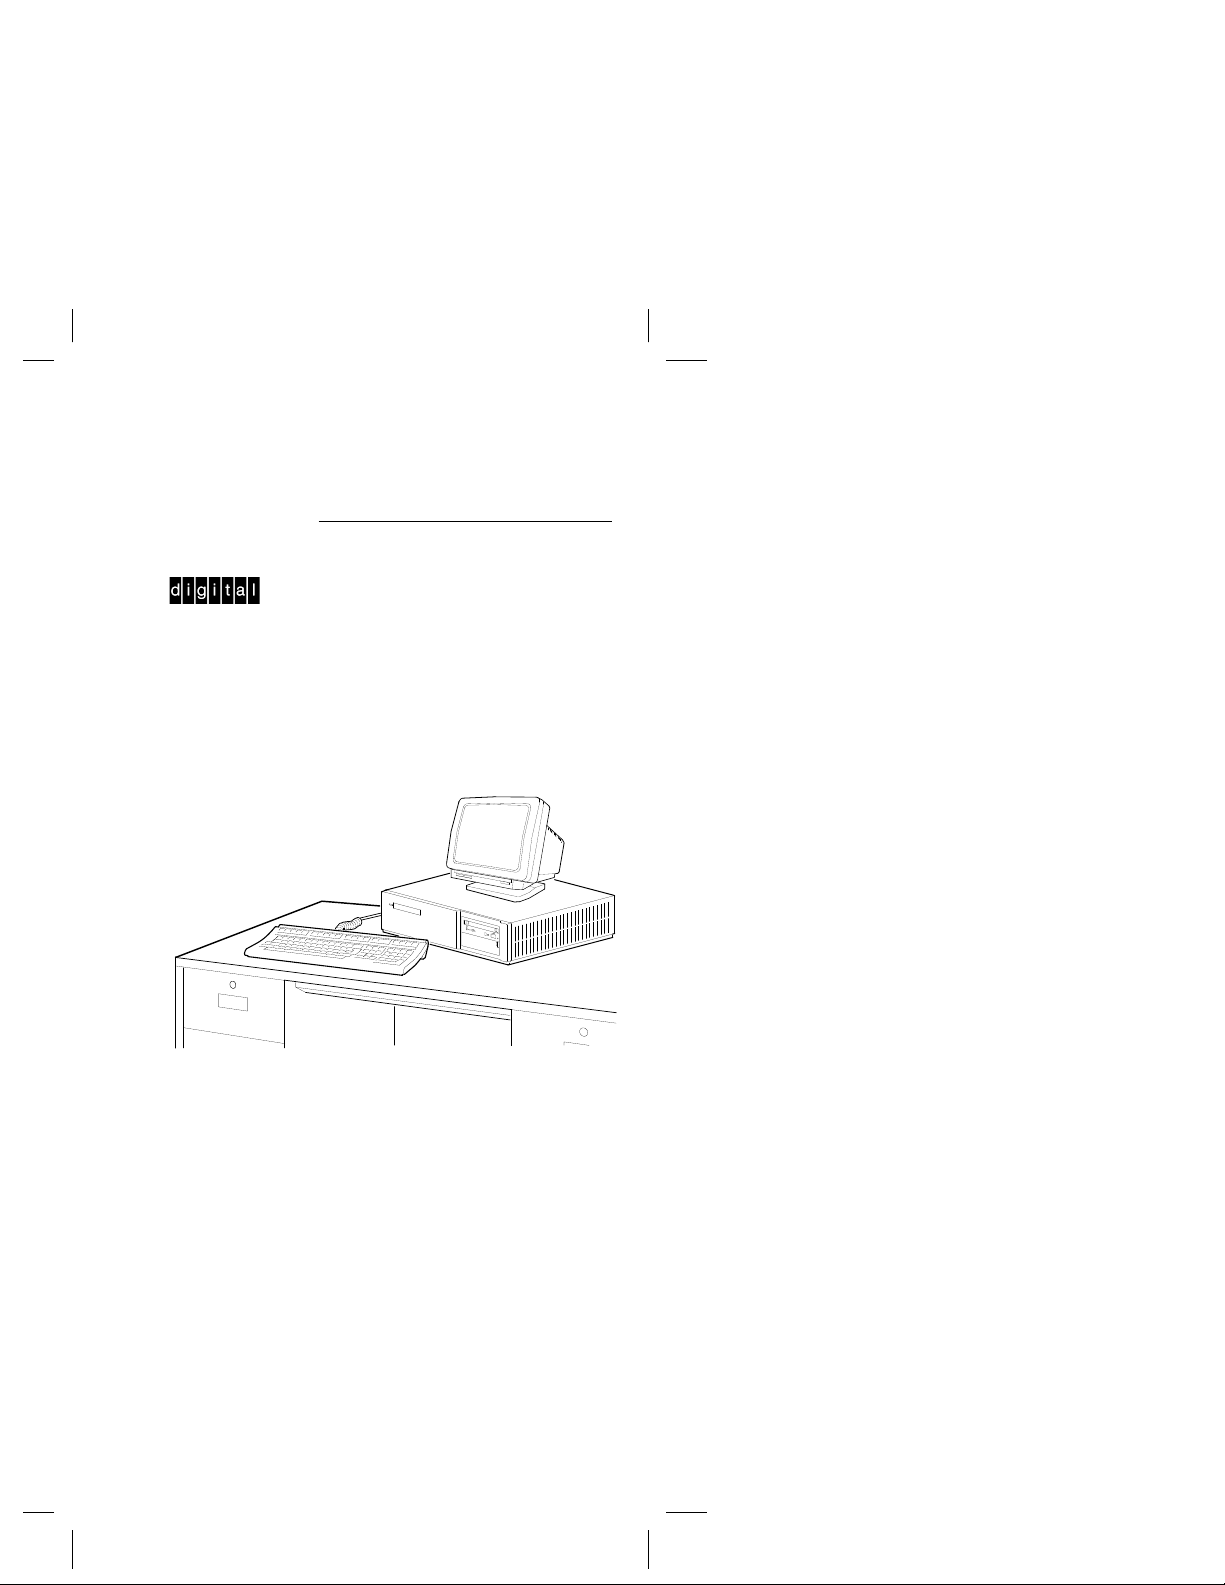
MicroVAX 3100
40/80/90 to DEC 3000
Model 400S AXP
Upgrade Instructions
MLO-010669
Part Number: EK–MX489–IN. A01
Page 2
Options You Can Upgrade
Can Cannot
Upgrade Upgrade
Drives: RZ23L, 24L RZ22
RZ24, 25, 26 RZ23
RZ55* RZ27
RZ56* RZ35
RZ58* RZ57
RX26 RZ59
TZK10 RX23
RRD42** RX33
TLZ04* TK50Z
TLZ06** DSSI Devices
TZ85*
TZ86***
TZ30****
Expansion
Boxes: SZ03
SZ12
SZ16
Memory: None
Communication
Options: DHW42
DSW41
*External device support only.
**External device (including tabletop) support only.
***Support planned for external device.
****Latest version of TZ30 only.
Page 3
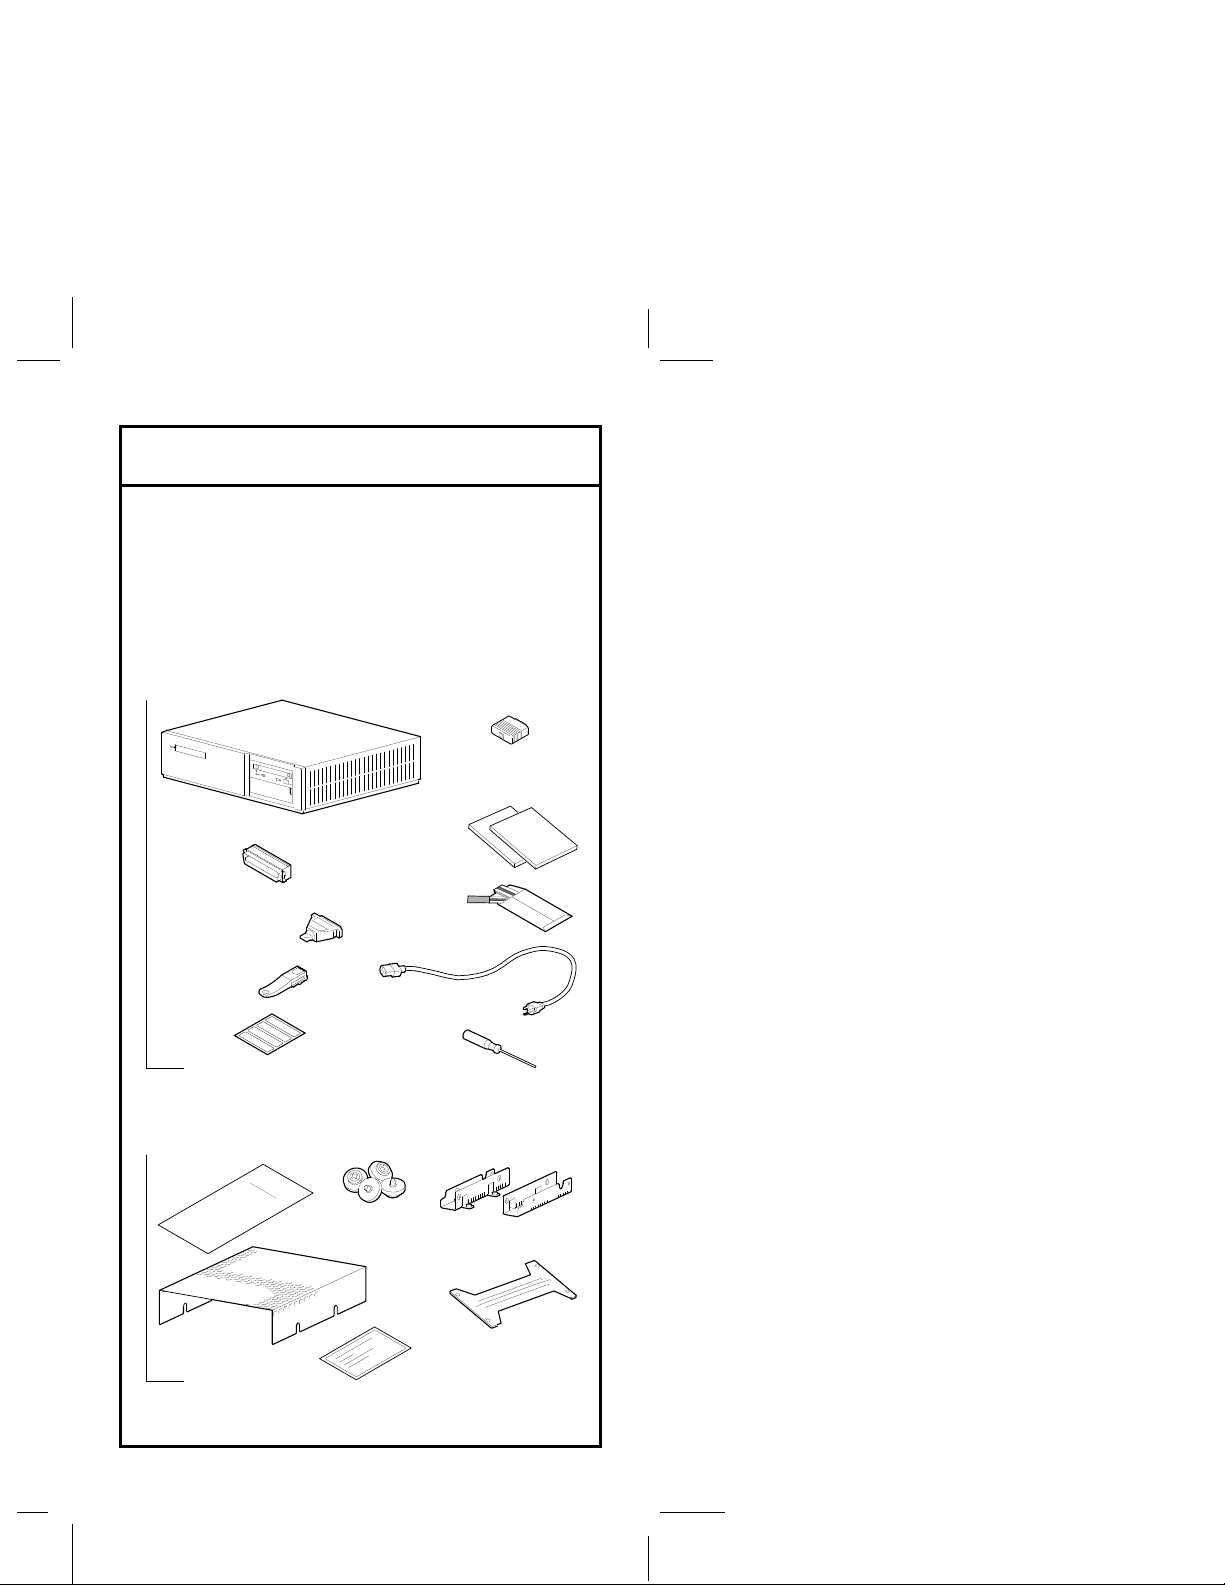
Check Components Shipped
Your shipment should contain the following
two kits.
If you are missing any of these components,
contact your Digital sales representative.
System Kit:
Ethernet Loopback
Connector
System Unit
SCSI
Terminator
Modem Loopback
Connector
Printer Port
Terminator
Network
Label
Accessory Kit:
Upgrade
Card
TZ30 RFI
Shield
xxxxxxx
xxxxxxxxxxx
xxx
Documentation
Antistatic
Wrist Strap
System Power
Cord
Screwdriver
Rubber
Grommets
Metal Support
Plate
RX26 Brackets
Return
Address Label
MLO-010670
Page 4
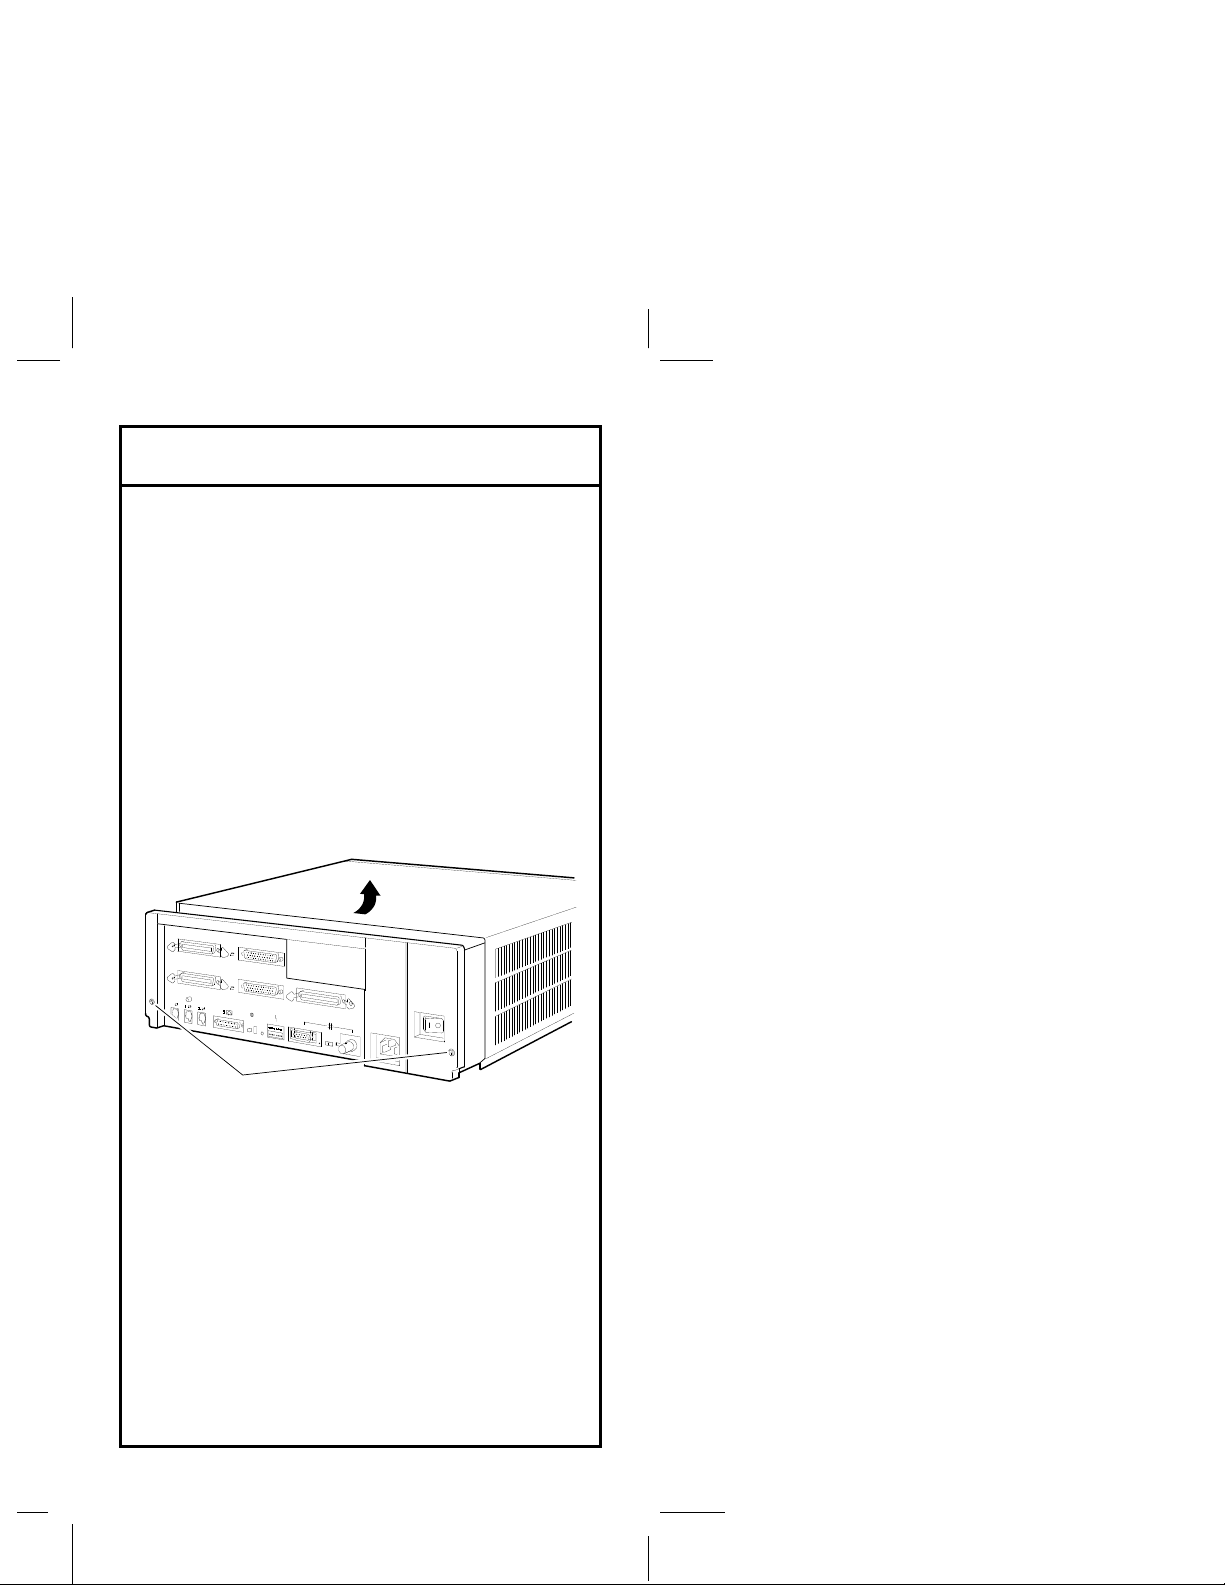
Remove the System Unit Cover
Follow these steps to remove the system unit
cover:
1. Turn off the system by pressing the
on/off switch to the off (O) position.
2. Disconnect the cables, connectors, and
terminators from the system unit.
3. Loosen the two captive screws on the
back of the system unit.
B
1
A
0
0
Captive
Screws
MLO-010737
4. Slide the cover forward and lift it up
from the system unit. Set the cover
aside.
Page 5

Remove Fixed Disk Drives
Note: The DEC 3000 system can hold two
fixed disk drives and one removable-media
drive.
1. Press and hold the spring clip that locks
the disk drive in position.
2. Refer to the figure, and push the disk
drive towards the spring clip until the
rubber grommets on the bottom of the
disk drive release from the cutouts in the
drive mounting shelf.
Spring
Clip
MLO-010738
3. Lift the disk drive up from the drive
mounting shelf and release the spring
clip.
4. Disconnect the SCSI and power cables
from the back of the drive.
5. Set the drive aside on an antistatic mat.
Page 6

Remove the Upper Drive Shelf
1. Disconnect the power cable from the
power supply unit. Remove the power
cable from the enclosure.
2. Refer to the figure, and loosen the three
captive screws that hold the drive shelf
in place.
Captive Screws
MLO-010739
3. Lift the left side of the shelf and pull the
shelf to the left until the tabs on the right
clear the cutouts in the lower drive shelf.
4. Set the drive shelf aside.
Page 7

Remove Remaining Drives
Follow these steps to remove a removablemedia drive from the lower drive shelf:
1. Loosen the captive screw that secures the
drive mounting bracket to the drive shelf.
Captive Screw
MLO-010740
2. Lift the left side of the drive until the tabs
on the right side clear the cutouts in the
lower drive shelf.
3. Disconnect the SCSI and power cables
from the back of the drive.
4. Set the drive aside on an antistatic mat.
Page 8

Check the SCSI ID Settings
Each device in your system must have its
own unique SCSI ID setting. If your DEC
3000 system has a factory-installed drive, it
is set to SCSI ID 3.
You can check the SCSI ID settings on your
drives by referring to the DEC 3000 Model
400/400S AXP Options Guide. The RZ23L
and RZ24 SCSI ID settings (not covered in
the guide) are shown here.
RZ23L Drive SCSI ID Settings:
E1
E2
E3
SCSI
Settings:
0
4
1
5
2
6
3
MLO-010587
Page 9

Check the SCSI ID Settings
RZ24 Drive SCSI ID Settings:
E1
E2
E3
E1
E2
E3
SCSI
Settings:
0
4
1
5
2
6
3
MLO-010586
Page 10

Install New Mounting Brackets
Remove the mounting brackets from all the
drives you are upgrading, unless you are
upgrading an RZ23L or RZ24 drive that has
the support plate shown below.
To attach the support plate (from the accessory kit) to your drives:
1. Place the metal support plate on the disk
drive as shown.
2. Screw the four rubber grommets into the
plate and the drive until the plate is
secure.
Rubber
Grommets
Metal Support
Plate
MLO-010588
Page 11

Other Accessory Brackets
Install the RX26 bracket extensions as
shown below:
MLO-010719
The DEC 3000 Model 400/400S AXP
Options Guide explains how to attach the
RFI shield to the TZ30 drive, and how to
mount a removable-media drive in the
system mounting bracket.
Page 12

Install the DEC 3000 System
1. Follow the instructions in the DEC 3000
Model 400/400S AXP Owner’s Guide to
set up and install that system.
2. Follow the instructions in the DEC 3000
Model 400/400S AXP Options Guide to
install the options in your new system.
3. Connect the terminal, keyboard, and
power cables, as shown.
0 1 2
ISDN
S3
MLO-010671
4. Turn on the DEC 3000 AXP system.
Page 13

Complete the Upgrade
1. Test the installation by turning on your
new system and entering the show
device command at the console
prompt.
The drives you upgraded should appear
in the display. If a drive does not
display, it has not been installed properly.
2. Return your MicroVAX system to Digital
as follows:
a. Pack the MicroVAX system unit
securely in packing material for
shipment.
b. Attach the return-address label that
came in the upgrade accessory kit.
3. Contact your Digital service representa-
tive to upgrade your hardware service
contract.
© Digital Equipment Corporation 1993 All rights reserved.
Printed in U.S.A.
S2264
 Loading...