

Digital Blue SNAP 1.3MP Quick Start Manual
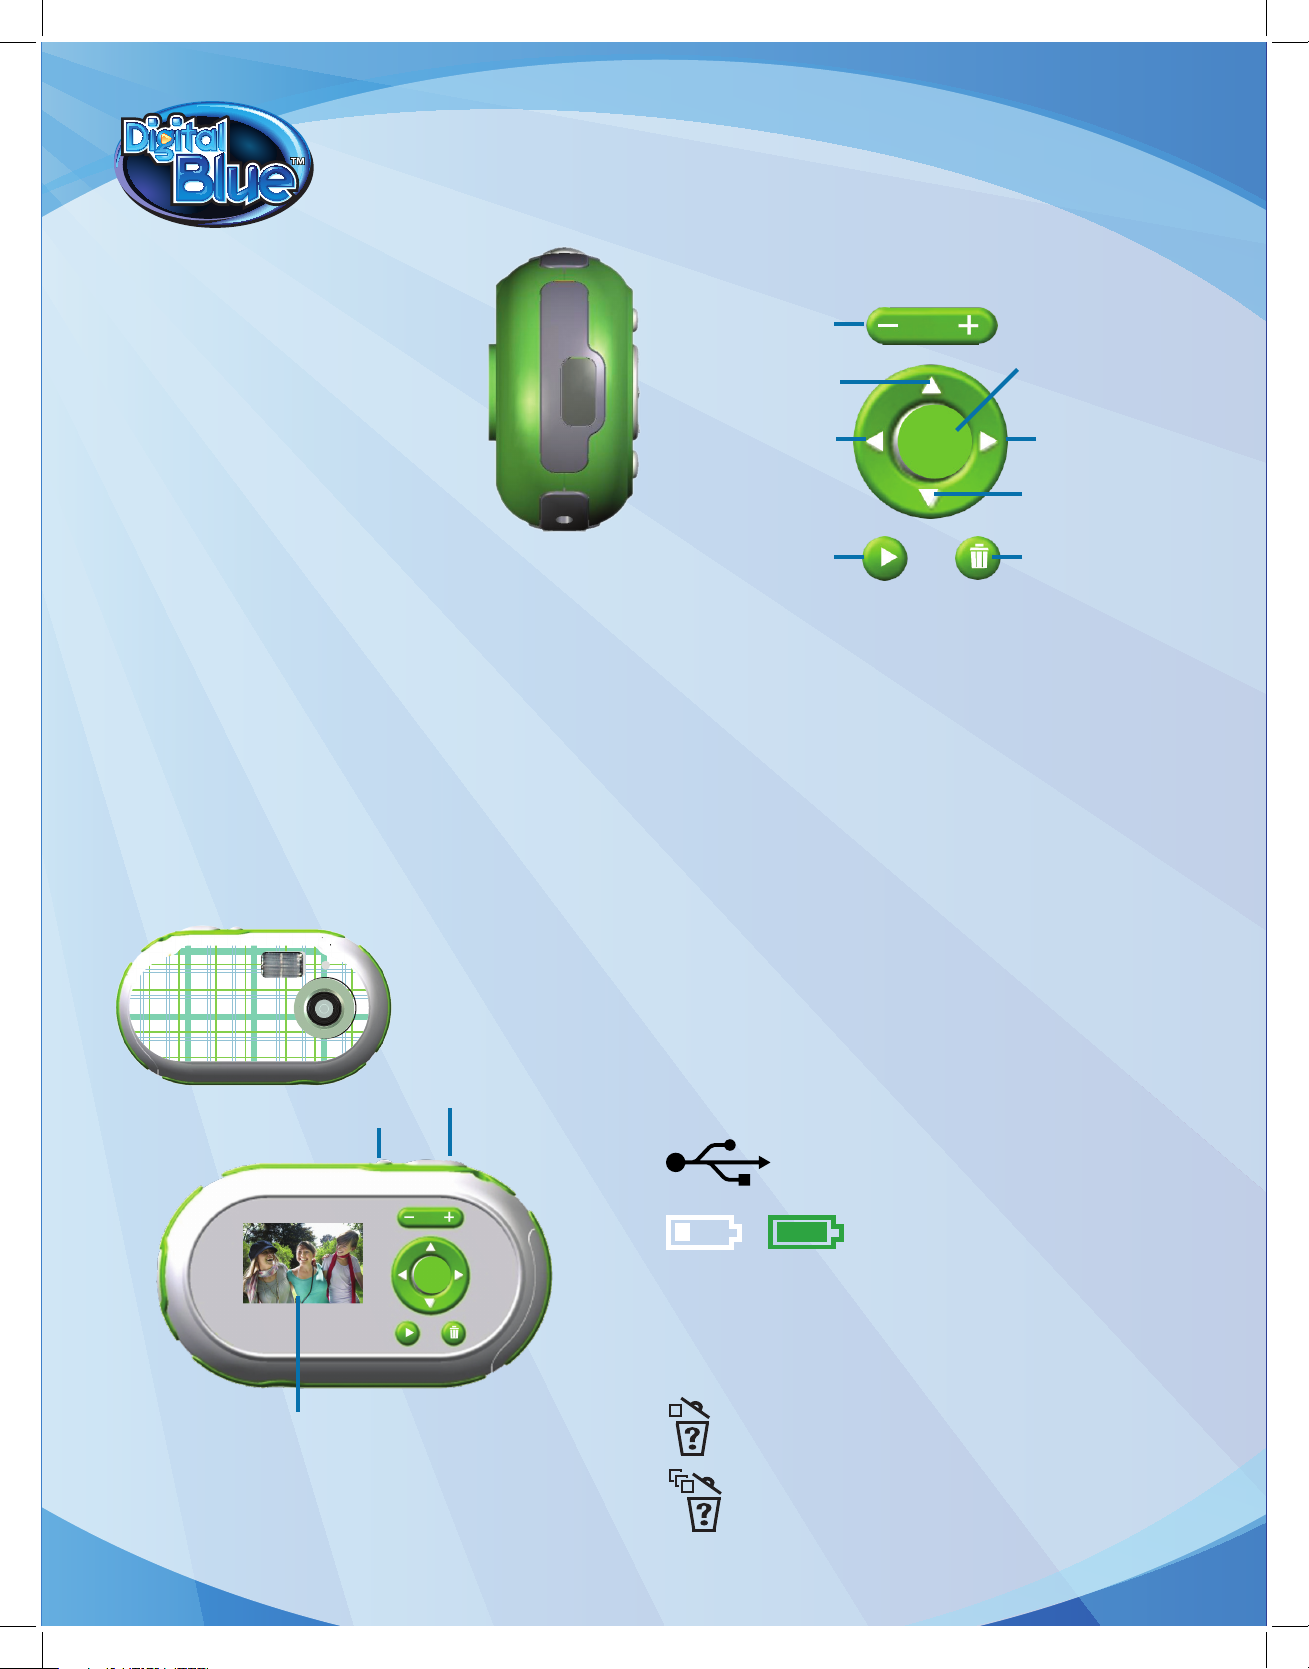
Navigation Buttons
These buttons function in both Capture Mode and Playback Mode.
OK Button – Use to choose your selection in Playback Mode.
Trashcan –
In Preview Mode, press once to delete the last picture taken.
Playback Button – Press the Playback button to enter Playback Mode.
Zoom buttons – Moves the subject closer or farther away when taking a
picture.
Capture Mode
Left – Changes your Flash setting.
Down – Turns the Self-timer on and off.
Playback Mode
Left – Selects your previous image, or pans left within a selected image.
Right – Selects your next image, or pans right within a selected image.
Up – Navigates up, or pans up within a selected image.
Down – Navigates down, or pans down within a selected image.
Display Screen
Your camera’s Display Screen provides information about your camera
settings. View the diagram below to understand the symbols on the
Display Screen.
USB Connection – Shows when your camera is in Operating
Mode, connected to your computer.
Battery Status – Shows how much battery life
the camera has left. When the low battery image appears, make sure to
change your batteries immediately. The camera will automatically shut
down when the batteries are low.
Zoom Level – Shows what level of zoom you are at. You can zoom up to 4x
closer or farther away when taking a picture.
This icon shows that one photo is about to be deleted.
This icon shows that all the pictures on the camera are about to
be deleted.
Installing the Batteries
Your camera is powered by 2 AA batteries.
To install the camera batteries:
1. Push down on the battery door on the side of
the camera. The door will pop open, revealing the
batteries.
2. Install the batteries following the polarity symbols
on the inside of the battery area.
3. Close the door, pushing it gently up to lock it in
place.
Turning on Your Camera
Once the batteries are installed, the camera can be turned on by pressing
the Power button. To turn the camera off, press the Power button again.
Note: If the camera is not used for 60 seconds, it will automatically shut
down. To restart the camera, press the Power button.
Installing the software
You must install the Snap! software to download images to your computer.
Insert the Snap! software CD in your CD-ROM drive.
If the installation doesn’t automatically start, open My Computer and
double-click the CD-ROM drive that contains the Snap! software. Doubleclick the install folder and run the Snap! 3.0.exe program. Follow the
instruction on the screen.
Camera Components
Power Button – Turns the camera on and off.
Capture Button – Press to take digital images.
Display Screen – Use to preview the image you are going to take, review
images you have taken, and to view your camera settings.
Zoom Buttons
Up Button
Left Button
Playback Button
Power Button
Capture Button
Display Screen
Trashcan Button
Down Button
Right Button
OK Button
This icon shows when your camera’s memory is full.
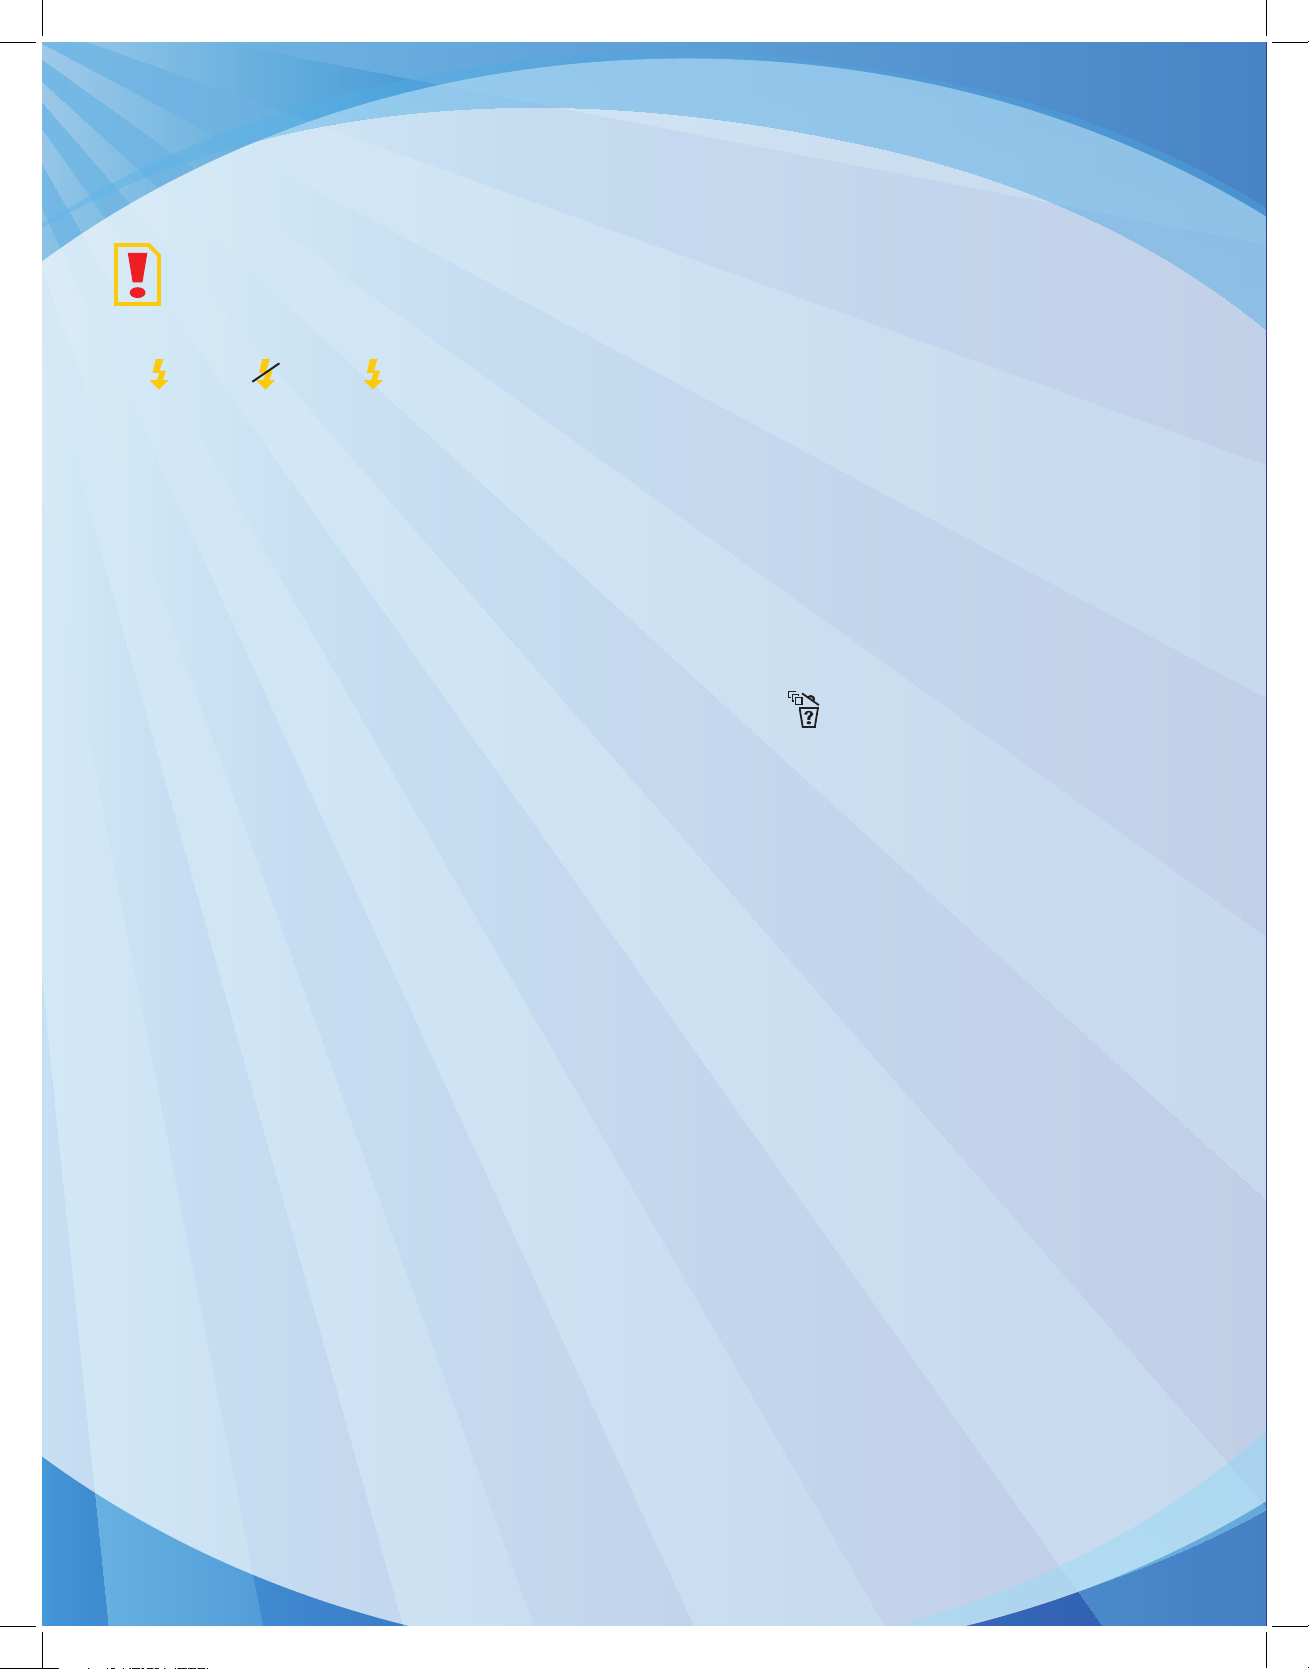
Flash - Indicates when the Flash is on, set on auto, or off.
On=
Off= Auto=
A
Counter – Shows the estimated number of images you are still able to take.
Camera Modes
Your camera has 2 modes, Capture and Playback.
Capture Mode – The camera will be in Capture Mode when it is turned on.
Capture Mode is used to view your subject when taking pictures.
Playback Mode – This mode can be used to review or delete pictures in
your camera’s memory by pressing the Playback button.
Camera Memory
Your new camera stores pictures on its on-board memory. The camera
comes with 32 MB (approximately 150 photos) of on-board memory.
To Take Pictures with Your Camera:
1.
Use the Display Screen to locate the subject of your picture and hold the
camera steady.
2. Press the Capture Button located on the top of the camera to take the
picture. The camera will beep.
Note: The counter on the display will decrease by one each time you take a
picture until the memory is full.
Reviewing pictures on the camera
Press the Playback button to enter the Playback Mode.
Note: Your camera will automatically return to Preview Mode after three
seconds when you nish using the Navigation buttons to review your
pictures.
Deleting Pictures From the Camera
1. Press the Playback button to enter Playback Mode.
2. Scroll through using the arrows to nd your picture.
3. Once you get to the image you want to delete, press the Trashcan button.
4. Use the up and down buttons to select yes or no.
5. Press the OK button to conrm your selection.
To delete all the pictures on your camera:
1. Press the Playback button to enter Playback Mode.
2. Press and hold the Trashcan button for three seconds.
3. When you see on the screen, press the OK button to conrm you
wish to delete all the images.
Note: If you don’t press a button within 5 seconds after hitting the Delete
button, the camera will return to preview mode.
Need Additional Help?
For additional product support visit our website at www.digiblue.com and select
Customer Service. If you are still having problems with the product,
contact customer support at 888-800-0502.
To launch the Help File: Start > All Programs > Snap! Help
FCC DECLARATION:
This device complies with Part 15 of the FCC rules. Operation is subject to the following two conditions: 1) This device may not cause harmful interference, and 2) This device
must accept any interference received, including interference that may cause undesired operation. Warning: Changes or modications to this unit not expressly approved by
the party responsible for compliance could void the user’s authority to operate the equipment.
TM and © 2008 Digital Blue, Inc. All rights reserved.
 Loading...