

Digital Blue QX5 User Manual

TM and © 2007 Digital Blue, Inc. All rights reserved.
Congratulations on Your Computer Microscope Purchase!
Using the Microscope
With your Computer Microscope, you can explore your
environment and share discoveries with your family and friends.
Here’s what you can do:
• See tiny things on your computer.
• Take the microscope o its base for magnied viewing.
• Build a collection of your discoveries and creations.
• Produce your own movies and slide shows.
• Print out posters and stickers (printer and sticker sheets not included).
Setup Guide
Important: DO NOT attach the microscope to your
computer until you have installed the software!
Here’s how to get started using your microscope and software:
1. Insert the CD.
2. Wait for the installer to start automatically.
• If the installer does not launch automatically, go to the
desktop and double-click the icon named My Computer.
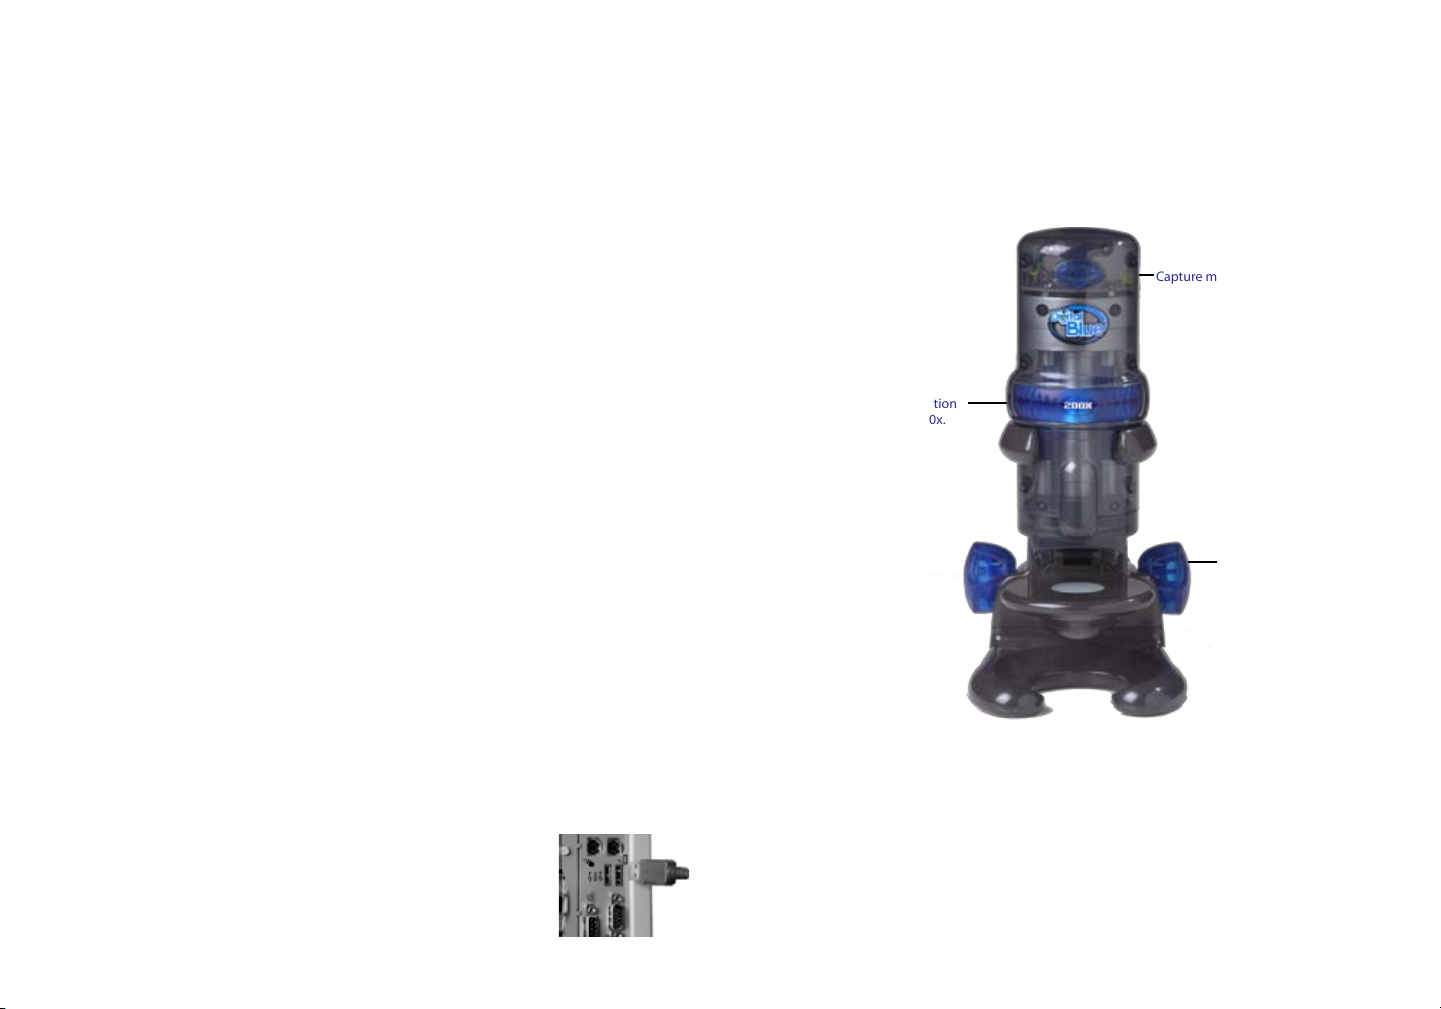
The microscope has three simple controls:
Capture movies or pictures.
Change magnication
to 10x, 60x, or 200x.
Focus
• Double-click the icon for the CD drive that contains the software CD.
If the software doesn’t start automatically, open the setup folder,
double-click on setup.exe, and follow the setup steps.
3. Follow the steps by clicking the appropriate buttons.
Now you can start the software and attach your
microscope to your computer with the USB cable.
1
When you are using your microscope on its base, you can use the
buttons in the software to capture movies and pictures. The direction
of the light (top or bottom) and its brightness is also controlled by the
software. You can learn more about this in the Using the Software section.
2

Capturing Pictures and Movies in Handheld Mode
Using the Software
In Handheld Mode
(using the microscope without its base) Click the Capture button
to take a picture. Click and hold the button to capture a movie.
If the Time-lapse controls are showing, you can make a time-lapse
video in handheld mode, but once you release the button
on the microscope your time-lapse will stop recording.
Changing Magnication
Choose the magnication by rotating the ring on the microscope until
the label for the desired level faces you. You will hear a click when the
lens is in place. The levels are approximately 10x, 60x and 200X.
In this guide, we refer to magnication as low, medium or high.
Think of sizes this way:
Low shows an area like the head of a thumbtack.
Medium shows a pinhead.
High shows an area the size of a pencil tip!
Note: These magnication levels are approximate and have been measured
using a 15 in. (38cm.) monitor. Actual magnication will vary according
to the size of your monitor.
Focusing
Adjust the control knob until the image is clear. Focusing may take
a little practice. On some computers, there may be a delay between
moving the knob and the image changing on the screen. Try making
small adjustments and wait for the screen to catch up.
The Computer Microscope software is fun and easy to use. There are two modes:
Main Mode
This is where you’ll do fun things to your pictures like add stamps, text,
and create slideshows. Select the Main Mode button to go to the Main
screen from Live Mode.
Live Mode
This is where you’ll take pictures and make movies. Select the
Live Mode button to go to the Live screen from Main Mode.
Button Basics
When you start the software, you’ll be in Live Mode. If you leave Live
Mode, you can return to it at any time by selecting the Live Mode button.
Use the Main Mode button to go to the Main Mode screen where you
can choose fun things to do with your pictures.
OK button
Continue your action. If you leave Live Mode, you can return to it any
time by selecting the Live Mode button.
Cancel button
Cancel your action. This button usually appears when you enter special
scenes, like the Show Editing window and when you quit the software.
Quit button
Quit the software. You need to go the Main screen to quit.
Audio Help
You can get help at any time by selecting the Audio Help button. It is in
the upper left-hand corner of the screen. If you hold your pointer arrow
over a button, you will hear the names and how to use them.
3 4
 Loading...