

Digital Blue QX3 User Manual
1
P ARENT QUICK START GUIDE
Welcome to the
Digital Blue
™
QX3™Computer Microscope
Minimum
system
requirements:
■
A computer that is
USB enabled (Most
computers manufactured after June 1998
are USB enabled.)
■
Microsoft®Windows®98,
98SE, Me, 2000 and XP
■
Intel®Pentium®or
Celeron
™
processor
200 MHz or faster
(or equivalent)
■
32 MB of RAM
■
Minimum 175 MB hard
disk space
■
Quad speed (4x)
CD-ROM
■
800x600 display,
16-bit color
■
Windows®compatible
sound device
■
Video and
sound compatible
with DirectX
®
Table of contents
Package contents . . . . . . . . . . . . . .2
Setup guide . . . . . . . . . . . . . . . . . . .3
Using the Digital Blue QX3
™
controls . .4
Software notes . . . . . . . . . . . . . . . . .5
Care and maintenance . . . . . . . . . . .6
Support and troubleshooting . . . . . . .7
Your Activity Book . . . . . . . . . .flip side
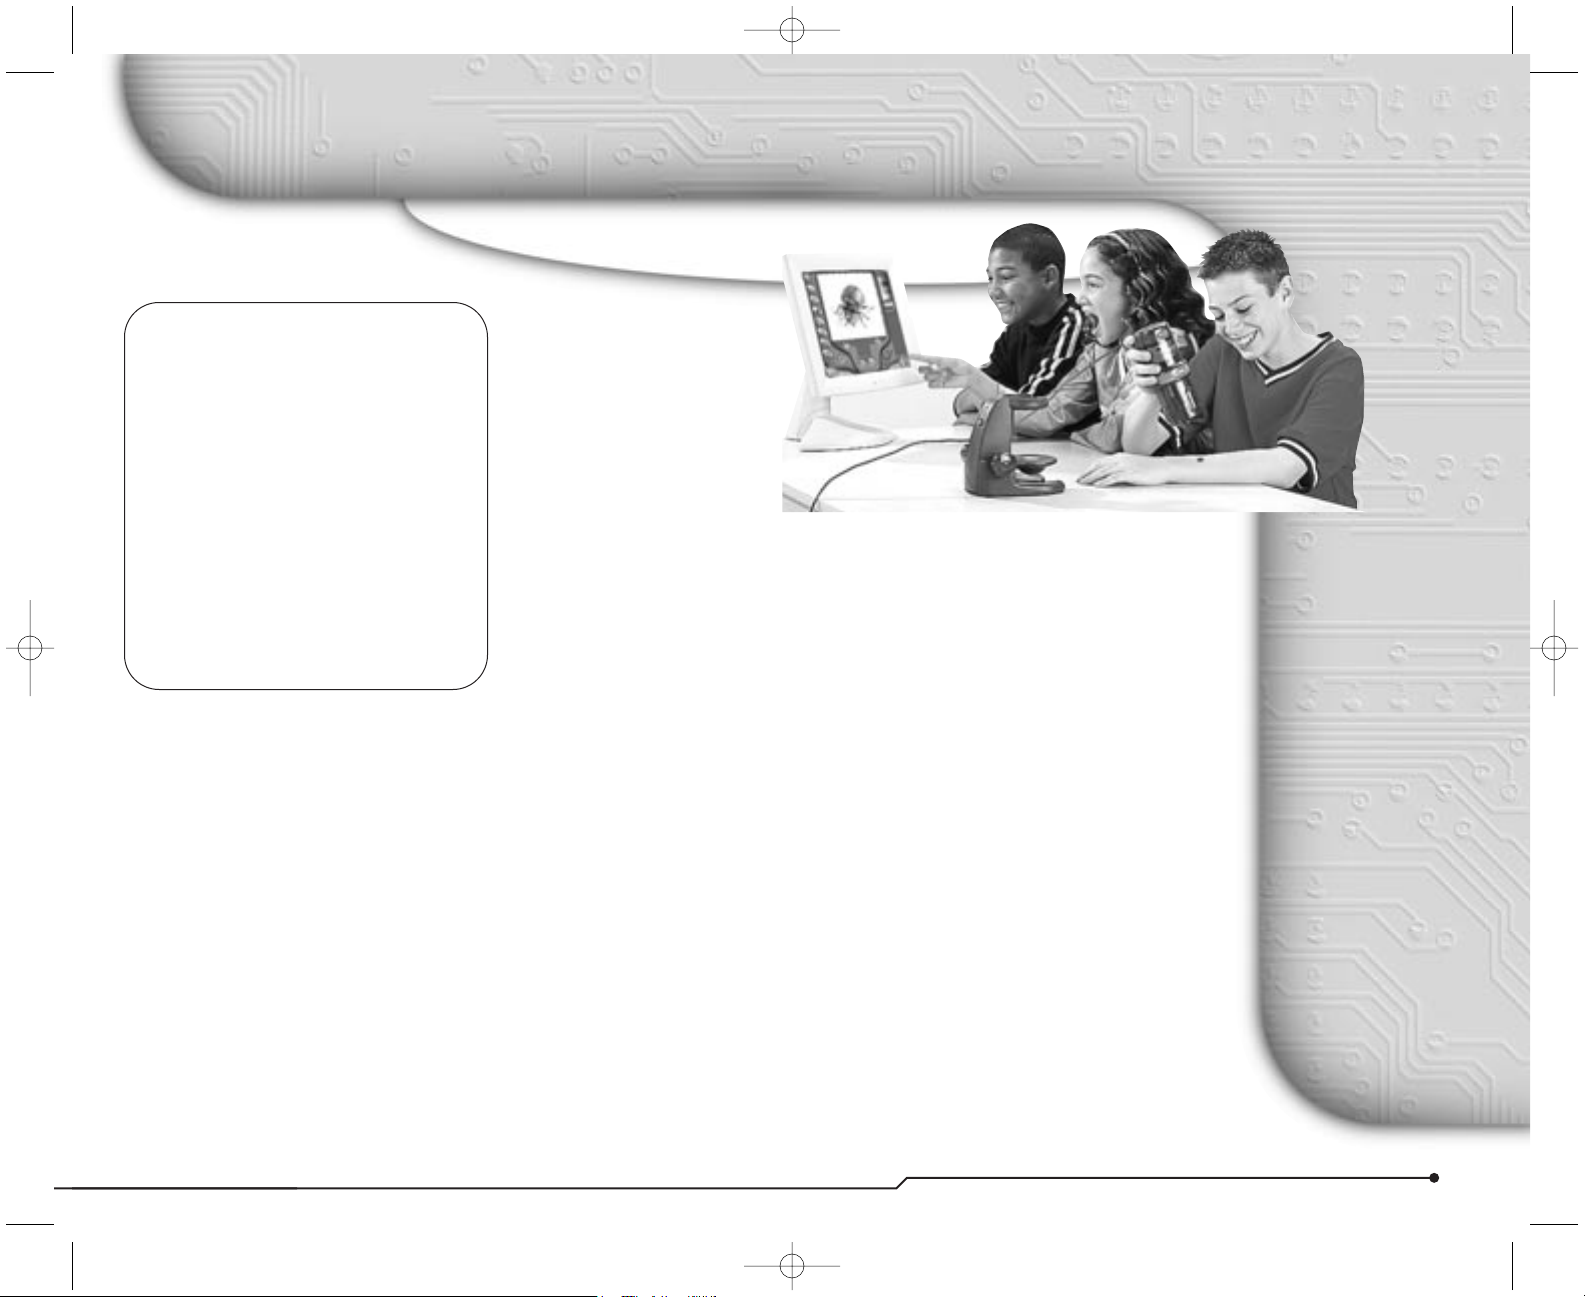
Congratulations on
your purchase of
the Digital Blue
™
QX3
™
Computer Microscope,
one of Prime
Entertainment new toys
that let your imagination run
wild!
These toys harness the power of your
PC to encourage creative play activities
directed by your children. With the
QX3
™
Computer Microscope, your kids
can explore their environments and
share their discoveries with you and
their friends. Some of the benefits of
the QX3
™
microscope include:
■
Turning everyday objects into big
opportunities for fun and learning.
■
Using software to alter images in
imaginative and wacky ways.
■
Creating an audiovisual show with
special effects and music.
■
Using a microscope in a
handheld mode.
■
Viewing images on a computer
screen with friends.
■
Building a collection of images
and movies.
■
Creating time-lapse movies.
■
Printing out posters and stickers.
A note to parents
about this book
This book is designed in flip format.
You can easily find the information
needed to properly set up the toy.
Your children can quickly find
information to help them achieve
results when using it.
Your section is here, behind the
Parent
Quick Start Guide
cover. This guide will
help you:
■
Set up the QX3™Computer
Microscope.
■
Maintain it.
■
Change the bulbs.
■
Order supplies and parts.
■
Troubleshoot problems.
1318 Parent Guide Final 03/12/2002 04:05 PM Page 1
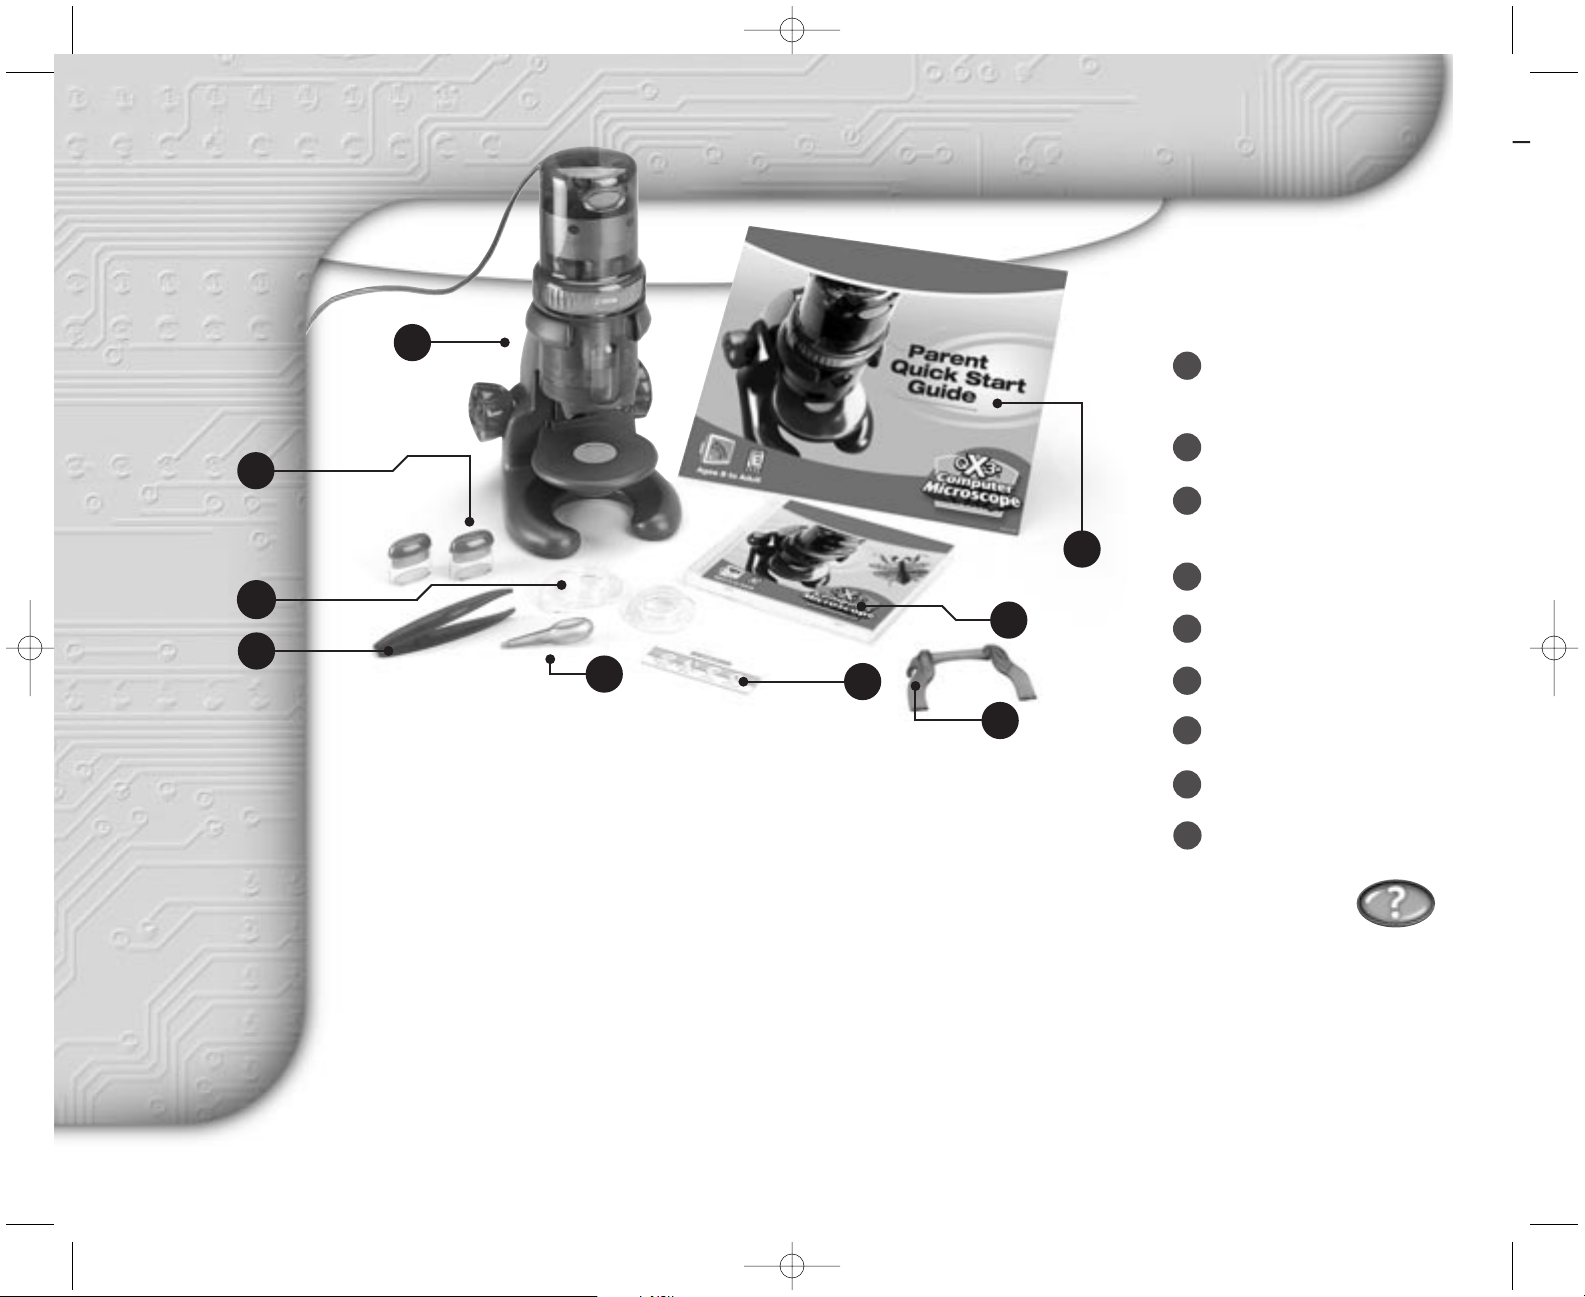
2
Package contents
1
7
8
4
5
6
2
3
Check the contents of
your package. You should
have all the items shown
here. If anything is missing
or damaged, contact
Technical Support at:
1-(888) 800-0502
Parent Quick
Start Guide
You should share the information in this
Parent Quick Start Guide with your
whole family. While the QX3
™
Computer
Microscope is easy to install and a
snap to use, the initial hardware setup
and software installation must be done
by an adult. Your children should
be encouraged to keep the toy clean,
but only an adult should change the
bulbs. Make sure everyone understands the information in the section
titled
“Playing Safely” on page 5
to prevent damage or injury when
using this toy.
Your
package
contains
QX3™Computer
Microscope (microscope
with USB cable and stand)
Sample jars with lids (2)
Containment dishes
with lids (2)
Plastic tweezers
Eyedropper
Prepared slide
Software (CD-ROM)
This guide
Slide clipd
Getting help
■
Click on the Help button to
use the software’s Audio Help.
The cursor changes to a question
mark (?).
■
Pause over items and you will hear
their names and how to use them.
■
More detailed help is available in
Online Help through the
F1
function key.
■
You can also get help at the website:
www.PlayDigitalBlue.com
1
2
3
4
5
6
7
8
9
9
1318 Parent Guide Final 03/12/2002 04:05 PM Page 2
P ARENT QUICK START GUIDE
3
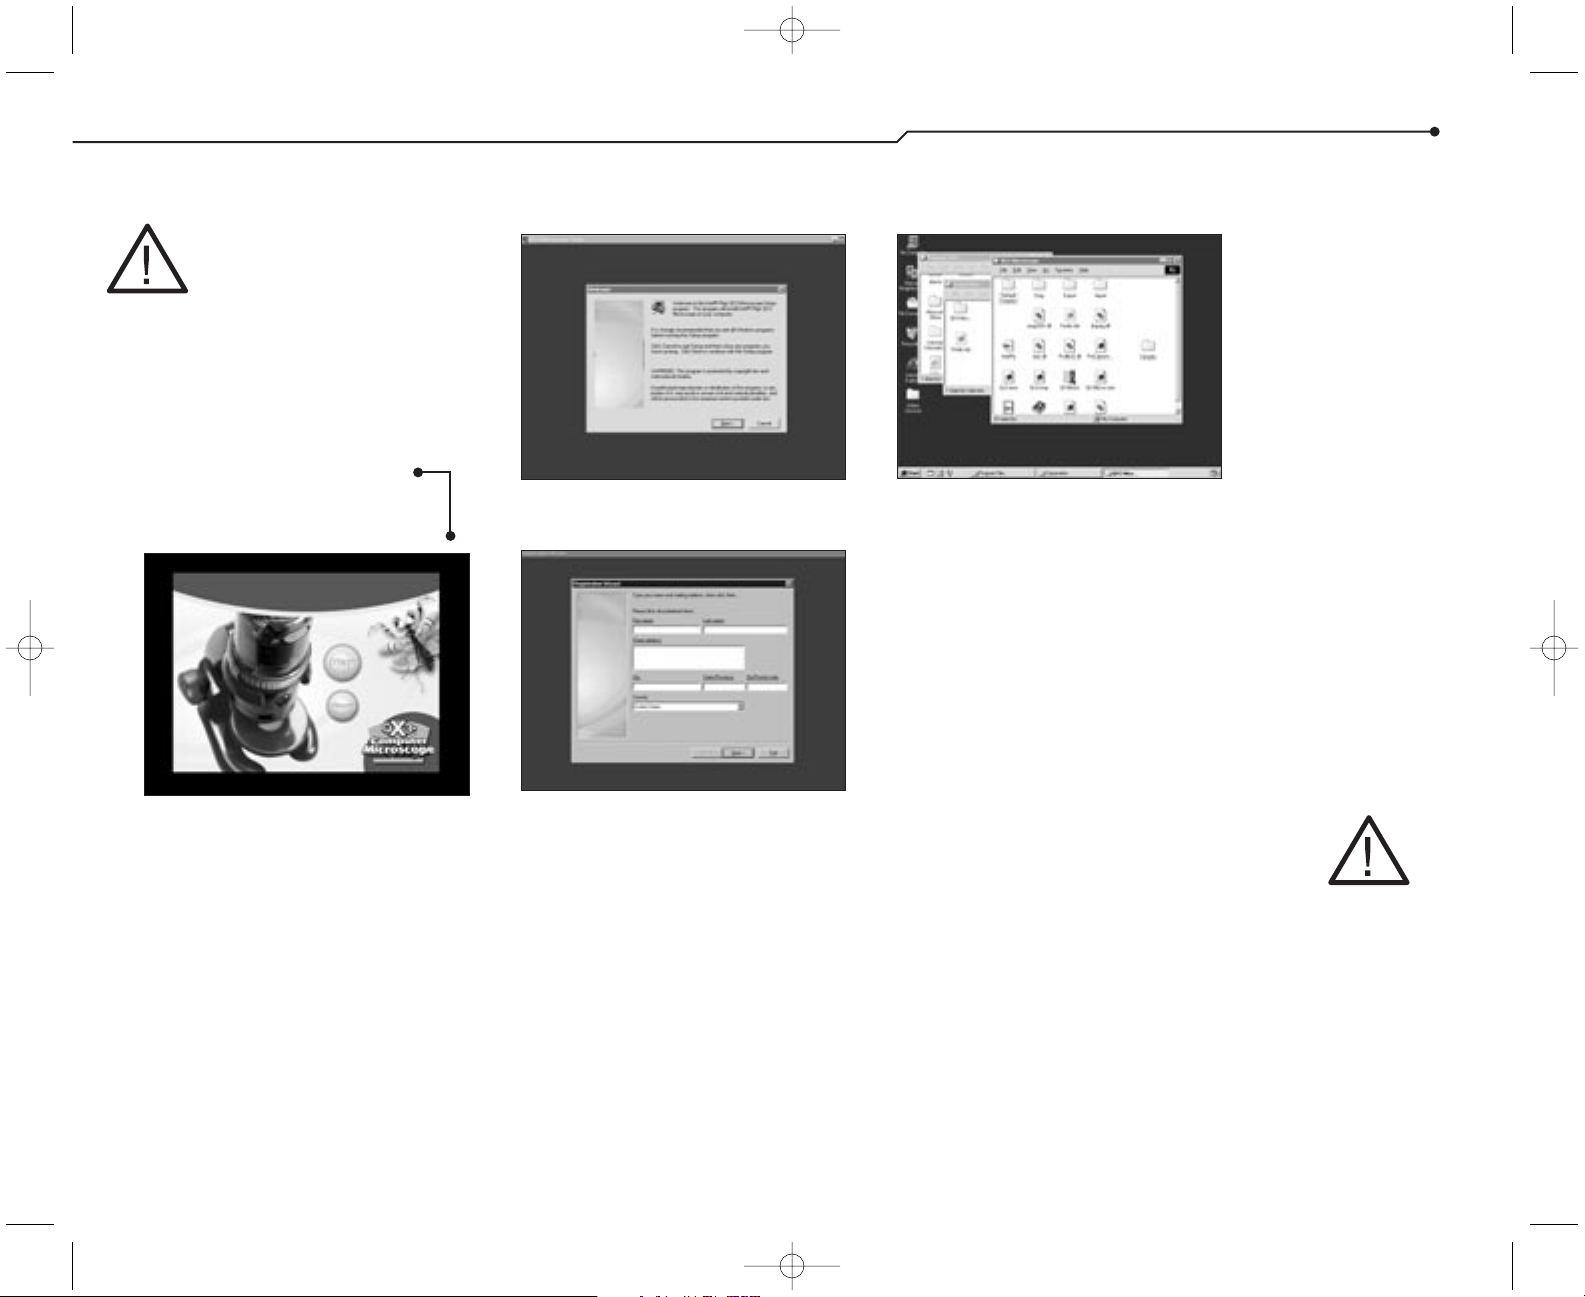
Setup guide
STOP!!! Do not
attach the microscope
to your computer! It is
important that you install the
software first.
Here’s how to
get started using
your microscope
and software.
■
Insert the QX3™Computer
Microscope CD.
■
Wait for the autoplay to start.
■
Click the Install button.
(If Autoplay does not automatically
launch the installer, go to the desktop
and double-click on the icon named
My Computer. Double-click the icon for
the CD-ROM/DVD drive that contains
the QX3
™
software. Sometimes this will
cause Autoplay to start. If it doesn’t,
open the setup folder, double-click on
setup.exe, and follow the setup steps
on this page.)
■
Follow the steps by clicking the
appropriate buttons.
■
When installation is complete, you
can register your QX3
™
microscope
online if you have a modem.
■
Adults, follow the instructions on the
e-registration screens.
(If you can’t or don’t want to register
online, click the Cancel button and
continue with step 4.)
■
Restart your computer.
■
Once the Windows®desktop
appears, plug the microscope cable
into your computer’s USB port.
■
Now that you have plugged in your
microscope, double click
on the QX3
™
icon to launch the software.
Or,
■
Go to the Windows®Start menu to
launch the software.
IMPORTANT:
Make sure to check the Read Me file
for any tips or important information
written since this guide was printed.
To access the Read Me from your
Windows
®
Start menu, click Start, point
to
Programs, point to Digital Blue
QX3 Microscope
and then
click
QX3 Read Me.
1
2
3
4
If things
go wrong
If you have any
problems with the
setup procedure,
first make sure
you have followed
these instructions
exactly. If you did,
please do the
following:
■
Unplug the
USB cable.
■
Restart your
computer.
■
Repeat the
setup steps.
If you are still having
problems, see
“Troubleshooting”
on page 7.
CAUTION:
Upper and lower
illumination surfaces can get
very warm.
That’s all
there is to it!
1318 Parent Guide Final 03/12/2002 04:05 PM Page 3
 Loading...