

Digital Blue Digital Movie Creator 2.0 Quick Start Manual

1. Install the software
Insert the Digital Movie Creator software CD-ROM into your CD-ROM drive.
If the program doesn’t automatically begin, go to the desktop and double-click My Computer.
Double-click the CD-ROM/DVD drive that contains the Digital Movie Creator software.
If this doesn’t start the installation program, double-click setup.exe.
Follow the instructions on the screen.
2. Connect the camera to the computer.
1. Connect the camera base’s cable
into the USB port on your computer.
DIGITAL CAMCORDER
QUICK START GUIDE
2. Press the camera firmly into the camera
base. The camera beeps when it connects
to the computer. Please retry if the camera
does not respond on the first try.
3. Launch the Digital Movie Creator
software application, using the short
cut on your desktop. On the first launch,
the audio set-up wizard will open before
the application.
4. When the audio set-up wizard opens,
select the USB audio device as the
preferred device to use when recording.
Getting Started
Install the software before connecting the camera to the computer.
1. Shoot a scene with the camera.
1. Make sure your camera is attached
to the computer.
2. Click to open the Live screen.
3. Click to start recording.
4. Click the same button
(now red ) to stop recording.
Notice the scene you just created appears
in the small window on the screen.
Click to preview it.
2. Rename the scene so you can
find it easily.
The scene you just recorded is in the Temporary
collection.
Open the Collections screen
by clicking at the top of the screen.
1. Click the title under the scene you just recorded
and type in a new name.
2. Press the Enter key to finish renaming your scene.
3. Save your scene in the Permanent
collection.
To save the scene, you have to move it from
the Temporary collection to the Permanent collection.
1. In the Temporary collection, click on the scene
you just created.
2. Click to move the scene from
the Temporary collection to the Permanent
collection.
3. Click to close the Collections screen.
4. Organize your scenes into a movie.
In this step, you will add scenes to the Storyboard to create
a movie.
1. Click to open the Create screen.
When the screen opens, it shows the Collections
screen, and the Storyboard.
2. Click on the scene you created. If it doesn’t appear,
click the green arrows to see more scenes.
3. Double-click your scene to add it to the Storyboard.
Repeat this step to add other scenes and images
to your video.
4. Click to close the Collections screen.
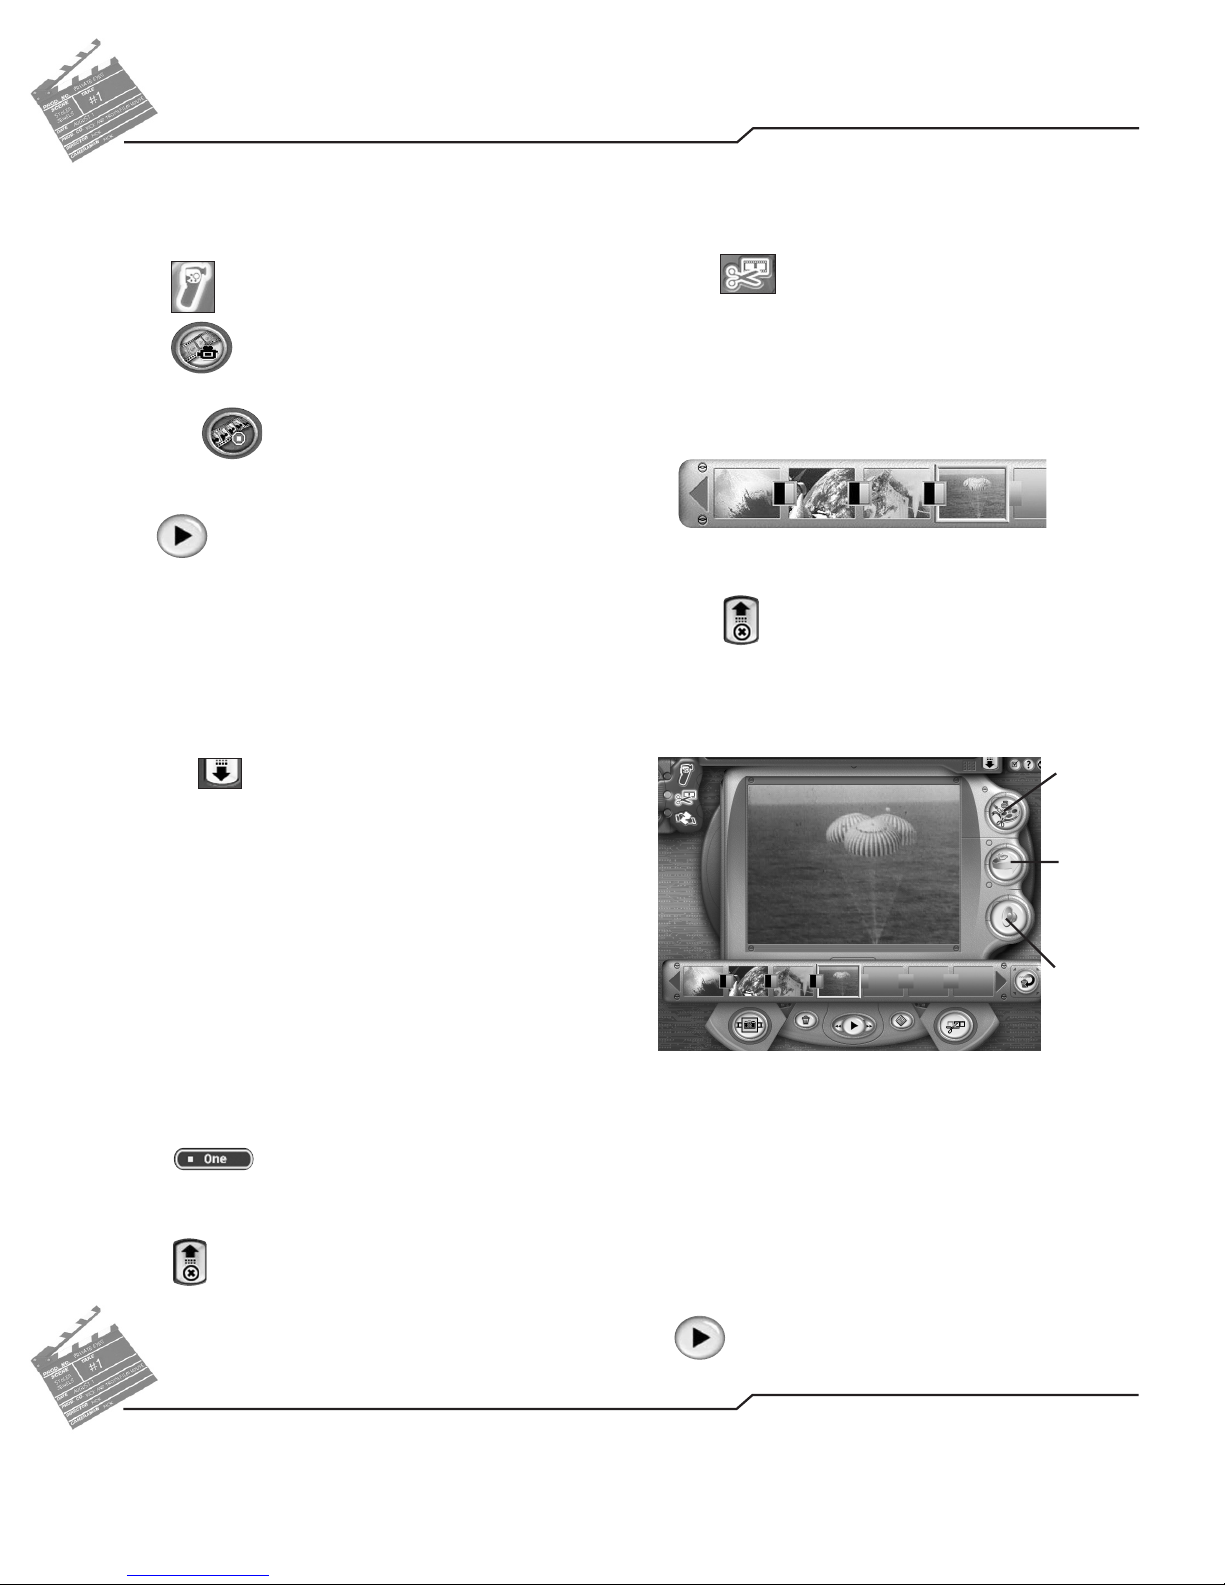
5. Post production fun!
There are a lot of fun ways to spice up your movie.
The Tools menu lets you add scrolling credits, titles, paint,
and special movie filters to a scene.
Add animations and special effects with the Special
Effects menu.
Add music and sounds to your movie using the Sound
Effects menu. You can also record your own music or
singing as a background music track to play throughout
the video.
Do you want to see how it looks so far?
Click to preview the movie.
Tools
menu
Special
Effects
menu
Sound
Effects
menu
Make Your First Movie
Need Additional Help?
For additional Digital Movie Creator help visit our web site at: www.playdigitalblue.com/tech_support/dmc2
After you get Digital Movie Creator installed you can find additional help by clicking on your Window's start menu.
Windows ME, 2000, XP: Click Start > Programs > Digital Blue PC Digital Movie Creator 2.0 > Online Help
 Loading...