

Page 1
V1.0
2016-09-21
RANGER SERIES
AC1200 Dual Band Wireless
Broadband Router
DG-BR5400QAC
AC
867 Mbps 300 Mbps
N
Page 2

Trademarks:
TM
DIGISOL is a trademark of Smartlink Network Systems Ltd. All other
trademarks are the property of the respective manufacturers.
Copyright
:
:
Copyright © 2016 by Smartlink Network Systems Ltd. All rights reserved.
No part of this publication may be reproduced, transmitted, transcribed,
stored in a retrieval system, or translated into any language or computer
language, in any form or by any means, electronic, mechanical, magnetic,
optical, chemical, manual or otherwise, without the prior written
permission of this company.
This company makes no representations or warranties, either expressed
or implied, with respect to the contents hereof and specifically disclaims
any warranties, merchantability or fitness for any particular purpose. Any
software described in this manual is sold or licensed "as is". Should the
programs prove defective following their purchase, the buyer (and not this
company, its distributor, or its dealer) assumes the entire cost of all
necessary servicing, repair and any incidental or consequential damages
resulting from any defect in the software. Further, this company reserves
the right to revise this publication and to make changes from time to time
in the contents thereof without obligation to notify any person of such
revision or changes.
Page 3

Package Contents:
Before you start using this router, please check if there’s anything missing
in the package, and contact your dealer of purchase to claim for missing
items:
Product Overview:
• DG-BR5400QAC AC1200 Dual Band Wireless Broadband Router
• Power adapter (12V DC, 1A )
• Quick Installation Guide
• Installation Guide CD (includes User Manual & QIG)
• Patch Cord (1 No.)
Thank you for purchasing DG-BR5400QAC Dualband Wireless Broadband
Router which supports Wireless speed Upto 867Mbps on 802.11ac and
Upto 300Mbps on 802.11n! DG-BR5400QAC is the best choice for Small
office / Home office users, all computers and network devices can share a
single cable internet connection at high speed. Easy install procedures
allow computer users to setup a network environment in very short time within minutes, even inexperienced users. When the number of your
computers and network-enabled devices grow, you can also expand the
number of network slots by simply connecting a hub or switch, to extend
the scope of your network.
All computers and IEEE 802.11b/g/n/ac wireless-enabled network devices
(including PDA, cellular phone, game console and more) can connect to
this wireless router without additional cabling. With a compatible wireless
card installed in your PC, you can transfer files up to 876Mbps (transfer
data rate).
Product Features:
• High Internet Access throughput
• Support dual band (i.e 2.4GHz & 5 GHz) which enhance wireless
speed.
• Wireless speed up to 867Mbps on 5 GHz and 300Mbps on 2.4GHz
• Allows multiple users to share a single Internet line.
• Shares a single Cable internet connection.
• Access private LAN servers from the internet.
• Four wired LAN ports (10/100M) and one WAN port (10/100M).
• Works with IEEE 802.11b/g/n/ac wireless LAN devices.
Page 4

System Requirements:
• Supports DHCP (Server/Client) for easy IP-address setup.
• Advanced network and security features like:IP Filter/Traffic Rules,
Port Forward, MAC filter, Firewall etc.
• Allows you to monitor the router’s status like: DHCP Client Log, System
Log, Security Log and Device/Connection Status.
• Easy to use Web-based GUI for network configuration and management
purposes.
• Remote management function allows configuration and upgrades
from a remote computer (over the Internet).
• Provides Auto MDI / MDI-X function for all wired Ethernet ports.
• Desktop computer, Mobile Tab, Smart phone with network adapter
(wired/wireless)
• Internet connection provided by cable modem with a RJ-45 Ethernet
port.
• Windows 10/8/7/98/ME/2000/XP/Vista
• Web browser (Microsoft Internet Explorer 4.0 or above, Netscape
Navigator 4.7 or above, Opera web browser, or Safari web browser).
An available AC power socket (100 – 240V, 50/60Hz)
Page 5
Hardware Interface:
There is hardware interface on back panel of router as described below:
USB
USB port to connect pen-drive or external disk
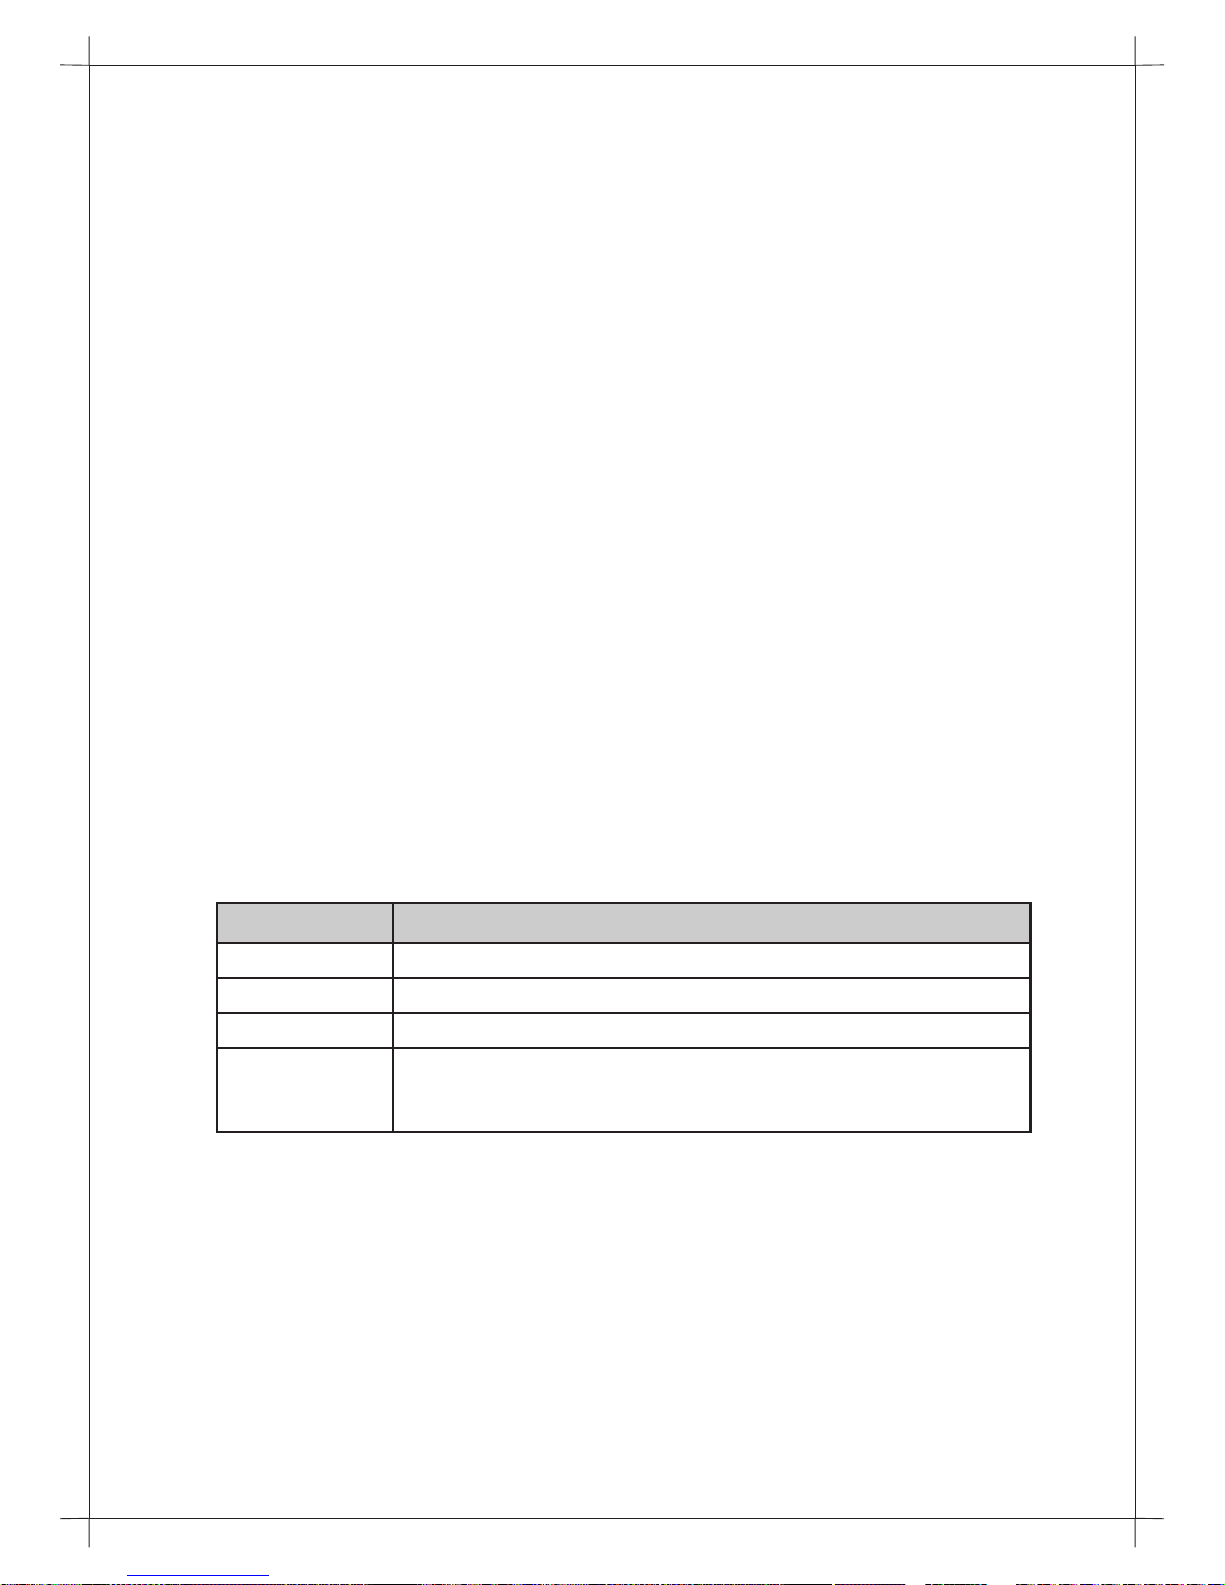
Interfaces Description
Power
The Power socket is where you will connect the power
adapter. Please use the power adapter provided with this
Wireless Router.
LAN (1 - 4)
Local Area Network (LAN) ports 1 to 4.
WAN
Wide Area Network (WAN / Internet) port.
Page 6
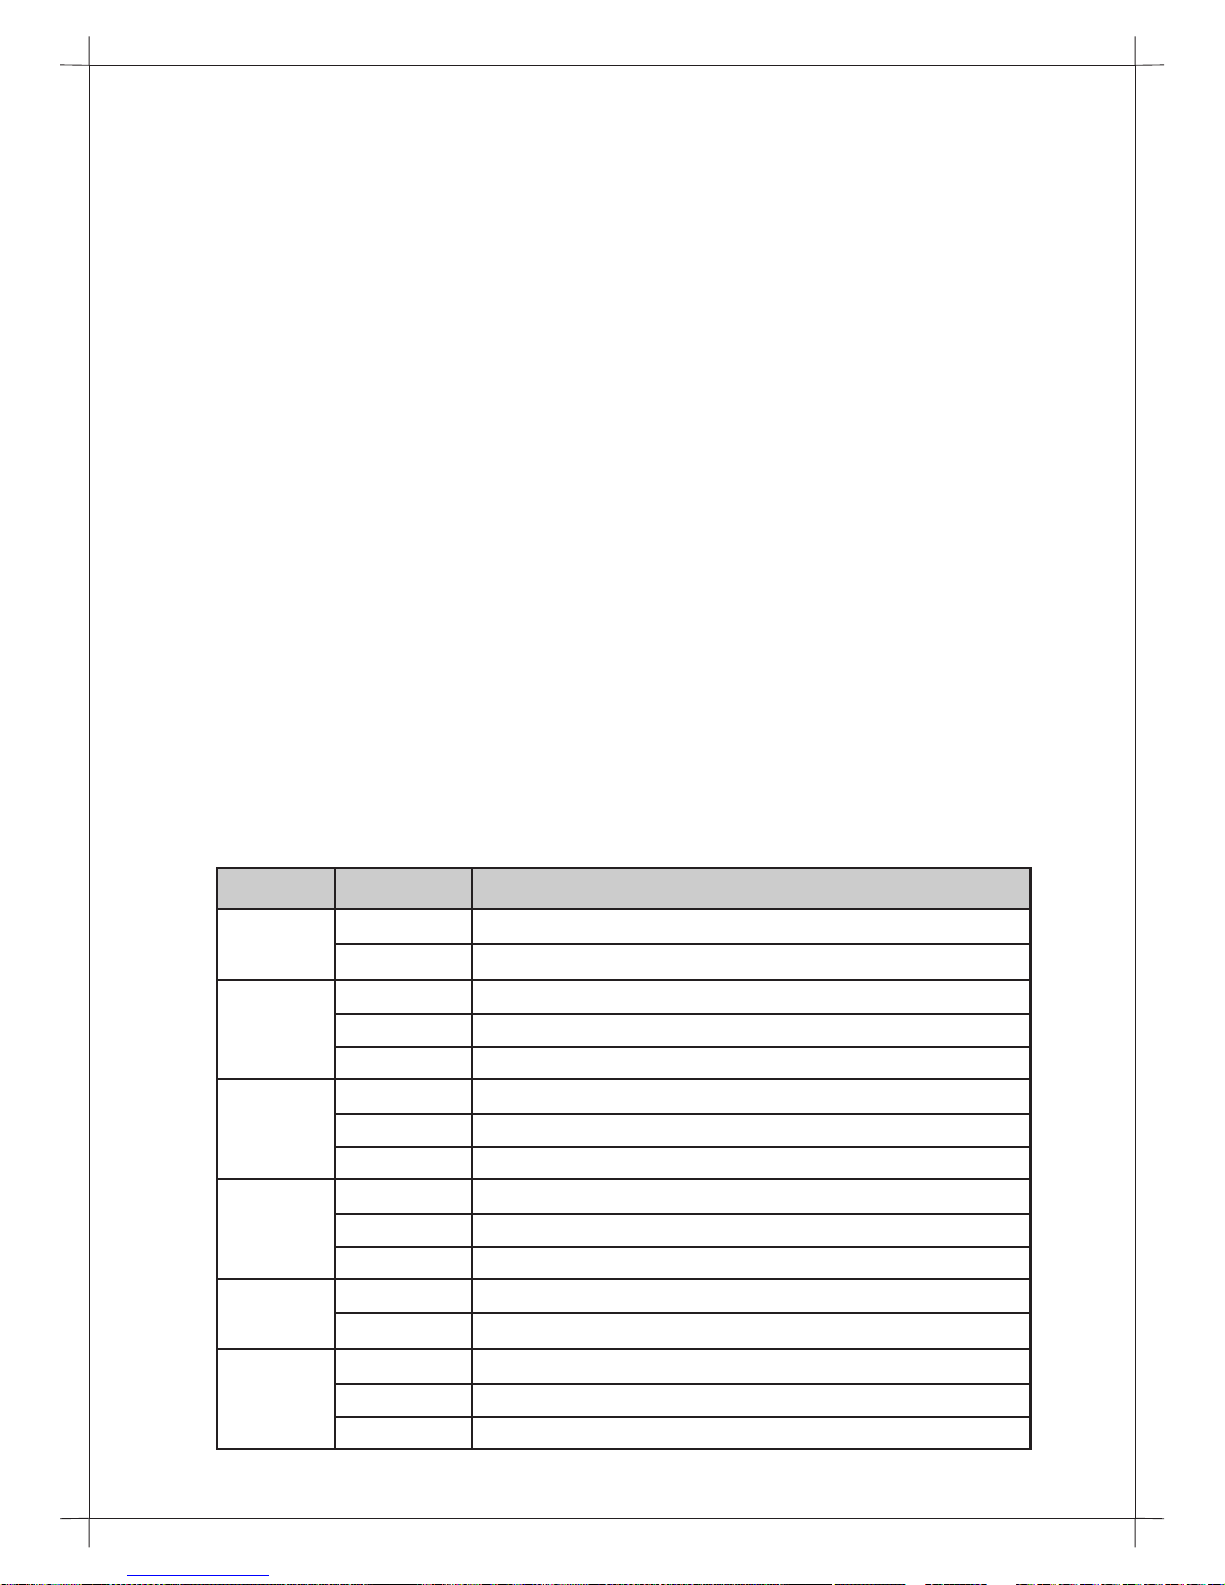
Power
(PWR)
Router is switched on and correctly powered
LED LED Status
On top view of router,
There is four 5bBi dipole, non detachable antennas on each corner of
router. WPS, RST button and LED to describe connection status of router.
WPS: Press this button for 3 seconds to initiate WPS.
RST(RESET): Reset the router to factory default settings (clear all settings).
Press this button and hold for 3 seconds to restore all settings to factory
default.
Indication
Router is switched off.
On
Off
WAN
WAN port is active
WAN connected (transferring or receiving data).
On
Blinking
WAN disconnected.Off
LAN (1-4)
LAN port is active
LAN connected (transferring or receiving data).
On
Blinking
LAN disconnected.Off
WLAN
Wireless network is switched on.
Wireless network is switched off.
On
Off
Wireless connected (transferring or receiving data).Blinking
USB
USB connected
USB not connected
On
Off
WPS
WPS is active
WPS is not active
On
Off
Searching for WPS active device.Blinking
Page 7

Hardware Installation:
1
2
Connect your Internet connection to the WAN port of the router by an
Ethernet cable.
Please follow the below mentioned instructions to build the network
connection between your new wireless router and your computers,
network devices:
Connect all your computers, network devices (switch / hub) to the LAN
port of the router.
Page 8

4
Connect the power adapter (12V DC / 1A ) to the wall socket, and then
connect it to the‘Power’ socket of the router.
Please check all LEDs on the front panel. Power LED should be steadily
ON, WAN and LAN LEDs should be ON. Check if the computer/network
device connected to the respective port of the router is powered ON
and correctly connected. If power LED is not ON, or any LED you
expected is not ON, please recheck the cabling.
Note: CD provided with package contain user manual which helps you
to get information in detail.
3
Page 9

Quick Install Guide:
For quick router setup please follow the step mention below:
Open the web browser, and type the IP address of the router in the address
bar as ‘http://192.168.2.1’.
The following web page will display on screen:
Please input password in given field to access router configuration, default
password is ‘1234’, then press ‘GO’ button, and you can see the web
management interface of this router:
Page 10

Please choose the access (Internet connection) type that you use to
connect to internet. There are three types of Internet connections:
Dynamic IP(dhcp), Static IP(static) and PPPoE. If you’re not sure, please
contact your Internet service provider. A wrong Internet connection type
will cause connection problem, and you will not be able to connect to the
internet. Also set your WIFI setting i.e SSID and password accordingly.
After login, below page shown will be displayed
Page 11

DHCP configuration
1
Select "dhcp" ( Dynamic IP ) under Access type option to obtain IP Address
information automatically from your ISP. Usually Cable Modem and the
router will automatically obtain an IP address from the DHCP server. Insert
MAC address which has to make clone if require, default clone MAC
address is WAN MAC address. MAC address should in two digit separated
by colon format as shown below:
After WAN, Next we can configure the WiFi setting ( Wireless Setting ) .
Here we can set SSID name for 5GHz Network as well as 2.4GHz wireless
network. Wireless devices/clients supporting IEEE 802.11ac standard need
to set the 5G SSID wireless name and password and Wireless
devices/clients supporting IEEE 802.11 b/g/n standard need to set 2.4G
SSID wireless name and password. After wireless name and password is
set , we need to click on "Apply" button at the right bottom of the page to
save the changes.
During this process the router will reboot for 90 second to implement the
changes.
Page 12

Static IP(Static) configuration
2
Select Access type as ‘’Static’’ if IP information is provided to you by your
ISP. You will need to enter in the IP address, subnet mask, gateway address
and DNS address provided to you by your ISP. Each IP address entered in
the fields must be in the appropriate IP form, which are four octets
separated by a dot (x.x.x.x). Insert MAC address which has to make clone if
require,default clone MAC address is WAN MAC address. MAC address
should in two digit separated by colon format as shown below:
IP address
Please input IP address assigned by your service provider.
Parameter Description
Clone MAC
Provide MAC address which has to make clone if require,
default clone MAC address is WAN MAC address.
MAC address should in two digit separated by colon format.
Subnet Mask
Please input subnet mask assigned by your service provider
Default
Gateway
Please input the default gateway assigned by your service
provider.
DNS
Please input the DNS IP address in dotted-decimal notation
provided by your ISP.
Page 13

PPPoE configuration
3
Choose PPPoE. (Point to Point Protocol over Ethernet), below given screen
will be displayed. If your ISP uses a PPPoE connection it will provide you
with a username and password. Insert the username and password in
respective field. Insert MAC address which has to make clone if
require,default clone MAC address is WAN MAC address. MAC address
should in two digit separated by colon format as shown below:
Page 14

WIFI configuration
4
Check ‘WIFI setting’ on Quick install page.
Enter the ‘SSID’ for both band (i.e for 5GHz and 2.4GHz) and set Password.
Password must contain at least 8 character. By default WIFI is open share
and any one can access you network. Kindly keep your WIFI secure by
setting password.
After configuring all field click on ‘Apply’ button at bottom of quick
installation wizard.
After applying configuration router will take 90 seconds to reboot. Now
router is ready to use
Page 15

Web Management:
After your system get IP address from you router go to web browser and
type IP address of router in address bar as ‘http://192.168.2.1/’. After that
login page will appear, input router password to access router. Default
password is ‘1234’
Input password and click on ‘GO’ button status page will appear. It will
show you router connection status. Also you can now be able to configure
your router more in detail. For detail configuration please refer User manual.
Page 16

Following are the solutions to problems that may occur during the installation
and operation of the DIGISOL DG-BR5400QAC Wireless Broadband
Router.
2. Router cannot get connected to Internet.
Access the router’s web configuration and verify Internet connection
status.
If you were previously able to connect a computer to Internet directly, try
to do that again, and verify whether you can access Internet with your
computer directly attached to the device provided by your Internet
service provider.
Check PPPoE user ID and password again.
Call your Internet Service Provider and verify whether there is some
issue with their service.
Try to reboot the router and verify whether it connects to Internet or not.
Try to use IP address instead of hostname. If you can use IP address to
communicate with a remote server, but can’t use hostname, please
check DNS setting.
FAQ
1. Cannot login into the router.
Verify whether password you entered is correct.
If you have forgotten the password, then reset the router using reset
button available on the top side of the router.
Please keep reset button pressed till the router reboots to reset to
factory default settings. Now, you can try login into the router using
default password.
Ensure that you take backup of the router configuration so you can
restore the router back after resetting it.
Page 17

3. Wireless client cannot locate the router.
Verify whether Wireless is disabled in router’s web configuration.
Verify whether the antenna is properly connected and in correct
direction.
Is your wireless client far away from your router? Try to get closer to the
router.
Page 18

Page 19

Page 20

Smartlink House, Plot. No. 5,
Off CST Road, Bandra-Kurla Complex Road,
Santacruz (East), Mumbai - 400 098, India.
Tel: +91 22 3061 6666 / 2652 6696,
Fax: +91 22 2652 8914
A Subsidiary of Smartlink Network Systems Ltd.
www.digisol.com
1800 209 3444
helpdesk@digisol.com
sales@digisol.com
DIGISOL SYSTEMS LIMITED
 Loading...